


1
English
You can view explanations of the operation of this watch by accessing the Citizen web
site and viewing the “Service&Support.”
URL: http://www.citizenwatch.jp/
This watch is powered by light.
If the watch is not exposed to light for a long time, it stops moving.
See page 9 for charging the battery.
Features
The combination
watch of the
analog and digital
display
Solar-powered—
no need for battery
replacement
World time—easy to see the
time of 43 cities all over the
world (→ page 24)
Lap time measurement
per 1/1000 second
(→ page 18) with the
lap recording function
(→ page 22)

2
Race mode quick guide
Setting the distance of the course
1. Press button M to change the
mode to Race. (“RAC”)
2. Pull out the crown to position 1.
3. Press button A
to display “YES,”
then press and hold
button M for more
than 2 seconds.
4. Press button A or B to adjust the
current digit, and press button M
to go to the next one.
5. Push in the crown to position 0.
Crown
Button A
Button B
Button M
“RAC”
3
English
Measuring lap times
1. Press button M to change the
mode to Race. (“RAC”)
2. Press button B to start
measurement.
3. Press button A to measure lap
times.
• Each time you press button
A, a lap time and the speed are
displayed.
• The records are stored in the Lap
Record mode.
4. Press button B to stop the
measurement.
Checking the records
1. Press button M to
change the mode
to Lap Record.
“FAS ” is displayed.
2. Press button A to change the
record displayed.
Each time you press button A,
following records are displayed:
the best time (“FAS ”)=the average
time (“AVG ”)=the worst time
(“LAT”)=all lap times from old to
new.
For detail, see page 18 for the Race mode
and page 22 for the Lap Record mode.

4
Contents
Before use ...................................... 6
Part names ............................................. 6
How to use the screw down crown ..... 7
Checking the battery ............................ 8
How to charge the battery .................... 9
Checking the reference position ....... 10
Changing the mode of the digital
section ..........................................12
Setting the time and calendar—
Time and Calendar mode ..........14
Using the chronograph—
Chronograph mode ...................16
Measuring lap times—
Race mode ...................................18
Setting the distance of the course ..... 18
Measuring lap times ........................... 20
Checking the records of lap
times—Lap Record mode .........22
Checking the records .......................... 22
Deleting the records ........................... 23
Checking the time of another
city—World Time mode
............. 24
Selecting a city ..................................... 25
Using the alarm —
Alarm mode .................................26

5
English
Using the timer—Timer mode .... 28
Charging the battery .................30
When the battery becomes short of
power—Insufficient charge warning
function ................................................ 30
Charging time ...................................... 32
Power saving function ...............34
Troubleshooting ....................... 36
• The hands do not work properly
• The digital section seems unusual
• Others
Adjusting the reference
position ........................................39
Resetting the watch ...................42
Indication of each mode after resetting
the watch .............................................. 43
Precautions ..................................44
Maintenance ................................ 51
Specifications ..............................52
Table of city names .....................54
How to use the rotating bezel ....56
Glossary ........................................ 60
6
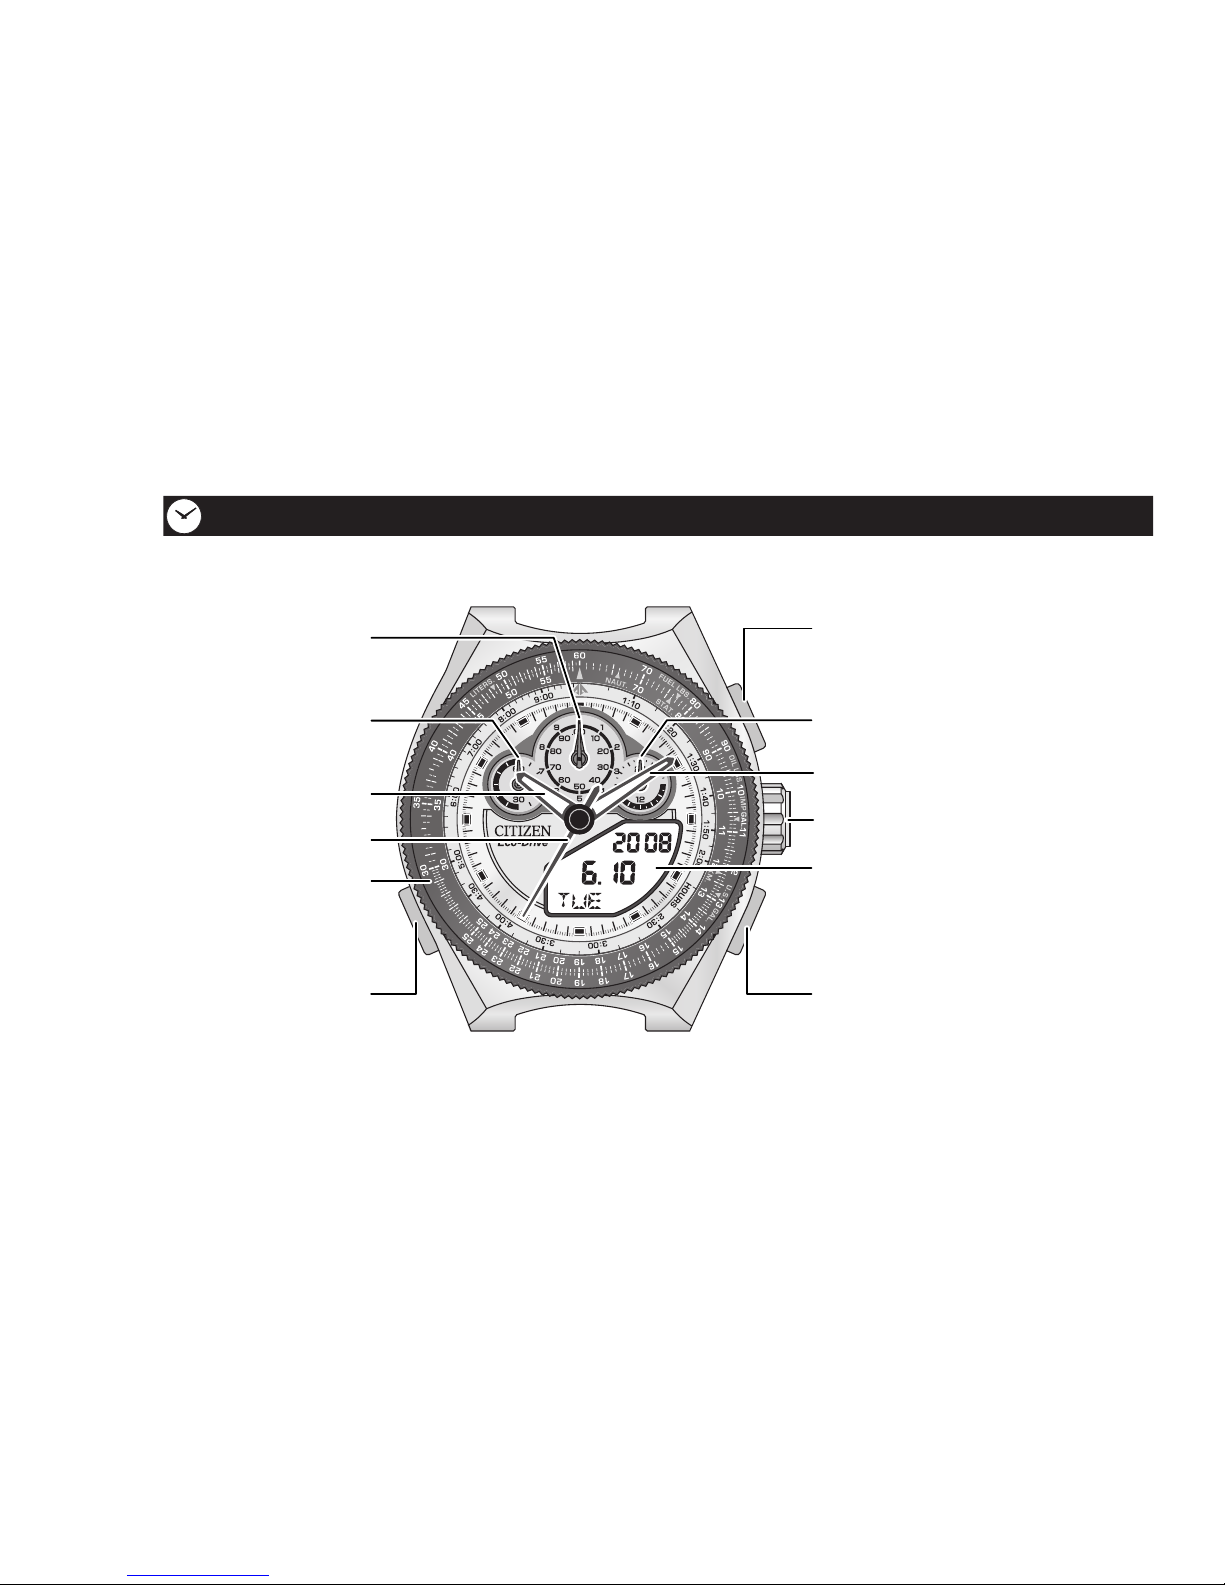
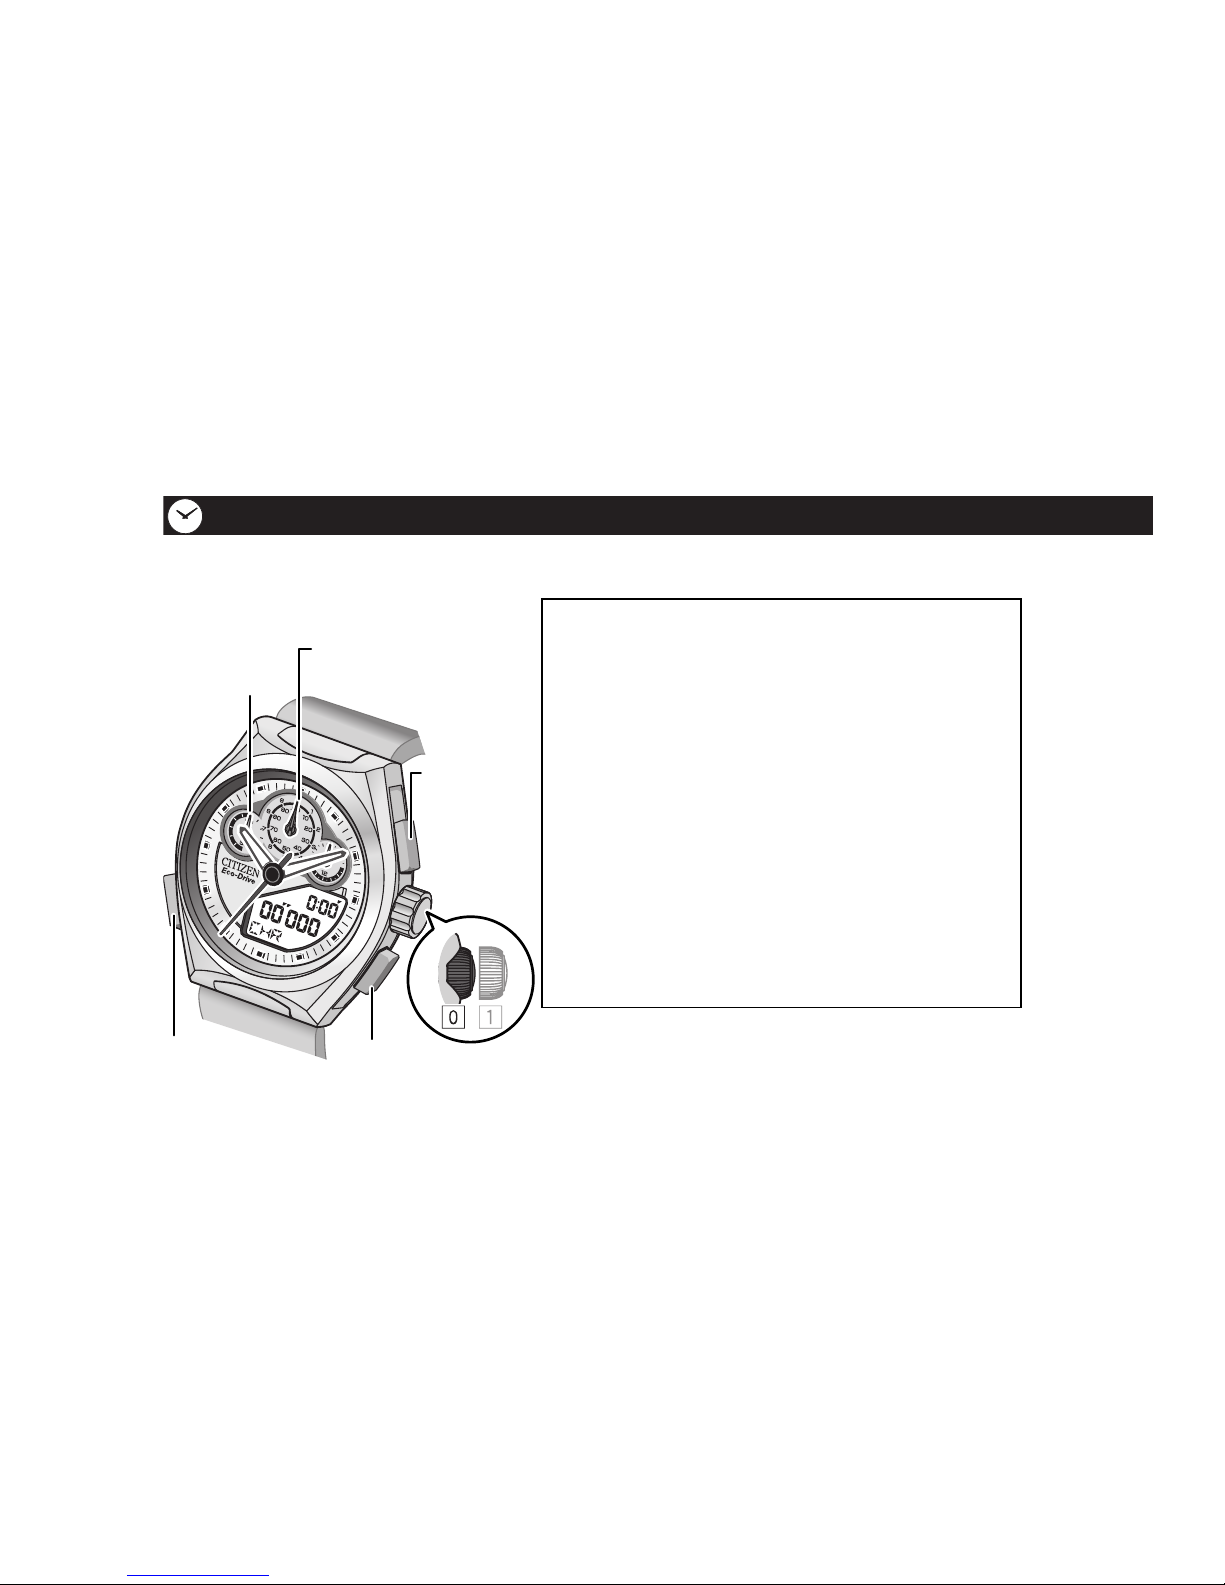
7 Part names
Before use
The illustrations in this instruction manual may differ from the actual appearance of your
watch.
Chronograph second
hand
Hour hand
Chronograph 1/10
second hand/
Chronograph 1/100
second hand
Button M
Button B
Button A
Crown
Digital section
(→ page 12)
24-hour hand
Rotating bezel
(→ page 56)
Second hand
Minute hand
7
English
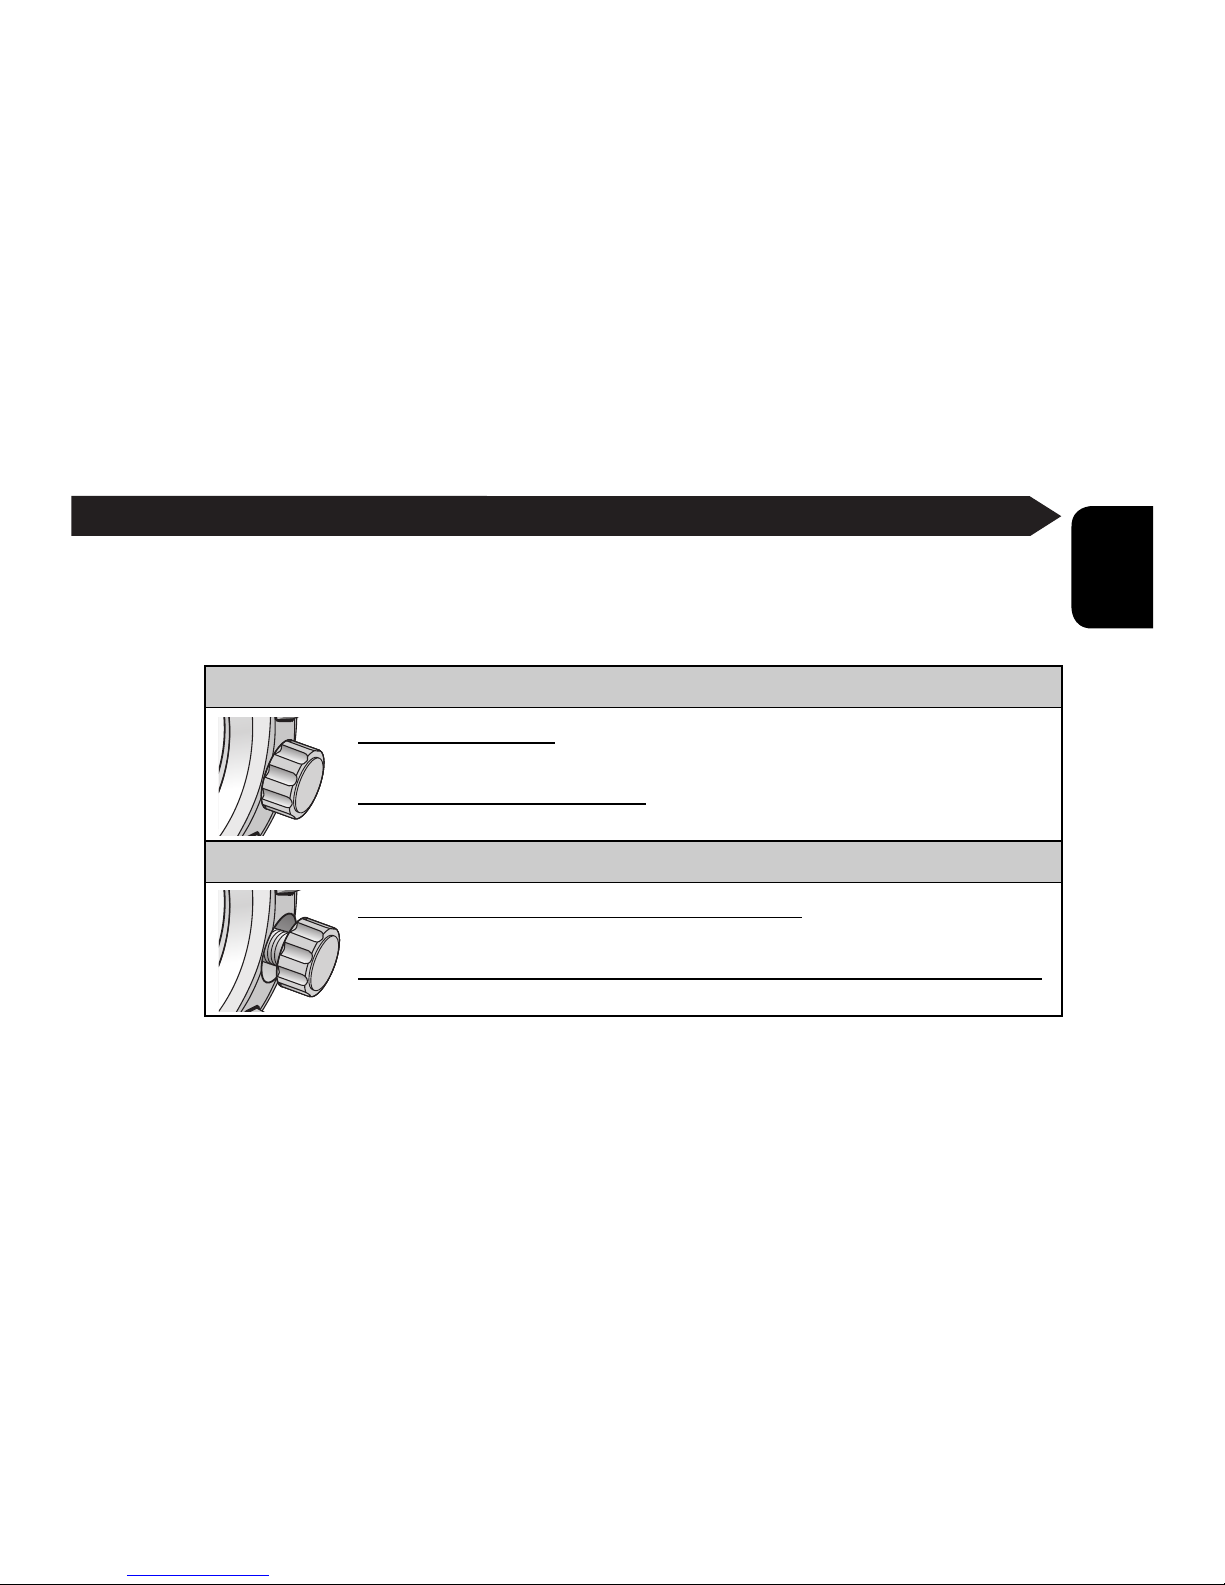
7 How to use the screw down crown
The screw down crown is equipped on some models. When a normal crown is
equipped, you can operate the crown without unlocking it.
Checking the crown type
Pull out the crown.
• If you CANNOT pull it out easily, it is a screw down crown.
Turn the crown to the right.
• If you CANNOT keep turning it, it is a screw down crown.
Unlocking/relocking the screw down crown
Turn the crown to the left until it pops out.
• The crown is unlocked and you can operate it.
Turn the crown to the right while pushing it in, and tighten firmly.
• The crown is relocked.

8
Before use
7 Checking the battery
Check your watch as follows before using it:
Start using the watch!
• To adjust the time and calendar, see page 14.
Check the movement of the second hand.
Check the digital section.
“ ” is not displayed.
Moving at 2-second intervals or has
stopped.
Moving at 1-second intervals.
“ ” is displayed.
Expose the dial to light for charging
the battery.
9
English
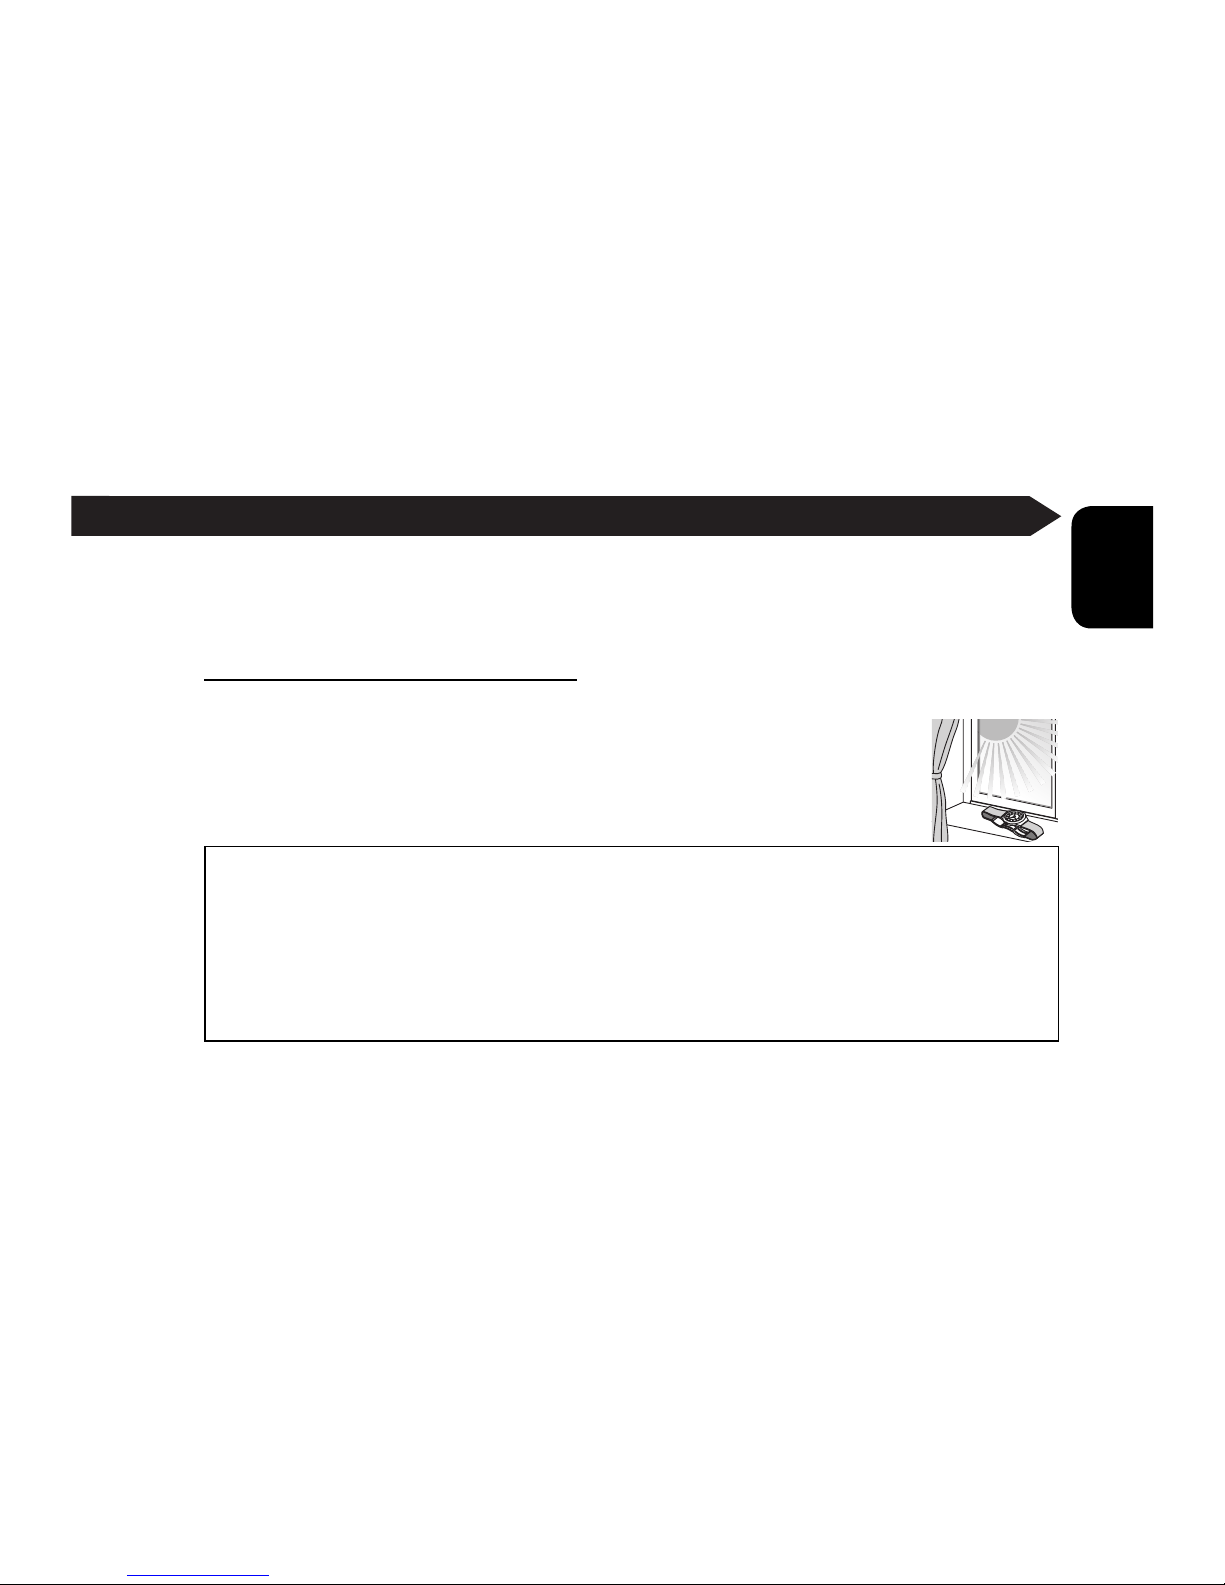
7 How to charge the battery
This watch has a battery which is charged by exposing the dial to light such as direct
sunlight or fluorescent lamps.
To obtain the best performance:
• Expose the dial to direct sunlight for several hours at least once a month.
• After taking off the watch, put it where the dial is exposed to bright
light, such as by a window.
• Before storing the watch in a dark place for an extended period of
time, fully charge the battery.
Caution
• When the watch is covered with long sleeves, for example, the battery may
not be charged sufficiently. Try to keep the watch exposed to light even when
wearing the watch.
• Do not charge the battery at a high temperature (about 50˚C/122˚F or higher)
such as on the dashboard.
See page 32 for charging time.

10
Before use
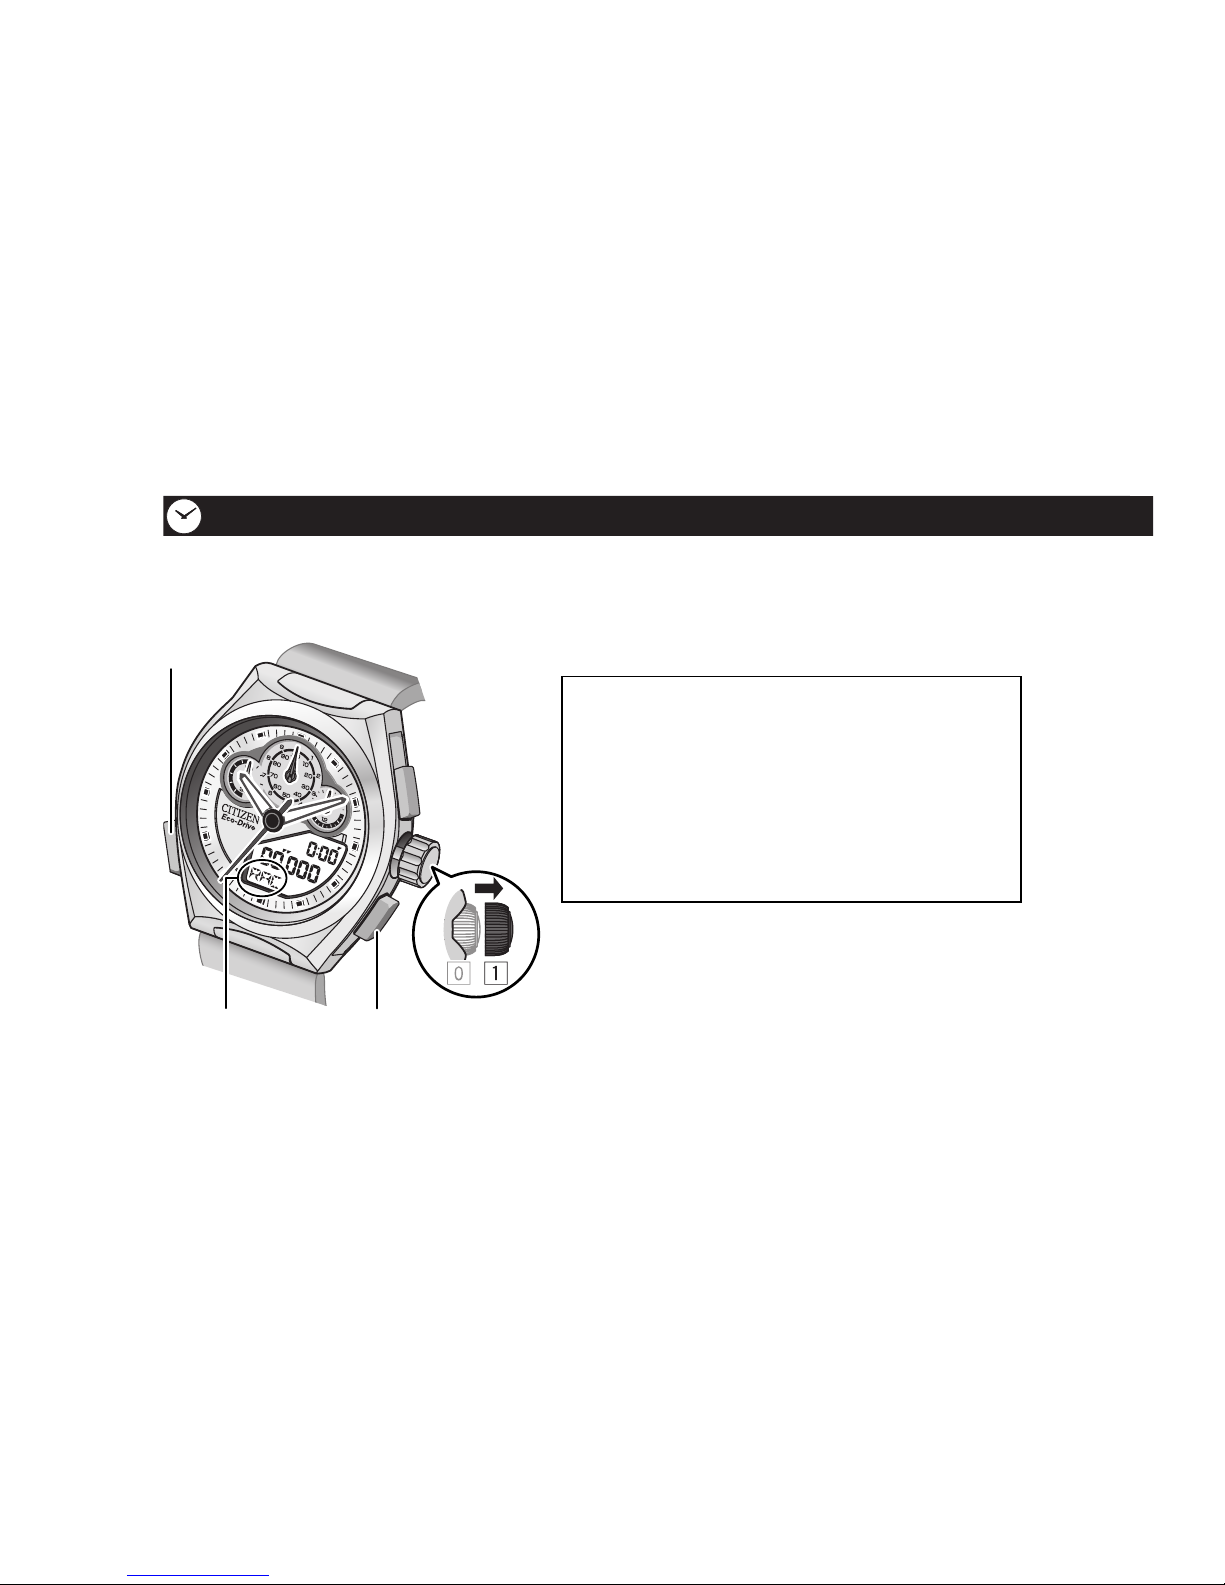
7 Checking the reference position
Check whether the reference position is correct or not.
Check and adjust the reference position
also in the following cases:
• The correct time is not displayed on
the analog section even after the time
setting.
• Each chronograph hand does not point
to “0/.00” or “60” even after resetting
the measurement time.
1. Press button M to change the
mode to Chronograph. (“CHR”)
Crown
Button A
Button B
Button M
“CHR”
Chronograph 1/10 second
and 1/100 second hands
Chronograph
second hand
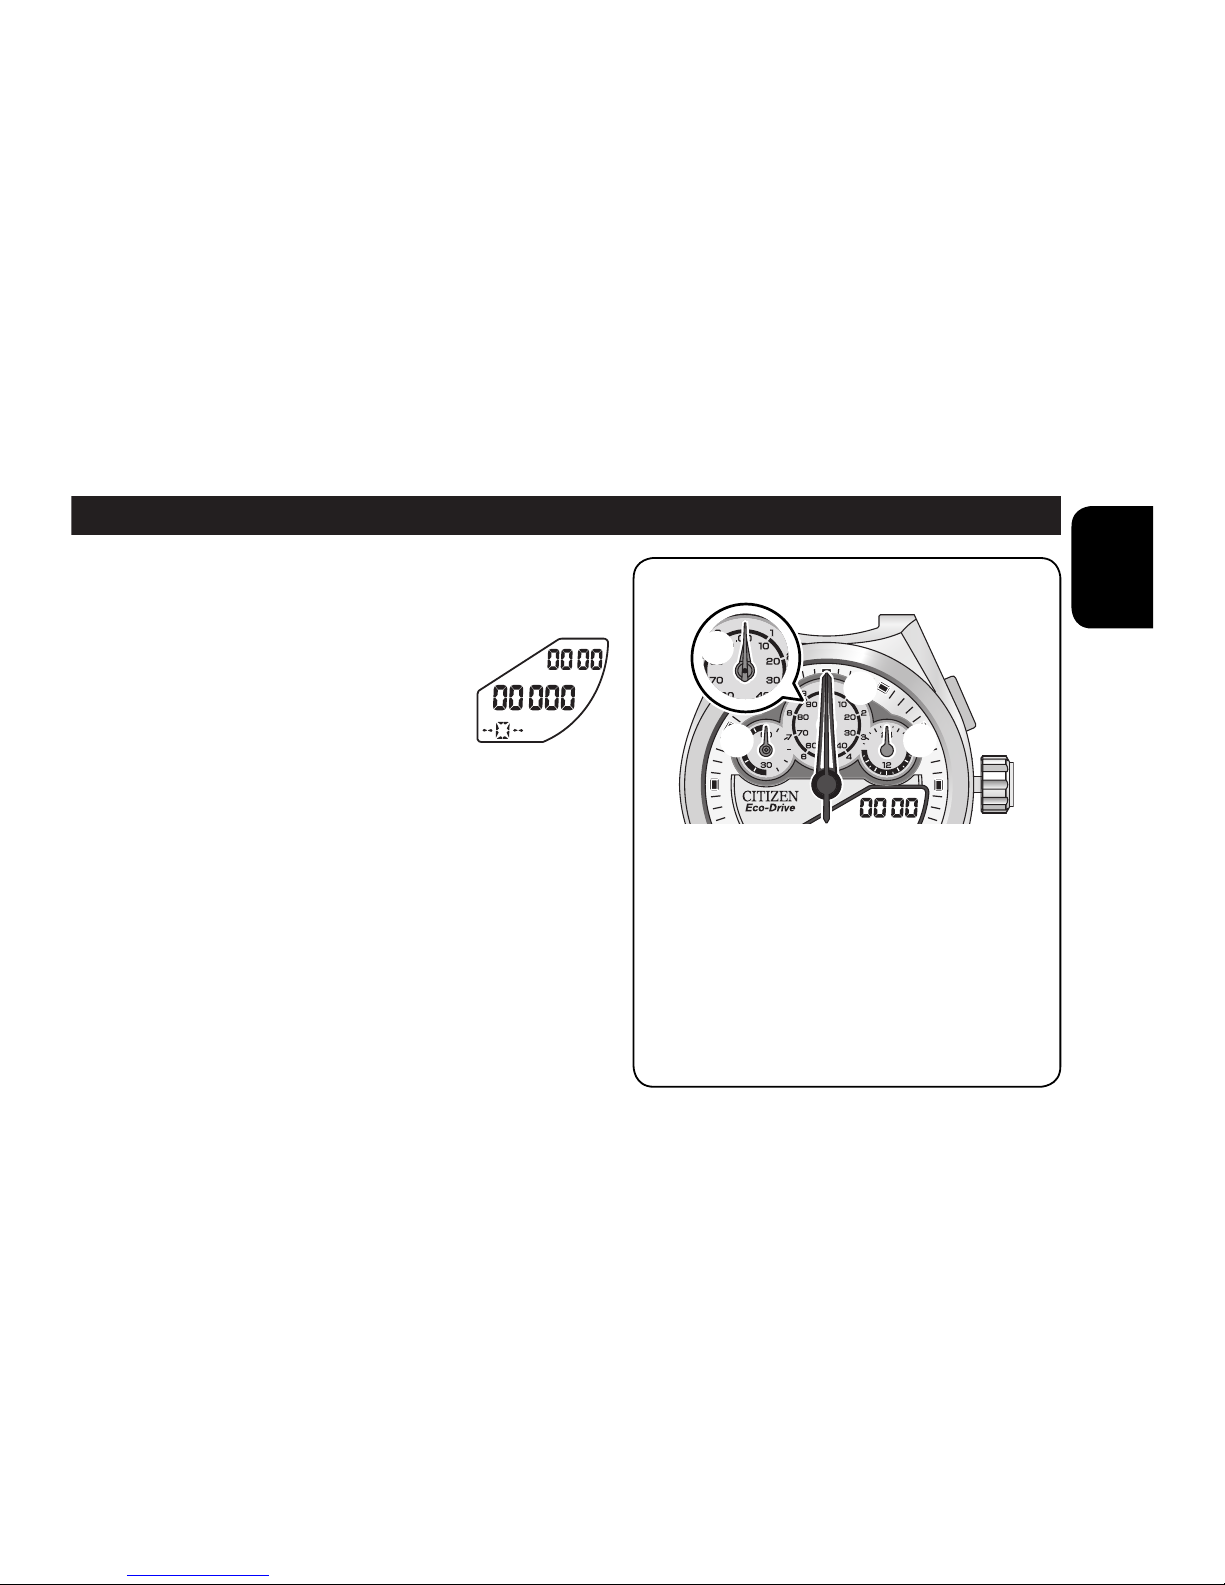
11
English
Correct reference position
2. Pull out the crown to
position 1.
“0” is displayed and
all hands move to
indicate the current
reference position.
3. Check the reference position.
• Go to step 3 on page 40 if the
reference position is incorrect.
4. Push in the crown to position
0 to finish the check.
The current time is indicated on the
analog section.
1
2
3
4
1 Chronograph second hand points
to “60.”
2 Chronograph 1/10 second and
1/100 second hands point to
“0/.00.”
3 Hour, minute, and second hands
point to 12:00.
4 24-hour hand points to “24.”
12
Changing the mode of the digital section
1. Press button M repeatedly to
change the mode.
Button B
Button M
Time and Calendar mode
(→ page 14)
Timer indicator
Day of the week
Timer mode
(→ page 28)
While calendar or world time is
displayed, the digital section is
lighted for 2 seconds by pressing
button B.
“TMR” (Timer)
Year
Month, day
13
English
Alarm indicator
Daylight saving time
indicator
A (AM)/P (PM) indicator
(for 12-hour clock)
Kind of the records
Chronograph mode
(→ page 16)
Race mode
(→ page 18)
Lap Record mode
(→ page 22)
World Time mode
(→ page 24)
Alarm mode
(→ page 26)
“RAC” (Race)“CHR” (Chronograph)
City for the alarm setting
City of the local time
14
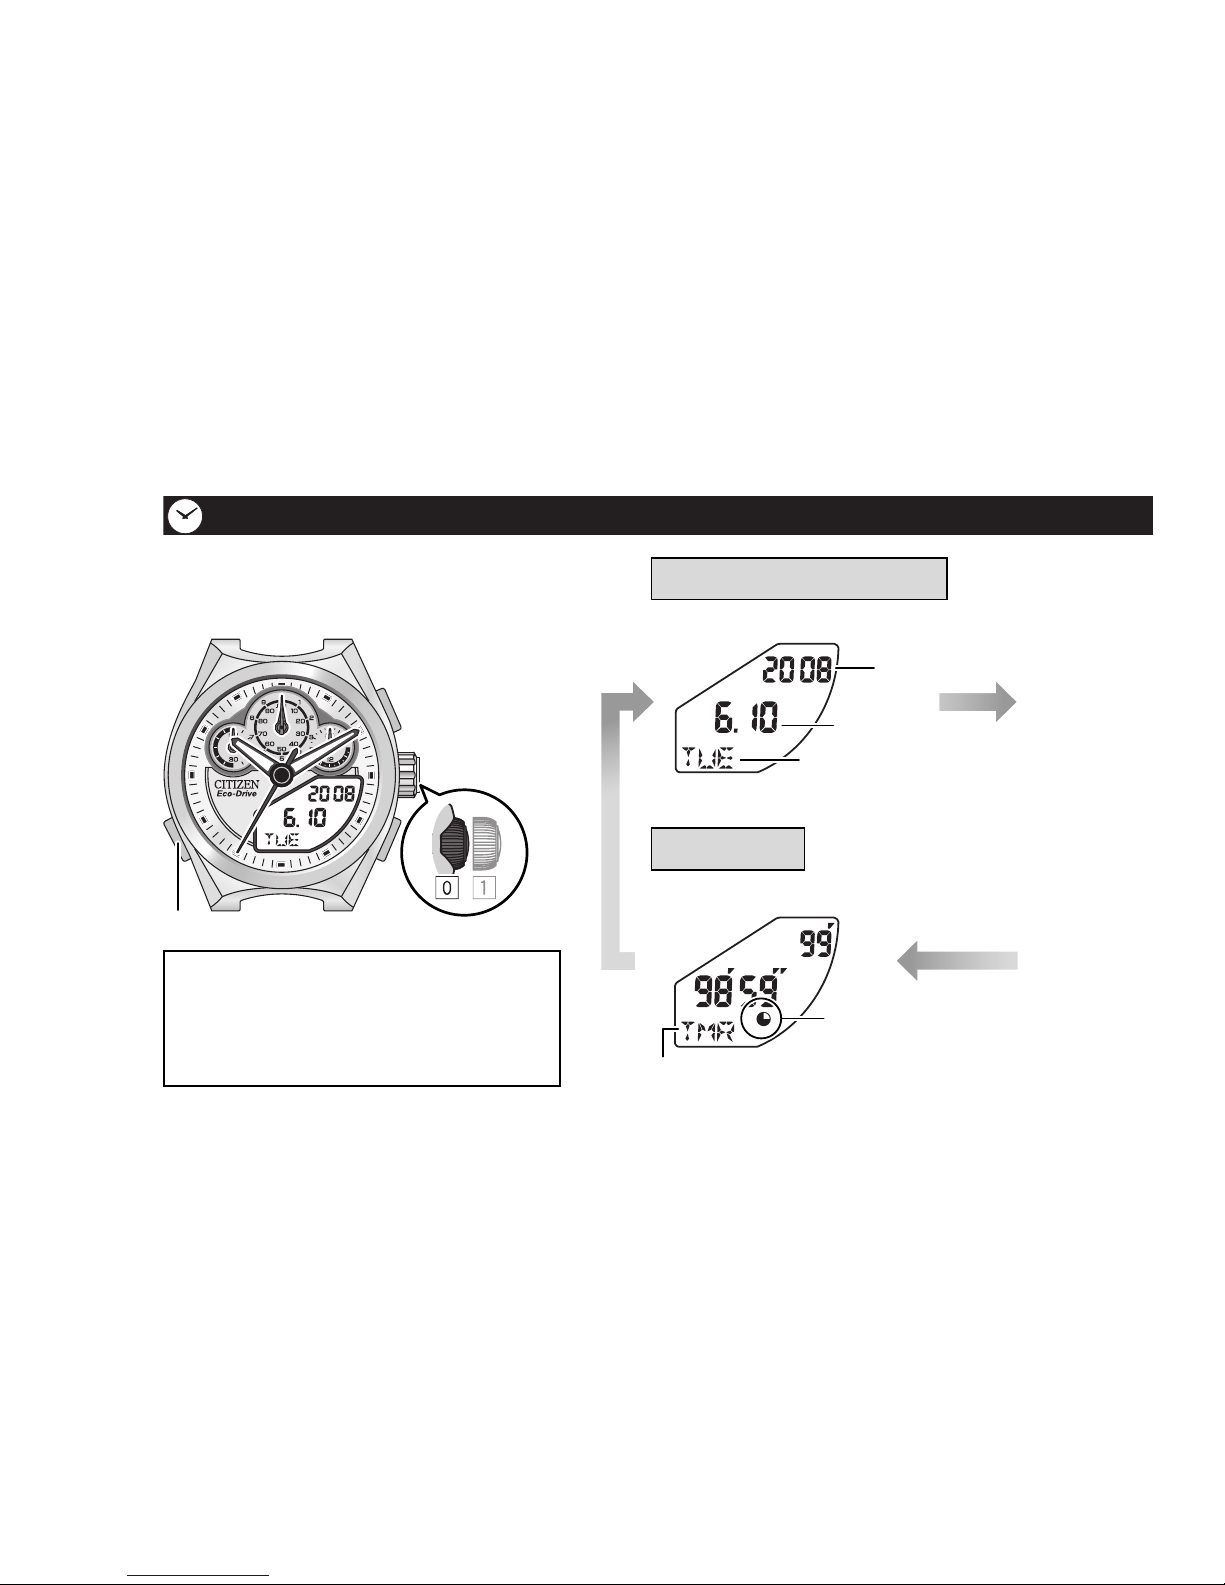
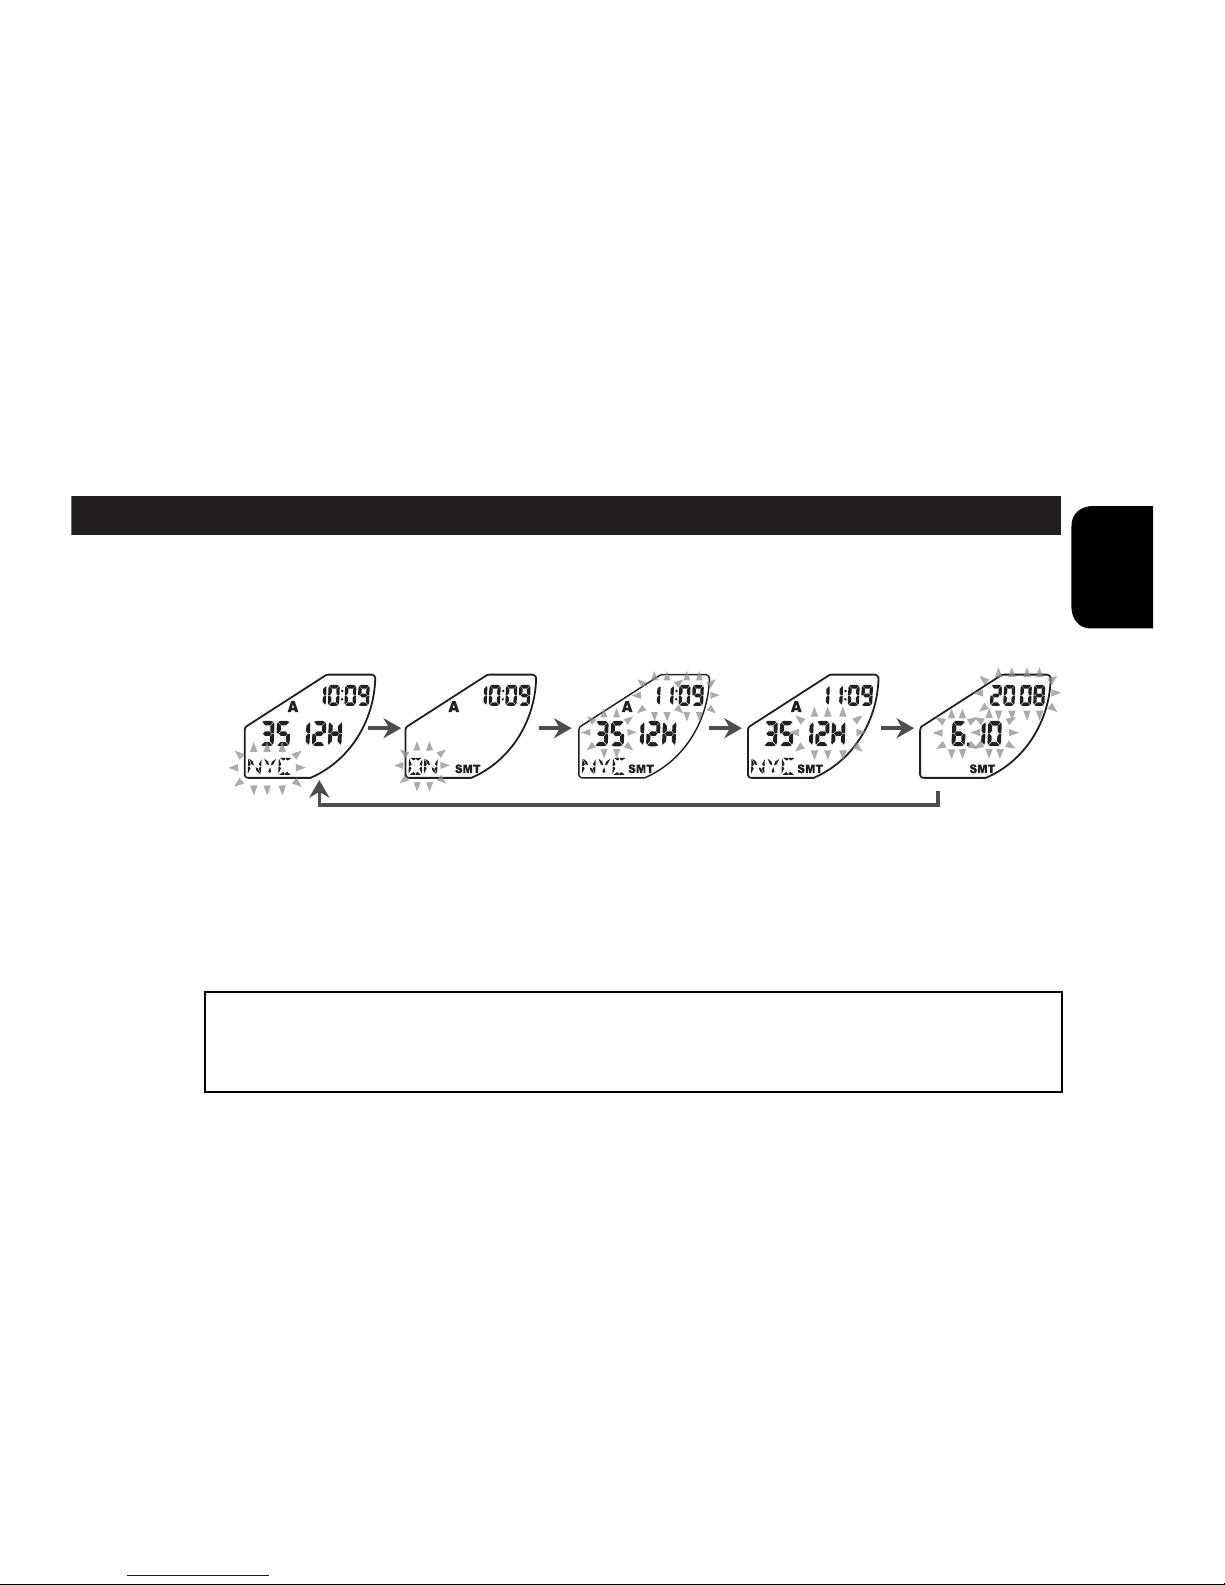
Setting the time and calender—Time and Calendar mode
• The time on the digital section set here
is the basic time of the watch—the
home time.
• The analog section indicates the home
time corresponding to the setting.
1. Press button M to change the
mode to Time and Calender.
2. Pull out the crown to position 1.
The second hand points to the 0 second
position, and all hands stop moving.
The city name starts flashing.
Refer to “Table of city names”
(→ page 54) for the selectable cities.
Crown
Button A
Button B
Button M
15
English
3. Press button M to select an item, and press button A or B to adjust
the selected item.
• If you press and hold button A or B, the item changes continuously.
• Use button A for following items: daylight saving time, second, and time
system.
4. Push in the crown to position 0 after the adjustment.
The hands move to indicate the adjusted time.
• Even if you push in the crown to position 0 before finishing setting,
adjustment you have set is stored.
• You cannot use any button while the hands move.
City Daylight saving
time (“ON/OFF”)
Second, minute,
hour
Time system
(“12H/24H”)
Month, day,
year
16
Using the chronograph—Chronograph mode
You can measure times up to 23 hours 59 minutes 59 seconds 999, per 1/1000 second.
• When the measurement time passes
over 23 hours 59 minutes 59 seconds
999, the measurement stops and the
measurement time is reset.
• When 60 seconds elapsed after starting
/restarting the measurement, the
chronograph 1/10 second and 1/100
second hands stop at “0/.00.”
• After the chronograph 1/10 second
and 1/100 second hands stop, you can
change the mode with the measurement
continued (other than the Race mode and
Lap Record mode).
Crown
Button A
(Split/reset)
Button B
(Start/stop)
Button M
Chronograph 1/10
second and 1/100
second hands
Chronograph
second hand

17
English
1. Press button M to change the mode to Chronograph.
(“CHR”)
• If the chronograph hands do not point to “0/.00” or “60,” adjust
the reference position. (→page 39)
2. Press button B to start measurement.
• To display a split time, press button A. It is displayed for 10
seconds.
3. Press button B to stop the measurement.
• To restart the measurement, press button B again.
• To reset the measurement time, press button A while the measurement is
stopped.
SPL (Split) indication
18
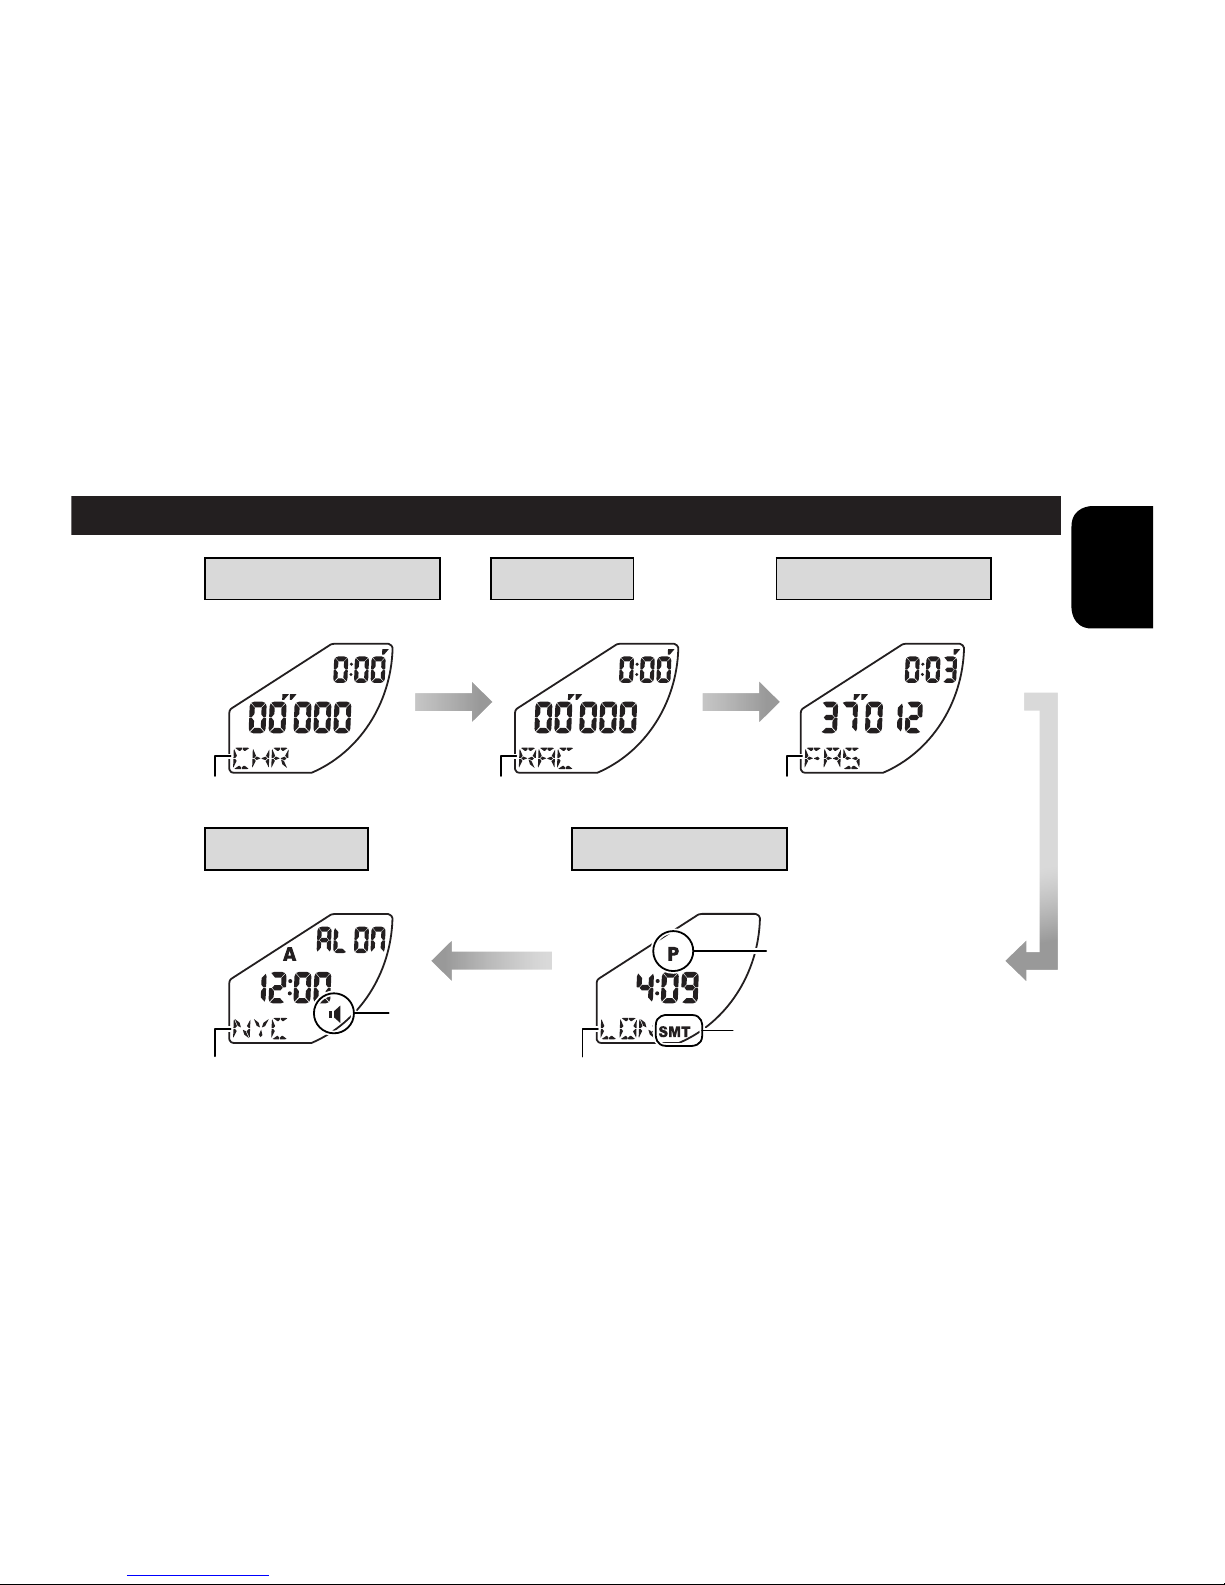
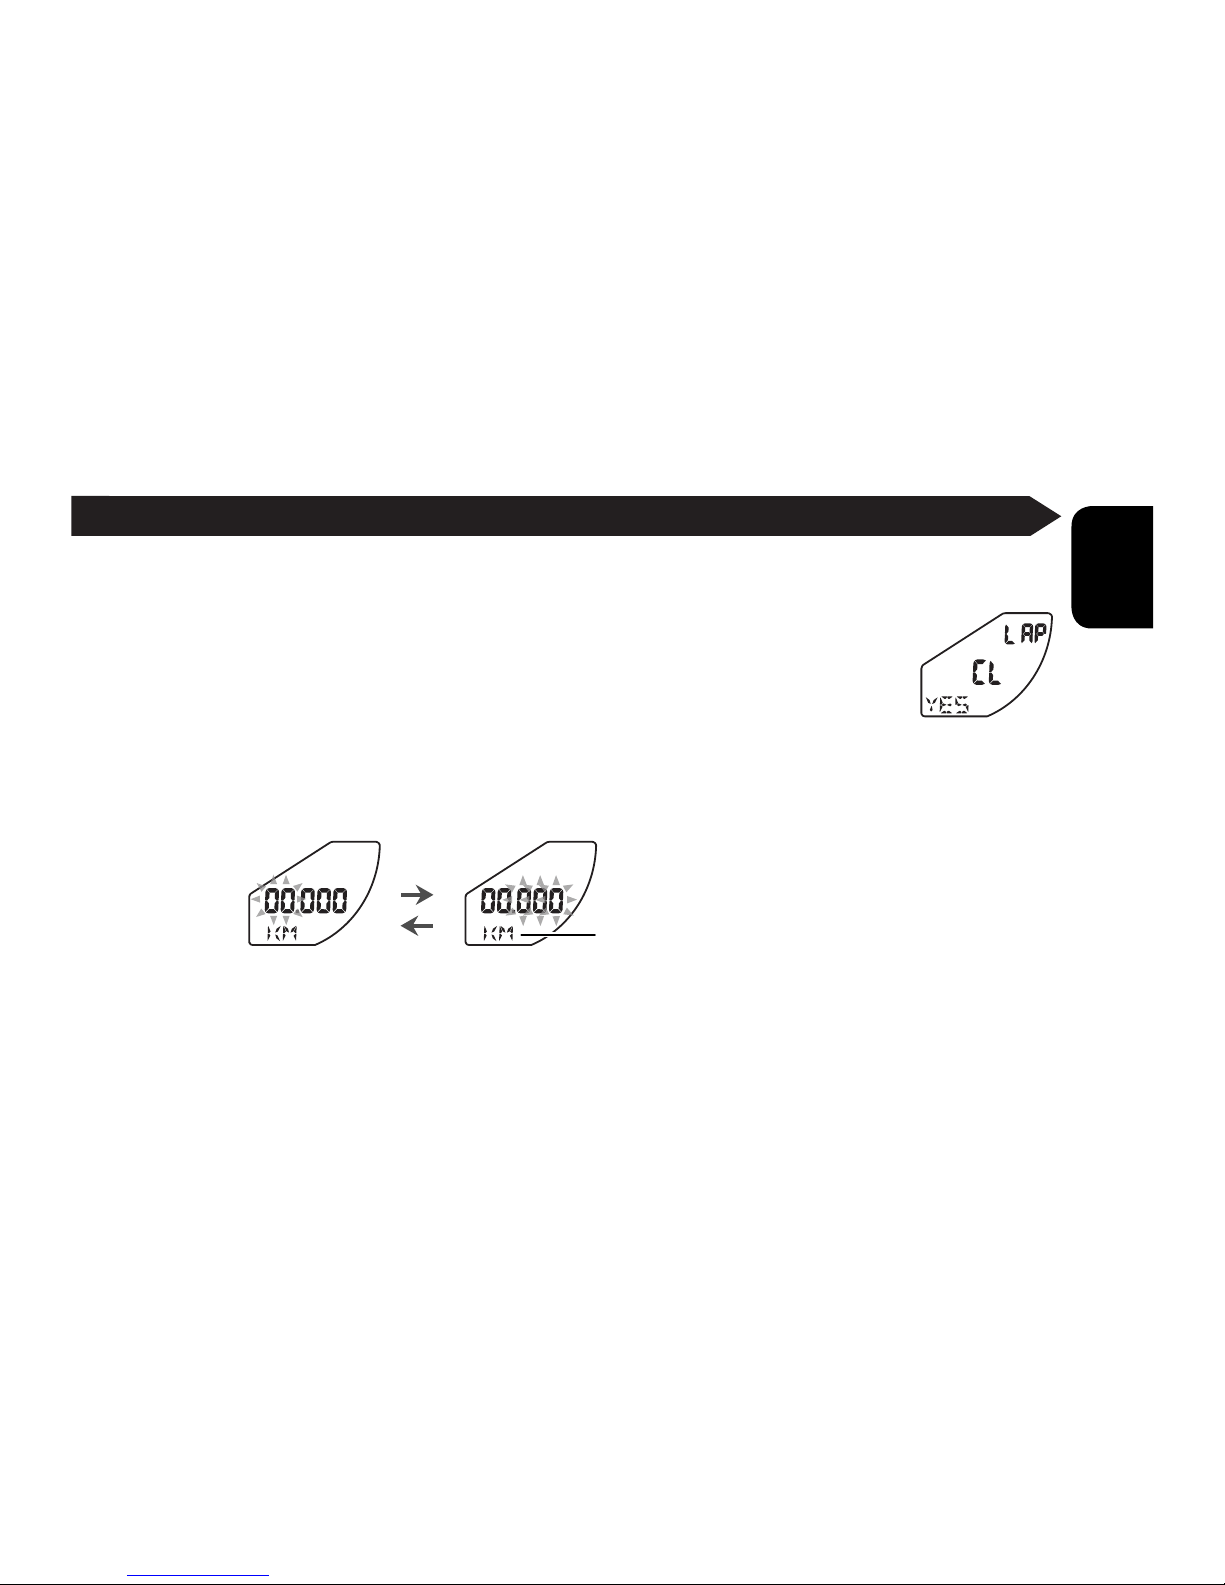
Measuring lap times—Race mode
You can measure lap times and the average speed of each lap. The records of the latest
20 laps are stored in the Lap Record mode. (→ page 22)
7 Setting the distance of the course
• To calculate speed, set the distance of
the course. (Setting range: 0 to 99.999
km/mile)
• When you set the distance, records in
the Lap Record mode are deleted. To
cancel the setting, push in the crown to
position 0 before step
3 on page 19.
1. Press button M to change the
mode to Race. (“RAC”)
Crown
Button A
Button B
Button M
“RAC”
19
English
2. Pull out the crown to position 1.
3. Press button A to display “YES,” then press and hold
button M for more than 2 seconds.
The past lap records are deleted and the last distance setting is
displayed.
4. Press button A or B to adjust the current digit, and press button M
to go to the next one.
• If you press and hold button A or B, the digit changes continuously.
5. Push in the crown to position 0 after the adjustment.
“KM” or “MIL” (The unit is different
depending on models.)
Integer Decimals
 Loading...