


MG5500 series
Online Manual
Read Me First
Useful Functions Available on the Machine
Overview of the Machine
English

Contents
Read Me First. . . . . . . . . . . . . . . . . . . . . . . . . . . . . . . . . . . . . . . . . . . . . . . . . . . . 7
How to Use the Online Manual. . . . . . . . . . . . . . . . . . . . . . . . . . . . . . . . . . . . . . . 8
Trademarks and Licenses. . . . . . . . . . . . . . . . . . . . . . . . . . . . . . . . . . . . . . . . . . . 9
Search Tips. . . . . . . . . . . . . . . . . . . . . . . . . . . . . . . . . . . . . . . . . . . . . . . . . . . . . 10
Window Used in Operation Explanation. . . . . . . . . . . . . . . . . . . . . . . . . . . . . . . 12
Useful Functions Available on the Machine. . . . . . . . . . . . . . . . . . . . . . . . . . . . . 13
Useful Functions Available from Applications and the Main Unit. . . . . . . . . . . . . . . . . . . . 14
Helpful Functions Available Through the Network. . . . . . . . . . . . . . . . . . . . . . . . 18
Online Storage Integration Function. . . . . . . . . . . . . . . . . . . . . . . . . . . . . . . . . . . . . . . . . . 21
Printing with Google Cloud Print. . . . . . . . . . . . . . . . . . . . . . . . . . . . . . . . . . . . . . . . . . . . . 22
Preparations for Printing with Google Cloud Print. . . . . . . . . . . . . . . . . . . . . . . . . . . . . . . . . . . . . . . . . . 23
Printing from Computer or Smartphone with Google Cloud Print. . . . . . . . . . . . . . . . . . . . . . . . . . . . . . 26
Use PIXMA Cloud Link. . . . . . . . . . . . . . . . . . . . . . . . . . . . . . . . . . . . . . . . . . . . . . . . . . . . 28
Application Management. . . . . . . . . . . . . . . . . . . . . . . . . . . . . . . . . . . . . . . . . . . . . . . . . . . . . . . . . . . . . 35
Cloud Windows. . . . . . . . . . . . . . . . . . . . . . . . . . . . . . . . . . . . . . . . . . . . . . . . . . . . . . . . . . . . . . . . . . . . 40
Using Canon Inkjet Cloud Printing Center. . . . . . . . . . . . . . . . . . . . . . . . . . . . . . . . . . . . . . . . . . . . . . . . 43
Printing Your Printer Registration ID. . . . . . . . . . . . . . . . . . . . . . . . . . . . . . . . . . . . . . . . . . . . . . . . 55
Canon Inkjet Cloud Printing Center window. . . . . . . . . . . . . . . . . . . . . . . . . . . . . . . . . . . . . . . . . . 56
Requirements for Canon Inkjet Cloud Printing Center operation. . . . . . . . . . . . . . . . . . . . . . . . . . . 70
Using Remote UI. . . . . . . . . . . . . . . . . . . . . . . . . . . . . . . . . . . . . . . . . . . . . . . . . . . . . . . . 71
Printing from AirPrint Compliant Device. . . . . . . . . . . . . . . . . . . . . . . . . . . . . . . . . . . . . . . 74
How to Use Print from E-mail. . . . . . . . . . . . . . . . . . . . . . . . . . . . . . . . . . . . . . . . . . . . . . . 79
Preparing to Use Print from E-mail. . . . . . . . . . . . . . . . . . . . . . . . . . . . . . . . . . . . . . . . . . . . . . . . . . . . . 84
Timezone List. . . . . . . . . . . . . . . . . . . . . . . . . . . . . . . . . . . . . . . . . . . . . . . . . . . . . . . . . . . . . . . . . . . . . . 87
Overview of the Machine. . . . . . . . . . . . . . . . . . . . . . . . . . . . . . . . . . . . . . . . . . . 88
Safety Guide. . . . . . . . . . . . . . . . . . . . . . . . . . . . . . . . . . . . . . . . . . . . . . . . . . . . . . . . . . . . 89
Safety Precautions. . . . . . . . . . . . . . . . . . . . . . . . . . . . . . . . . . . . . . . . . . . . . . . . . . . . . . . . . . . . . . . . . . 90
Regulatory and Safety Information. . . . . . . . . . . . . . . . . . . . . . . . . . . . . . . . . . . . . . . . . . . . . . . . . . . . . 91
Main Components and Basic Operations. . . . . . . . . . . . . . . . . . . . . . . . . . . . . . . . . . . . . . 95
Main Components. . . . . . . . . . . . . . . . . . . . . . . . . . . . . . . . . . . . . . . . . . . . . . . . . . . . . . . . . . . . . . . . . . 96
Front View. . . . . . . . . . . . . . . . . . . . . . . . . . . . . . . . . . . . . . . . . . . . . . . . . . . . . . . . . . . . . . . . . . . . 97
Rear View. . . . . . . . . . . . . . . . . . . . . . . . . . . . . . . . . . . . . . . . . . . . . . . . . . . . . . . . . . . . . . . . . . . . 99

Inside View. . . . . . . . . . . . . . . . . . . . . . . . . . . . . . . . . . . . . . . . . . . . . . . . . . . . . . . . . . . . . . . . . . 100
Operation Panel. . . . . . . . . . . . . . . . . . . . . . . . . . . . . . . . . . . . . . . . . . . . . . . . . . . . . . . . . . . . . . . 101
About the Power Supply of the Machine. . . . . . . . . . . . . . . . . . . . . . . . . . . . . . . . . . . . . . . . . . . . . . . . 103
Confirming that the Power Is On. . . . . . . . . . . . . . . . . . . . . . . . . . . . . . . . . . . . . . . . . . . . . . . . . . 104
Turning the Machine On and Off. . . . . . . . . . . . . . . . . . . . . . . . . . . . . . . . . . . . . . . . . . . . . . . . . . 105
Notice for the Power Plug/Power Cord. . . . . . . . . . . . . . . . . . . . . . . . . . . . . . . . . . . . . . . . . . . . . 107
Notice for Unplugging the Power Cord. . . . . . . . . . . . . . . . . . . . . . . . . . . . . . . . . . . . . . . . . . . . . 108
LCD and Operation Panel. . . . . . . . . . . . . . . . . . . . . . . . . . . . . . . . . . . . . . . . . . . . . . . . . . . . . . . . . . . 109
Loading Paper / Originals. . . . . . . . . . . . . . . . . . . . . . . . . . . . . . . . . . . . . . . . . . . . . . . . . 111
Loading Paper. . . . . . . . . . . . . . . . . . . . . . . . . . . . . . . . . . . . . . . . . . . . . . . . . . . . . . . . . . . . . . . . . . . . 112
Loading Plain Paper / Photo Paper. . . . . . . . . . . . . . . . . . . . . . . . . . . . . . . . . . . . . . . . . . . . . . . . 113
Loading Envelopes. . . . . . . . . . . . . . . . . . . . . . . . . . . . . . . . . . . . . . . . . . . . . . . . . . . . . . . . . . . . 118
Media Types You Can Use. . . . . . . . . . . . . . . . . . . . . . . . . . . . . . . . . . . . . . . . . . . . . . . . . . . . . . 123
Paper Load Limit. . . . . . . . . . . . . . . . . . . . . . . . . . . . . . . . . . . . . . . . . . . . . . . . . . . . . . . . . . 125
Media Type Settings on the Operation Panel. . . . . . . . . . . . . . . . . . . . . . . . . . . . . . . . . . . . 127
Media Types You Cannot Use. . . . . . . . . . . . . . . . . . . . . . . . . . . . . . . . . . . . . . . . . . . . . . . . . . . . 128
Printing Area. . . . . . . . . . . . . . . . . . . . . . . . . . . . . . . . . . . . . . . . . . . . . . . . . . . . . . . . . . . . . . . . . 129
Printing Area. . . . . . . . . . . . . . . . . . . . . . . . . . . . . . . . . . . . . . . . . . . . . . . . . . . . . . . . . . . . . 130
Other Sizes than Letter, Legal, Envelopes. . . . . . . . . . . . . . . . . . . . . . . . . . . . . . . . . . . . . . 132
Letter, Legal. . . . . . . . . . . . . . . . . . . . . . . . . . . . . . . . . . . . . . . . . . . . . . . . . . . . . . . . . . . . . . 133
Envelopes. . . . . . . . . . . . . . . . . . . . . . . . . . . . . . . . . . . . . . . . . . . . . . . . . . . . . . . . . . . . . . . 134
Loading Originals. . . . . . . . . . . . . . . . . . . . . . . . . . . . . . . . . . . . . . . . . . . . . . . . . . . . . . . . . . . . . . . . . . 135
Loading Originals on the Platen Glass. . . . . . . . . . . . . . . . . . . . . . . . . . . . . . . . . . . . . . . . . . . . . 136
How to Load Originals for Each Function. . . . . . . . . . . . . . . . . . . . . . . . . . . . . . . . . . . . . . . . . . . 138
Originals You Can Load. . . . . . . . . . . . . . . . . . . . . . . . . . . . . . . . . . . . . . . . . . . . . . . . . . . . . . . . . 141
How to Detach / Attach the Document Cover. . . . . . . . . . . . . . . . . . . . . . . . . . . . . . . . . . . . . . . . 142
Replacing an Ink Tank. . . . . . . . . . . . . . . . . . . . . . . . . . . . . . . . . . . . . . . . . . . . . . . . . . . 143
Replacing an Ink Tank. . . . . . . . . . . . . . . . . . . . . . . . . . . . . . . . . . . . . . . . . . . . . . . . . . . . . . . . . . . . . . 144
Checking the Ink Status. . . . . . . . . . . . . . . . . . . . . . . . . . . . . . . . . . . . . . . . . . . . . . . . . . . . . . . . . . . . . 150
Checking the Ink Status with the LCD on the Machine. . . . . . . . . . . . . . . . . . . . . . . . . . . . . . . . . 151
Checking the Ink Status with the Ink Lamps. . . . . . . . . . . . . . . . . . . . . . . . . . . . . . . . . . . . . . . . . 152
Maintenance. . . . . . . . . . . . . . . . . . . . . . . . . . . . . . . . . . . . . . . . . . . . . . . . . . . . . . . . . . . 154
When Printing Becomes Faint or Colors Are Incorrect. . . . . . . . . . . . . . . . . . . . . . . . . . . . . . . . . . . . . 155
Maintenance Procedure. . . . . . . . . . . . . . . . . . . . . . . . . . . . . . . . . . . . . . . . . . . . . . . . . . . . . . . . . 156
Printing the Nozzle Check Pattern. . . . . . . . . . . . . . . . . . . . . . . . . . . . . . . . . . . . . . . . . . . . . . . . . 159
Examining the Nozzle Check Pattern. . . . . . . . . . . . . . . . . . . . . . . . . . . . . . . . . . . . . . . . . . . . . . 161

Cleaning the Print Head. . . . . . . . . . . . . . . . . . . . . . . . . . . . . . . . . . . . . . . . . . . . . . . . . . . . . . . . . 163
Cleaning the Print Head Deeply. . . . . . . . . . . . . . . . . . . . . . . . . . . . . . . . . . . . . . . . . . . . . . . . . . 165
Aligning the Print Head. . . . . . . . . . . . . . . . . . . . . . . . . . . . . . . . . . . . . . . . . . . . . . . . . . . . . . . . . 167
Performing Maintenance from a Computer. . . . . . . . . . . . . . . . . . . . . . . . . . . . . . . . . . . . . . . . . . . . . . 170
Cleaning the Print Heads from Your Computer. . . . . . . . . . . . . . . . . . . . . . . . . . . . . . . . . . . . . . . 171
Cleaning the Paper Feed Rollers from Your Computer. . . . . . . . . . . . . . . . . . . . . . . . . . . . . . . . . 173
Aligning the Print Head. . . . . . . . . . . . . . . . . . . . . . . . . . . . . . . . . . . . . . . . . . . . . . . . . . . . . . . . . 174
Aligning the Print Head Position from Your Computer. . . . . . . . . . . . . . . . . . . . . . . . . . . . . . . . . . 175
Use Your Computer to Print a Nozzle Check Pattern. . . . . . . . . . . . . . . . . . . . . . . . . . . . . . . . . . 178
Cleaning Inside the Machine. . . . . . . . . . . . . . . . . . . . . . . . . . . . . . . . . . . . . . . . . . . . . . . . . . . . . 179
Cleaning the Machine. . . . . . . . . . . . . . . . . . . . . . . . . . . . . . . . . . . . . . . . . . . . . . . . . . . . . . . . . . . . . . 180
Cleaning the Exterior of the Machine. . . . . . . . . . . . . . . . . . . . . . . . . . . . . . . . . . . . . . . . . . . . . . . 181
Cleaning the Platen Glass and Document Cover. . . . . . . . . . . . . . . . . . . . . . . . . . . . . . . . . . . . . 182
Cleaning the Paper Feed Roller. . . . . . . . . . . . . . . . . . . . . . . . . . . . . . . . . . . . . . . . . . . . . . . . . . 183
Cleaning the Inside of the Machine (Bottom Plate Cleaning). . . . . . . . . . . . . . . . . . . . . . . . . . . . 185
Cleaning the Protrusions inside the Machine. . . . . . . . . . . . . . . . . . . . . . . . . . . . . . . . . . . . . . . . 187
Changing the Machine Settings. . . . . . . . . . . . . . . . . . . . . . . . . . . . . . . . . . . . . . . . . . . . 188
Changing Machine Settings from Your Computer. . . . . . . . . . . . . . . . . . . . . . . . . . . . . . . . . . . . . . . . . 189
Changing the Print Options. . . . . . . . . . . . . . . . . . . . . . . . . . . . . . . . . . . . . . . . . . . . . . . . . . . . . . 190
Registering a Frequently Used Printing Profile. . . . . . . . . . . . . . . . . . . . . . . . . . . . . . . . . . . . . . . 192
Managing the Machine Power. . . . . . . . . . . . . . . . . . . . . . . . . . . . . . . . . . . . . . . . . . . . . . . . . . . . 194
Reducing the Machine Noise. . . . . . . . . . . . . . . . . . . . . . . . . . . . . . . . . . . . . . . . . . . . . . . . . . . . . 196
Changing the Machine Operation Mode. . . . . . . . . . . . . . . . . . . . . . . . . . . . . . . . . . . . . . . . . . . . 198
Changing the Machine Settings on the LCD. . . . . . . . . . . . . . . . . . . . . . . . . . . . . . . . . . . . . . . . . . . . . 200
Changing the Machine Settings on the LCD. . . . . . . . . . . . . . . . . . . . . . . . . . . . . . . . . . . . . . . . . 201
Print settings. . . . . . . . . . . . . . . . . . . . . . . . . . . . . . . . . . . . . . . . . . . . . . . . . . . . . . . . . . . . . . . . . 203
LAN settings. . . . . . . . . . . . . . . . . . . . . . . . . . . . . . . . . . . . . . . . . . . . . . . . . . . . . . . . . . . . . . . . . 204
Device user settings. . . . . . . . . . . . . . . . . . . . . . . . . . . . . . . . . . . . . . . . . . . . . . . . . . . . . . . . . . . 207
Language selection. . . . . . . . . . . . . . . . . . . . . . . . . . . . . . . . . . . . . . . . . . . . . . . . . . . . . . . . . . . . 208
Firmware update. . . . . . . . . . . . . . . . . . . . . . . . . . . . . . . . . . . . . . . . . . . . . . . . . . . . . . . . . . . . . . 209
Reset setting. . . . . . . . . . . . . . . . . . . . . . . . . . . . . . . . . . . . . . . . . . . . . . . . . . . . . . . . . . . . . . . . . 210
About ECO settings. . . . . . . . . . . . . . . . . . . . . . . . . . . . . . . . . . . . . . . . . . . . . . . . . . . . . . . . . . . . 211
About Quiet setting. . . . . . . . . . . . . . . . . . . . . . . . . . . . . . . . . . . . . . . . . . . . . . . . . . . . . . . . . . . . 213
Before Using the Machine with the Access Point Mode. . . . . . . . . . . . . . . . . . . . . . . . . . . . . . . . 214
Information about Network Connection. . . . . . . . . . . . . . . . . . . . . . . . . . . . . . . . . . . . . . 216
Useful Information about Network Connection. . . . . . . . . . . . . . . . . . . . . . . . . . . . . . . . . . . . . . . . . . . 217
Initial Values Set at Factory (Network). . . . . . . . . . . . . . . . . . . . . . . . . . . . . . . . . . . . . . . . . . . . . 218

Connecting the Machine to the Computer Using a USB Cable. . . . . . . . . . . . . . . . . . . . . . . . . . . 219
When Detecting the Printers Have the Same Name during Setup. . . . . . . . . . . . . . . . . . . . . . . . 220
Connecting to Other Computer with LAN/Changing the Connection Method from USB to LAN. . 221
Printing Out Network Setting Information. . . . . . . . . . . . . . . . . . . . . . . . . . . . . . . . . . . . . . . . . . . 222
About Network Communication. . . . . . . . . . . . . . . . . . . . . . . . . . . . . . . . . . . . . . . . . . . . 224
Changing and Confirming Network Settings. . . . . . . . . . . . . . . . . . . . . . . . . . . . . . . . . . . . . . . . . . . . . 225
IJ Network Tool. . . . . . . . . . . . . . . . . . . . . . . . . . . . . . . . . . . . . . . . . . . . . . . . . . . . . . . . . . . . . . . 226
Changing the Settings in the Wireless LAN Sheet. . . . . . . . . . . . . . . . . . . . . . . . . . . . . . . . . . . . 227
Changing the WEP Detailed Settings. . . . . . . . . . . . . . . . . . . . . . . . . . . . . . . . . . . . . . . . . . . . . . 229
Changing the WPA or WPA2 Detailed Settings. . . . . . . . . . . . . . . . . . . . . . . . . . . . . . . . . . . . . . . 231
Changing the Settings in the Wired LAN Sheet. . . . . . . . . . . . . . . . . . . . . . . . . . . . . . . . . . . . . . . 234
Changing the Settings in the Admin Password Sheet. . . . . . . . . . . . . . . . . . . . . . . . . . . . . . . . . . 235
Monitoring Wireless Network Status. . . . . . . . . . . . . . . . . . . . . . . . . . . . . . . . . . . . . . . . . . . . . . . 236
Initializing the Network Settings of the Machine. . . . . . . . . . . . . . . . . . . . . . . . . . . . . . . . . . . . . . 239
Viewing the Modified Settings. . . . . . . . . . . . . . . . . . . . . . . . . . . . . . . . . . . . . . . . . . . . . . . . . . . . 240
Screens for Network Connection of IJ Network Tool. . . . . . . . . . . . . . . . . . . . . . . . . . . . . . . . . . . . . . . 241
Canon IJ Network Tool Screen. . . . . . . . . . . . . . . . . . . . . . . . . . . . . . . . . . . . . . . . . . . . . . . . . . . 242
Configuration Screen. . . . . . . . . . . . . . . . . . . . . . . . . . . . . . . . . . . . . . . . . . . . . . . . . . . . . . . . . . . 245
Wireless LAN Sheet. . . . . . . . . . . . . . . . . . . . . . . . . . . . . . . . . . . . . . . . . . . . . . . . . . . . . . . . . . . . 246
Search Screen. . . . . . . . . . . . . . . . . . . . . . . . . . . . . . . . . . . . . . . . . . . . . . . . . . . . . . . . . . . . . . . . 248
WEP Details Screen. . . . . . . . . . . . . . . . . . . . . . . . . . . . . . . . . . . . . . . . . . . . . . . . . . . . . . . . . . . 250
WPA Details Screen. . . . . . . . . . . . . . . . . . . . . . . . . . . . . . . . . . . . . . . . . . . . . . . . . . . . . . . . . . . 251
WPA2 Details Screen. . . . . . . . . . . . . . . . . . . . . . . . . . . . . . . . . . . . . . . . . . . . . . . . . . . . . . . . . . 252
Authentication Type Confirmation Screen. . . . . . . . . . . . . . . . . . . . . . . . . . . . . . . . . . . . . . . . . . . 253
PSK: Passphrase and Dynamic Encryption Setup Screen. . . . . . . . . . . . . . . . . . . . . . . . . . . . . . 254
Setup Information Confirmation Screen. . . . . . . . . . . . . . . . . . . . . . . . . . . . . . . . . . . . . . . . . . . . . 255
Wired LAN Sheet. . . . . . . . . . . . . . . . . . . . . . . . . . . . . . . . . . . . . . . . . . . . . . . . . . . . . . . . . . . . . . 256
Admin Password Sheet. . . . . . . . . . . . . . . . . . . . . . . . . . . . . . . . . . . . . . . . . . . . . . . . . . . . . . . . . 257
Network Information Screen. . . . . . . . . . . . . . . . . . . . . . . . . . . . . . . . . . . . . . . . . . . . . . . . . . . . . 258
Access Control Sheet. . . . . . . . . . . . . . . . . . . . . . . . . . . . . . . . . . . . . . . . . . . . . . . . . . . . . . . . . . 259
Edit Accessible MAC Address Screen/Add Accessible MAC Address Screen. . . . . . . . . . . . . . . 263
Edit Accessible IP Address Screen/Add Accessible IP Address Screen. . . . . . . . . . . . . . . . . . . . 264
Other Screens of IJ Network Tool. . . . . . . . . . . . . . . . . . . . . . . . . . . . . . . . . . . . . . . . . . . . . . . . . . . . . 265
Canon IJ Network Tool Screen. . . . . . . . . . . . . . . . . . . . . . . . . . . . . . . . . . . . . . . . . . . . . . . . . . . 266
Status Screen. . . . . . . . . . . . . . . . . . . . . . . . . . . . . . . . . . . . . . . . . . . . . . . . . . . . . . . . . . . . . . . . 269
Connection Performance Measurement Screen. . . . . . . . . . . . . . . . . . . . . . . . . . . . . . . . . . . . . . 270
Maintenance Screen. . . . . . . . . . . . . . . . . . . . . . . . . . . . . . . . . . . . . . . . . . . . . . . . . . . . . . . . . . . 272
Network Setup of the Card Slot Screen. . . . . . . . . . . . . . . . . . . . . . . . . . . . . . . . . . . . . . . . . . . . . 273
Associate Port Screen. . . . . . . . . . . . . . . . . . . . . . . . . . . . . . . . . . . . . . . . . . . . . . . . . . . . . . . . . . 275

Network Information Screen. . . . . . . . . . . . . . . . . . . . . . . . . . . . . . . . . . . . . . . . . . . . . . . . . . . . . 276
Appendix for Network Communication. . . . . . . . . . . . . . . . . . . . . . . . . . . . . . . . . . . . . . . . . . . . . . . . . . 277
Using the Card Slot over a Network. . . . . . . . . . . . . . . . . . . . . . . . . . . . . . . . . . . . . . . . . . . . . . . 278
When the Printer Driver Is Not Associated with a Port. . . . . . . . . . . . . . . . . . . . . . . . . . . . . . . . . 280
About Technical Terms. . . . . . . . . . . . . . . . . . . . . . . . . . . . . . . . . . . . . . . . . . . . . . . . . . . . . . . . . 281
Restrictions. . . . . . . . . . . . . . . . . . . . . . . . . . . . . . . . . . . . . . . . . . . . . . . . . . . . . . . . . . . . . . . . . . 287
About Firewall. . . . . . . . . . . . . . . . . . . . . . . . . . . . . . . . . . . . . . . . . . . . . . . . . . . . . . . . . . . . . . . . 288
Tips for Ensuring Optimal Printing Quality. . . . . . . . . . . . . . . . . . . . . . . . . . . . . . . . . . . . 289
Useful Information about Ink. . . . . . . . . . . . . . . . . . . . . . . . . . . . . . . . . . . . . . . . . . . . . . . . . . . . . . . . . 290
Key Points to Successful Printing. . . . . . . . . . . . . . . . . . . . . . . . . . . . . . . . . . . . . . . . . . . . . . . . . . . . . 292
Be Sure to Make Paper Settings after Loading Paper. . . . . . . . . . . . . . . . . . . . . . . . . . . . . . . . . . . . . . 293
Canceling a Print Job. . . . . . . . . . . . . . . . . . . . . . . . . . . . . . . . . . . . . . . . . . . . . . . . . . . . . . . . . . . . . . . 294
Key to Enjoying Consistent Printing Quality. . . . . . . . . . . . . . . . . . . . . . . . . . . . . . . . . . . . . . . . . . . . . . 295
Precautions for Safe Transport of the Machine. . . . . . . . . . . . . . . . . . . . . . . . . . . . . . . . . . . . . . . . . . . 296
Legal Limitations on Use of Your Product and Use of Images. . . . . . . . . . . . . . . . . . . . . 298
Specifications. . . . . . . . . . . . . . . . . . . . . . . . . . . . . . . . . . . . . . . . . . . . . . . . . . . . . . . . . . 299

Read Me First
Notes on Online Manual Usage
How to Print
Notes on Online Manual Usage
• Reproduction, diversion or copying of any text, photo or image published in the Online Manual
(hereinafter referred to as "this guide"), in whole or in part, is prohibited.
• In principle, Canon shall change or delete the contents of this guide without prior notice to customers.
In addition, Canon may suspend or stop the disclosure of this guide due to unavoidable reasons.
Canon shall not be liable for any damage suffered by customers as a result of changes in or deletion
of information in this guide, or suspension/stoppage of disclosure of this guide.
• Although the contents of this guide have been prepared with utmost care, please contact the service
center if you find any incorrect or missing information.
• In principle, the descriptions in this guide are based on the product at the time of its initial sale.
• This guide does not disclose the manuals of all the products sold by Canon. See the manual supplied
with the product when using a product that is not described in this guide.
How to Print
Use the print function of your Web browser to print this guide.
To set to print background colors and images, follow the steps below.
Note
• In Windows 8, print in the desktop version.
• In Internet Explorer 9 or 10
1. Select (Tools) > Print > Page setup....
2. Select the Print Background Colors and Images checkbox.
• In Internet Explorer 8
1. Press the Alt key to display the menus.
Alternatively, from Tools, select Toolbars > Menu Bar to display the menus.
2. Select Page Setup... from the File menu.
3. Select the Print Background Colors and Images checkbox.
• In Mozilla Firefox
1. Press the Alt key to display the menus.
Alternatively, click Firefox, then select Menu Bar from the right arrow of Options to display the
menus.
2. Select Page Setup... from the File menu.
3. Select the Print Background (colors & images) checkbox in Format & Options.
7

How to Use the Online Manual
Symbols Used in This Document
Warning
Instructions that, if ignored, could result in death or serious personal injury caused by incorrect
operation of the equipment. These must be observed for safe operation.
Caution
Instructions that, if ignored, could result in personal injury or material damage caused by incorrect
operation of the equipment. These must be observed for safe operation.
Important
Instructions including important information. To avoid damage and injury or improper use of the
product, be sure to read these indications.
Note
Instructions including notes for operation and additional explanations.
Basic
Instructions explaining basic operations of your product.
Note
• Icons may vary depending on your product.
Touch-enabled Device Users
For touch actions, you need to replace "right-click" in this document with the action set on the operating
system. For example, if the action is set to "press and hold" on your operating system, replace "right-click"
with "press and hold."
8

Trademarks and Licenses
• Microsoft is a registered trademark of Microsoft Corporation.
• Windows is a trademark or registered trademark of Microsoft Corporation in the U.S. and/or other
countries.
• Windows Vista is a trademark or registered trademark of Microsoft Corporation in the U.S. and/or other
countries.
• Internet Explorer is a trademark or registered trademark of Microsoft Corporation in the U.S. and/or
other countries.
• Mac, Mac OS, AirPort, Safari, Bonjour, iPad, iPhone and iPod touch are trademarks of Apple Inc.,
registered in the U.S. and other countries. AirPrint and the AirPrint logo are trademarks of Apple Inc.
• IOS is a trademark or registered trademark of Cisco in the U.S. and other countries and is used under
license.
• Google Cloud Print, Google Chrome, Android and Google Play are either registered trademarks or
trademarks of Google Inc.
• Adobe, Photoshop, Photoshop Elements, Lightroom, Adobe RGB and Adobe RGB (1998) are either
registered trademarks or trademarks of Adobe Systems Incorporated in the United States and/or other
countries.
• Photo Rag is a trademark of Hahnemühle FineArt GmbH.
• Bluetooth is a trademark of Bluetooth SIG, Inc., U.S.A. and licensed to Canon Inc.
• All other company names and products mentioned herein may be trademarks or registered trademarks
of their respective companies.
Note
• The formal name of Windows Vista is Microsoft Windows Vista operating system.
9
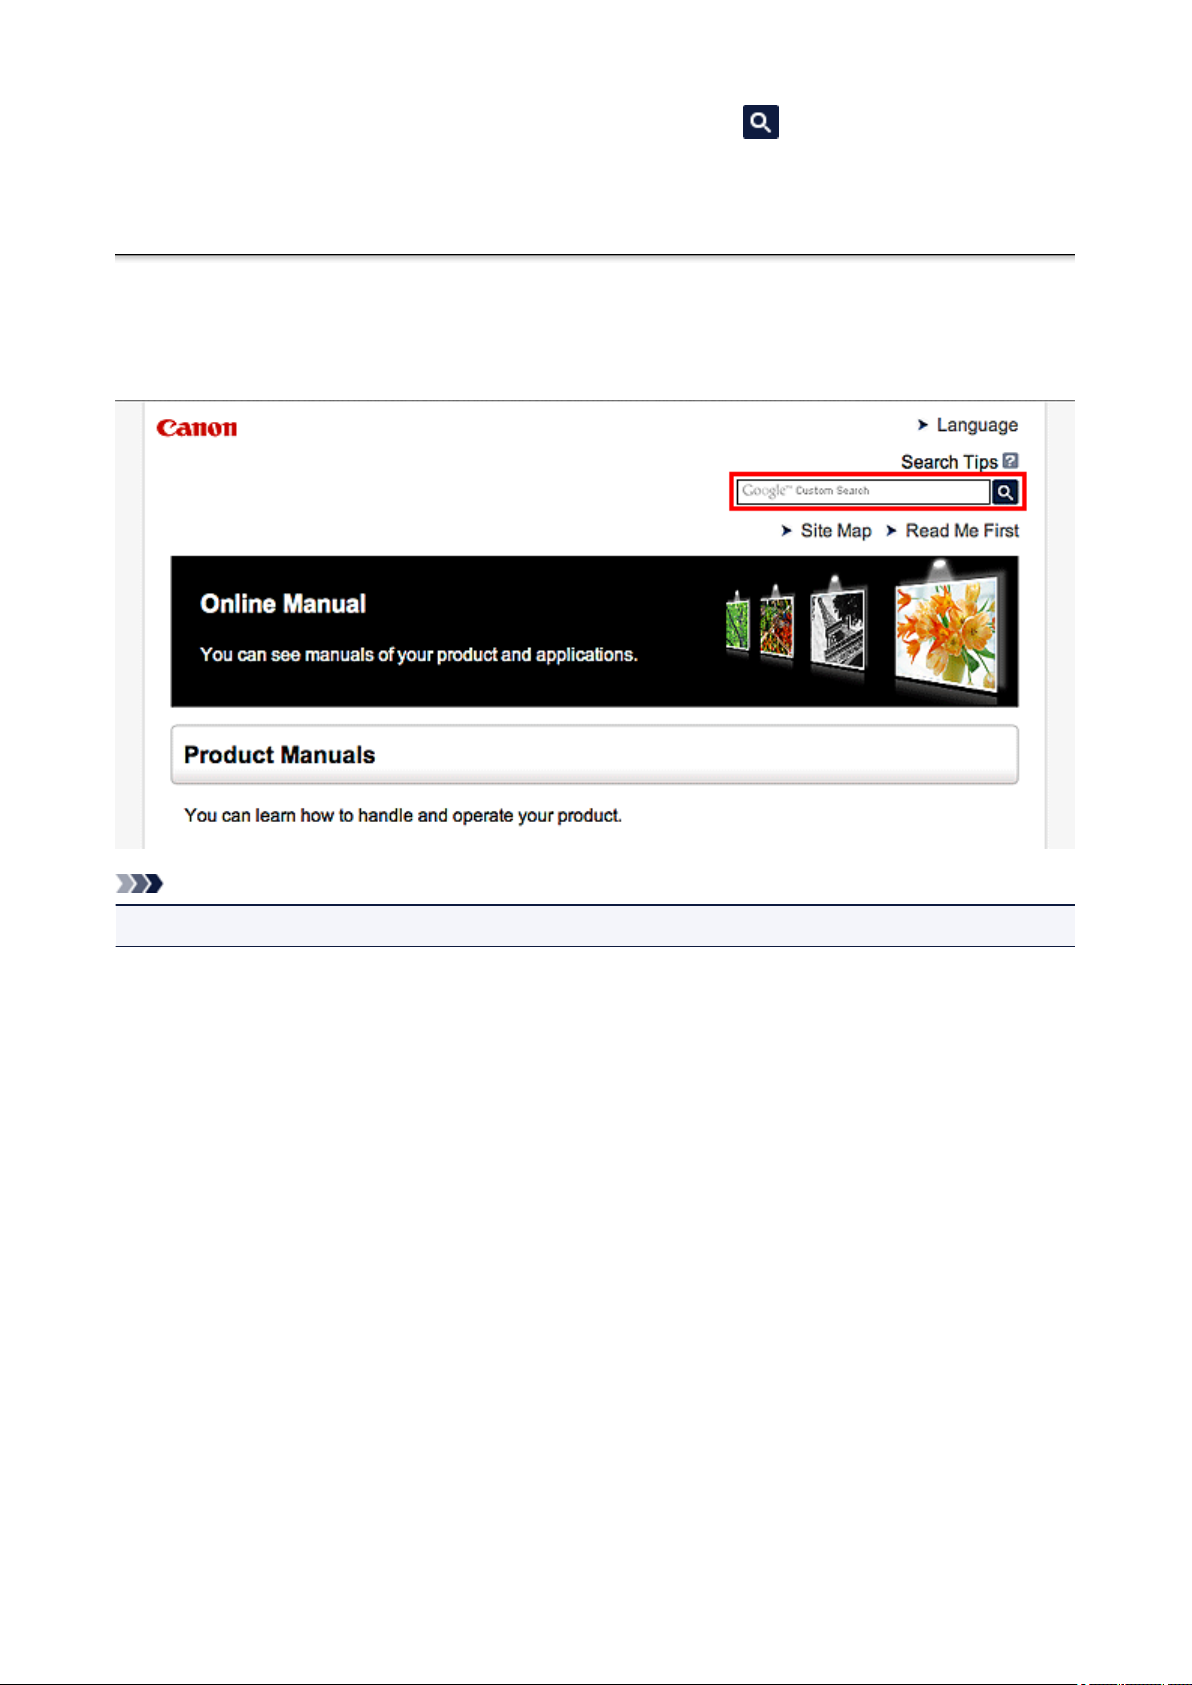
Enter keywords in the search window and click (Search).
You can search for target pages in this guide.
Entry example: "(your product's model name) load paper", "(your product's model name) 1000"
Search Tips
You can search for target pages by entering keywords in the search window.
Note
• The displayed screen may vary.
• Searching for Functions
You can find target pages easily by entering your product's model name and a keyword for the function
you want to learn about.
Example: When you want to learn how to load paper
Enter "(your product's model name) load paper" in the search window and perform a search
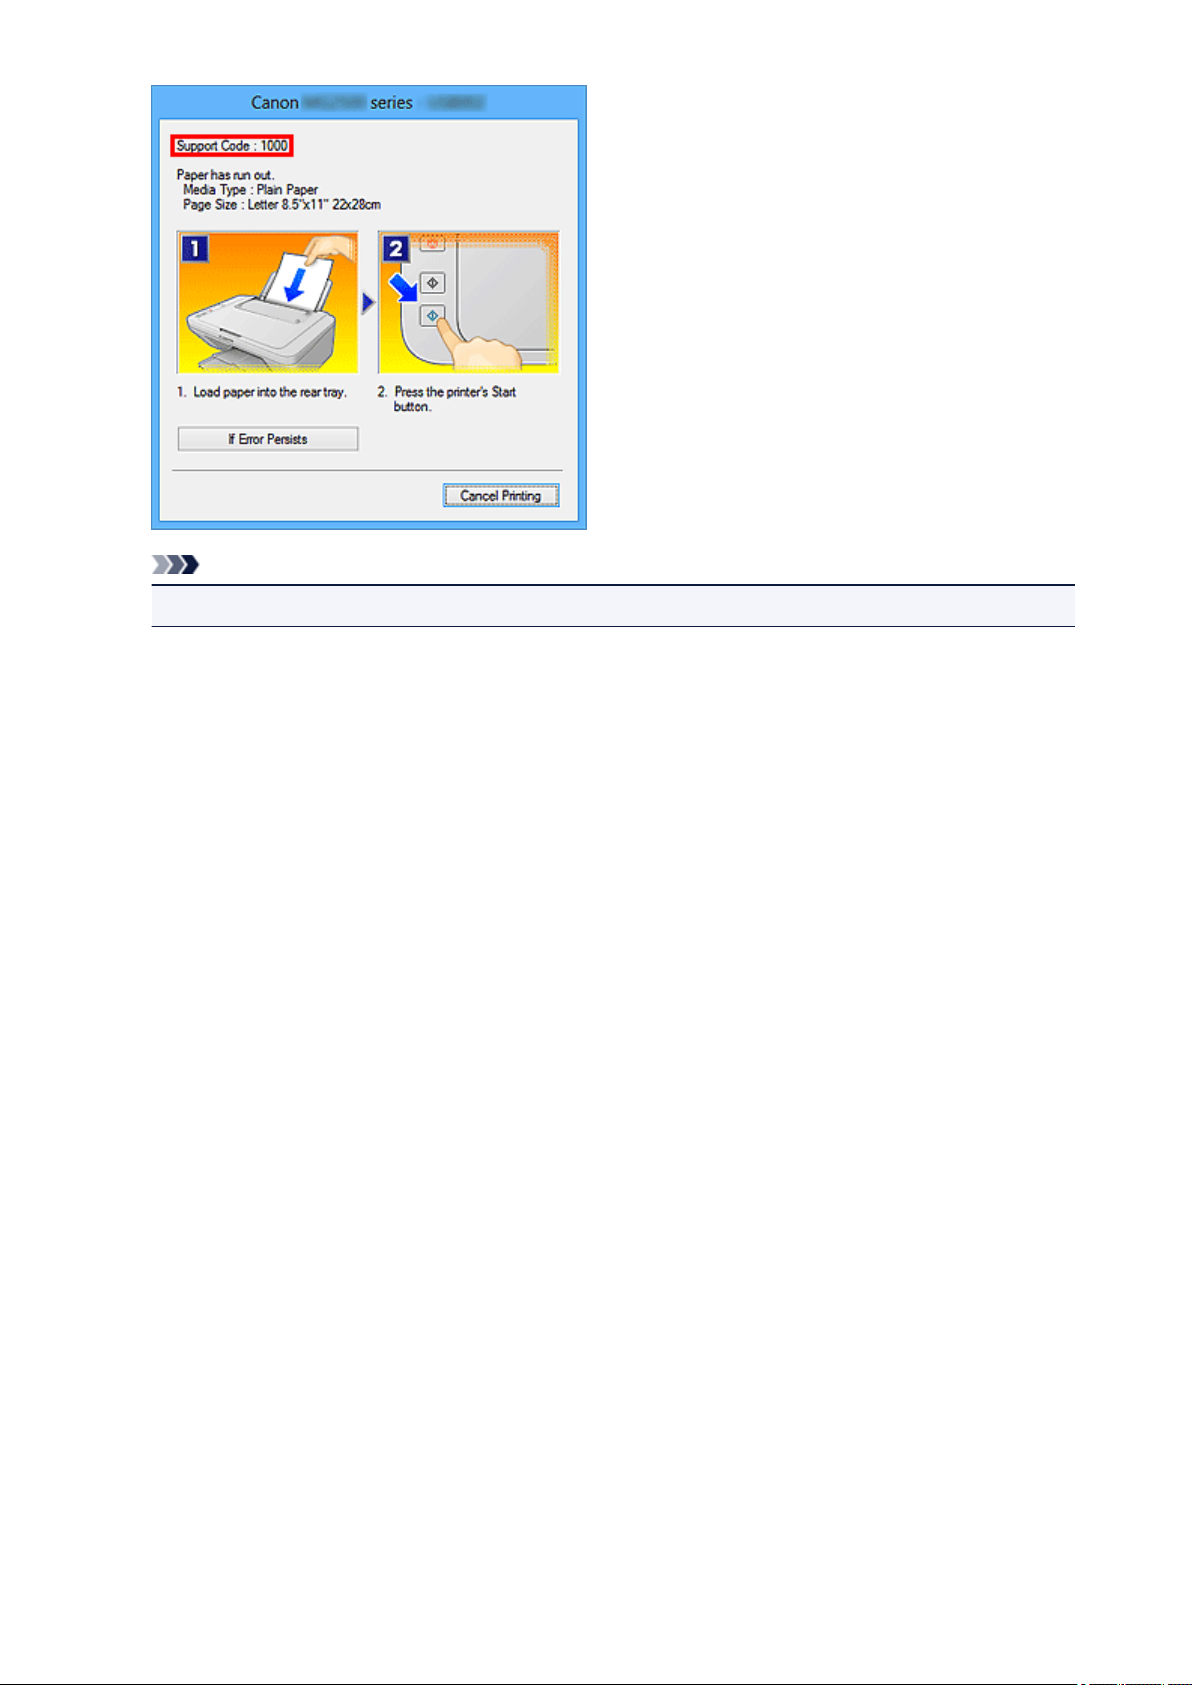
• Troubleshooting Errors
You can obtain more accurate search results by entering your product's model name and a support
code.
Example: When the following error screen appears
Enter "(your product's model name) 1000" in the search window and perform a search
10
Note
• The displayed screen varies depending on your product.
• Searching for Application Functions
You can find target pages easily by entering your application's name and a keyword for the function you
want to learn about.
Example: When you want to learn how to print collages with My Image Garden
Enter "My Image Garden collage" in the search window and perform a search
• Searching for Reference Pages
You can search for reference pages described in this guide by entering your model name and a page
title.
You can find reference pages more easily by entering the function name as well.
Example: When you want to browse the page referred to by the following sentence on a scanning
procedure page
Refer to "Color Settings Tab" for your model from Home of the Online Manual for details.
Enter "(your product's model name) scan Color Settings Tab" in the search window and perform a
search
11

Window Used in Operation Explanation
In this guide, most of the operations are described based on the windows displayed when Windows 8
operating system (called Windows 8 below) is used.
12
Useful Functions Available on the Machine
The following useful functions are available on the machine.
Enjoy pleasant photography experience by utilizing various functions.
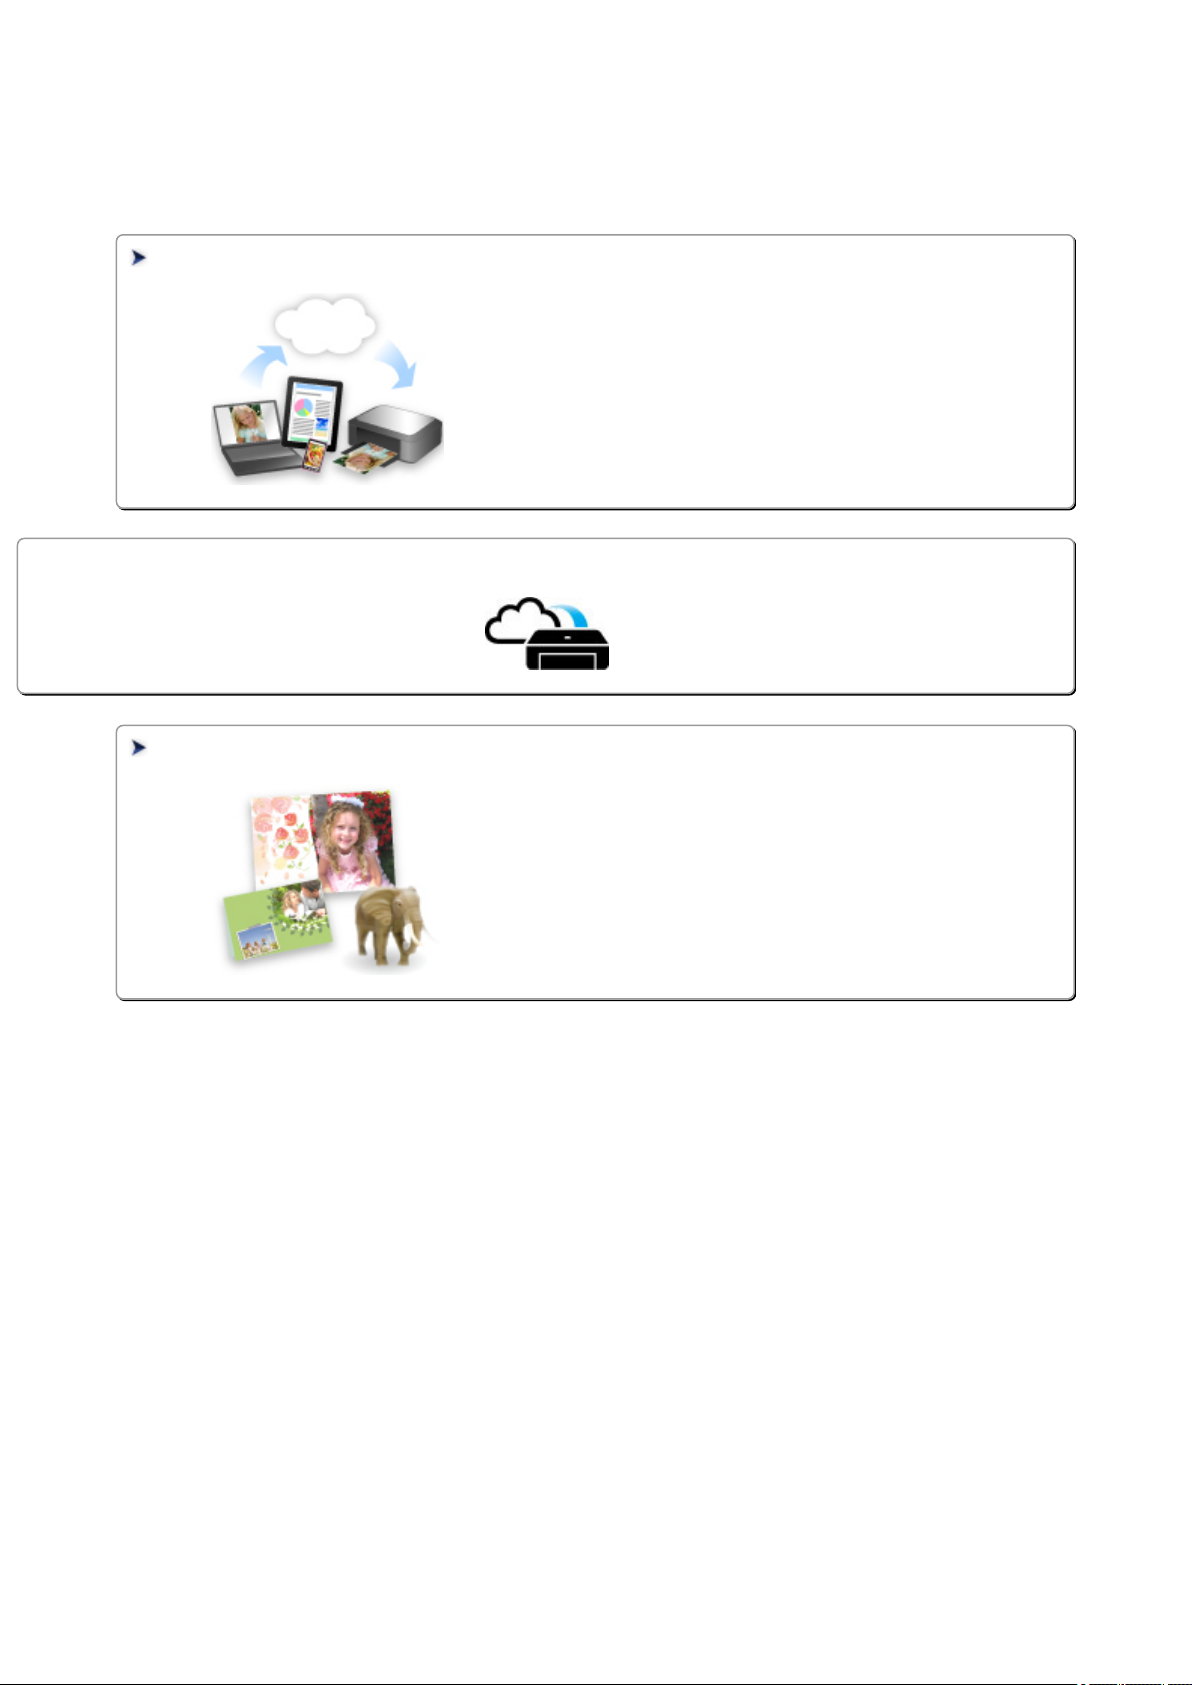
Helpful Functions Available Through the Network
You can print more conveniently through integration with smartphones and
other devices or with services on the web.
PIXMA Cloud Link
Useful Functions Available from Applications and the Main Unit
You can create items such as collages easily or download delightful
printing materials, and print them.
13
Useful Functions Available from Applications and the Main Unit
On the machine, the following useful functions are available from applications and the main unit.
• Print Photos Easily
• Connect Wirelessly with Ease
• Download Content Materials
• Print Photos on Facebook
Print Photos Easily Using an Application
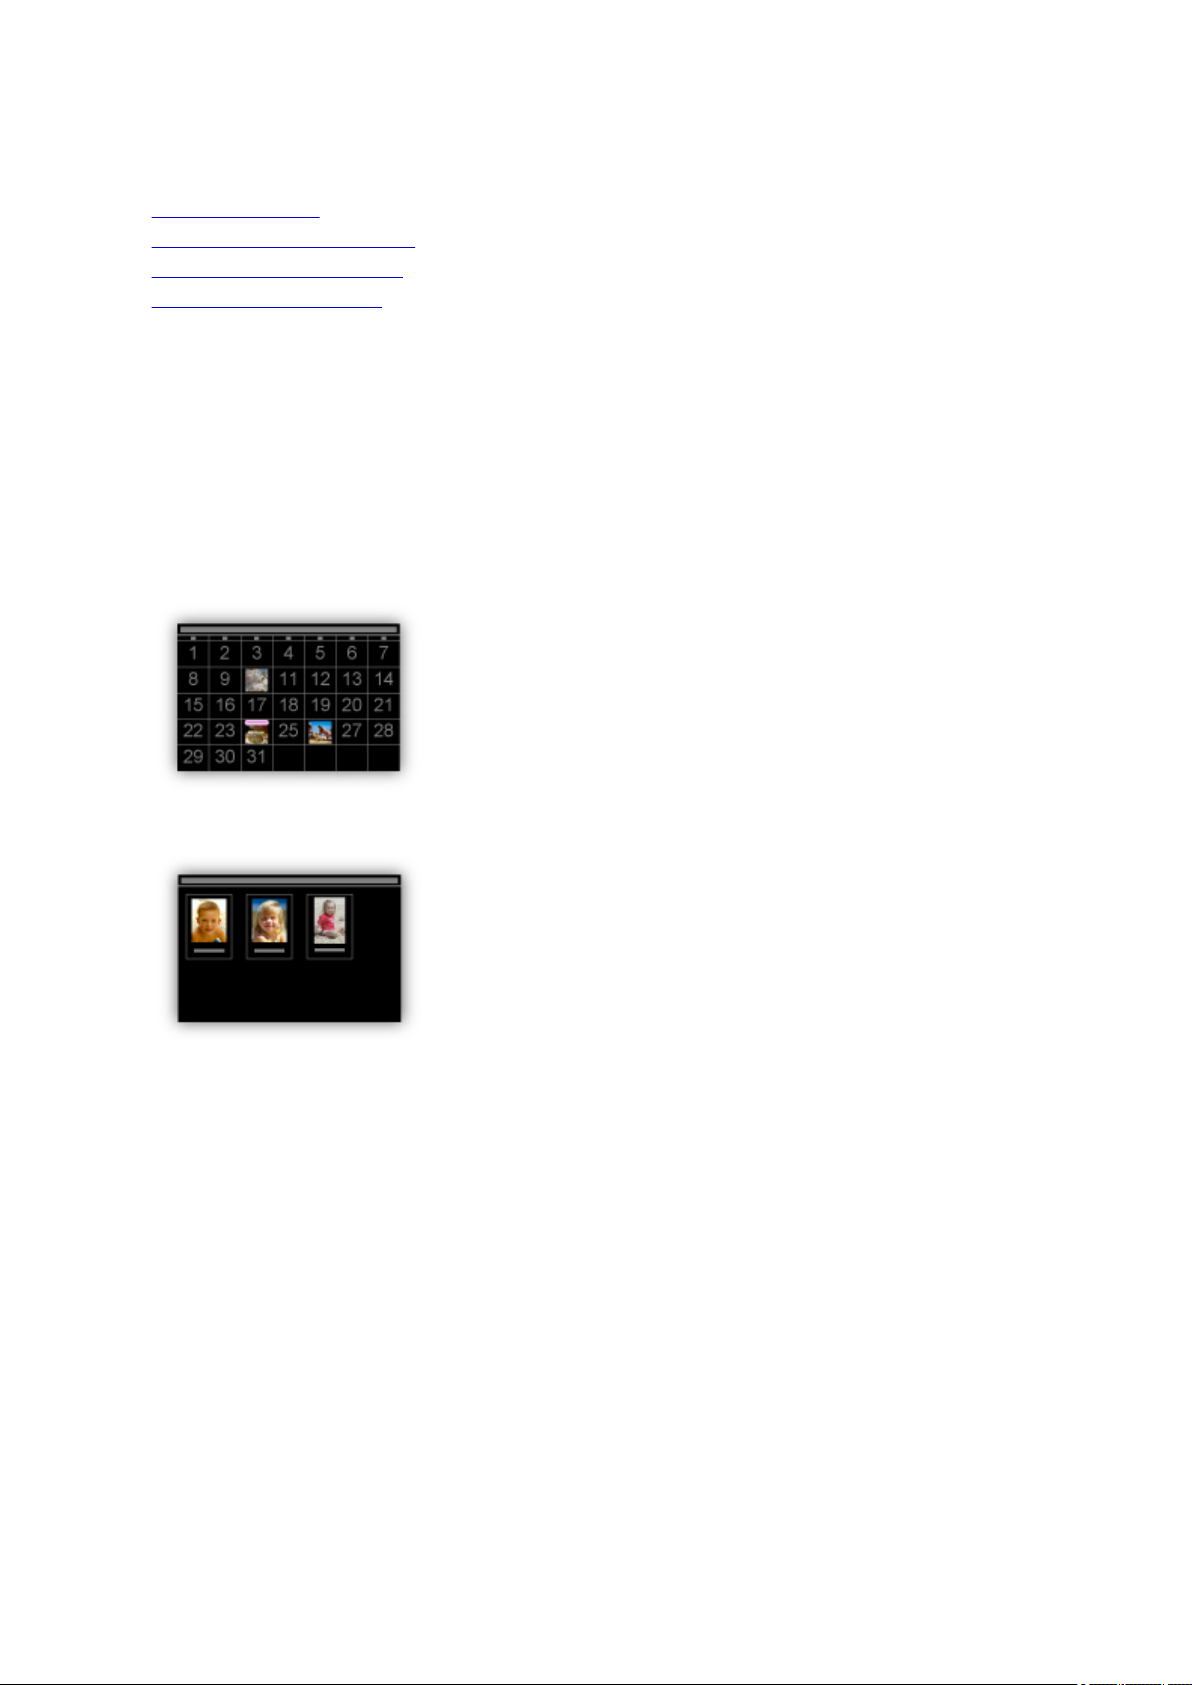
Organize Images Easily
In My Image Garden, you can register the names of people and events to photos.
You can organize photos easily as you can display them not only by folder but also by calendar, event,
and person. This also allows you to find the target photos easily when you search for them later on.
<Calendar View>
<People View>
Display Recommended Items in Slide Shows
Based on the information registered to photos, Quick Menu automatically selects the photos on your
computer and creates recommended items such as collages and cards. The created items appear in
slide shows.
14
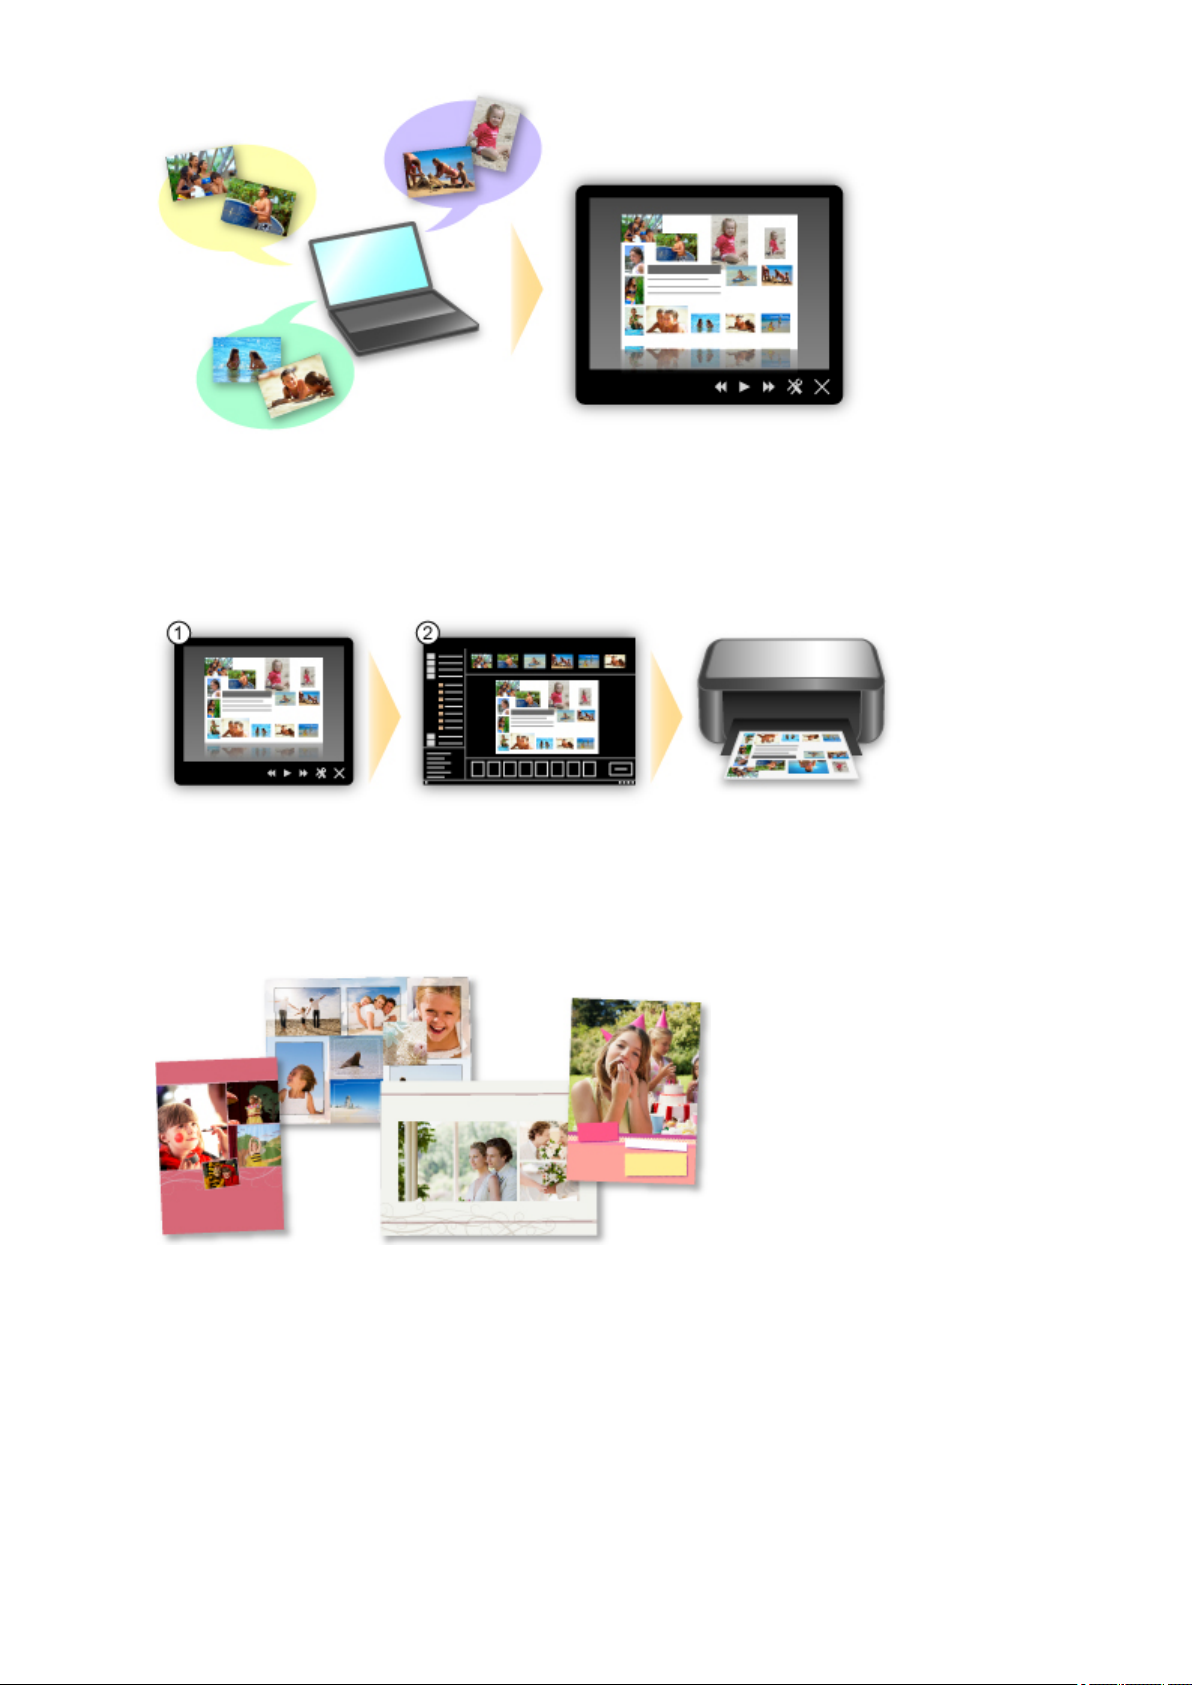
If there is an item you like, you can easily print it in just two steps.
1. In Image Display of Quick Menu, select the item you want to print.
2. Print the item with My Image Garden.
Place Photos Automatically
Delightful items are created easily as the selected photos are placed automatically according to the
theme.
Other Various Functions
My Image Garden has many other useful functions.
Refer to "What You Can Do with My Image Garden" for details.
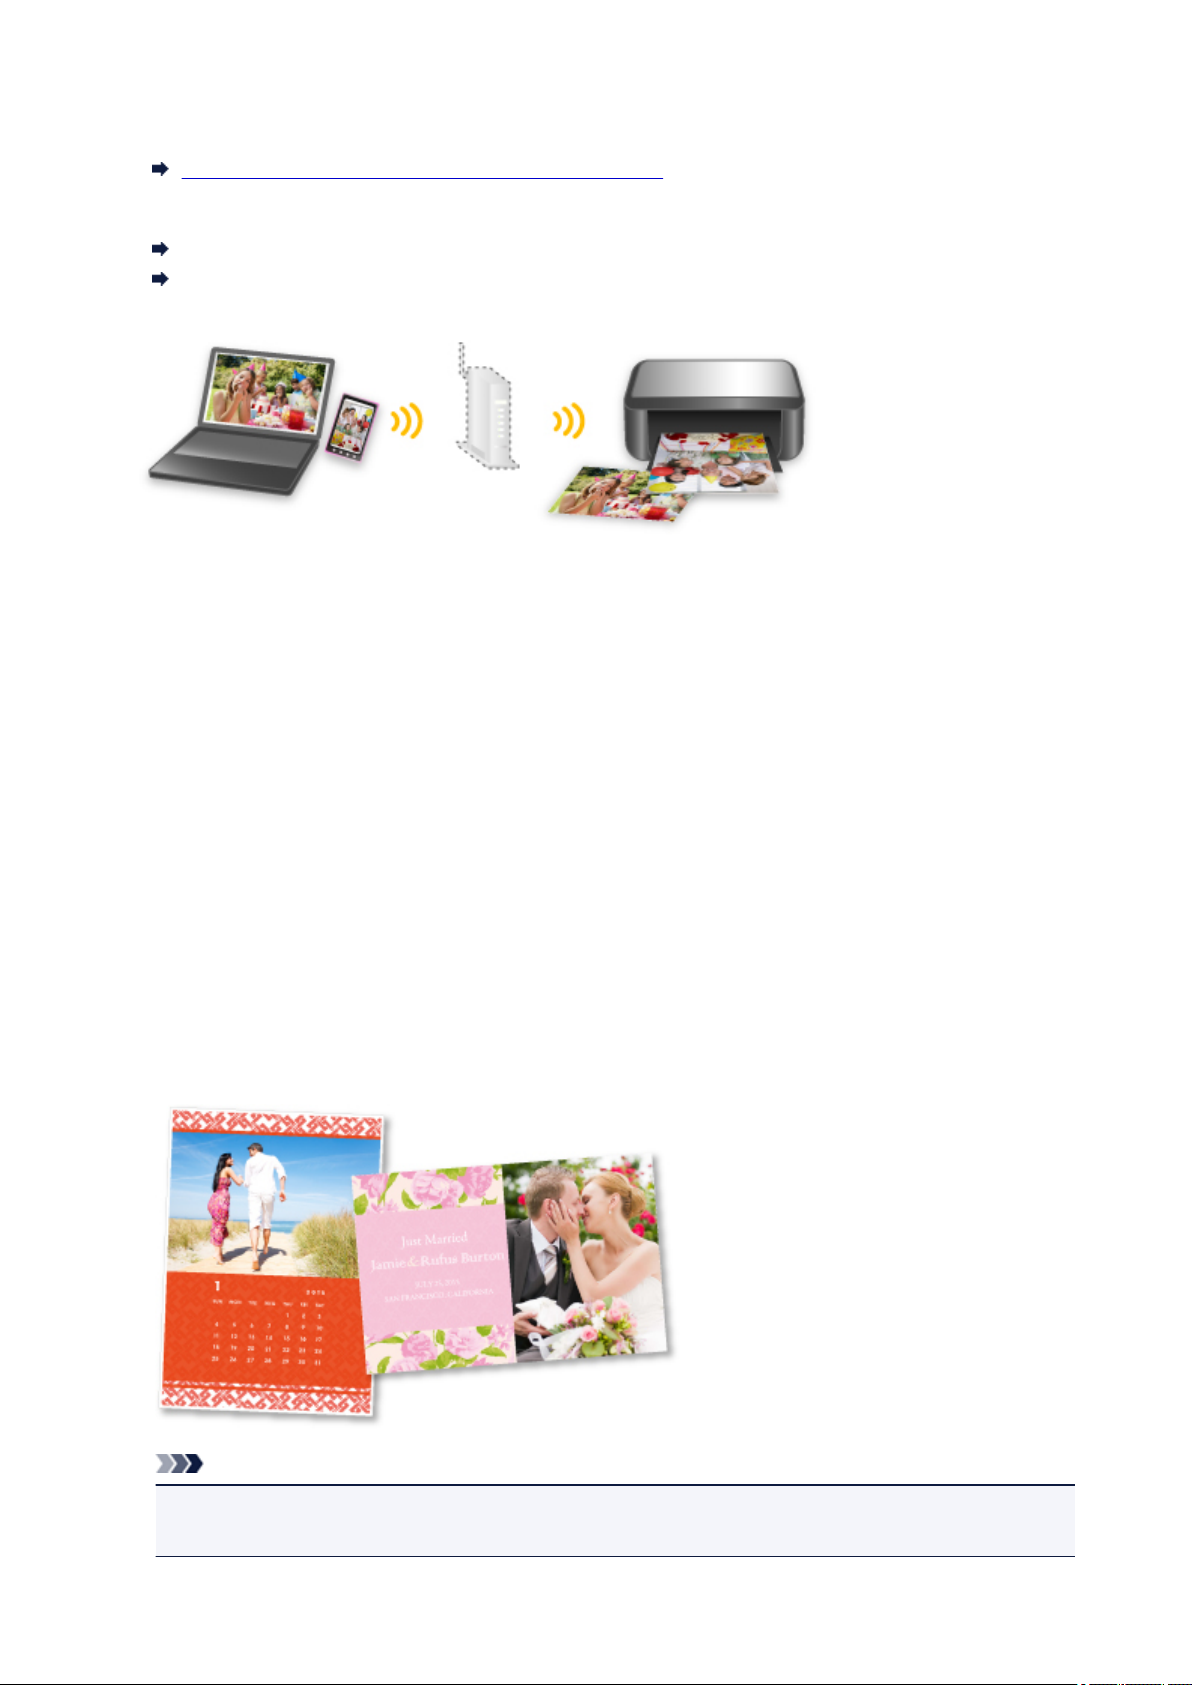
Connect Wirelessly with Ease in "Access Point Mode"
The machine supports "access point mode" in which you can connect to the machine wirelessly from a
computer or smartphone even in an environment without an access point or wireless LAN router.
Switch to "access point mode" with simple steps to enjoy scanning and printing wirelessly.
15
When you use the machine with the access point mode, be sure to specify the access point name of the
machine and the security setting in advance.
Before Using the Machine with the Access Point Mode
For details on printing or scanning with the access point mode:
Printing with the Access Point Mode
Scanning with the Access Point Mode
Download a Variety of Content Materials
CREATIVE PARK
A "printing materials site" where you can download all the printing materials for free.
Various types of content such as seasonal cards and paper crafts that can be made by assembling
paper parts are provided.
It is easily accessible from Quick Menu.
CREATIVE PARK PREMIUM
A service where customers using models that support PREMIUM Contents can download exclusive
printing materials.
PREMIUM Contents can be downloaded easily via My Image Garden. Downloaded PREMIUM
Contents can be printed directly with My Image Garden.
To download PREMIUM Contents, make sure that genuine Canon ink tanks/ink cartridges are installed
for all colors on a supported printer.
Note
• The designs of PREMIUM Contents provided in this page are subject to change without prior
notice.
16

Print Photos on Facebook Easily Using a Facebook App "Print Your Days"
Use Print Your Days to collect Facebook photos of memories of parties and travel, recent activity of your
family and friends, your hobbies, etc., then create and print a work of art.
Print Your Days is available from the Print Your Days Facebook page.
17
Helpful Functions Available Through the Network
The following useful functions are available on the machine.
Enjoy even more pleasant photography experience by utilizing various functions.
Use App from Various Environments by Using PIXMA Cloud Link
Upload scanned images to the web
Print web data easily
Print by using Google Cloud Print
Print directly from your iPad, iPhone, or iPod touch
Manage Your Printer from a Remote Location by Using Remote UI
Print Easily by Sending E-mail from Your Computer or Smartphone
Print easily from your smartphone by using PIXMA Printing Solutions
Printing with Windows RT
Use App from Various Environments by Using PIXMA Cloud Link
By using PIXMA Cloud Link, you can access an application that supports this service and use it directly
without using your computer. In addition to printing photos and documents from various applications, you
can register and manage applications.
Refer to "Use PIXMA Cloud Link" for details.
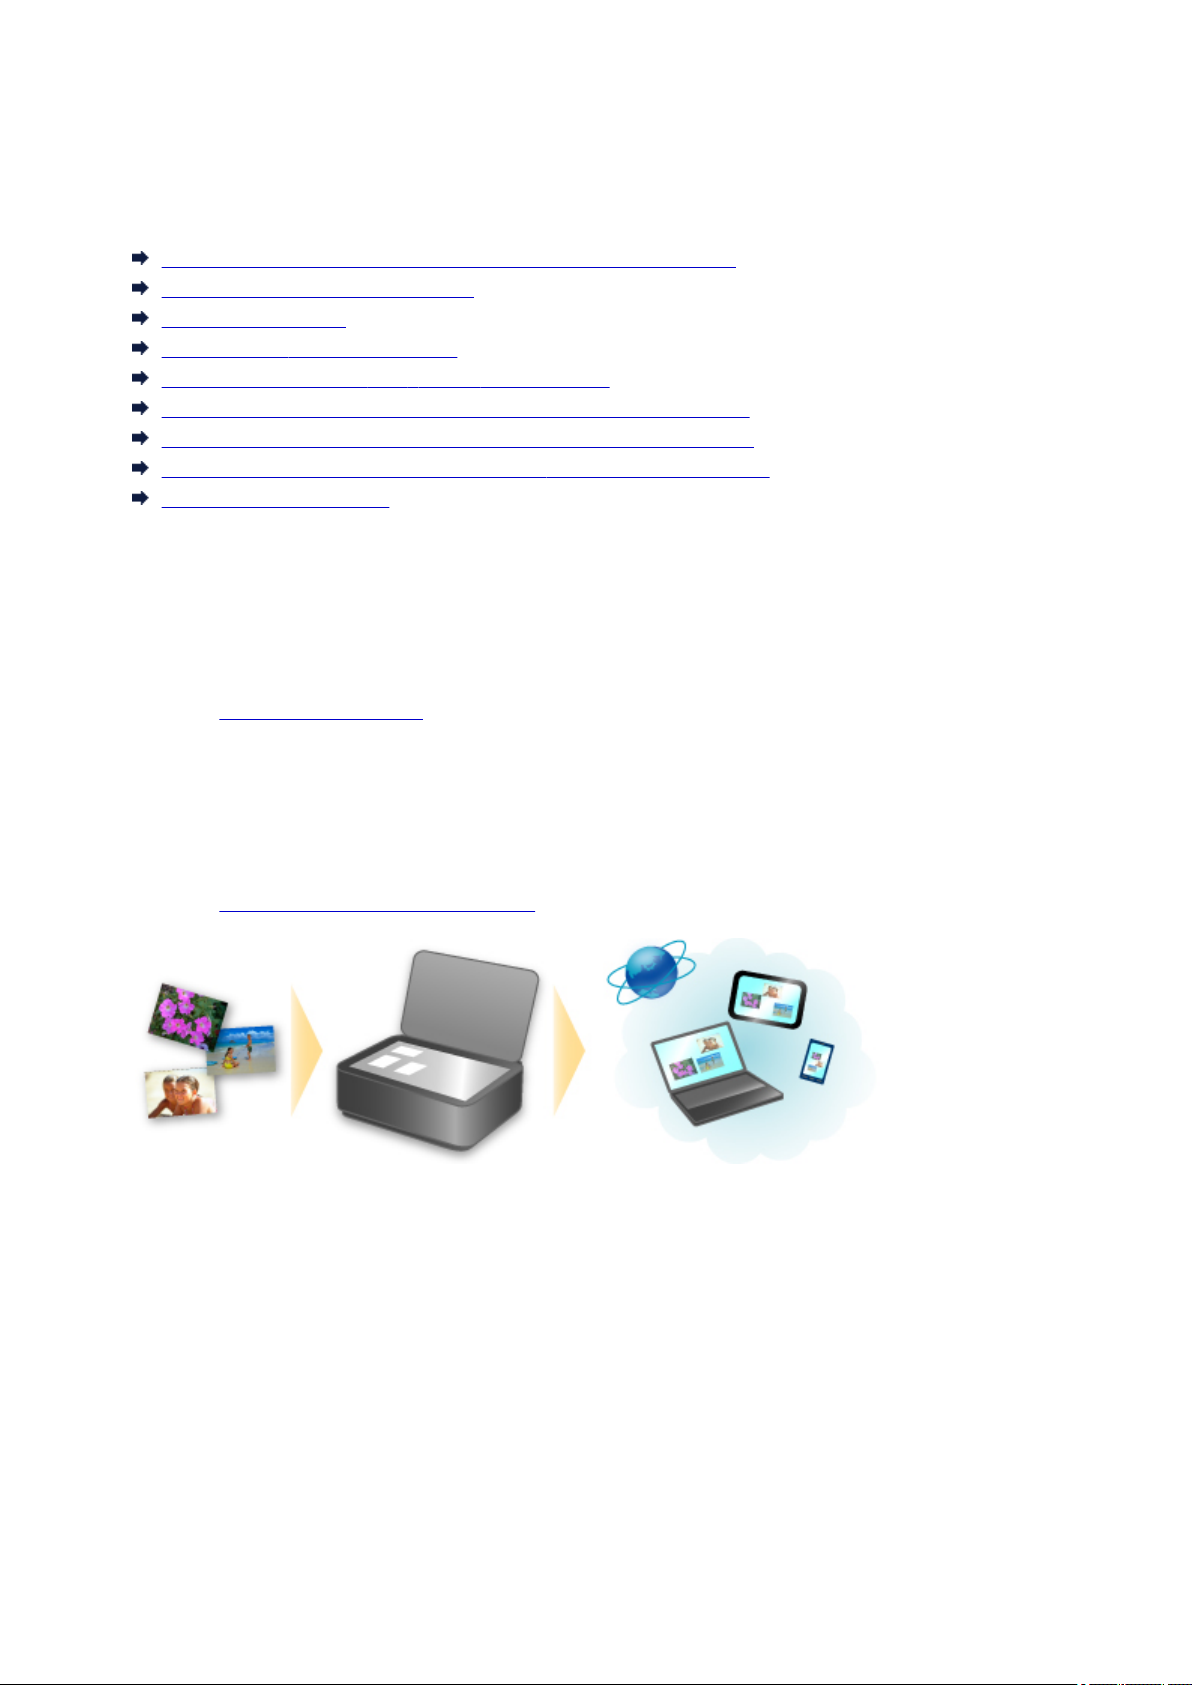
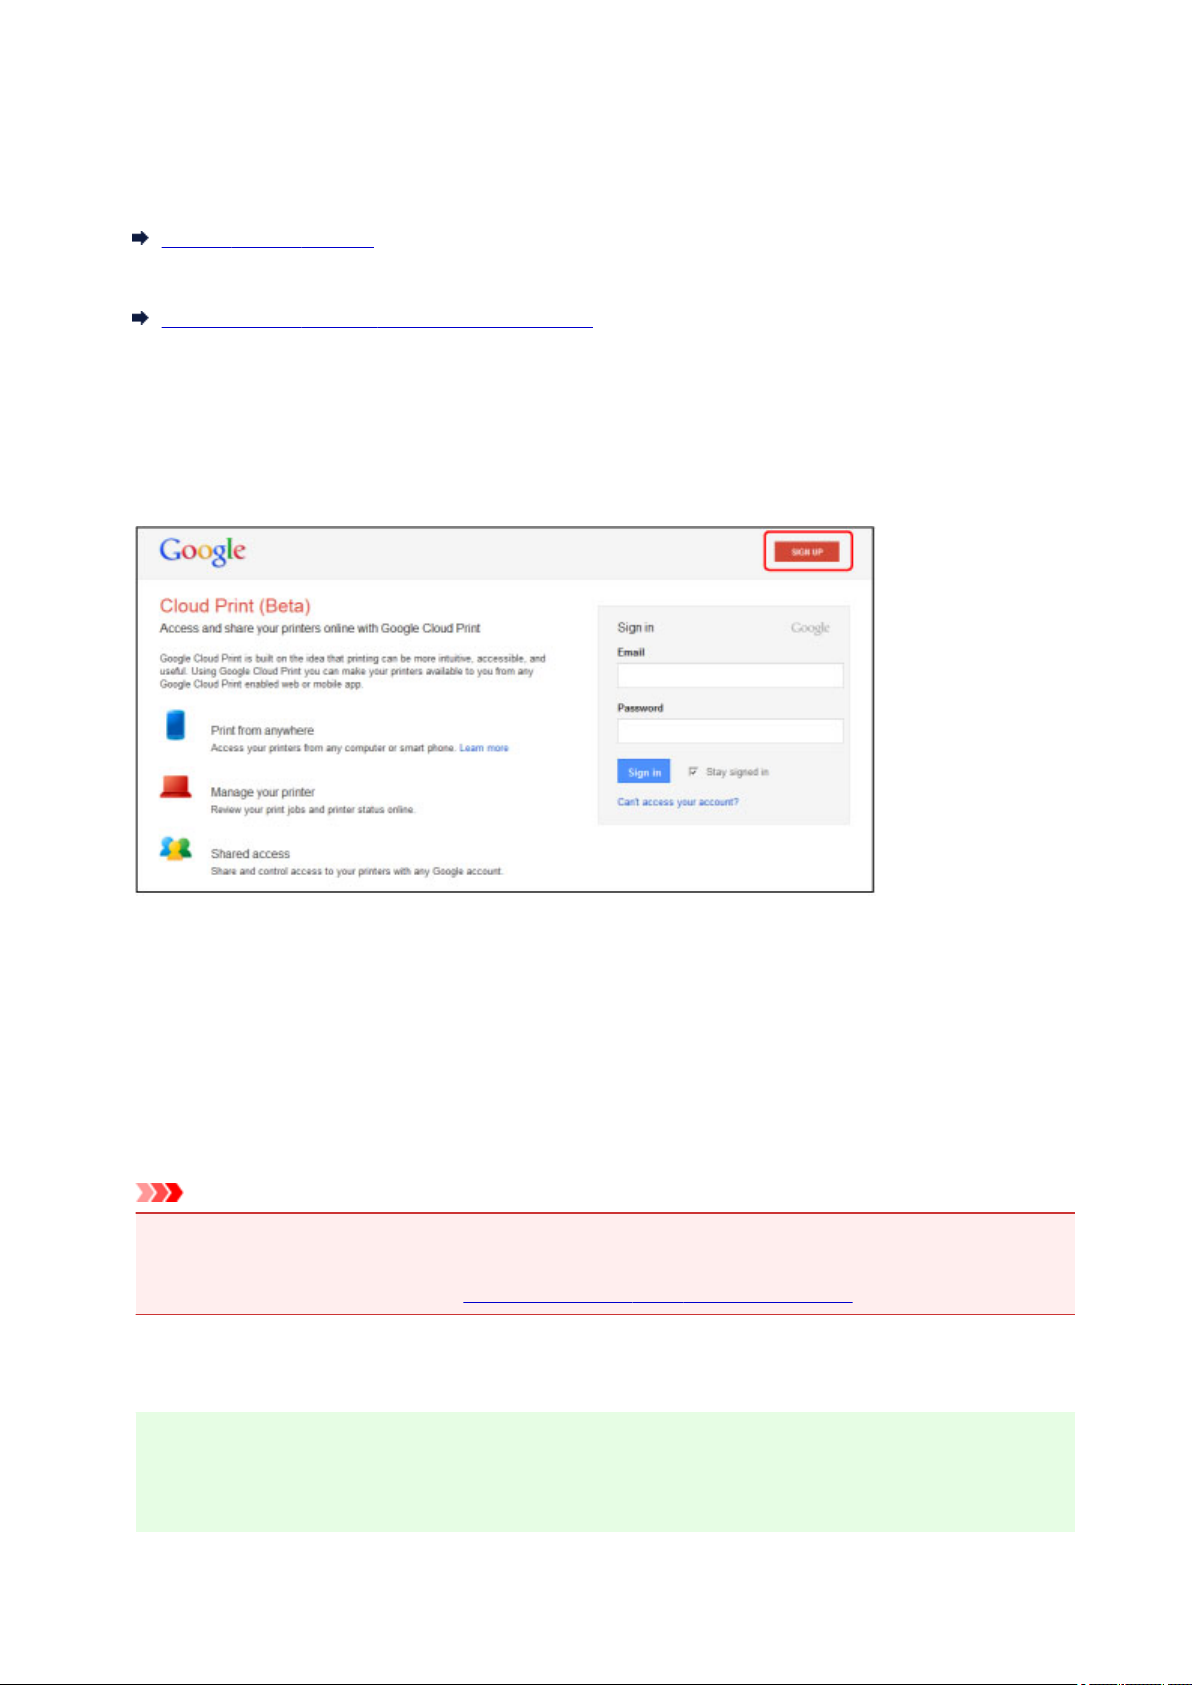
Upload Scanned Images Easily to the Web
If you use Evernote or Dropbox on your computer, you can easily upload scanned images to the web.
Uploaded images can be utilized from other computers, smartphones, etc.
Refer to "Online Storage Integration Function" for details.
Print Photos on Photo-Sharing Services or Print Web Template Forms
Easily from the Machine
You can directly print photos on photo-sharing services or template forms offered on the web without
using a computer.
• Online Album Photo Print
You can access photo-sharing services on the web from the machine and directly print photos in
online albums (such as Picasa Web Albums) while checking them on the printer screen.
18
• Web Template Form Print
Canon offers various template forms including seasonal stationery and calendars on the web. You
can download and print the template forms you want anytime, as much as you need, by operating the
machine only.
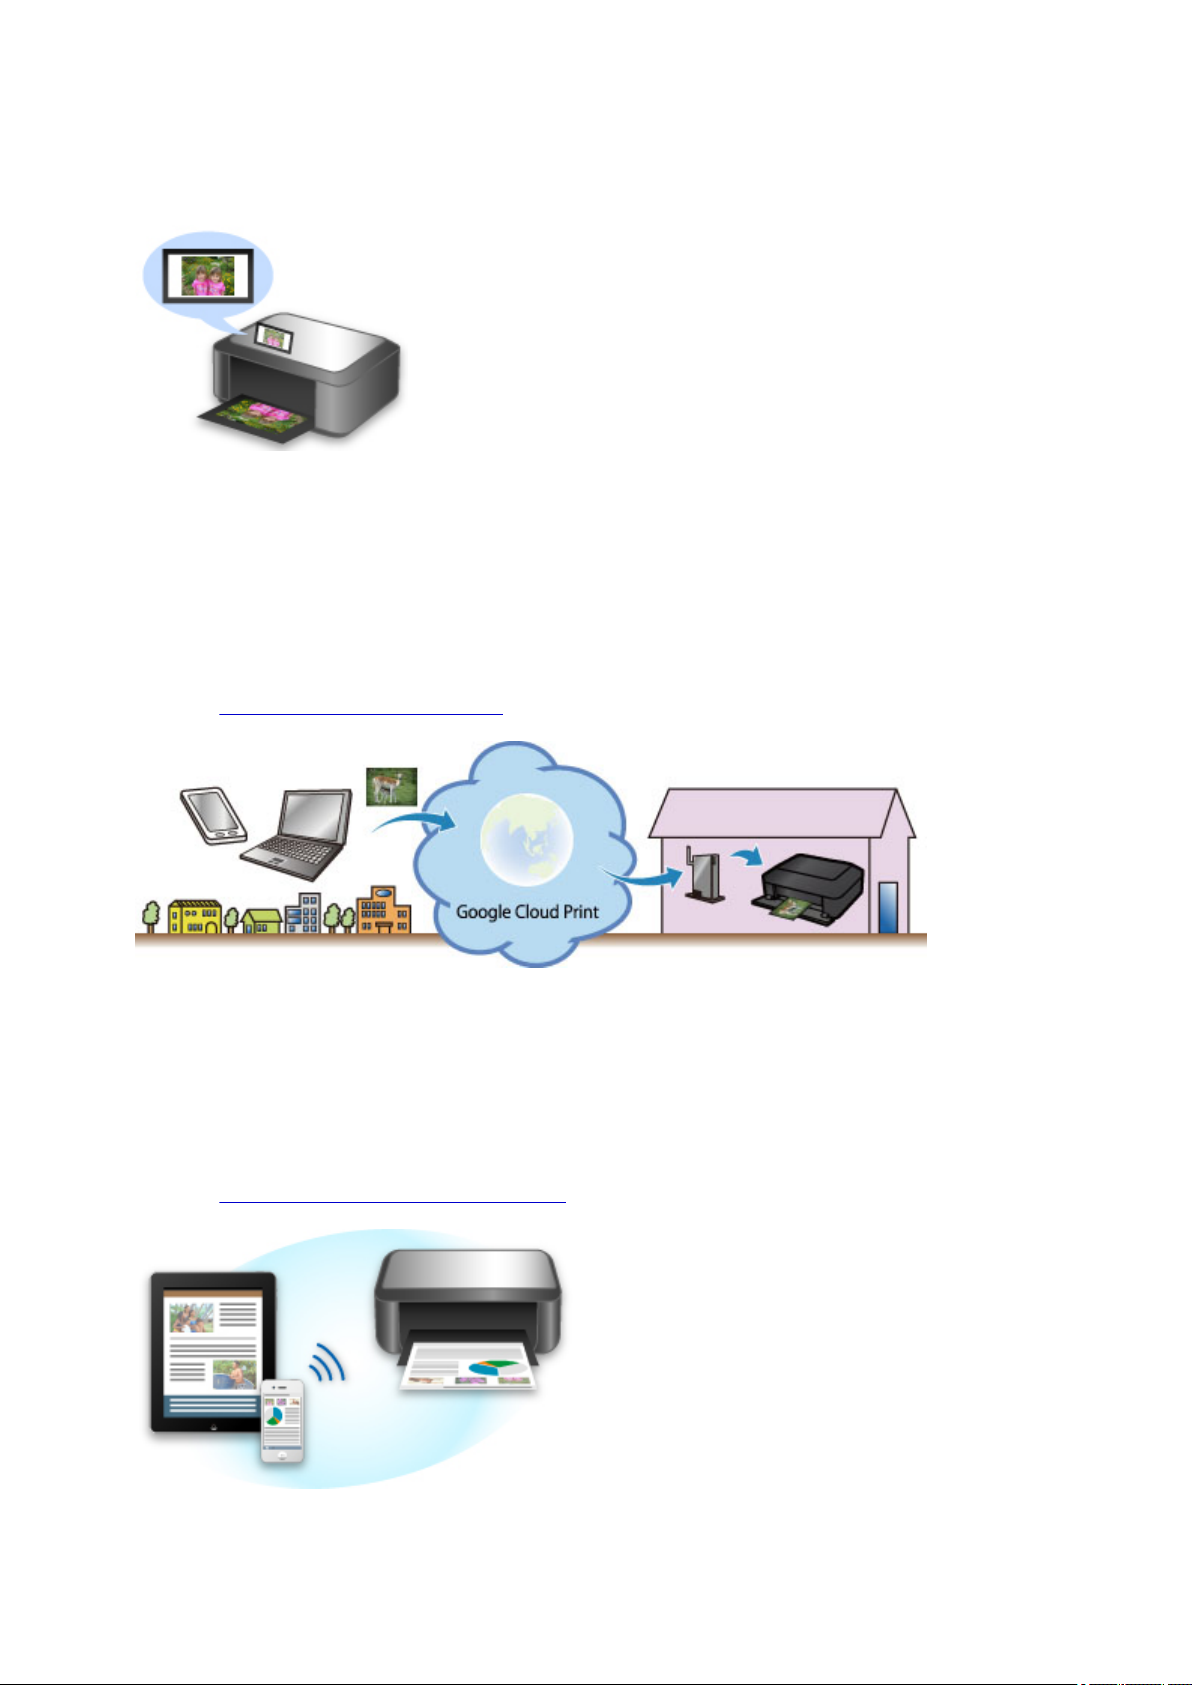
Print in Various Environments with Google Cloud Print
The machine is compatible with Google Cloud Print (Google Cloud Print is a service provided by Google
Inc.).
By using Google Cloud Print, you can print from anywhere with applications or services supporting Google
Cloud Print.
Refer to "Printing with Google Cloud Print" for details.
Print Directly from iPad, iPhone, or iPod touch with Apple AirPrint
The machine is compatible with the AirPrint function of Apple iOS devices.
You can directly print e-mails, photos, web pages, etc. from iPad, iPhone, or iPod touch to the machine
over wireless LAN.
Refer to "Printing from AirPrint Compliant Device" for details.
19
Manage Your Printer from a Remote Location by Using Remote UI
By using Remote UI, you can set up this machine, check the machine status, and even perform
maintenance from your computer or smartphone.
Because you can use this service from a remote location through the network, you can check printer
information even when you're out away from the printer.
Refer to "Using Remote UI" for details.
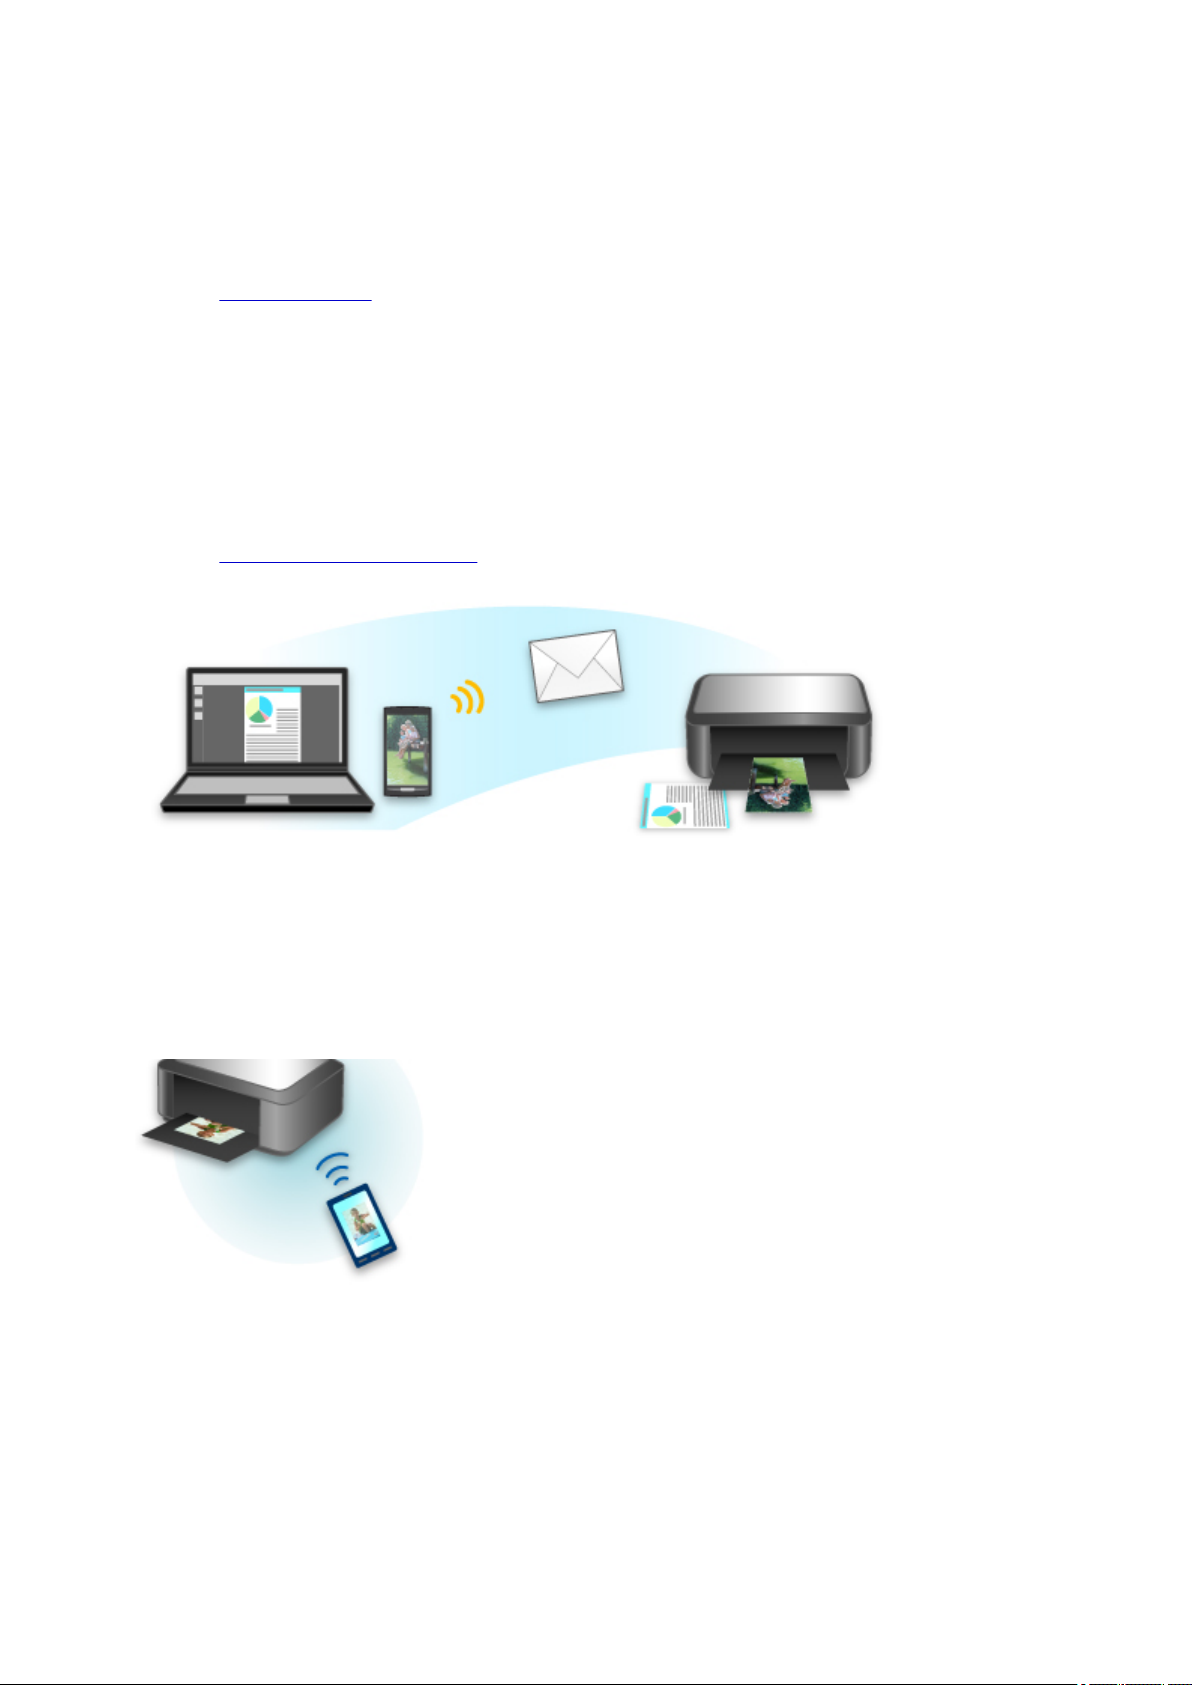
Print Easily by Sending E-mail from Your Computer or Smartphone
By using Print from E-mail, you can easily print a photo or document saved on your computer or
smartphone just by attaching it to an e-mail.
You can easily print from your travel destination or an outside location. You can even let friends and
family print on the printer by setting up your printer beforehand.
Refer to "How to Use Print from E-mail" for details.
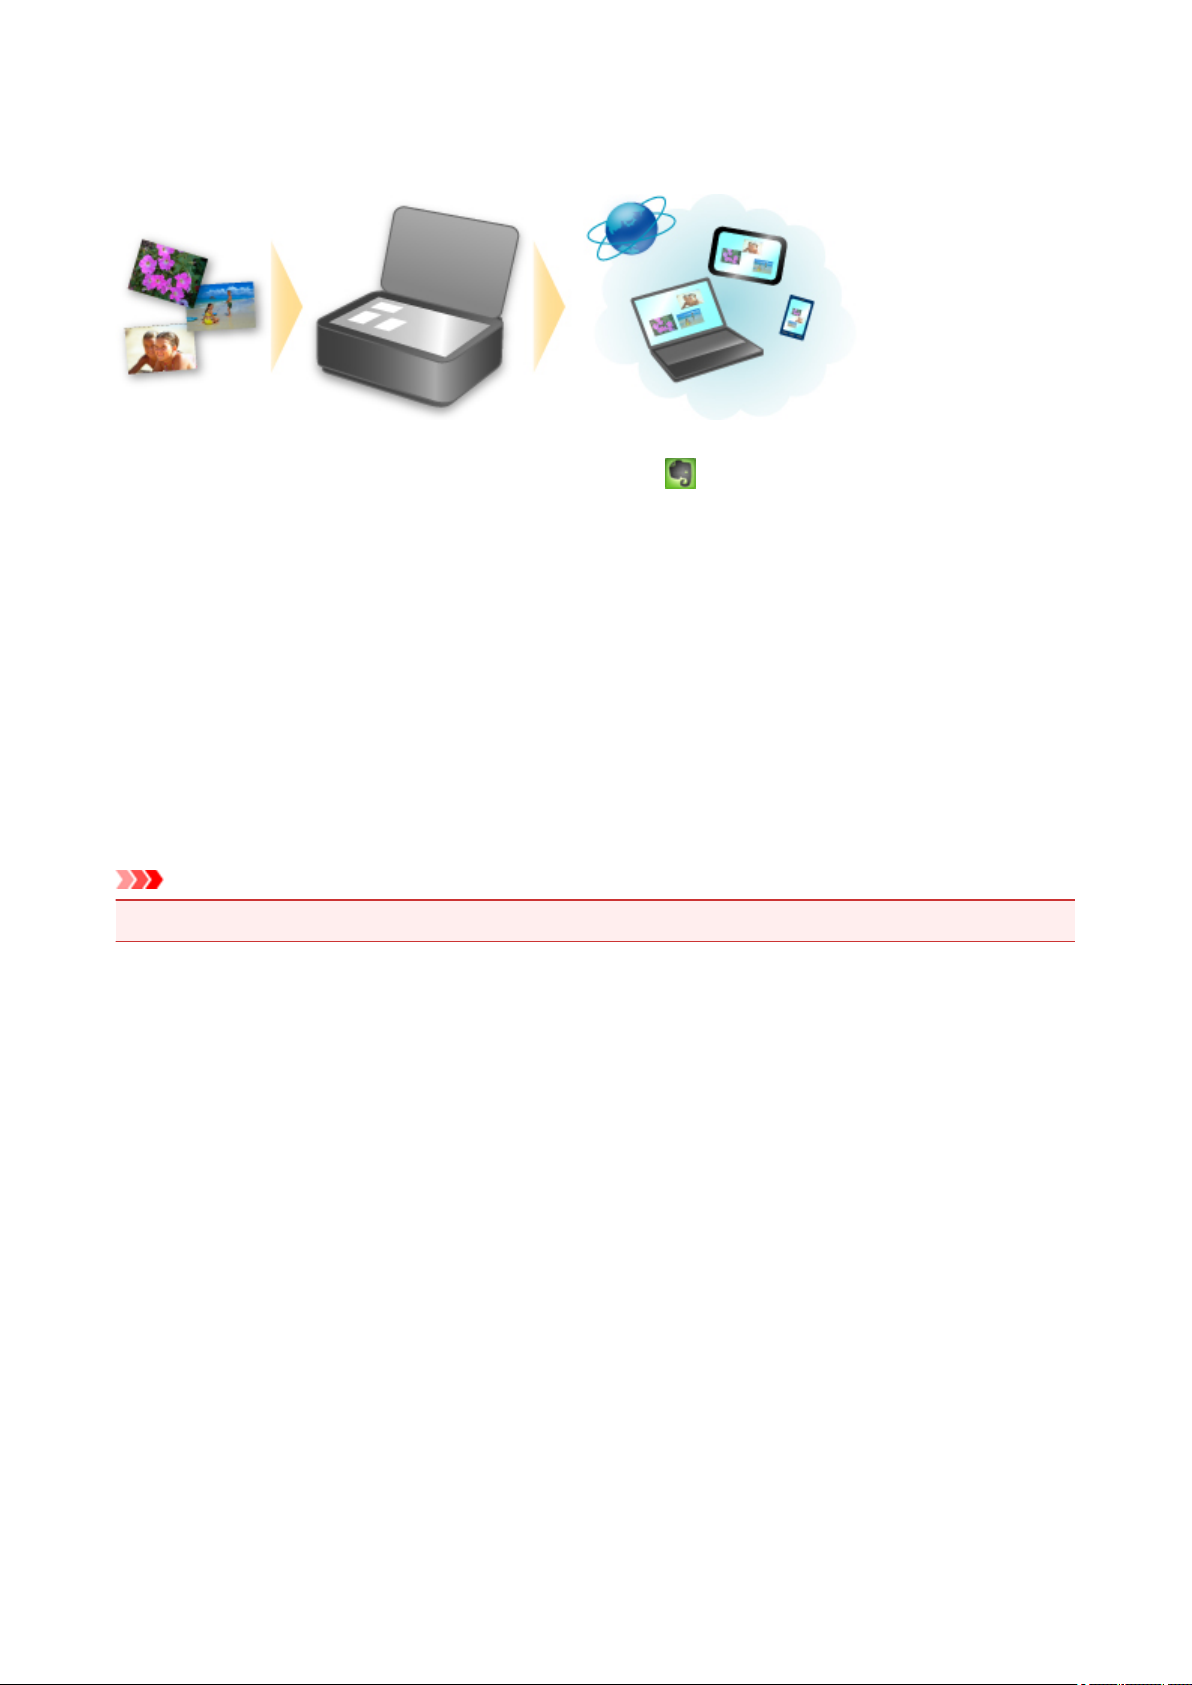
Print Easily from a Smartphone with PIXMA Printing Solutions
Use PIXMA Printing Solutions to easily print photos saved on a smartphone wirelessly.
You can also receive scanned data (PDF or JPEG) directly on a smartphone without using a computer.
PIXMA Printing Solutions can be downloaded from App Store and Google Play.
Printing with Windows RT
When you use Windows RT, printing is easy because you simply connect this machine to the network.
For information about connecting to the network, see here.
When the connection is complete, the Canon Inkjet Print Utility software, which allows you to specify
detailed print settings, is downloaded automatically.
By using Canon Inkjet Print Utility, you can check the printer status and specify detailed print settings.
(The available functions will differ depending on your usage environment and connection method.)
20
Online Storage Integration Function
The machine can integrate with online storage services such as Evernote.
Integration with Online Notetaking Service "Evernote"
If an Evernote client application is installed on your computer, you can import scanned images into the
application and upload them to the Evernote server.
The uploaded images can be browsed from other computers, smartphones, etc.
To use Evernote, you need to create an account. See the "CREATE ACCOUNT" page of Evernote for
account creation.
• Settings
In the Settings Dialog Box of IJ Scan Utility, select the item you want to set, then select Evernote for
Send to an application in Application Settings.
Refer to "Settings Dialog Box" for your model from Home of the Online Manual for details.
Important
• The Evernote service features are subject to change or termination without prior notice.
21

Printing with Google Cloud Print
The machine is compatible with Google Cloud Print™ (Google Cloud Print is a service provided by Google
Inc.).
By using Google Cloud Print, you can print from anywhere with applications or services supporting Google
Cloud Print.
1.
Preparations for Printing with Google Cloud Print
2.
Printing from Computer or Smartphone with Google Cloud Print
Important
• LAN connection with the machine and Internet connection are required to register the machine and to
print with Google Cloud Print. Internet connection fees apply.
• This function may not be available depending on the country or region you live in.
22
Preparations for Printing with Google Cloud Print
To print with Google Cloud Print, you need to get Google account and register the machine with Google
Cloud Print in advance.
Getting Google Account
If you already have Google account, register the machine.
Registering the Machine with Google Cloud Print
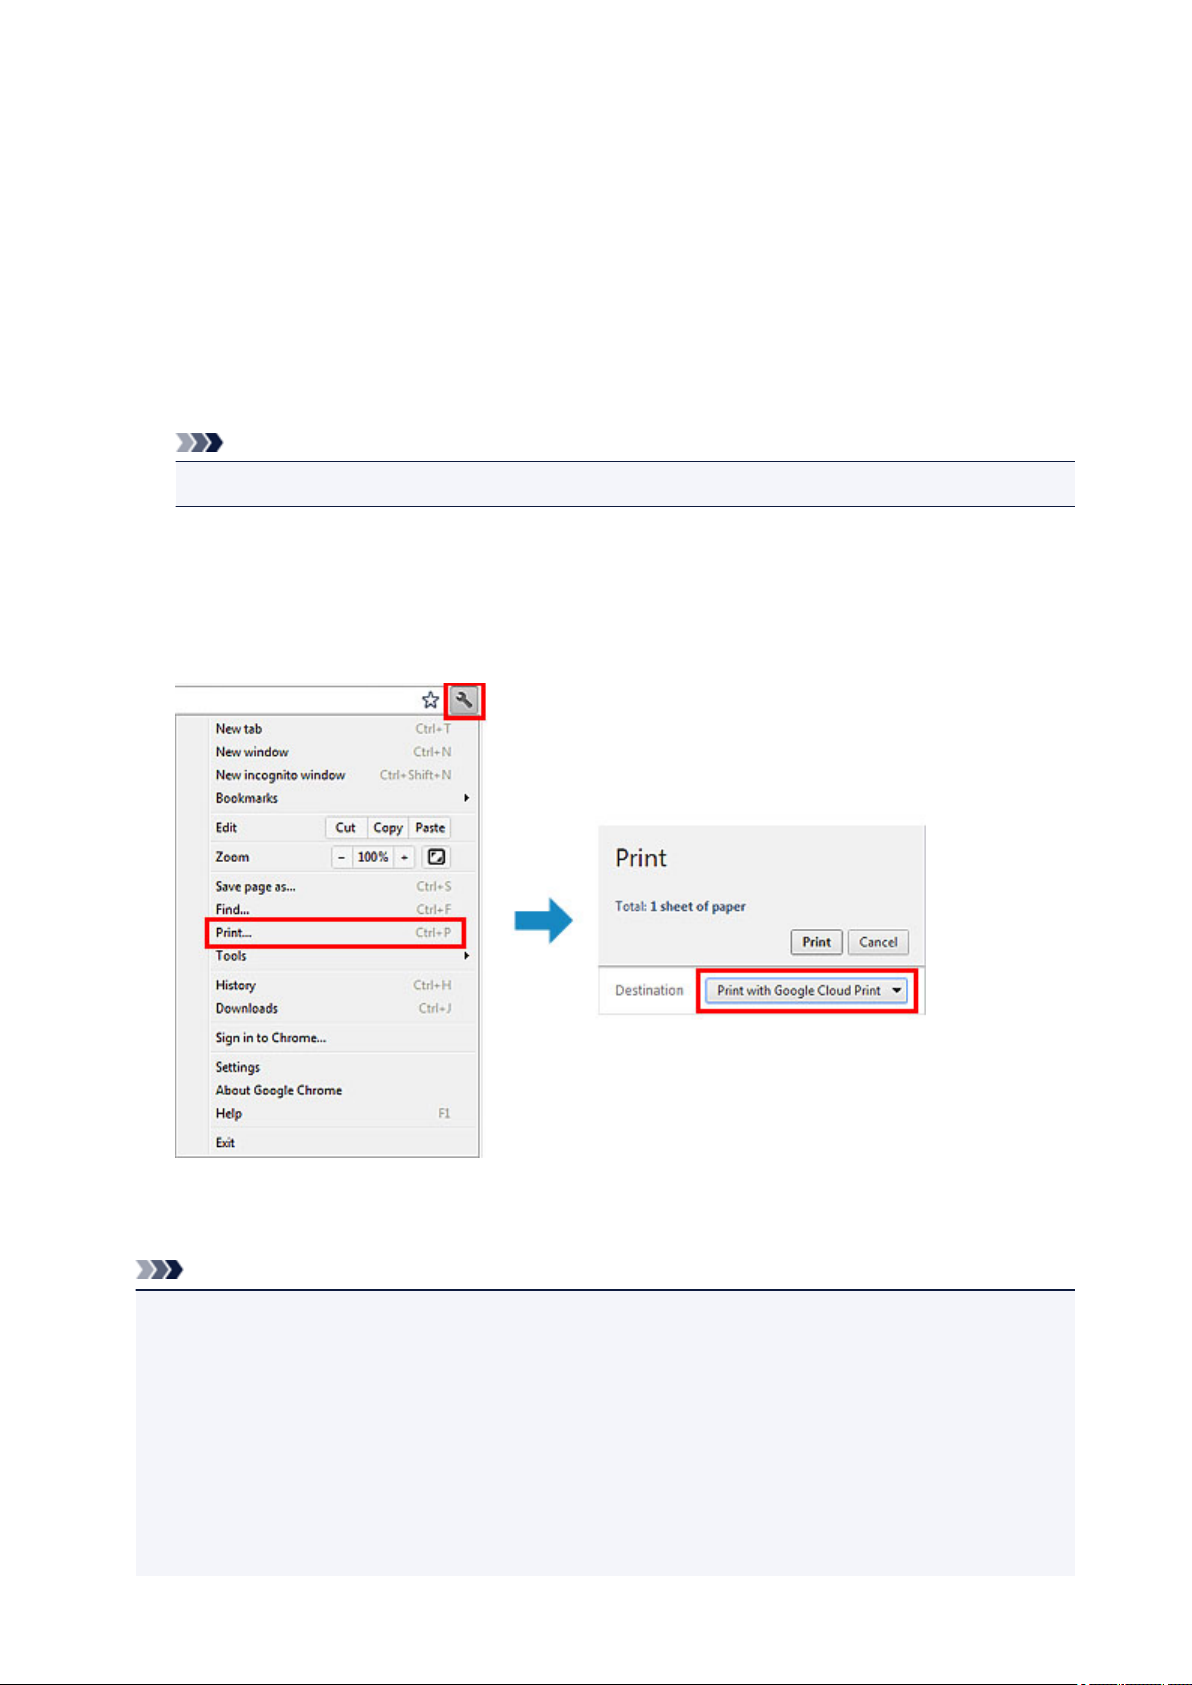
Getting Google Account
First, get your Google account in order to register the machine with Google Cloud Print.
Access to Google Cloud Print with the web browser on the computer or the mobile device, then register
the required information.
* The screen above may change without prior notice.
Registering the Machine with Google Cloud Print
Register the machine with Google Cloud Print.
The authentication procedure using the web browser on the computer or the mobile device is required in
the process of registering. Because the authentication URL is printed from machine when the
authentication process is performed, prepare A4 or Letter-sized plain paper.
Important
• LAN connection with the machine and Internet connection are required to register the machine and to
print with Google Cloud Print. Internet connection fees apply.
• If the machine's owner changes, delete the machine from Google Cloud Print.
1. Make sure that the machine is turned on.
If your printer has a LCD monitor
2. Display the Home screen.
23

3. Select Setup.
4. Select Web service setup -> Web service connection setup -> Google
Cloud Print setup -> Register with Google Cloud Print.
Note
If you have already registered the machine with Google Cloud Print, the confirmation
•
message to re-register the machine is displayed.
When the confirmation screen to register the machine is displayed, select Yes.
5.
6.
Select a display language on the print setting screen of Google Cloud Print.
The confirmation message to print the authentication URL is displayed.
7.
Load A4 or Letter-sized plain paper, then select OK.
The authentication URL is printed.
8.
Ensure that the authentication URL is printed, select Yes.
9.
Perform the authentication process using the web browser on the computer or the
mobile device.
Access to the URL using the web browser on the computer or the mobile device and perform the
authentication process following the on-screen instructions.
Note
• Perform the authentication process with your Google account which you have gotten in
advance.
10.
When the message that the registration is complete is displayed on the LCD of the
machine, select OK.
When authentication process is complete properly, the registration items are displayed. When
authentication process is complete, you can print the data with Google Cloud Print.
When authentication process is not complete properly and the error message is displayed, select
OK. When the confirmation message to print the authentication URL is displayed, print the
authentication URL, then perform the authentication process on the computer again.
If your printer does not have a LCD monitor
2.
Remote UI startup
3. Select Google Cloud Print setup -> Register with Google Cloud Print
24

Note
• If you have already registered the machine with Google Cloud Print, the confirmation
message to re-register the machine is displayed.
4. When the confirmation screen to register the machine is displayed, select Yes.
In the print setup for Google Cloud Print, select the display language, and then select
5.
Authentication.
6.
When the registration completion message appears, select OK.
Deleting the Machine from Google Cloud Print
If the machine's owner changes or if you want to re-register the machine, delete the machine from Google
Cloud Print by following the steps below.
1.
Make sure that the machine is turned on.
If your printer has a LCD monitor
2.
Display the Home screen.
3.
Select Setup.
4.
Select Web service setup -> Web service connection setup -> Google Cloud
Print setup -> Delete from Google Cloud Print.
5.
When the confirmation screen to delete the machine is displayed, select Yes.
If your printer does not have a LCD monitor
2. Remote UI startup
3.
Select Google Cloud Print setup -> Delete from Google Cloud Print.
4. When the confirmation screen to delete the machine is displayed, select Yes.
25
Printing from Computer or Smartphone with Google Cloud Print
When you send print data with Google Cloud Print, the machine receives the print data and prints it
automatically if the machine is turned on.
When printing from a computer, smartphone, or other external device with Google Cloud Print, load paper
into the machine in advance.
Sending the Print Data with Google Cloud Print
1.
Make sure that the machine is turned on.
Note
If you want to send the print data from an outside location, turn on the machine in advance.
•
2.
Print from the computer or smartphone.
The figure below is an example of when printing from the web browser corresponding with Google
Cloud Print. The screen differs depending on the applications or services supporting Google Cloud
Print.
When the preparation for printing with Google Cloud Print is complete and when the machine is turned
on, the machine receives the print data and prints it automatically.
Note
• Depending on the communication status, it may take a while to print the print data or the machine
may not receive the print data.
• While printing with Google Cloud Print, the printing may be canceled depending on the machine's
status, such as when the machine is being operated or an error has occurred. To resume printing,
check the machine's status, then print with Google Cloud Print again.
• For print settings:
• If you select the media type other than plain paper or if you select the paper size other than A4/
Letter/B5/A5-size, the print data is printed in single-sided even when you select the duplex print
setting. (* The paper size differs depending on the model of your printer. For information about
26

the supported paper sizes, go to the Online Manual home page, and refer to the "Cannot Print
Properly with Automatic Duplex Printing" for your model.)
• If you select plain paper as media type or if you select B5/A5-size as paper size, the print data is
printed with border even when you select the borderless print setting.
• The print results may differ from the print image depending on the print data.
• Depending on the device sending the print data, you may not select the print settings when
sending the print data with Google Cloud Print.
When you want to print from Google Cloud Print immediately
When the machine cannot receive the print data, or you want to start printing immediately, you can check
whether there is a print job on the Google Cloud Print and start printing manually.
Follow the steps below.
Important
• Depending on your printer model, this function may not be available.
1.
Make sure that the machine is turned on.
2.
Display the Home screen.
3.
Select Setup.
4.
Select Web service inquiry.
Note
• If you have not registered the machine with Google Cloud Print, Web service inquiry is not
displayed.
Register the machine with Google Cloud Print.
5.
Select Print from Google Cloud Print.
The confirmation screen to check is displayed.
6. Select Yes.
If there is the print data, the machine receives the print data and prints it.
27
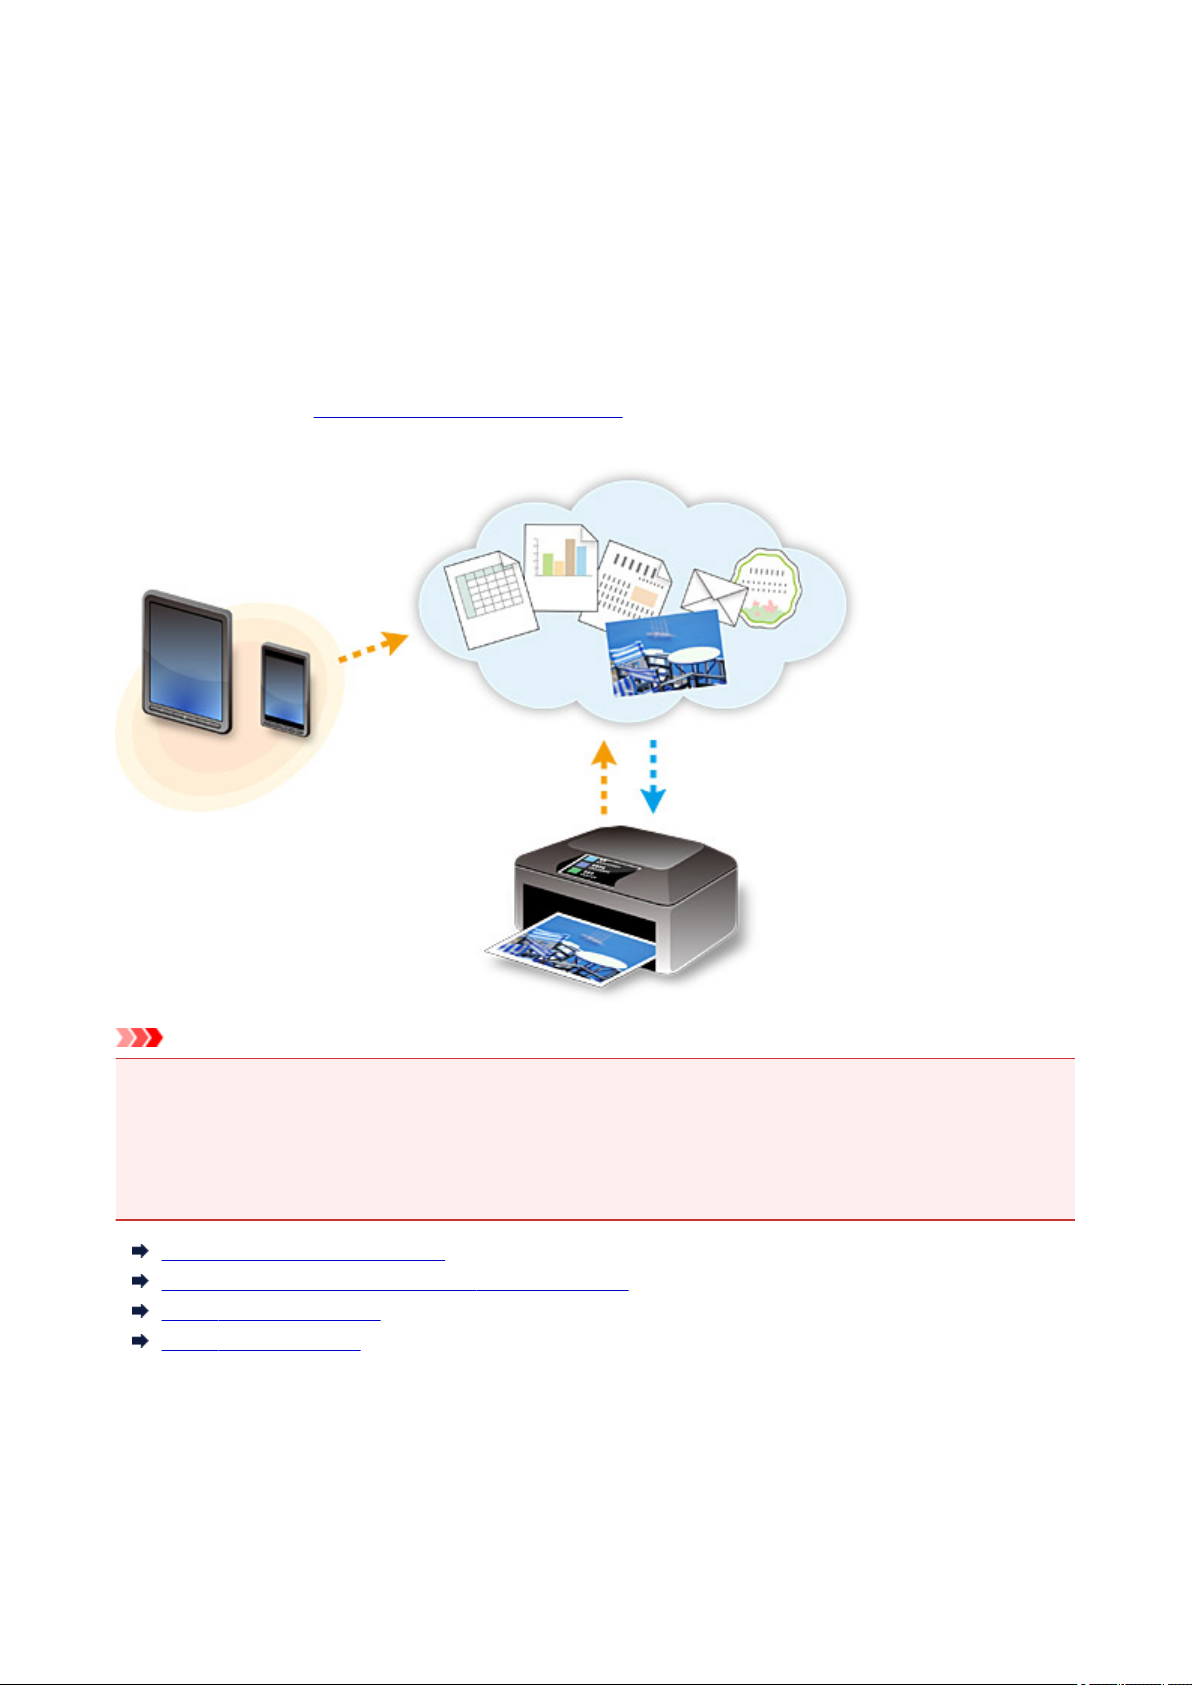
Use PIXMA Cloud Link
By using PIXMA Cloud Link, you can connect your printer to a cloud service, such as CANON iMAGE
GATEWAY, Evernote, or Twitter, and use the following functions without using a computer:
• Print images from a photo-sharing service
• Print documents from a data management service
• Use Twitter to report the printer status, such as no paper or ink empty
In addition, you can use various functions by adding and registering apps that are linked with various cloud
services.
Also, if you register to Canon Inkjet Cloud Printing Center, you can also use these functions from your
smartphone or tablet device.
Important
• In certain countries, PIXMA Cloud Link may not be available or the available apps may be different.
• Some apps require that you have an account before you use those apps. For such apps, please set up
an account beforehand.
• To find out which models support PIXMA Cloud Link check the Canon homepage.
• The screen display may change without prior notice.
Before Using PIXMA Cloud Link
Preparing to use PIXMA Cloud Link from your printer
Using PIXMA Cloud Link
Cloud troubleshooting
Before Using PIXMA Cloud Link
First, check your environment.
• Network environment
The printer must be connected to a LAN and to the Internet.
If your printer is not connected to a LAN, see here and set one up.
28
For information on the LAN and Internet settings, see the manual of your network devices or contact
the manufacturer.
Important
• The user will bear the cost of Internet access.
• Printer software (firmware) version
If the printer's firmware version is earlier than Ver. 2.000, you need to update the firmware.
Refer to "Firmware update" for your model from the Home of the Online Manual for details.
Important
• When you update the firmware of this product, the displayed screens, the operation procedures,
and the functions may change.
• If you register a photo-sharing service to your printer and then later update the printer firmware,
the photo-sharing service will be deregistered. Please perform the account setup again.
Preparing to use PIXMA Cloud Link from your printer
Follow the steps described below to register the printer information.
The screen display differs depending on your computer.
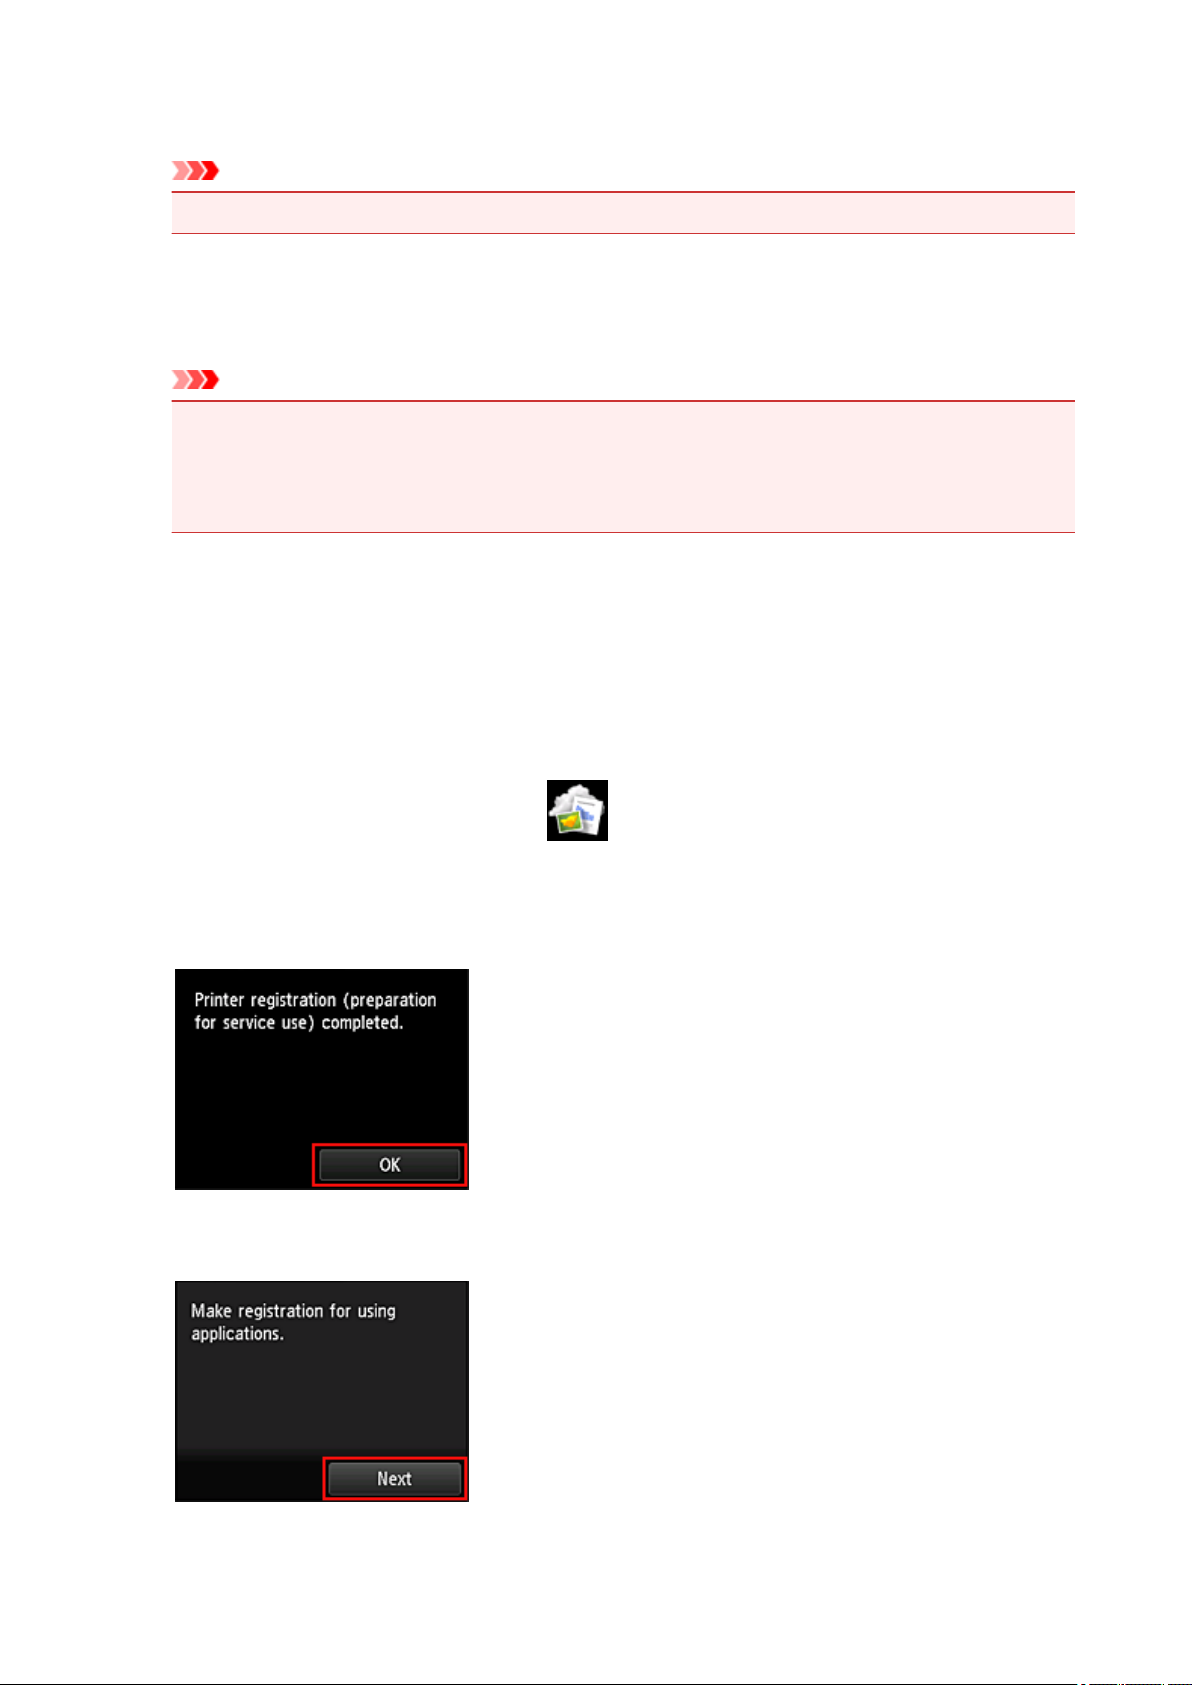
1.
Check that the printer is connected to the Internet
2.
From the printer home screen, select Cloud
3.
Registration to the server will take place
When the registration completed screen appears, select OK.
4. On the confirmation screen, select Next
29
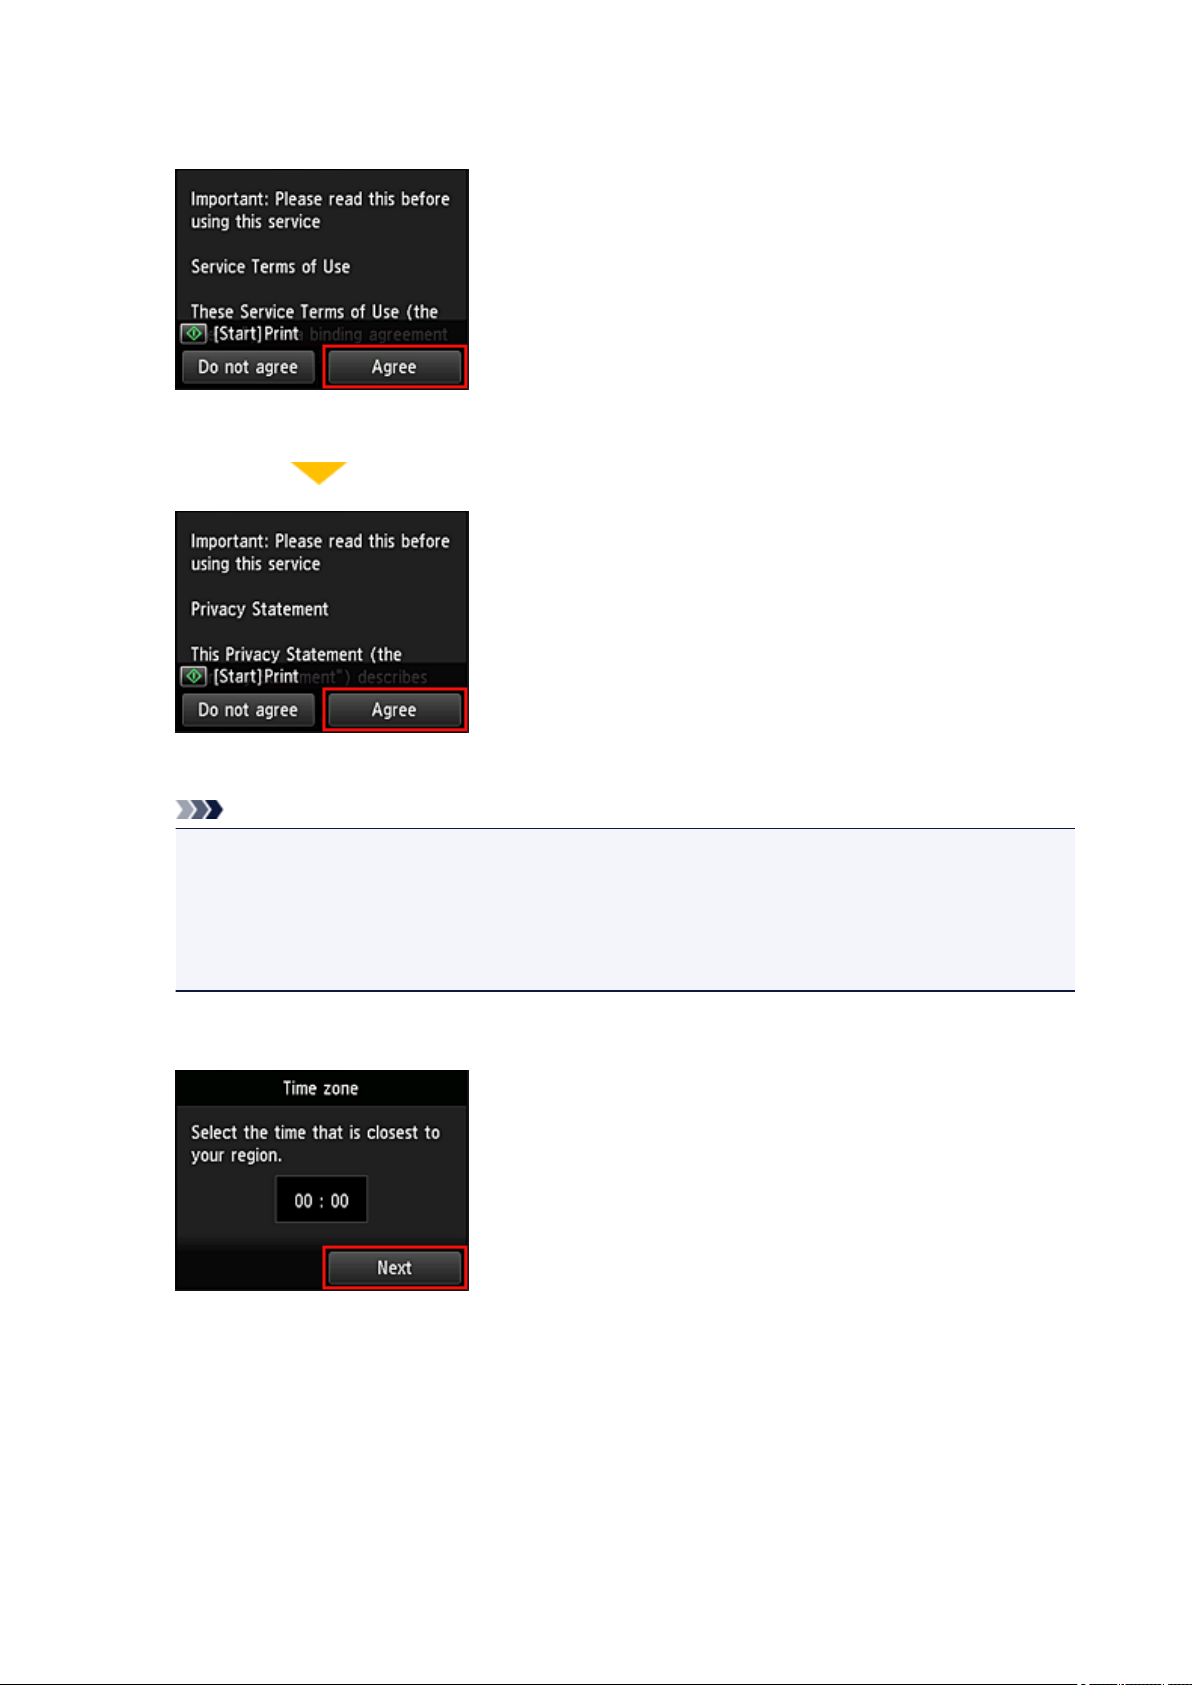
5. In the License agreement and Privacy statement windows, read the statements, and
then select Agree if you agree
<License agreement>
<Privacy statement>
Note
• If you select Disagree, a confirmation screen of canceling the user information registration
appears. If you select Yes, the user information registration is canceled, and you return to the
Home screen.
If you selected Disagree, you can still use this service later.
You can print the displayed information by pressing the Start button.
•
6.
On the Time zone screen, select the time closest to your region, and then select Next
7. In the time zones list, select the region closest to you
For some regions, a screen for applying the daylight saving time setting may appear.
30
 Loading...