

Canon IRIScan Express 4 Quick User Manual

IRIScan Express 4
Quick User Guide

Contents
1. Introduction
2. Software Installation
2.1 Installation on Windows
2.2 Installation on Mac OS
3. Supported Documents
4. Using the Scanner
4.1 Top view
4.2 Rear view
4.3 Scanning with the IRIScan Express 4
5. Maintenance
5.1 Calibrate the scanner
5.2 Cleaning the scanner
6. Troubleshooting
6.1 Clearing a Paper Jam
6.2 Questions and Answers
6.3 Product Support
7. Specifications
8. Legal Information

1. Introduction
This User Guide helps you get started with the IRIScan Express 4.
Please read this guide before operating this scanner and its software. All information is subject
to change without prior notice.
The software delivered with this scanner is:
Windows:
Readiris Pro 14
Cardiris 5
Button Manager
Capture Tool
Mac OS:
Readiris Pro 14
Cardiris 4
Capture Tool
For detailed information about the full range of features of Readiris, Cardiris, the Button
Manager and the Capture tool, see their corresponding documentation on
www.irislink.com/support.
2. Software Installation
Important Notes
Install the software before you connect the scanner to your computer.
Check the System Requirements on the I.R.I.S. website to make sure your system is
compatible.
Precautions
Keep the scanner out of direct sunlight. Direct exposure to the sun or excessive heat
may cause damage to the unit.
Do not install the scanner in a humid or dusty place.
Place the scanner securely on an even, flat surface. Tilted or uneven surfaces may cause
mechanical or paper-feeding problems.
Retain the scanner box and packing materials for shipping purposes.
2.1 Installation on Windows
1. Go to www.irislink.com/download/iriscan-express-4.
2. Click the Windows link and download the IRIScan Express 4 package.
3. Once the download is complete, run the IRIScanExpress4.exe file.
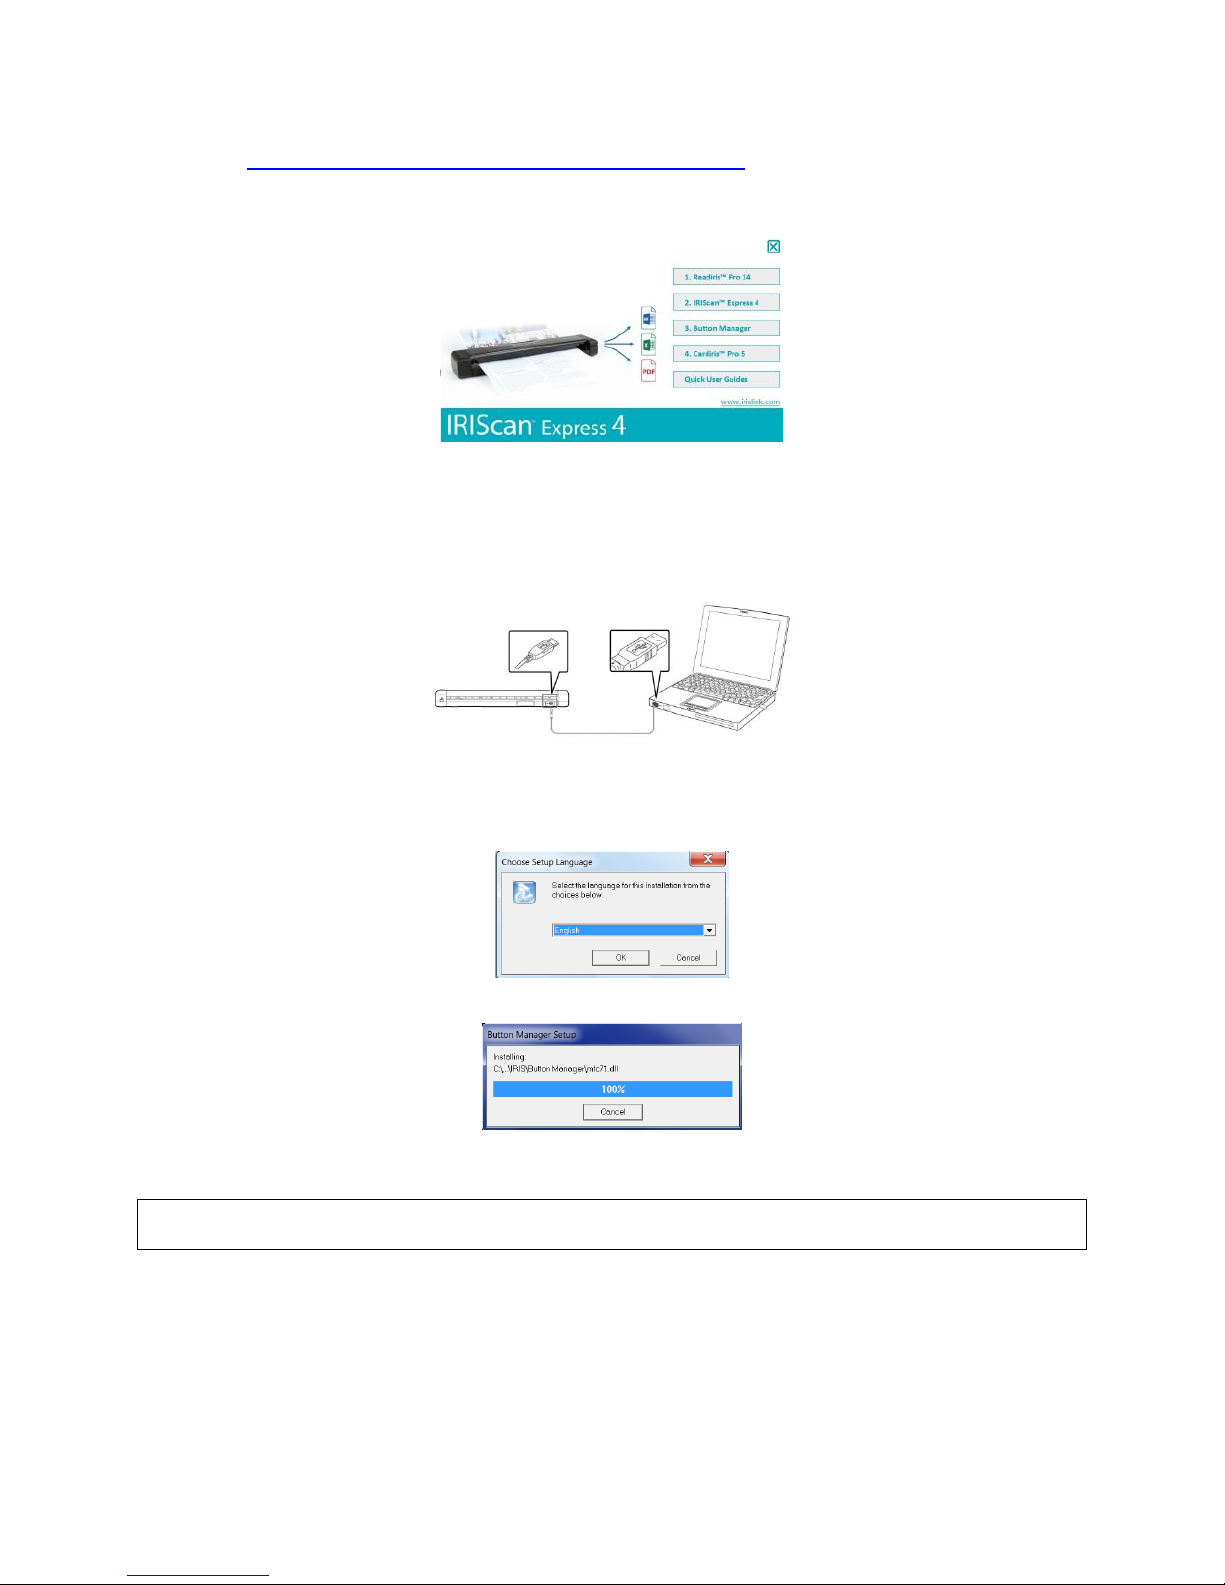
4. The following setup screen is displayed:
5. Click "Readiris Pro 14” to install Readiris. Follow the on-screen instructions.
6. Return to the setup screen and click “IRIScan Express 4” to install the scanner driver.
7. Click “Next” until you reach the step “Plug in the USB Cable”.
Connect the micro USB connector to the USB port of the scanner.
Connect the other end of the USB connector to a USB port on your computer.
8. When the driver is successfully installed the following message appears: “This device is
now ready to use”.
9. Click “Finish” and return to the setup screen.
10. Click “Button Manager” to install the Button Manager. A language selection window
appears.
11. Choose the language you wish to install. The InstallShield wizard guides you through the rest
of the installation.
12. Click “Finish” to complete the installation.
13. Click "Cardiris Pro 5” to install Cardiris. Follow the on-screen instructions.
Note: all license numbers required to activate the software can be found on the license sheet
included in the box.
2.2 Installation on Mac OS
1. Go to www.irislink.com/download/iriscan-express-4.
2. Click the Mac link and download the IRIScan Express 4 package.
3. Once the download is complete, run the IRIScanExpress4.dmg file.
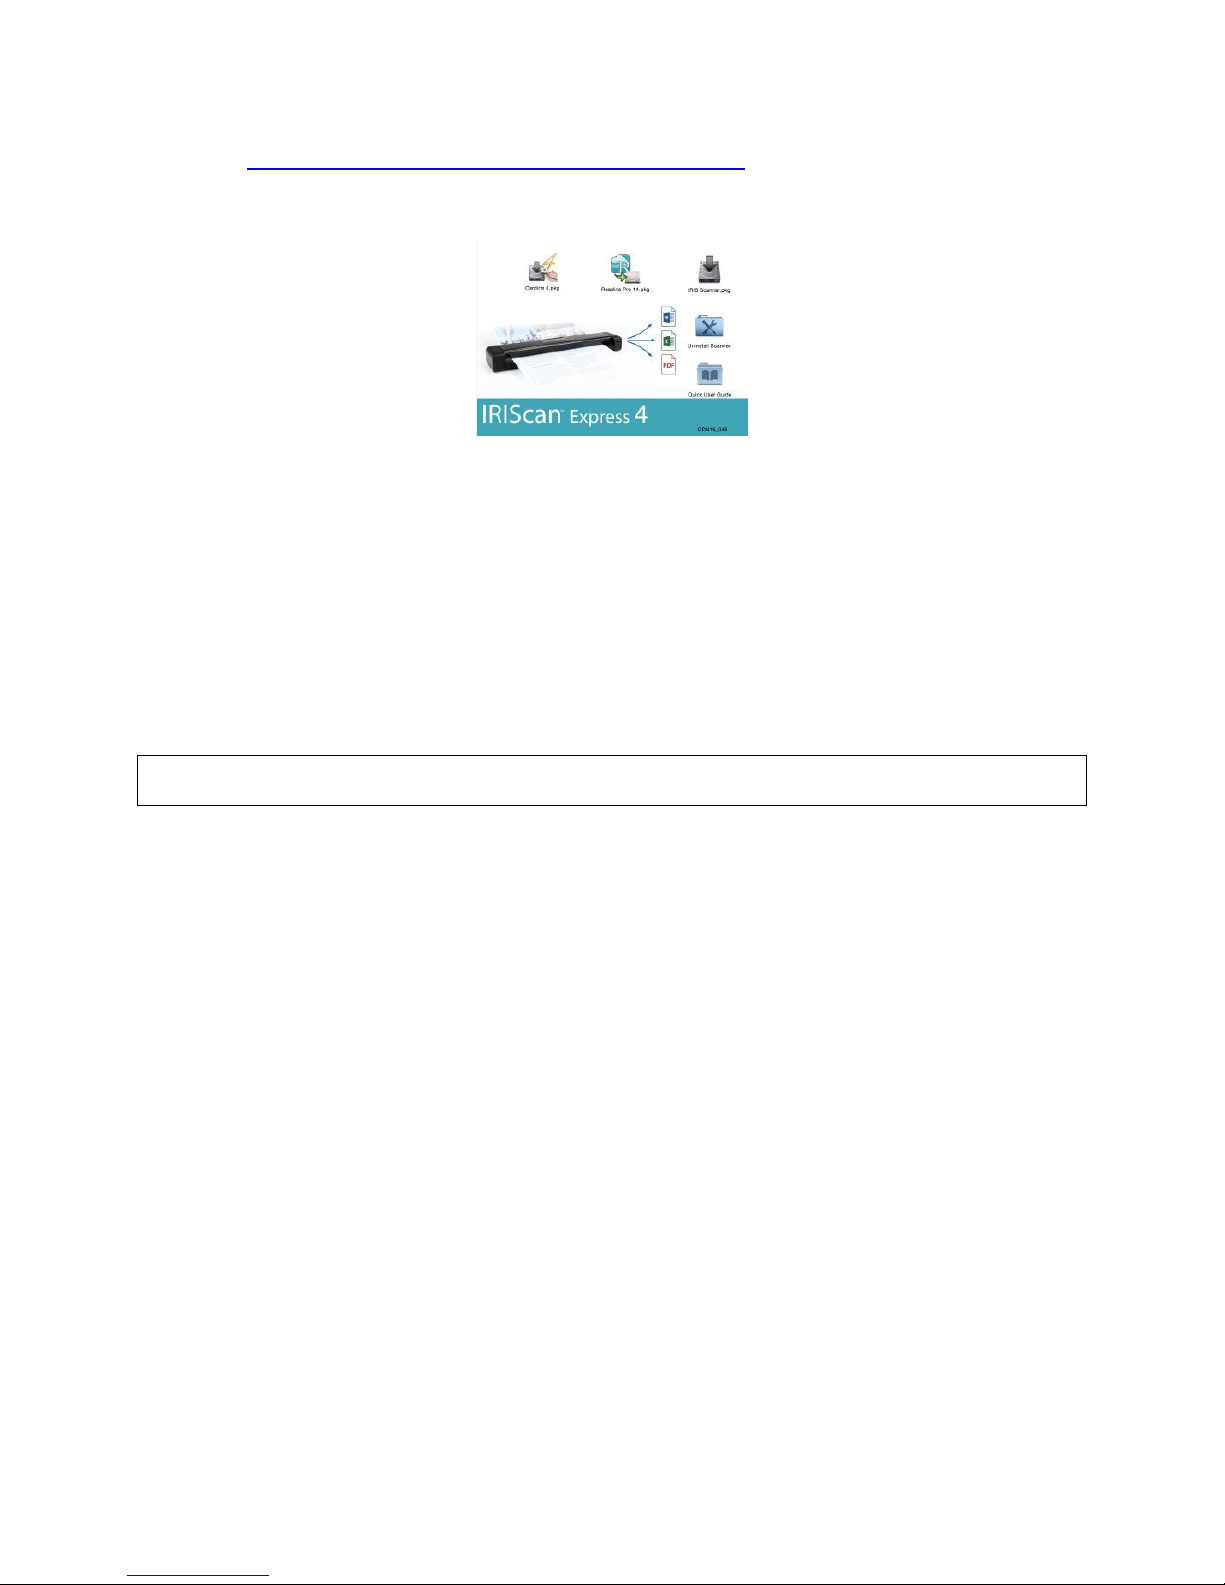
4. The following setup screen is displayed:
5. Run the Readiris Pro 14.pkg file and follow the on-screen instructions.
6. Then click “Install” to start the actual installation.
You might be asked to enter an Administrator Username and Password to install Readiris.
7. You are prompted to enter the serial number.
The serial number can be found on the license sheet inside the product box and contains
15 digits.
8. When the installation is finished, click “Close”.
The Readiris folder is added to the Applications folder by the installation program.
9. Return to the setup screen, run the IRIS Scanner.pkg file and follow the on-screen
instructions.
Again you might be asked to enter an Administrator Username and Password.
10. Connect the scanner to your computer.
11. Return to setup screen and install Cardiris 4.
Note: all license numbers required to activate the software can be found on the license sheet
included in the box.
3. Supported Documents
The scanner is designed to obtain the best scanning results with the following types of originals:
Photos and documents (3”x5”, 4”x6”, 5”x7”, 8.5”x14”) (76 x 127mm, 102 x 152 mm, 127 x
177 mm, 216 x 356 mm)
Business cards [standard 3.5”x 2” (88 x 50 mm) or larger]
Long page (8.5”x36”) (216 x 914 mm) for 300 dpi only
Paper Weight: 60~107 g/m
2
(16~28 lb)
Unsuitable Documents
Do not use the following types of originals for scanning, or the scanner may malfunction or
cause the original to jam in the slot.
Originals thicker than 0.8 mm
Originals with either side shorter than 50 mm
Originals with lots of black or dark colors
Originals with dark colors surrounding the edges
Printed media (newspapers, magazines, etc.)
Soft and thin materials (thin paper, cloth, etc.)
 Loading...