


Canon imagePROGRAF iPF650 Basic guide No.3, imagePROGRAF iPF655, imagePROGRAF iPF750, imagePROGRAF iPF755, imagePROGRAF iPF750 MFP M40 Basic Manual
Printer Relocation
Printer Driver
Installation
3
1
Printer Operations
2
Troubleshooting
Read this manual before attempting to operate the printer.
Keep this manual in a handy location for future referencing.
This Basic Guide includes three booklets.
Large-Format Printers
Be sure to read "
Safety Precautions" in the fi rst
booklet, Printer Operations.
ENG
3
Printer Relocation
Printer Driver Installation
Basic Guide
Preparing to Transfer the Printer ......................2
Reinstalling the Printer .....................................6
Installing the Printer Driver (Windows) ............. 9
Installing the Printer Driver (Mac OS X) .........11
Convenient Printer Driver Features ................13
Troubleshooting ................................................2
If Roll Paper Jams .......................................... 18
If a Sheet Jams...............................................21
If Paper is Soiled ............................................23
If Printing is Faint ............................................25
If Vertical Lines are Warped or Colors are
Misaligned ..................................................26
If Banding Occurs ...........................................28
If Line Length Does Not Match .......................30
Error Messages .............................................. 32
Safety Precautions ........................................2
Types of manuals ............................................. 5
Documentation Conventions ............................6
Parts .................................................................8
Attaching the Roll Holder to Rolls ...................12
Loading Rolls in the Printer ............................14
Removing the Roll from the Printer ................16
Loading Sheets in the Printer ......................... 18
Removing Sheets ........................................... 20
Consumables..................................................21
Replacing Ink Tanks .......................................22
Replacing the Maintenance Cartridge ............ 26
Replacing the Printhead ................................. 30
Menu Map.......................................................35
2
It is not possible to prepare the printer for transfer if the Display Screen requests you to replace the Maintenance
Cartridge or check the remaining capacity. Replace the Maintenance Cartridge before transfer preparations. In
this case, you will need one new Maintenance Cartridge .
(→ , Replacing the Maintenance Cartridge)
•
Depending on the state of the printer, part replacement may be necessary when preparing to transfer the printer
(that is, when you execute the printer menu item to prepare for transfer).
•
If consumables must be replaced, the message Consumables must be replaced. Call for service. is
shown on the Display Screen and preparation is not possible. If this message is displayed, press the
OK button and contact your Canon dealer for assistance.
•
If the Tab Selection screen is not displayed, press the Menu button.•
Be sure to contact your Canon dealer before transferring the printer to a new location. Ink may leak and damage
the printer if you do not prepare the printer correctly and it is tipped or stood on end in transit.
•
1
2
3
1
To protect the internal parts in transit, always follow these steps before transferring the printer to a new location.
Refer to the Setup Guide for details on packing the printer and installing it after transfer.
Remove the paper.
Press the OK button.
Press ▲ or ▼ to select Prep.MovePrinter , and then
press the OK button.
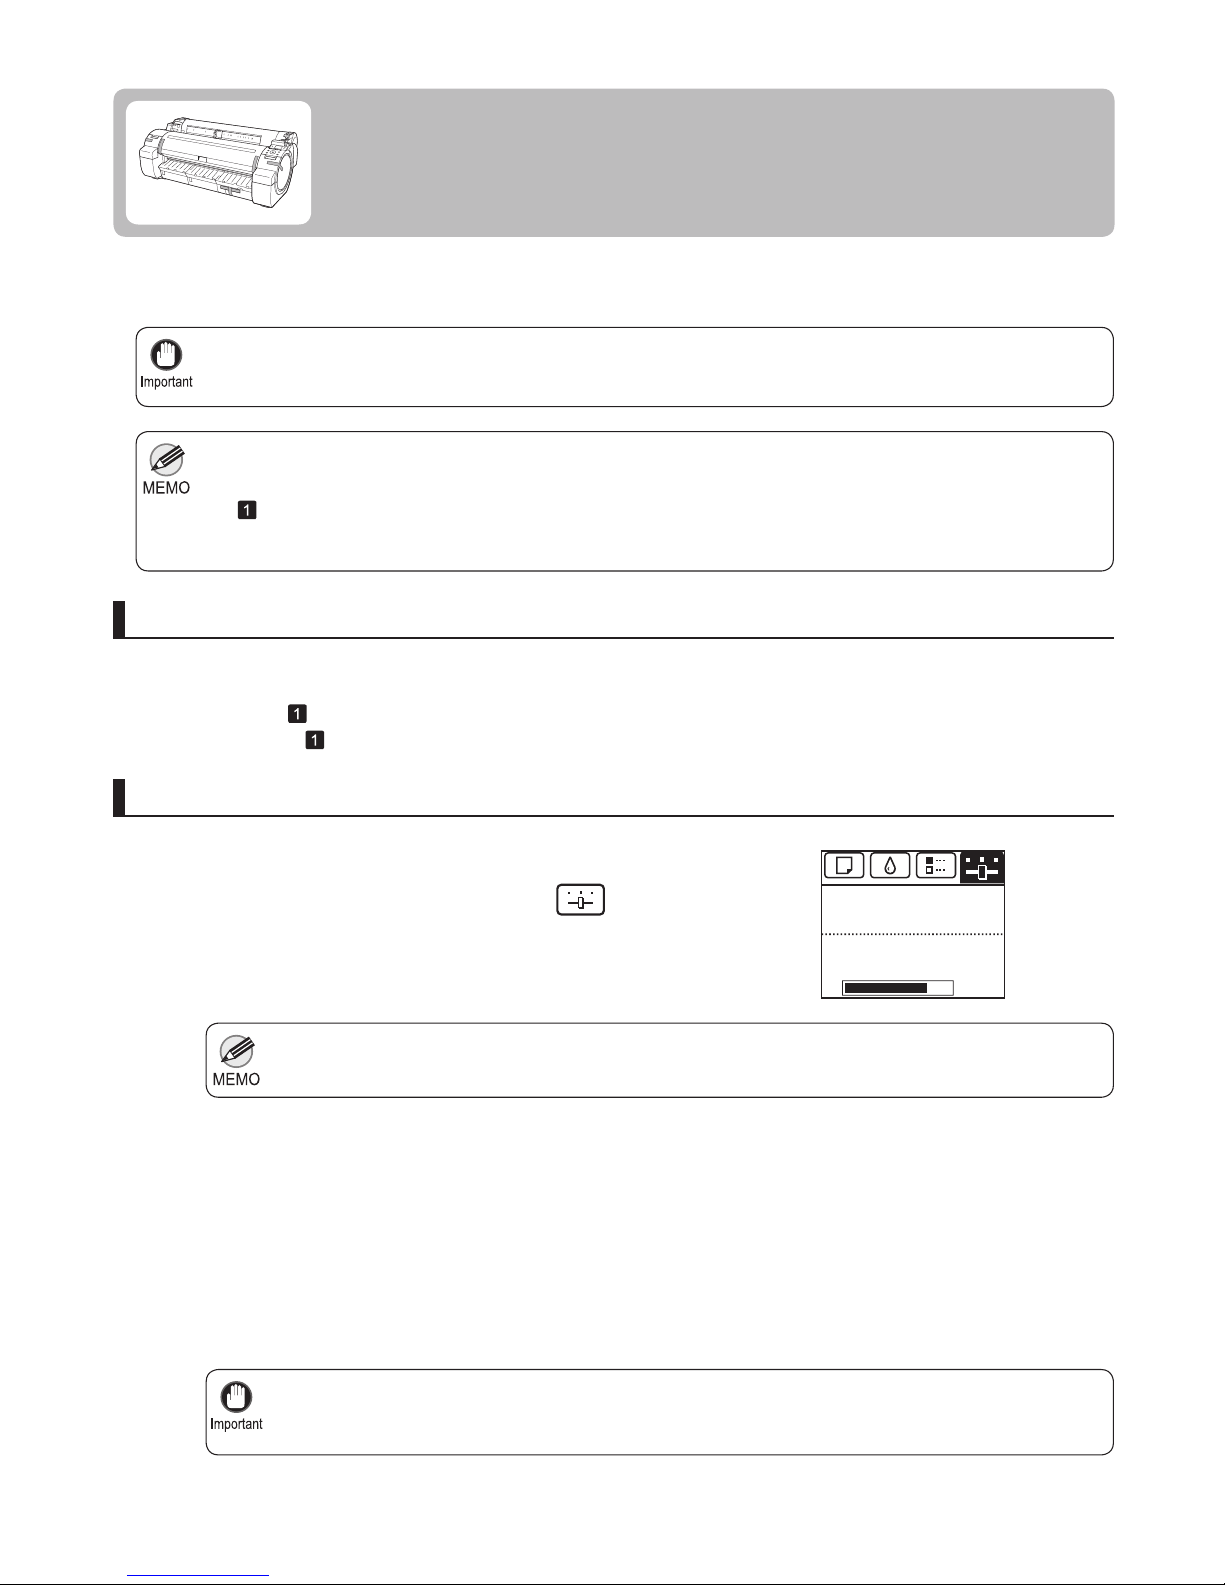
On the Tab Selection screen of the Control Panel , press
◄ or ► to select the Settings/Adj. tab (
).
Remove paper
Access the menu for moving the printer
Rolls: (→ , Removing the Roll from the Printer)
Sheets: (→
, Removing Sheets)
Preparing to Transfer the Printer
Prepare to transfer the printer as follows.
The Set./Adj. Menu is displayed.
Once preparations are fi nished, a message on the Display
Screen requests you to open the Ink Tank Cover .
㪏㪇㩼
Remaining Amount
Maint. cart.
Ready
OK:Setting/Adj. Menu
3
Preparing to Transfer the Printer
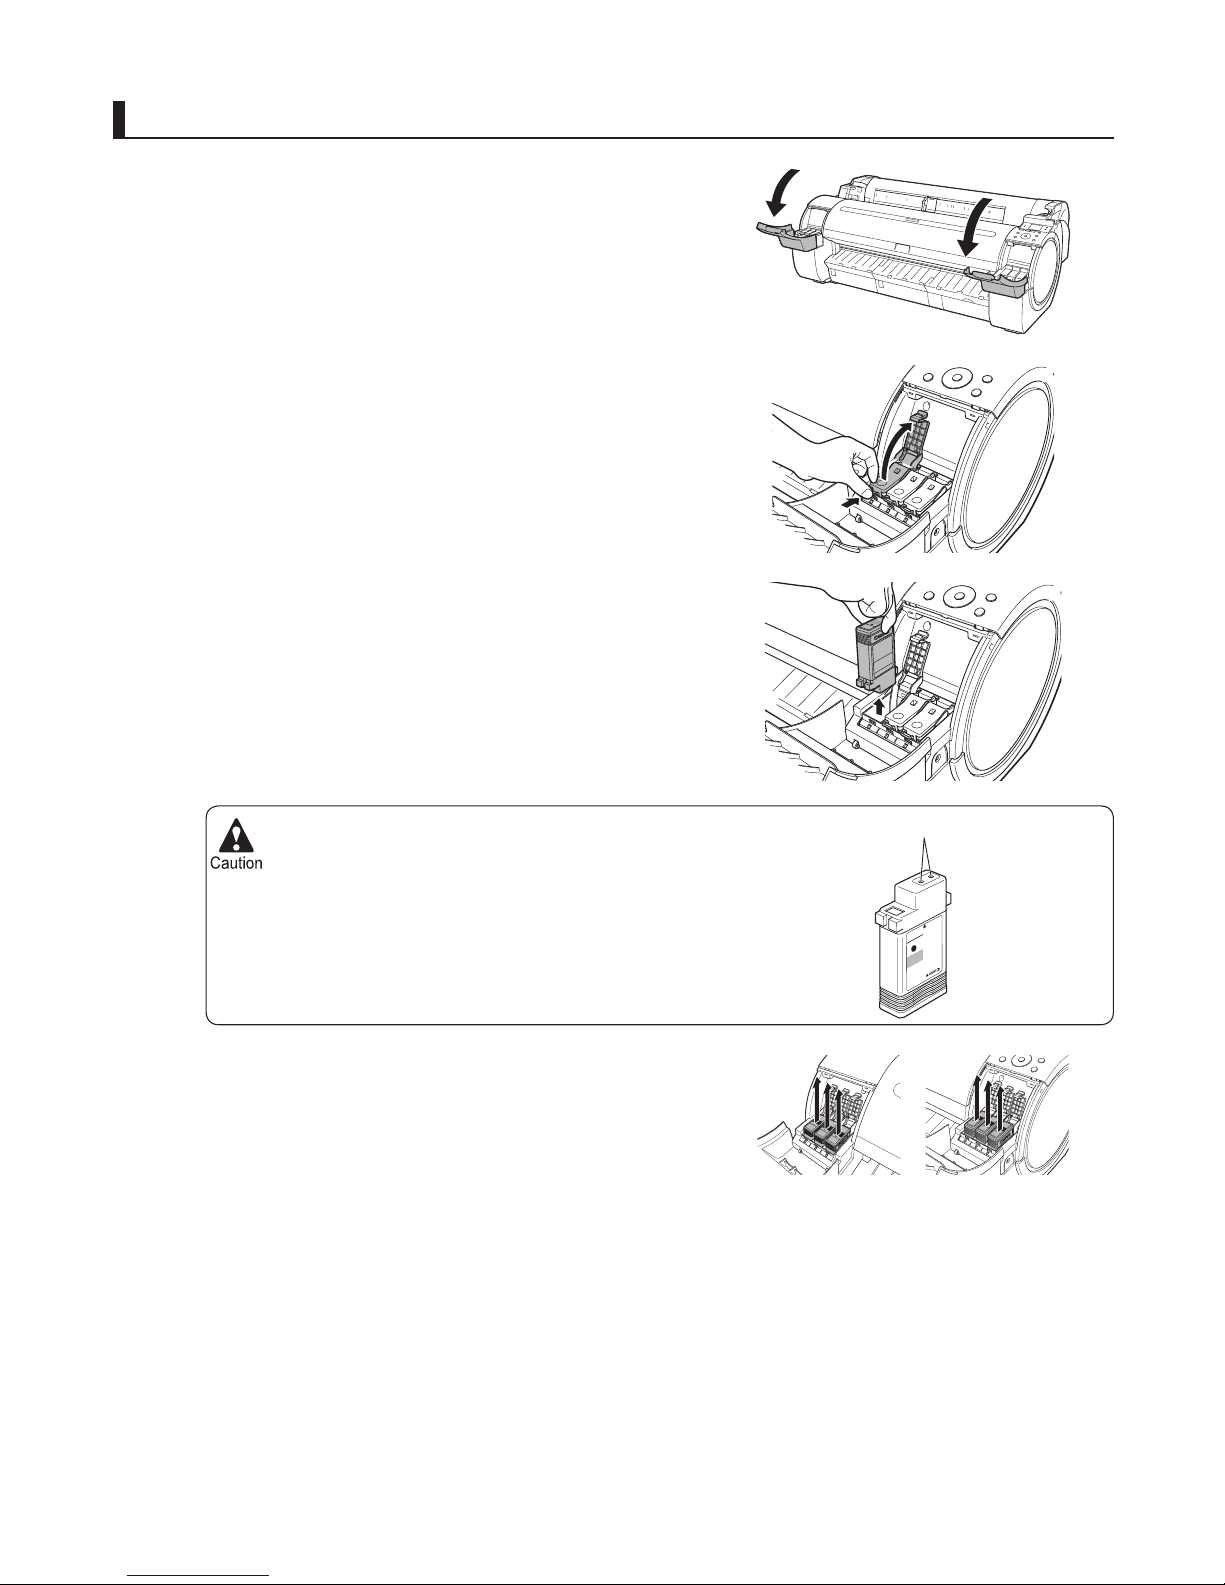
Store the ink tanks you removed with the ink holes (a)
facing up. Otherwise, ink may leak and cause stains.
•
1
2
3
4
Open the Ink Tank Cover .
Pressing the tip of the Ink Tank Lock Lever horizontally,
lift the Ink Tank Lock Lever to release the lock.
Holding the ink tanks by the grips, remove them.
Remove the ink tanks
Repeat steps 2 and 3 to remove all ink tanks.
a
4
Preparing to Transfer the Printer
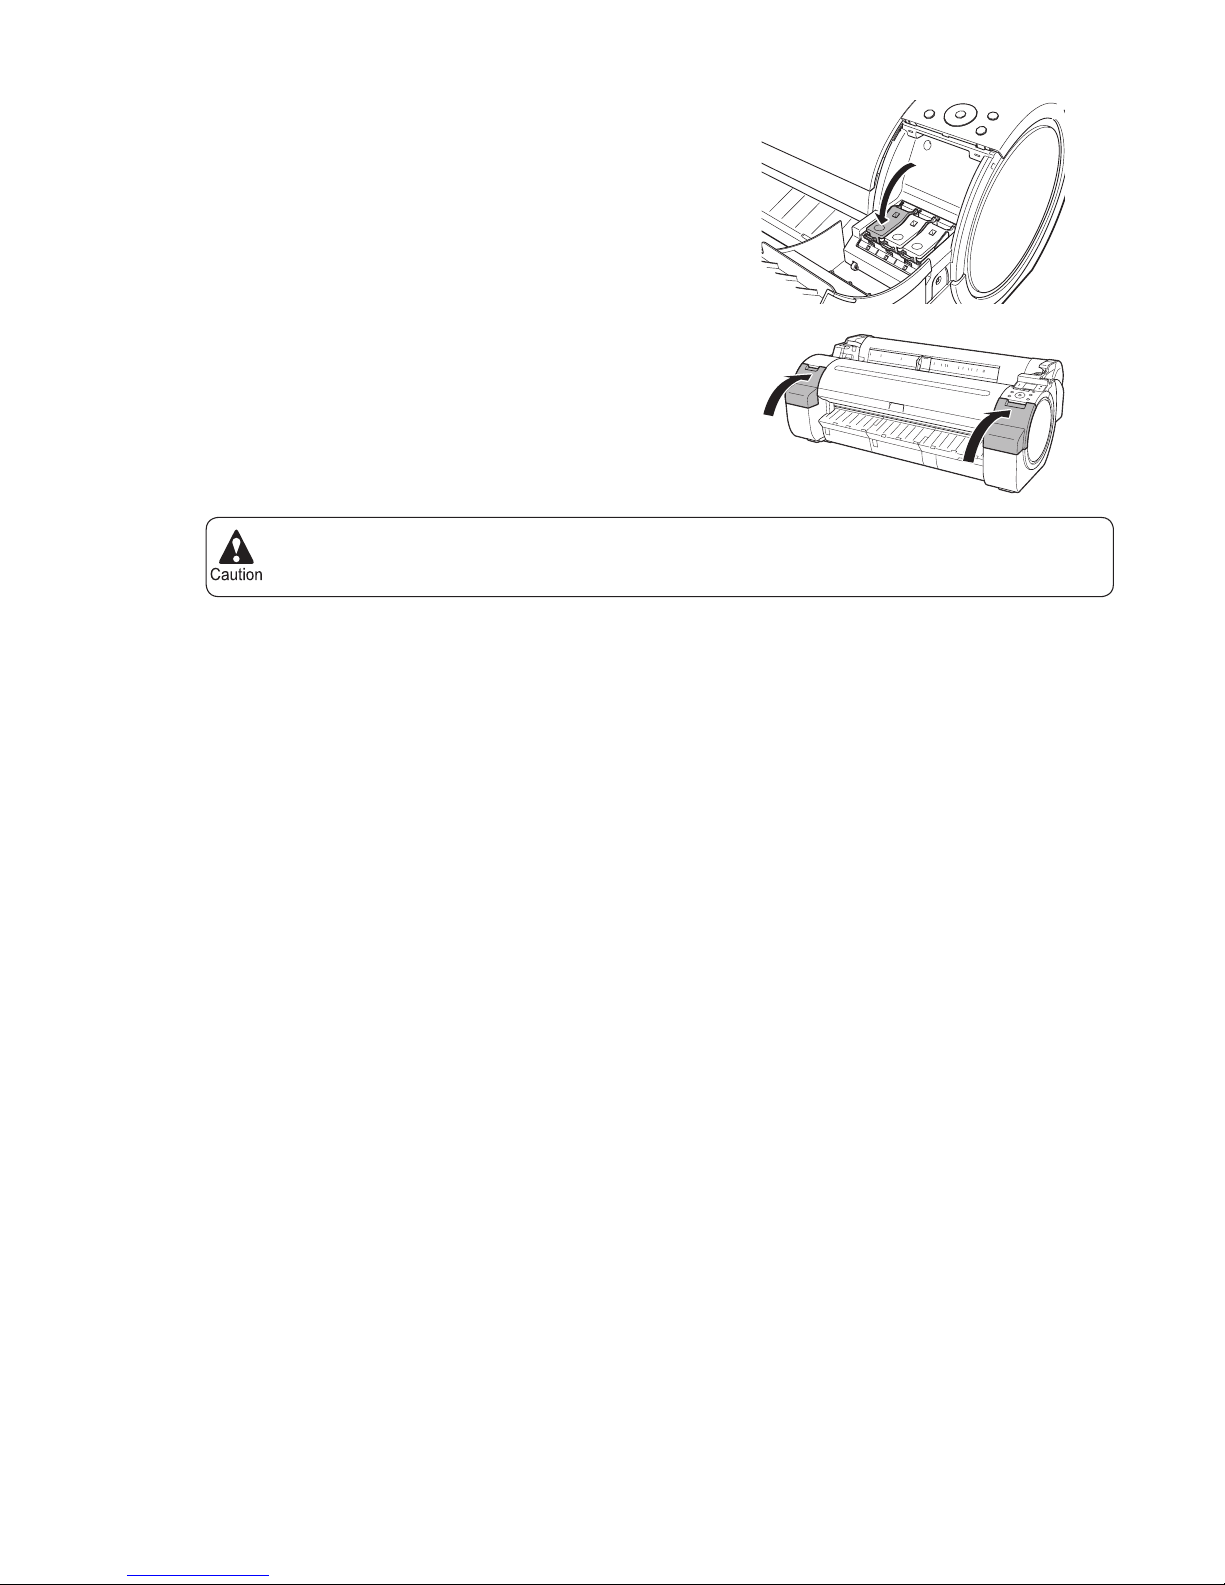
Do not remove the Maintenance Cartridge during this process.•
5
6
Push all ink tank lock levers closed until they click into
place.
Close the Ink Tank Cover .
At this point, ink is drawn out from inside the tubes.
When the process is fi nished, Completed! Turn Power
Off!! is displayed.
5
Preparing to Transfer the Printer
Turn off the printer before you unplug it. It may damage the printer if you unplug it before it is off and
transfer it in that state. If you accidentally unplug the printer, plug it in again, reinstall the ink tanks, and
follow this procedure again.
•
2
3
4
5
6
1
Disconnect the power cord and interface cable.
Tape down printer covers to secure them, in the reverse
order of tape removal during installation.
Remove the Stand by reversing the installation procedure,
when it was attached to the printer.
Disassemble and repackage the Stand by following the
installation procedure in reverse.
Repack the Roll Holder , Holder Stopper , and printer in
shipping materials, and then package them in a shipping
box.
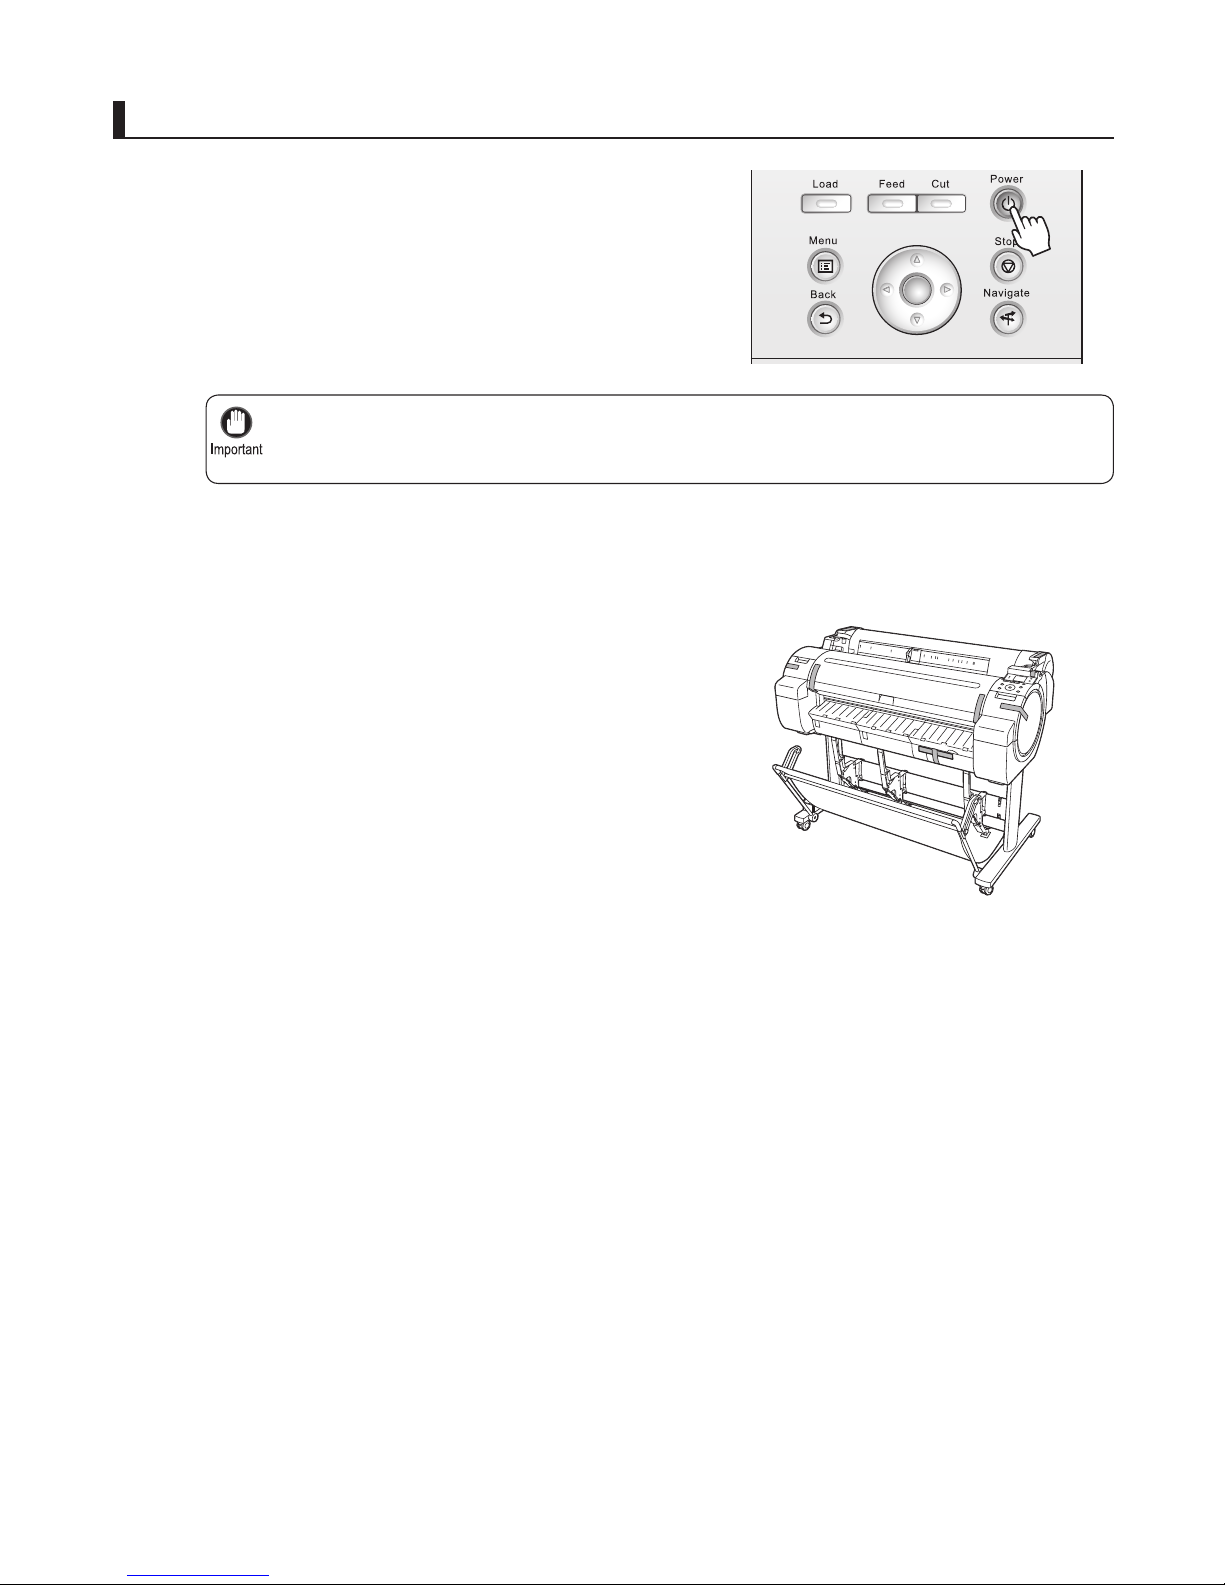
Press the Power button and turn off the printer.
Pack the printer
OK
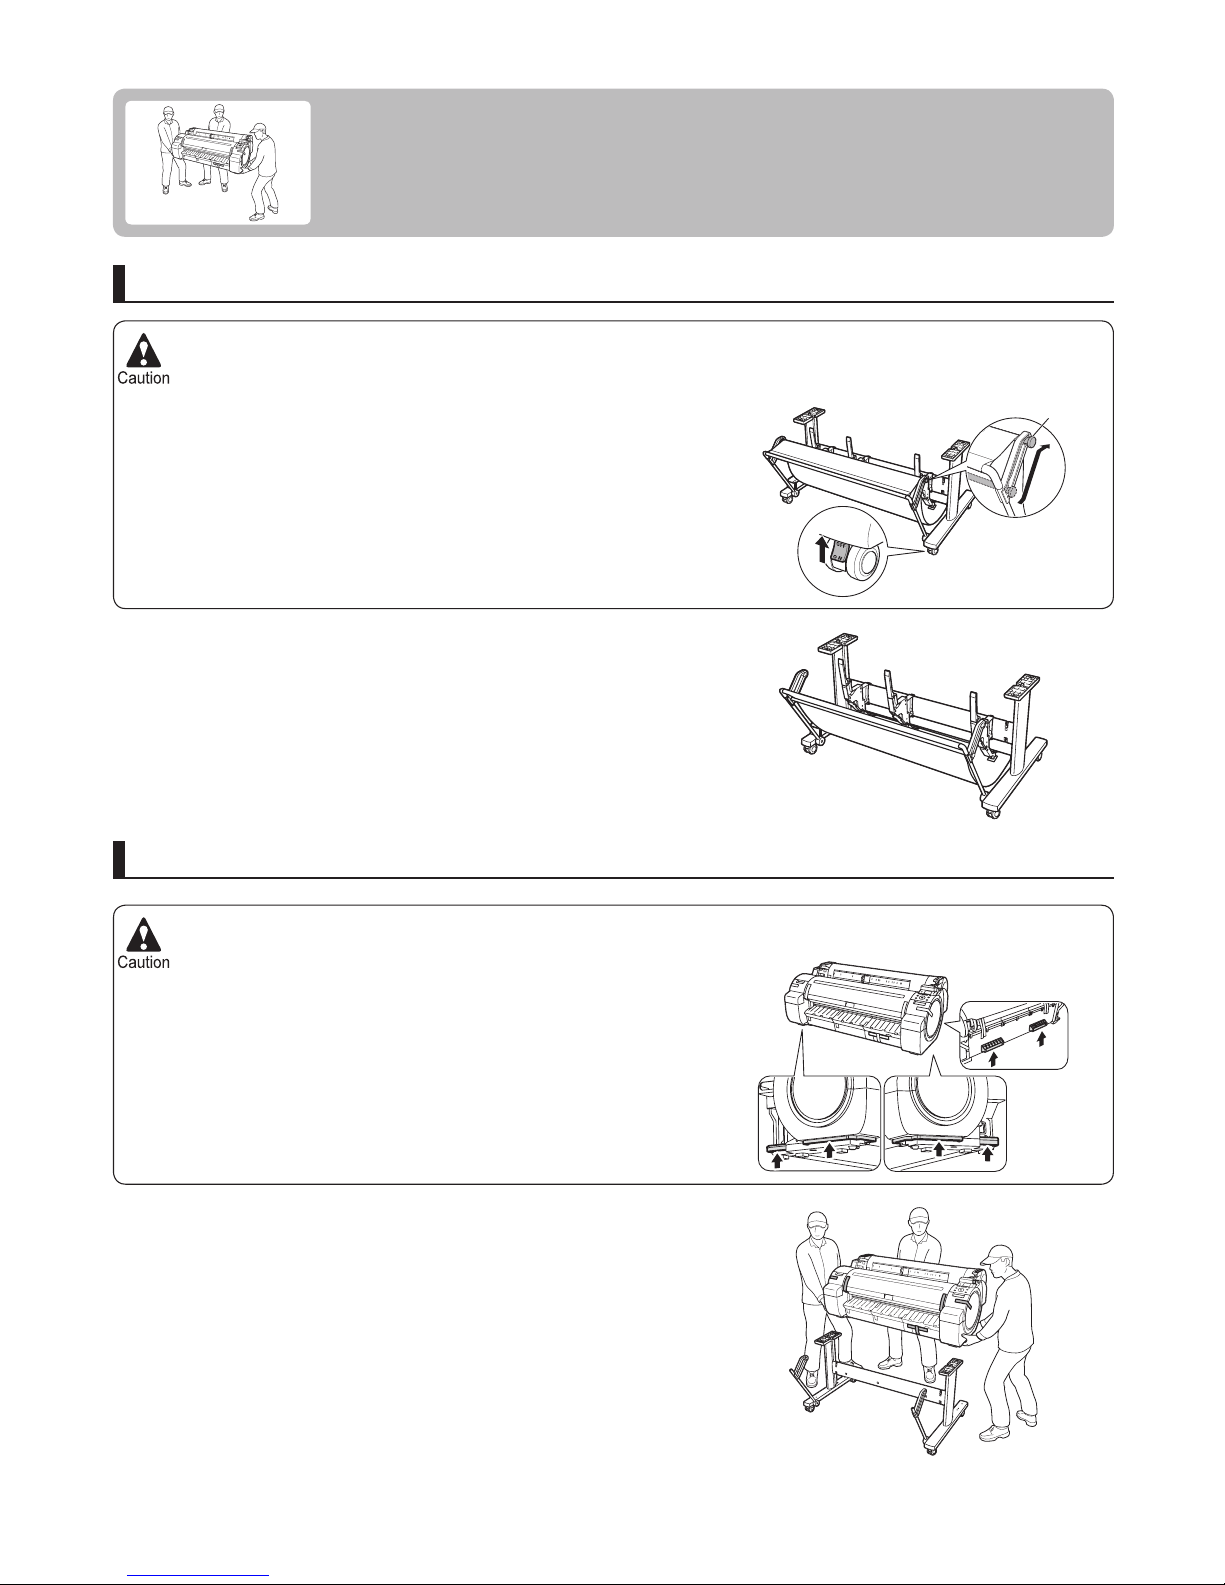
The Stand must be assembled by at least two people on a fl at surface. Attempting assembly by yourself poses a
risk of injury or bending the Stand .
•
The iPF750 or iPF755 alone weighs approximately 52 kg (115 lb), and the iPF650 or iPF655, 43 kg (95 lb). Moving
the printer requires at least three people. Be careful to avoid back strain and other injuries.
•
When moving the printer, fi rmly grasp the Carrying Handles . The
printer may be unsteady if you hold it at other positions, which
poses a risk of injury from dropping the printer.
•
When assembling the Stand , lock the casters.•
Before moving the assembled stand, lift the support rod to the
position shown (a) and unlock all four casters. Moving the stand
with the support rod lowered or the casters locked may cause injury
or damage the area of installation or basket cloth.
•
6
Reinstalling the Printer
The basic workfl ow for reinstalling the printer is as follows.
For detailed instructions, see the Setup Guide .
Install the printer
Referring to the Printer Stand Setup Guide , assemble the Stand .
Mount the printer on the assembled Stand (optional with the
iPF650 and iPF655) and tighten the screws fi rmly.
Assemble the stand (optional with the iPF650 and iPF655)
OFF
a