

Canon DIGITAL VIDEO CAMERA User Manual
1
School District of Manatee County
Instructional Technology Department
DIGITAL VIDEO CAMERA
User’s Guide
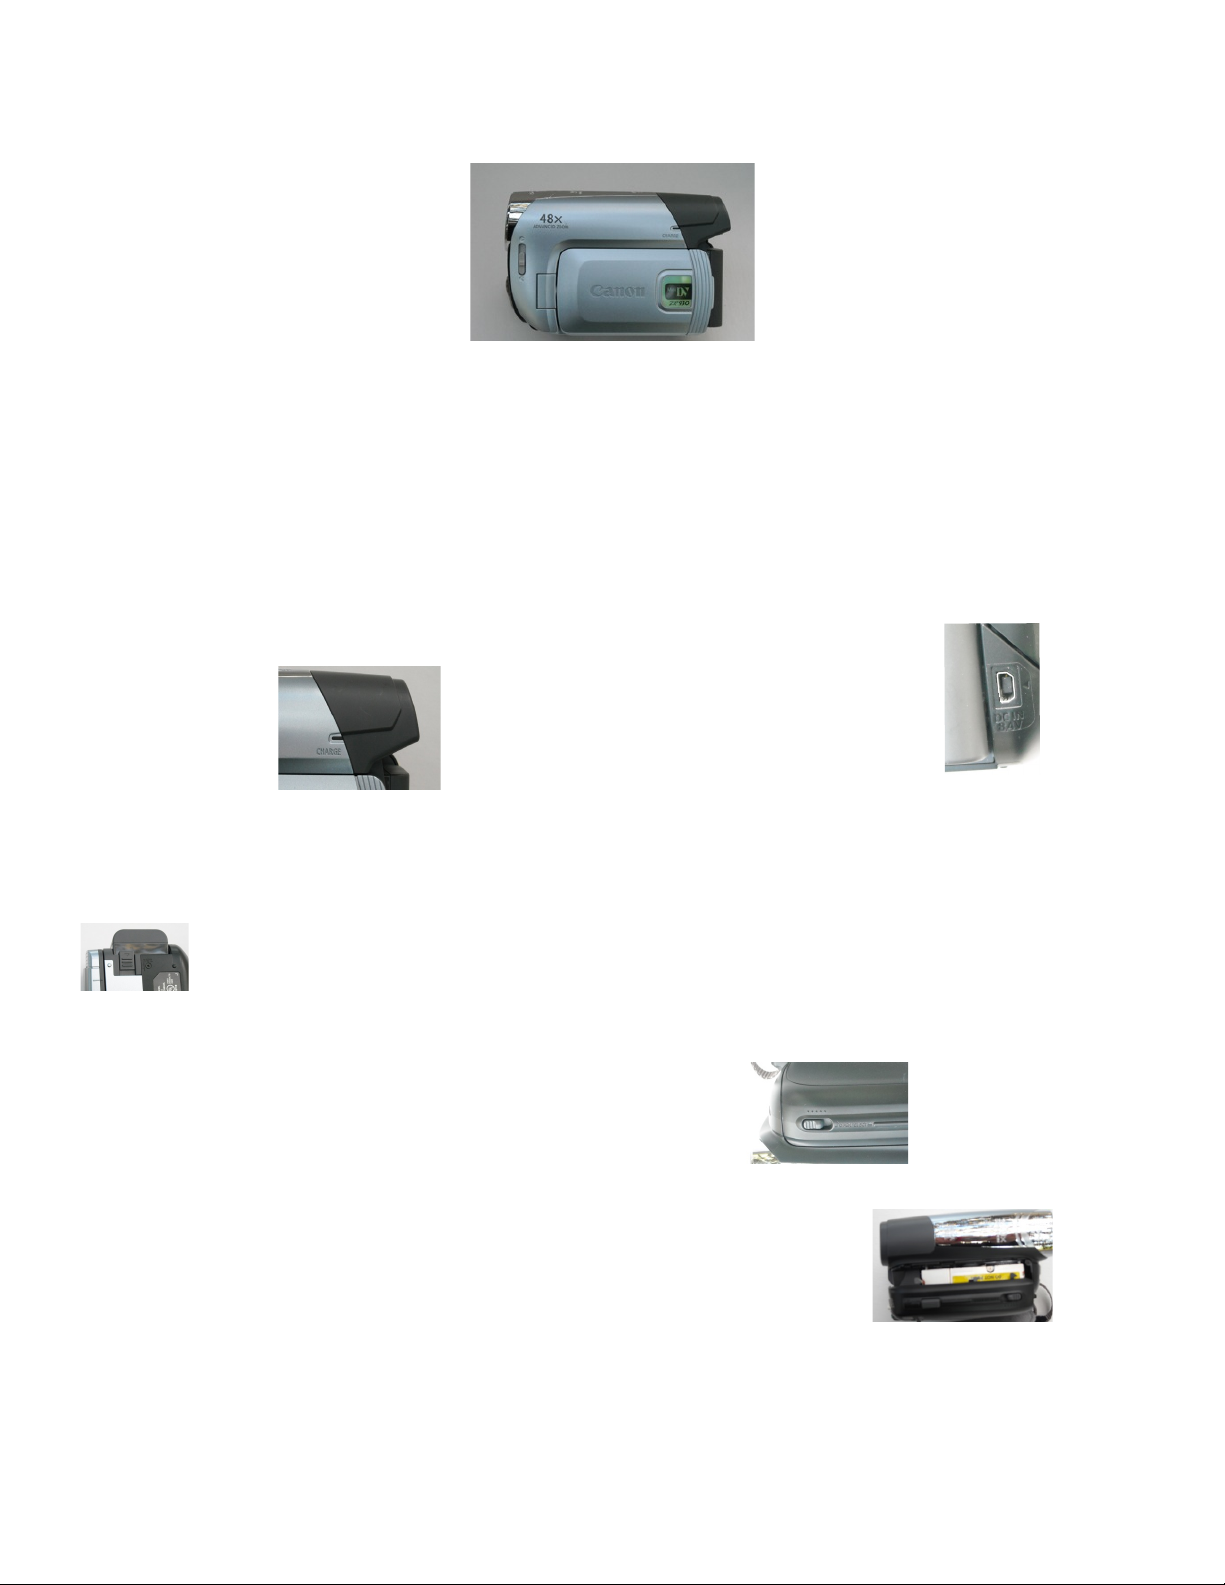
Attaching/Removing/Charging the Battery Pack
Loading/Unloading a DV Cassette
1. To insert a DV tape, slide and hold the OPEN/EJECT switch and gently pull
open the tape cassette compartment cover.
The tape holder will glide open automatically.
2. Load/unload the cassette with the window facing the grip belt.
3. Unload the cassette by gently sliding it straight out.
4. The cassette compartment will retract automatically when tape is inserted and
open if contains tape.
5. After tape is inserted or removed, close the tape cassette compartment cover.
1. Before using the camera, the battery must be charged.
2. Attach the battery pack to the camcorder by sliding the battery into the
compartment marked “battery” below the viewfinder.
3. Connect the power adapter to the camcorder’s DC IN terminal
4. Connect the adapter to the power cord and plug the power cord into a power
outlet.
5. Connect the power adapter to the camcorder’s DC IN terminal.
6. Once the battery is fully charged, the charge indicator on the video camera will
glow steadily while it is charging it will flash, The approximate charging time is
110 minutes.
7. To remove the battery pack from the video camera, slide the BATT button
This digital video camera uses a mini DV tape to record footage on it.
The footage can be transferred to a computer using a fire wire cable.
2
School District of Manatee County
Instructional Technology Department
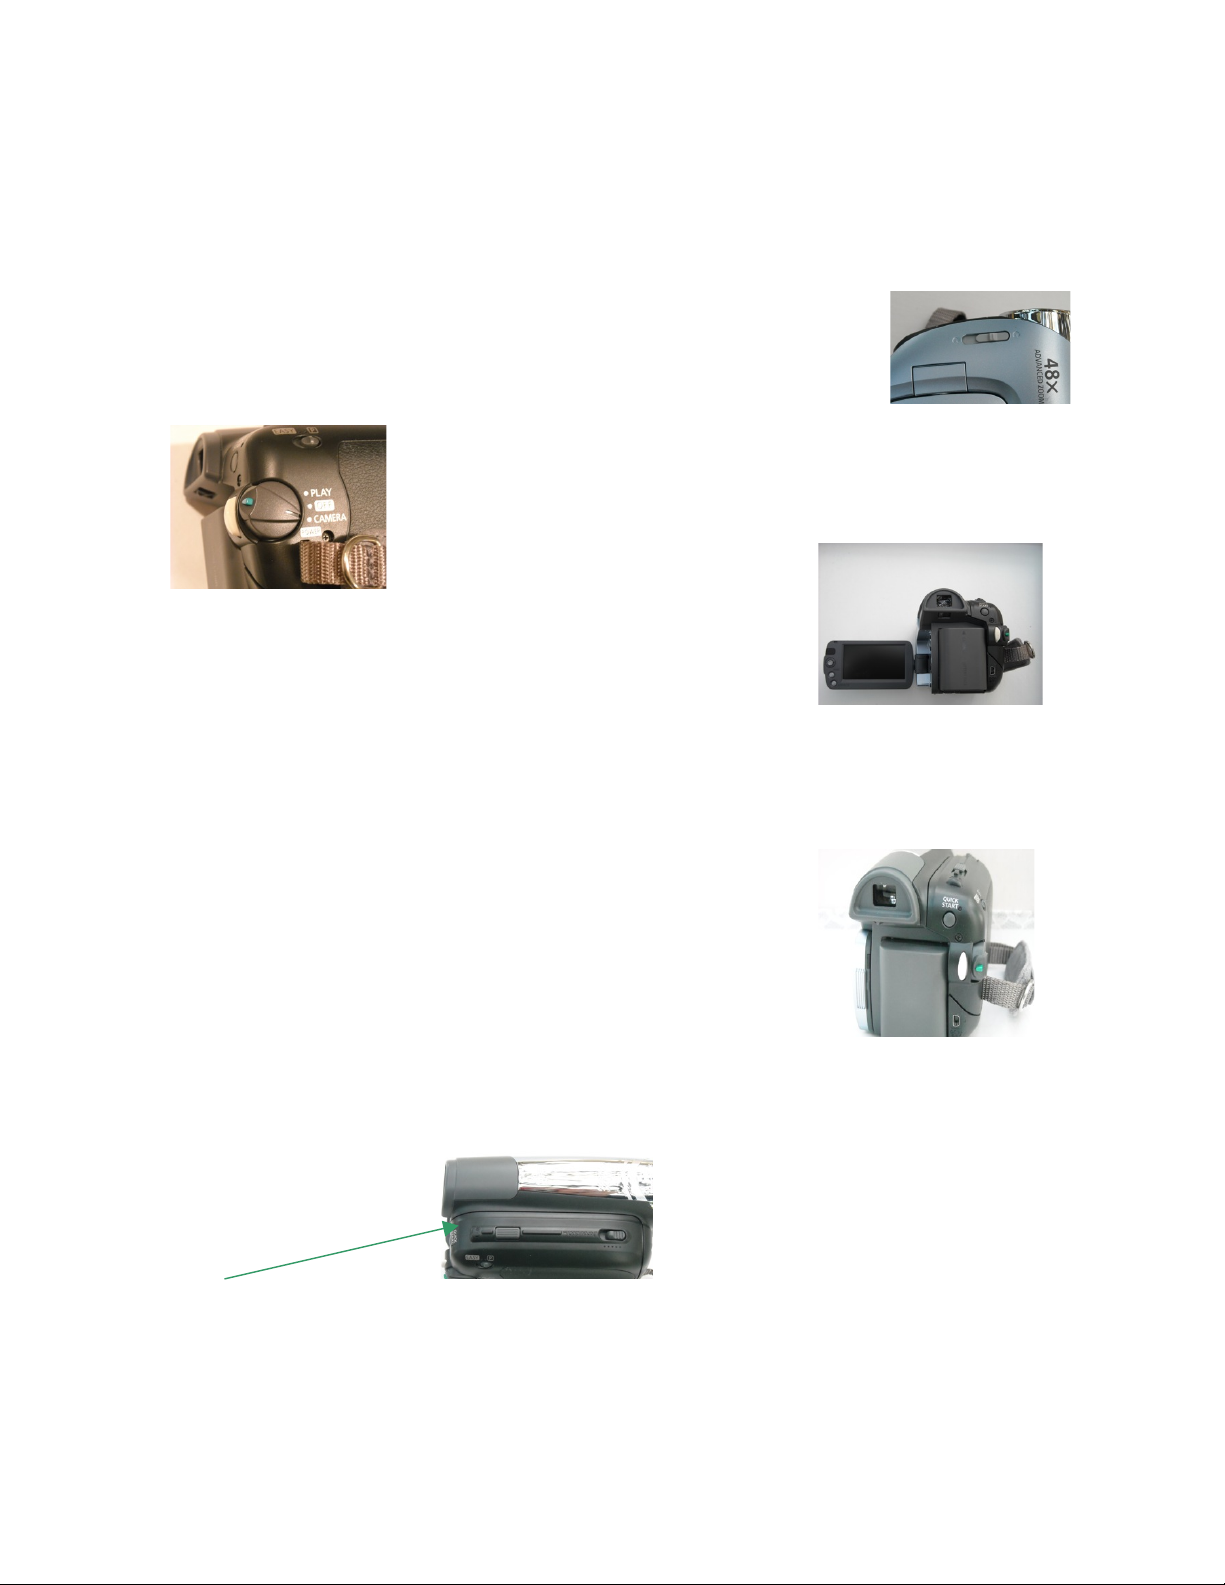
Recording Video
Zooming
1. The W-T button is located on the top right side of the video camera is the wide-tele photo
switch.
2 Push the switch up to move back from the subject and make a wider shot.
3. Pull the switch down to move in closer to a subject.
6. When finished recording, turn the POWER switch to OFF.
7. Close the LCD panel.
8. Close the lens cap.
4. Press the white start/stop button to begin recording.
NOTE: When recording REC will be displayed on top right
corner of the screen. PAUSE will be displayed on top
right corner of the screen when the camera is not
recording.
5. Press the start/stop button again to pause recording.
Restart recording by pressing the start/stop button again.
1. Open the lens cap by sliding the lens cap
switch to the open position.
2. Set the camcorder to CAMERA mode by
pushing in the green button while sliding
it down to the camera position.
3. Open the LCD panel. To use the
viewfinder, keep the LCD panel.
 Loading...