

Bushnell Weather FX 5, WeatherFX 950013C, WeatherFX 950015C, WeatherFX 950017C Owner's Manual

Weather Forecasters
Owner’s Guide
MODEL# 950013C / 950015C / 950017C
Lit #: 98-1023 / 08-08

2
Once you have provided power to the unit and set your location,
you’re done with the setup-that’s all you need to do! Your
WeatherFX
will start to display weather information for your area
once it automatically connects to the network that relays the data
from AccuWeather.com. You will typically see most (or all) of your
area’s weather information appear on the display within the rst 15
minutes, however the time it takes for the display to show all of the
data on the larger models may take longer (up to a few hours after
it is rst powered on), and can vary depending on your location, so
please be patient.
After it receives the rst full set of all data, your
WeatherFX
will
continuously display weather information-updating temperature,
forecast and other data automatically as it becomes available. If
you seem to be having trouble receiving weather data, check the
Signal Strength Indicator bars to the right of “ambient” in the top
right corner of the display. If your unit only shows one bar, move it
closer to a window or try placing the unit in a higher level of your
home or building if possible. Two or more bars of signal strength
will ensure your
WeatherFX
stays up to date, and will improve
battery life, since it doesn’t have to “work as hard” to receive the
network signal.
Basic Setup (all models)

3
1. Connect AC adapter or Install Batteries
The
WeatherFX
units can all run on either batteries or an AC
adapter (included with some models). See the “Parts Guide” page for
a list of battery and AC adapter requirements. Note: When running
on battery power, the backlight function of the 5-Day and 7-Day
units is not available.
To use battery power, open and set aside the battery compartment
cover (slide it up in the direction of the arrow on the cover) and
insert batteries (not included, use alkaline or lithium). Make sure the
batteries are installed as indicated inside the battery compartment;
note that all positive (+) terminals face the same direction (towards
the right when looking at the back of the unit), with the negative
(-) terminals in contact with the springs.
Replace the battery
compartment cover, putting it back in place
with the arrow at the
bottom of the door, then slide it down until it clicks into place.
To use AC power, simply insert the plug at the end of the AC adapter
wire into the power jack, located on the back of the unit, on the left
side of the indented area below the fold-out easel. Then plug the
adapter into a wall outlet.
Basic Setup (all models)

4
When the unit is plugged into an AC outlet, the batteries will be used
for backup only.
2. Set Your Location
When your
WeatherFX
is powered on for the rst time,
the display will take up to 15 minutes to update. Numbers
will ash by in the different sections of the display, then
a “forecast location” name will appear, allowing you to
select your preferred nearest city from the stored list.
The list is in alphabetical order by state, beginning with Alaska
(Anchorage, AK). To change the city, simply press either Location
Button at the right of the display. The lower button moves down
through the list of cities by state (from Alaska to Wyoming), and
the upper button moves up through the list (from Wyoming back to
Alaska). Scroll through the list to get to your state, then select the
nearest major city or metropolitan area (you may need to choose a
city in a neighboring state as the closest location). See the “Location
List Reference” pages in the back of this manual for a full listing of
available cities, in order of appearance.
Basic Setup (all models)
Location Buttons

5
Desktop or Wall Mounting
Fold out the easel on the back of the unit to use it on a desk or
tabletop. To mount the
WeatherFX
on a wall, use the notch on the
back above the battery compartment to hang it on a nail or screw.
Time Adjustment (Time Zone)
The
WeatherFX
automatically receives accurate network time
for your region. However, if you live on the border of a time zone,
you may need to adjust the hour. To adjust the hour, press the
“Timezone” button, located on the back of the unit above the battery
compartment, until the desired time appears on the display.
“No Coverage” Message
This message will appear if your device has been unable to receive
a network signal for an extended period. If you want to verify that
your current (or any) location has network coverage, you can check
it on the internet by going to: http://map.myambient.com. Enter
your full address (or just the city and state) in the address box at the
top, and click “Search”.
Low Battery Indicator
A battery icon will ash on the display when the batteries are low,
and will need replacement soon.
Basic Setup (all models)

6
Forecast Icons Reference
Sunny Partly Cloudy Cloudy Thunderstorms
Rain Drizzle Windy Blustery
Snow Flurries Wintery Mix Haze
7
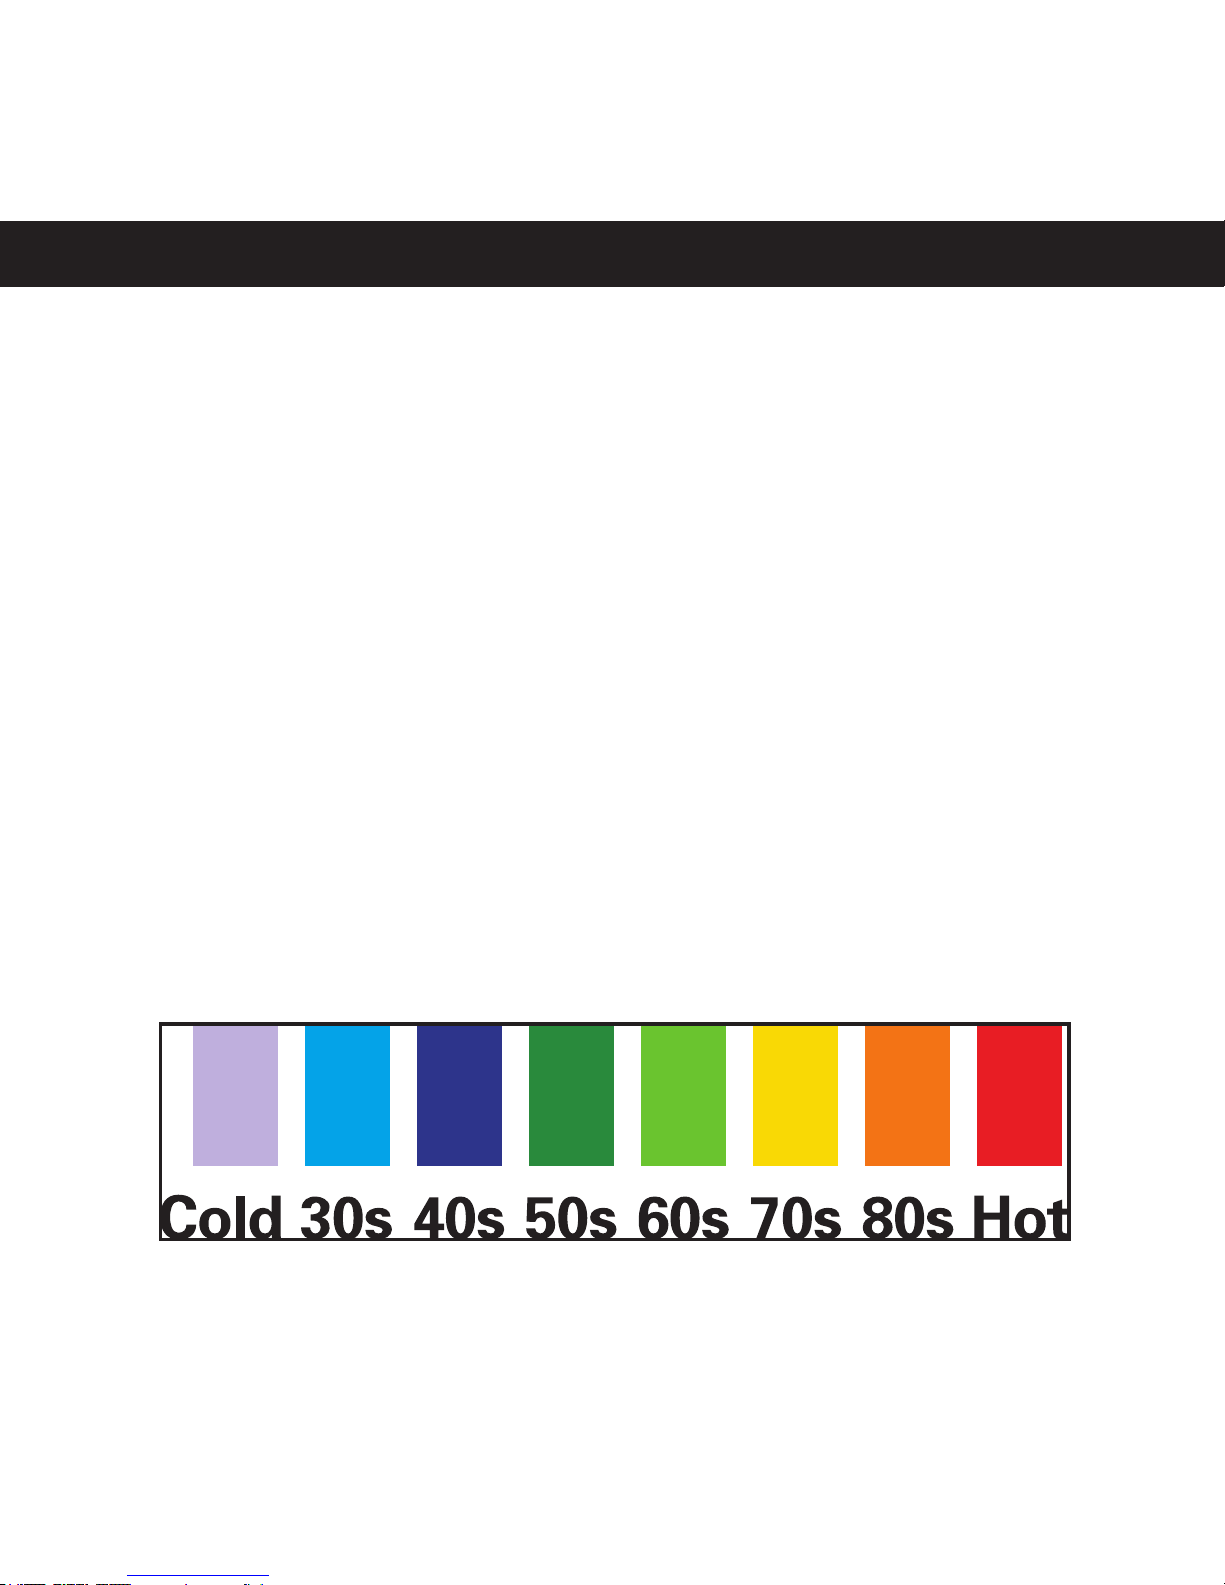
Backlight (5-Day & 7-Day Models Only)
The color of the screen changes to reect the current temperature
(see below for a backlight color reference). The backlight is only
available when the
WeatherFX
is powered by the AC adapter
(not when operated by batteries alone). Please note, the backlight
will not activate until your
WeatherFX
receives its rst update.
Press the “Brightness” button on the rear panel to adjust the display
brightness to any of three settings (keep pressing it to cycle through
all settings): High / Low / Off. The default setting (when the unit
is rst plugged in) is “High”-a dimmer setting is available, or the
backlight may be turned off while the AC adapter remains connected
to conserve battery power.
Special Features (5 & 7 Day Models)
(5-Day & 7-Day Models, With AC Power Only)
Backlight Color/Temperature Range Reference
8
UV Index (7-Day Model Only)
The display indicates the current UV index on a scale from
0 (very low risk) to 11+ (serious risk to unprotected skin).
Wind Speed (7-Day Model Only)
The display indicates current wind speed (in miles per hour)
and direction.
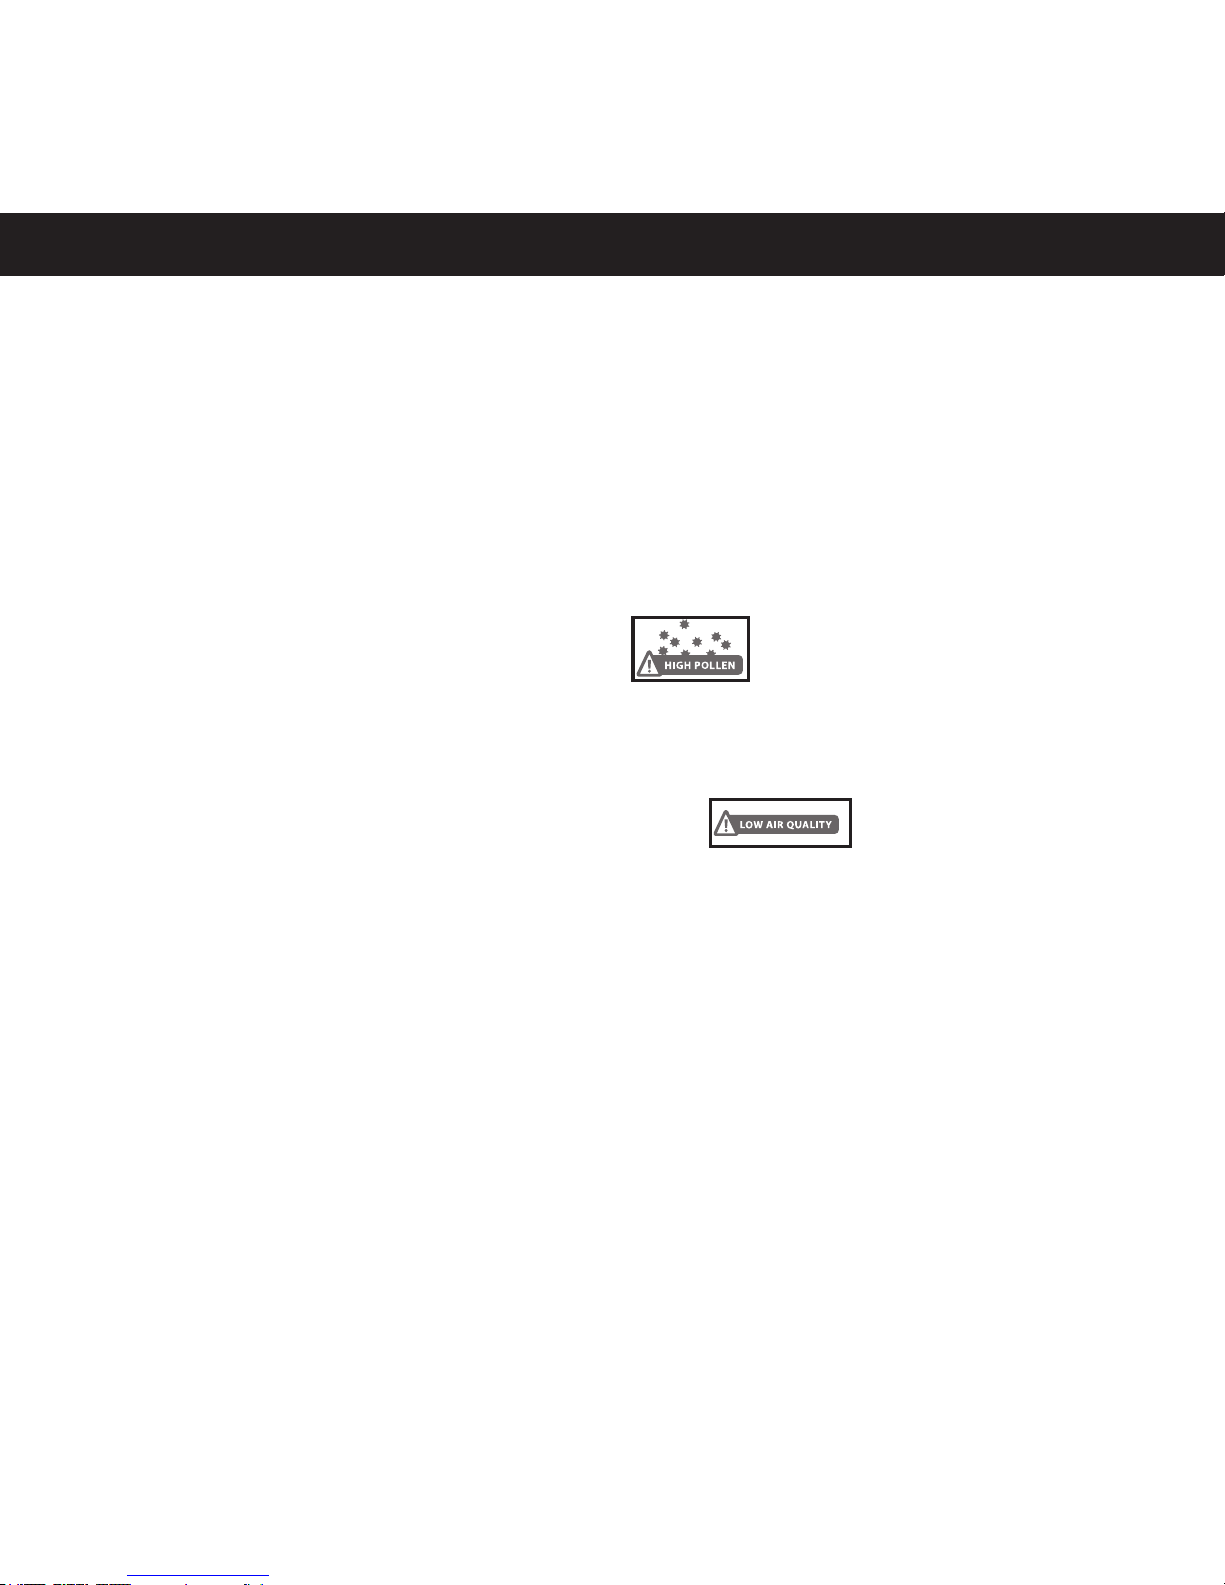
High Pollen (7-Day Model Only)
This alert indicates that pollen levels are higher than usual in the
selected location.
Low Air Quality (7-Day Model Only)
This alert indicates that low air quality has been reported in the
selected location.
Special Features (7 Day Model)

9
Setting the Alarm Time
Press the “Alarm Set” button on the back of the unit. The time display
will ash. Use the up/down (Location) buttons on the front panel to
set the time you want the alarm to sound, then press the Alarm Set
button again. You will see the conrmation message “Alarm Time
Set”, then the display returns to normal.
Turning the Alarm On or Off
Press the “Alarm On/Off” button on the back of the unit once to turn
on the alarm. The message “Alarm On” ashes briey and an Alarm
icon appears next to the time, conrming the alarm is activated and
will sound at the set time. To turn off or cancel the alarm, press the
Alarm On/Off button again. You will see the message “Alarm Is
Now Off”, and the alarm icon will no longer be visible.
Snooze Function and Alarm Reset
When the alarm sounds, press the Snooze bar on the top of the unit.
“Snooze...” ashes briey on the display and the alarm is temporarily
silenced for 9 minutes (you may repeat this an unlimited number of
times-the alarm continue to sound every 9 minutes).
Press either Location button (+ or -) to cancel the alarm for 24 hrs.
It will be reset and not sound again until the next day at the “Alarm
Set” time.
Alarm Clock Settings (5 & 7 Day Models)
 Loading...