

Page 1
Instruction Manual
CSPK115RED
CSPK115BLACK
Page 2
1
Contents
Safety Information 2-3
Disposal information 3
Functions & Controls 4
LED State Indicator key 4
What’s included 5
User Instructions 5-7
Getting started 5
User instructions 6-7
Care and maintenance 8-11
Internal battery removal 8
Cleaning instructions 9
Contact details 9
Troubleshooting 10
Technical specications 10
Guarantee 11
Product Codes
CS PK115
Page 3

2
CAUTION: TO REDUCE THE RISK OF ELECTRIC SHOCK, DO NOT REMOVE ANY
COVER. NO USER-SERVICEABLE PARTS INSIDE, REFER ANY SERVICING TO
QUALIFIED SERVICE PERSONNEL.
• Please take the time to follow the instructions in this owner’s guide carefully. It will
help you set up and operate your system properly and enjoy all of its advanced
features.
• Please save this owner’s guide for future reference.
• The product label is located on the bottom of the product.
• Do not use this apparatus near water or moisture.
• Do not use this product near a bathtub, washbowl, kitchen sink, and laundry tub, in
a wet basement, near a swimming pool, or anywhere else that water or moisture is
present.
• Only use attachments/accessories specied by the manufacturer.
• Refer all servicing to qualied service personnel
Servicing is required when the apparatus has been damaged in any way: such as
liquid has been spilled or objects have fallen into the apparatus; the apparatus has
been exposed to rain or moisture, does not operate normally, or has been dropped -
Do not attempt to service this product yourself.
Opening or removing covers may expose you to dangerous voltages or other hazards.
• To prevent risk of re or electric shock, avoid overloading wall outlets, extension
cords, or integral convenience receptacles.
• Use proper power sources - Plug the product into a proper power source, as described in the operating instructions or as marked on the product.
• The mains plug is used as the disconnect device, the disconnect device shall remain
readily accessible
Important – Please read these instructions fully before installation
Safety Information
Page 4
3
Disposal Information
The symbol on the product or its packaging indicates that this product
may not be treated as household waste. Instead it should be handed
over to the applicable collection point for the recycling of electrical
and electronic equipment. By ensuring this product is disposed of
correctly, you will help prevent potential negative consequences for
the environment and human health, which could otherwise be caused
by inappropriate waste handling of this product. For more detailed
information about recycling this product, please contact your local
council ofce, your household waste disposal service or the shop where
the product was purchased.
We apologize for any inconvenience caused by any minor inconsistencies in these
instructions, which may occur as a result of product improvements and development.
Important – Please read these instructions fully before installation
Safety Information
CAUTION
RISK OF ELECTRIC SHOCK!
DO NOT OPEN!
Page 5

4
Important – Please read these instructions fully before installation
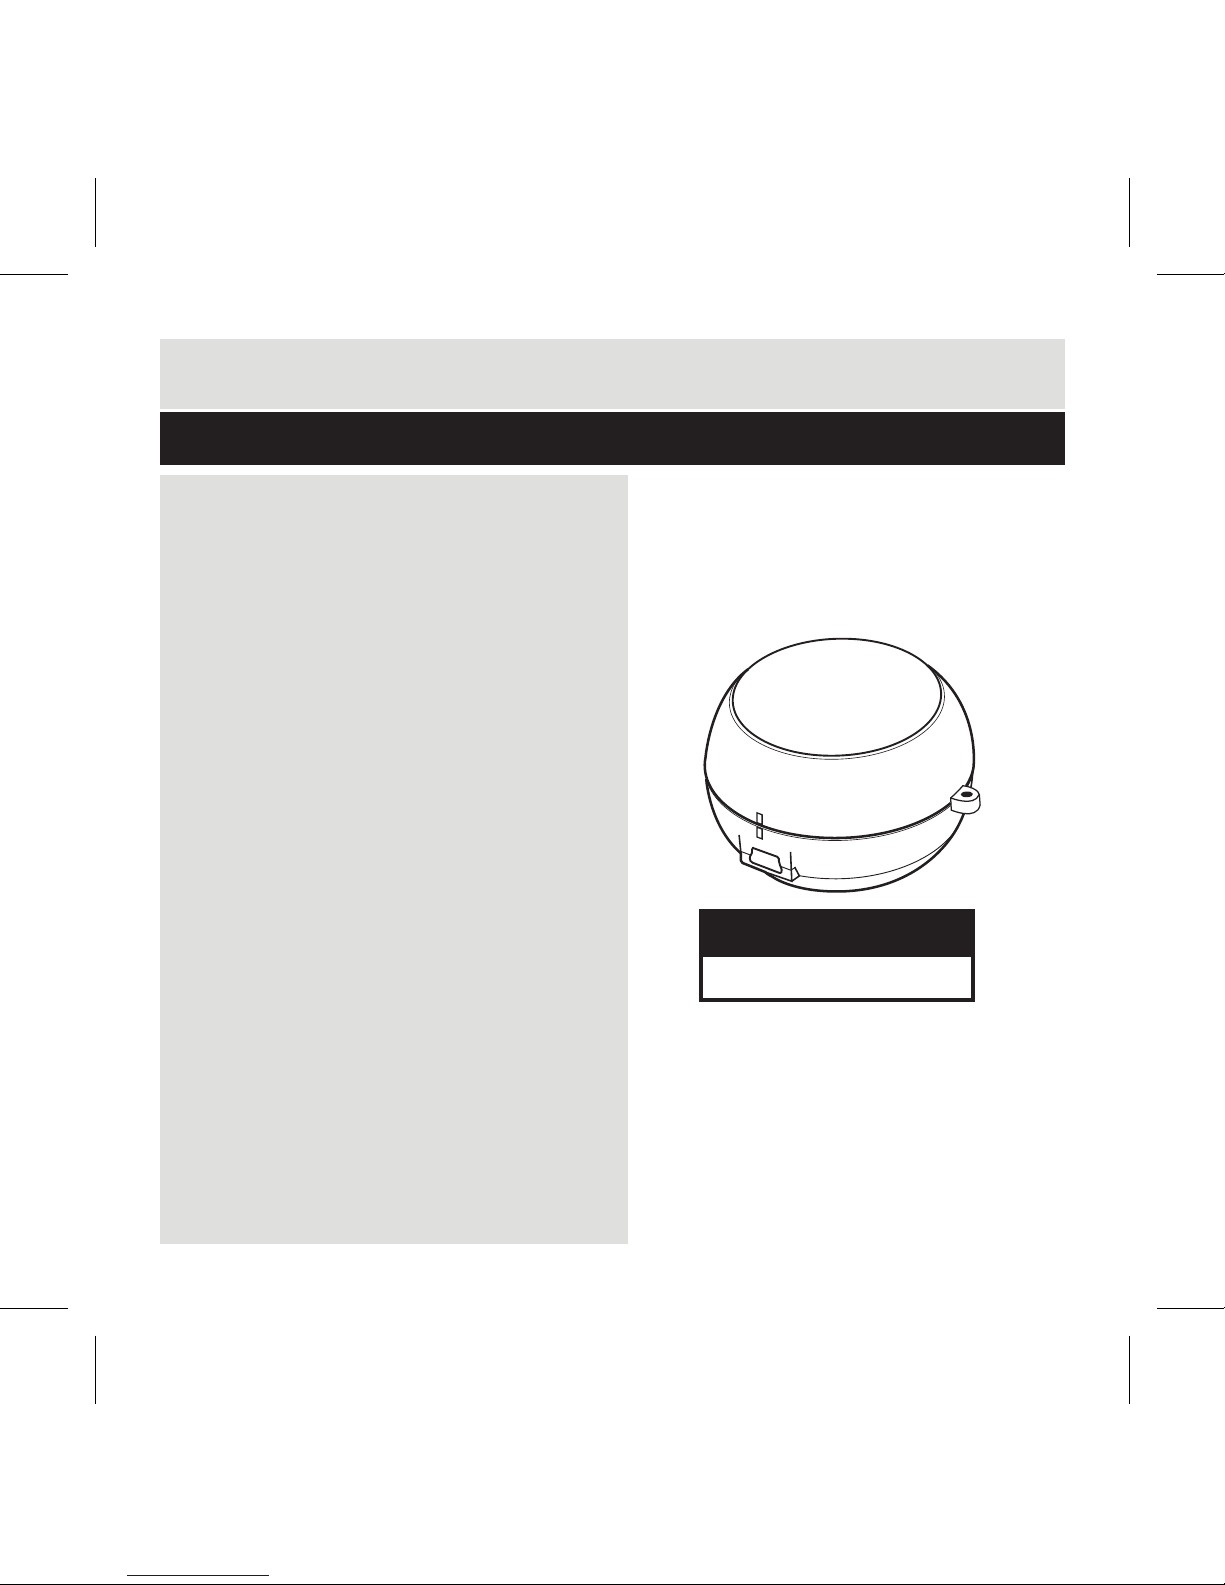
Functions & Controls
1
3
6
2
1
3
5
7
6
2
4
7
6
1. Internal speaker
2. POWER VOL HI/ VOL LO/OFF switch
3. Lanyard attachment loop
4. LOCK/UNLOCK indicators
5. MINI USB socket (Charge only)
6. 3.5mm audio jack
7. LED state indicator
LED State Indicator key
Power Off /No Charging OFF
Power Off /Charging RED
Power On /No Charging BLUE
Power On /Charging PURPLE
Page 6

5
What’s included
User Instructions
1 x Portable compact speaker 1 x USB charging cable 1 x Instruction manual
Getting started
A full charge is required before using the compact speaker for the rst time.
The supplied USB cable supports charging from a PC or Laptop. A compatible USB
mains adapter can be purchased from a good
electrical store.
1. Insert the mini USB plug into the MINI USB
socket (5) on the compact speaker.
2. Connect the other end of the USB cable
(the larger plug) into a free USB socket on a
PC or laptop.
3. Power ON the PC or laptop and leave to
charge the speakers internal battery for approximately 3 hours. The LED state indicator
(7) will go OFF when charged. After charging
remove the mini USB plug from the speaker
and PC or laptop.
NOTE: See LED State Indicator Key on page 4 for further details.
4. The speaker is now ready for use.
Page 7

6
User instructions
User Instructions
1. When fully charged the speaker can be extended to the PL AY position. See the below
diagrams.
A. Twist the top half of the speaker Anti-clockwise.
B. Note the LOCK/UNLOCK indicators (4) do not line up after twisting. This unlocks
the speaker sections.
C. Extend the top section of the speaker as far
as it will go without forcing.
2. Now the 3.5mm audio cable can be extended
from the base of the speaker (see diagram).
A B C
2
Page 8

7
User instructions
User Instructions
3. Connect the 3.5mm audio jack to your audio source.
Such as an MP3 player or any audio device with a
3.5mm earphone output.
4. Set the POWER VOL HI/ VOL LO/OFF switch (2) to
VOL LO (low volume) or VOL HI (High volume).
NOTE: Setting the switch to VOL HI will reduce the
battery duration, and will require re-charging sooner
than VOL LO.
4. Press PLAY on the audio source, and adjust the volume to about 3/4 of maximum.
NOTE: If you raise the audio source volume too high the sound may become distorted.
5. When you have nished using the speaker, detach the 3.5 audio jack from your audio
source, and feed the cable back into the channel on the bottom of the speaker.
6. Rotate the top section of the speaker Clockwise and downwards to LOCK once more.
MP3
Page 9

8
Internal battery removal
Care & Maintenance
Your product contains a built-in rechargable battery covered by the European
Directive 2006/66/EC. To safeguard the functionality and safety of your product,
always take your product to an ofcial collection point or service centre where a
professional can remove the battery.
Please inform yourself about the local rules on separate collection of batteries
because the correct disposal will help prevent negative consequences for the
environmental and human health. Please do not dispose of your batteries with your
normal household waste. Always bring your product to a professional to remove the
battery.
This product complies with Electromagnetic compatibility (2004/108/EC) directives.
Page 10

9
Important – Please read these instructions fully before installation
Care & Maintenance
Important: Always unplug the appliance from the power socket during
cleaning and maintenance.
• Ensure the unit is switched off and unplugged from any electrical outlet
• Wipe the case with a slightly moist lint free cloth
• Do not use any cleaning uids containing alcohol, ammonia or abrasives
• Do not spray an aerosol at or near the object
• Do not allow liquids to spill or objects to drop into any openings
• Do not insert sharp items into speaker resonator or any other openings
• Always us the original packaging if it is necessary to transport the unit at any
time
If the unit is used in a dusty environment, it may be necessary to have the unit serviced
at your local dealer periodically. It is not advisable to allow large deposits of dust to
accumulate within the unit as it may prevent adequate cooling. Similarly dust deposits
which become damp can sometimes lead to electrical problems which may cause severe
damage to the delicate electronics within this unit.
Contact
In the unlikely event of difculties with your appliance please follow the trouble shooting
guide on the next page.
If the problem persists, contact the retailer if the machine is still under guarantee.
Customer helpline: 0870 600 3030
Page 11

10
Troubleshooting
Fault Solution
No sound ■ Check that the audio source is playing.
■ Check the POWER/VOLUME switch (2) is set to either
VOL LO or VOL HI.
■ Check the volume on the audio source is above 3/4 max.
■ Remove and re-insert the 3.5mm audio jack into the audio
source.
■ Battery may be too low. Re-charge the internal battery.
Sound distorted ■ Reduce the audio source volume level.
■ Set the POWER/VOLUME switch (2) to VOL LO if set to
VOL HI.
Battery at ■ Recharge the internal battery (see page 5).
Technical Specications
Power output 1W
Speaker unit 1” 4 Ohm
Frequency response 80Hz - 15Khz
S/N ratio 40 dB
Page 12

This product is guaranteed for twelve months from the date of original purchase.
Any defect that arises due to faulty materials or workmanship will either be replaced,
refunded or repaired free of charge where possible during this period by the dealer from
whom you purchased the unit.
The guarantee is subject to the following provisions:
• The guarantee does not cover accidental damage, misuse, cabinet parts, knobs or
consumable items.
• The product must be correctly installed and operated in accordance with the
instructions contained in this manual.
• It must be used solely for domestic purpose.
• The guarantee will be rendered invalided if the product is re-sold or has been
damaged by inexpert repair.
• Specications are subject to change without notice.
• The manufacturer disclaims any liability for the incidental or consequential damages.
• The guarantee is in addition to, and does not diminish your statutory or legal rights.
Guarantor: Argos Limited
489 - 499 Avebury Boulevard
Central Milton Keynes MK9 2NW
 Loading...