

Bunn Dual SH BrewWISE Technical Training Manual
BUNN® TECHNICAL TRAINING
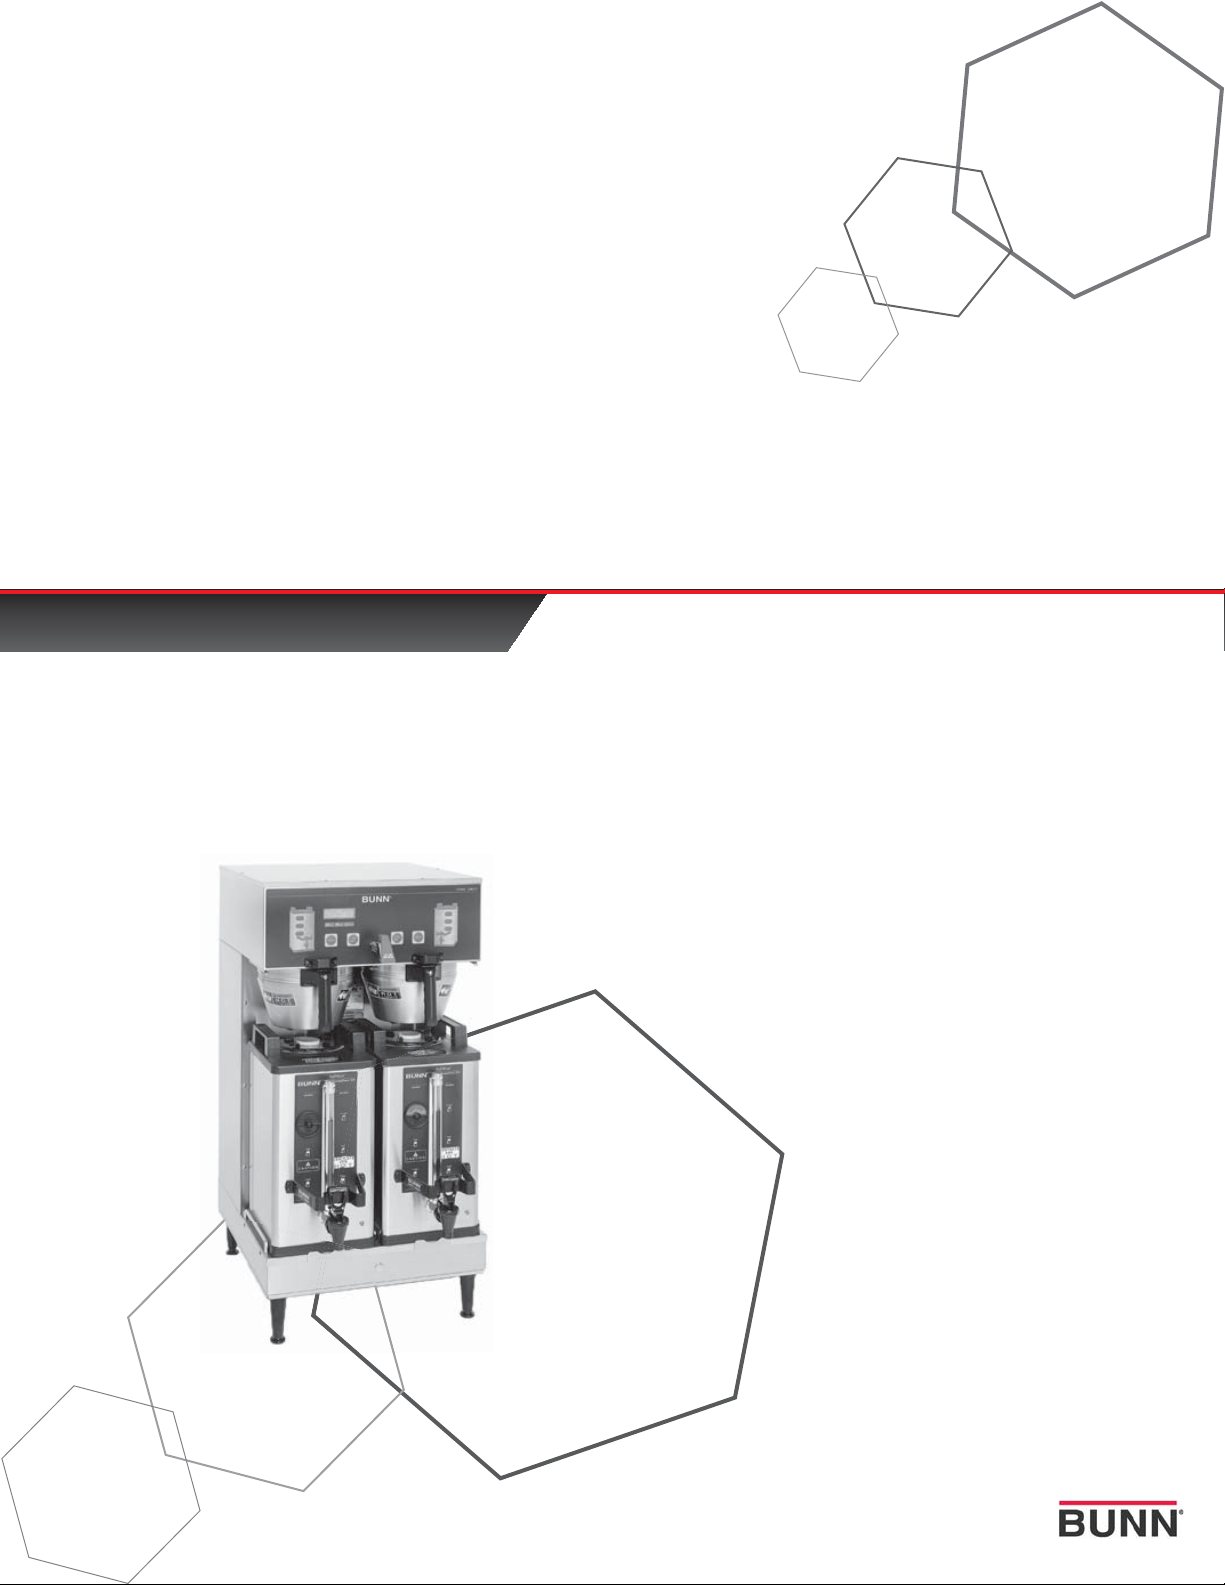
Dual SH BrewWISE® DBC

Index
Unit 1: Installation
Site Requirements ..............................................................................................................4
Location of the Serial Number ..........................................................................................4
Water Supply Install ...........................................................................................................4
Electrical Install ..................................................................................................................4
Initial Start-Up .....................................................................................................................5
Unit 2: Setup
Setup and Programming ....................................................................................................7
Programming Lockout .................................................................................................7
Level 1 Programming .........................................................................................................7
Level 2 Programming .........................................................................................................7
Level 3 Programming .........................................................................................................9
Calibrating Flow Rate .........................................................................................................9
Check and Adjust the Dispense Valve Flow Rate .....................................................9
Check and Adjust the Bypass Valve Flow Rate ........................................................9
Programming the Recipes .................................................................................................10
Default Values .....................................................................................................................11
Unit 3: Machine Composition
Exterior Overview ...............................................................................................................13
Product Outlets and Removable Parts ......................................................................13
User Interface ...............................................................................................................13
Accessing the Inside of the Brewer ..................................................................................13
Machine Function and Operations ....................................................................................14
Main Control Board ......................................................................................................14
Filling System ...............................................................................................................14
Heating System ............................................................................................................15
Dispensing System ......................................................................................................15
Coffee Holding System ................................................................................................16
®
The Soft Heat
Server ...........................................................................................17
Unit 4: Preventive Maintenance
Preventive Maintenance .....................................................................................................19
PM Steps .............................................................................................................................19
Unit 5: Troubleshooting
Service Tools ......................................................................................................................22
Test Outputs .................................................................................................................22
Test Switches ...............................................................................................................23
Test Servers ..................................................................................................................23
Test Frequency .............................................................................................................23
Service Fault Messages .....................................................................................................23
Operator Fault Messages ...................................................................................................24
Triac Map .............................................................................................................................25
Rev. A
© 2009 Bunn-O-Matic Corporation. All Rights Reserved

UNIT 1 INSTALLATION
Unit Objectives
Given a realistic scenario depicting a new site install, the learner will be able to install and setup the brewer
for customer turnover without error.
Given a new machine, all the necessary tools and safety equipment, the learner will be able to install
the brewer without error.
The learner will be able to verify that the site requirements have been met.
The learner will be able to locate and document the serial number.
The learner will be able to hook up the water supply.
The learner will be able to hook up the electrical supply.
Installation
Site Requirements
Space
Counter able to support the weight of the machine, approximately 185 pounds wet•
Counter area able to support machine placement 35.8”H x 18”W x 21.2”D•
Water Treatment
Sediment filtration to reduce large particles•
Taste and odor filter to remove chlorine•
Scale filtration as needed•
For best results a Bunn Easy Clear•
Plumbing
¼” flare fitting on the machine•
Dedicate water supply with shut-off•
Connected to the cold water supply•
Water pressure 20-100psi, 50psi if regulator is needed•
®
filtration system should be used
Electrical
120/208VAC or 120/240VAC•
3 wire plus ground (Neutral, L1, L2, ground)•
30 amp dedicated circuit (breaker, plug, and receptacle)•
Receptacle within 5 feet of machine•
If a power cord is not attached to the machine the technician will have to supply and install the cord•
Location of the Serial Number
The machine’s serial number is located on the data plate which is attached to the bottom of the front panel. The serial number begins with the word DUAL. The complete serial number will need to be documented on all work orders
and warranty tags.
Water Supply Install
Step 1: Check water pressure, install a regulator if above 90psi.
Step 2: Flush water lines.
Step 3: Install shut-off valve.
Step 4: Attach the water line to the ¼” flare fitting on the bottom of the
Water Supply
20-90 psi
1/4” flare fitting
machine.
Electrical Install
Refer to the electrical section of the machine’s data plate to select the
proper power cord, plug and receptacle for the brewer. An electrician must provide electrical service as specified in
conformance with all local, state, and federal electrical codes.
Since the brewer is thermostatically controlled, 100% of the circuit breaker can be used. This will allow the machine
to be installed on a 30 amp circuit instead of a 50 amp circuit.
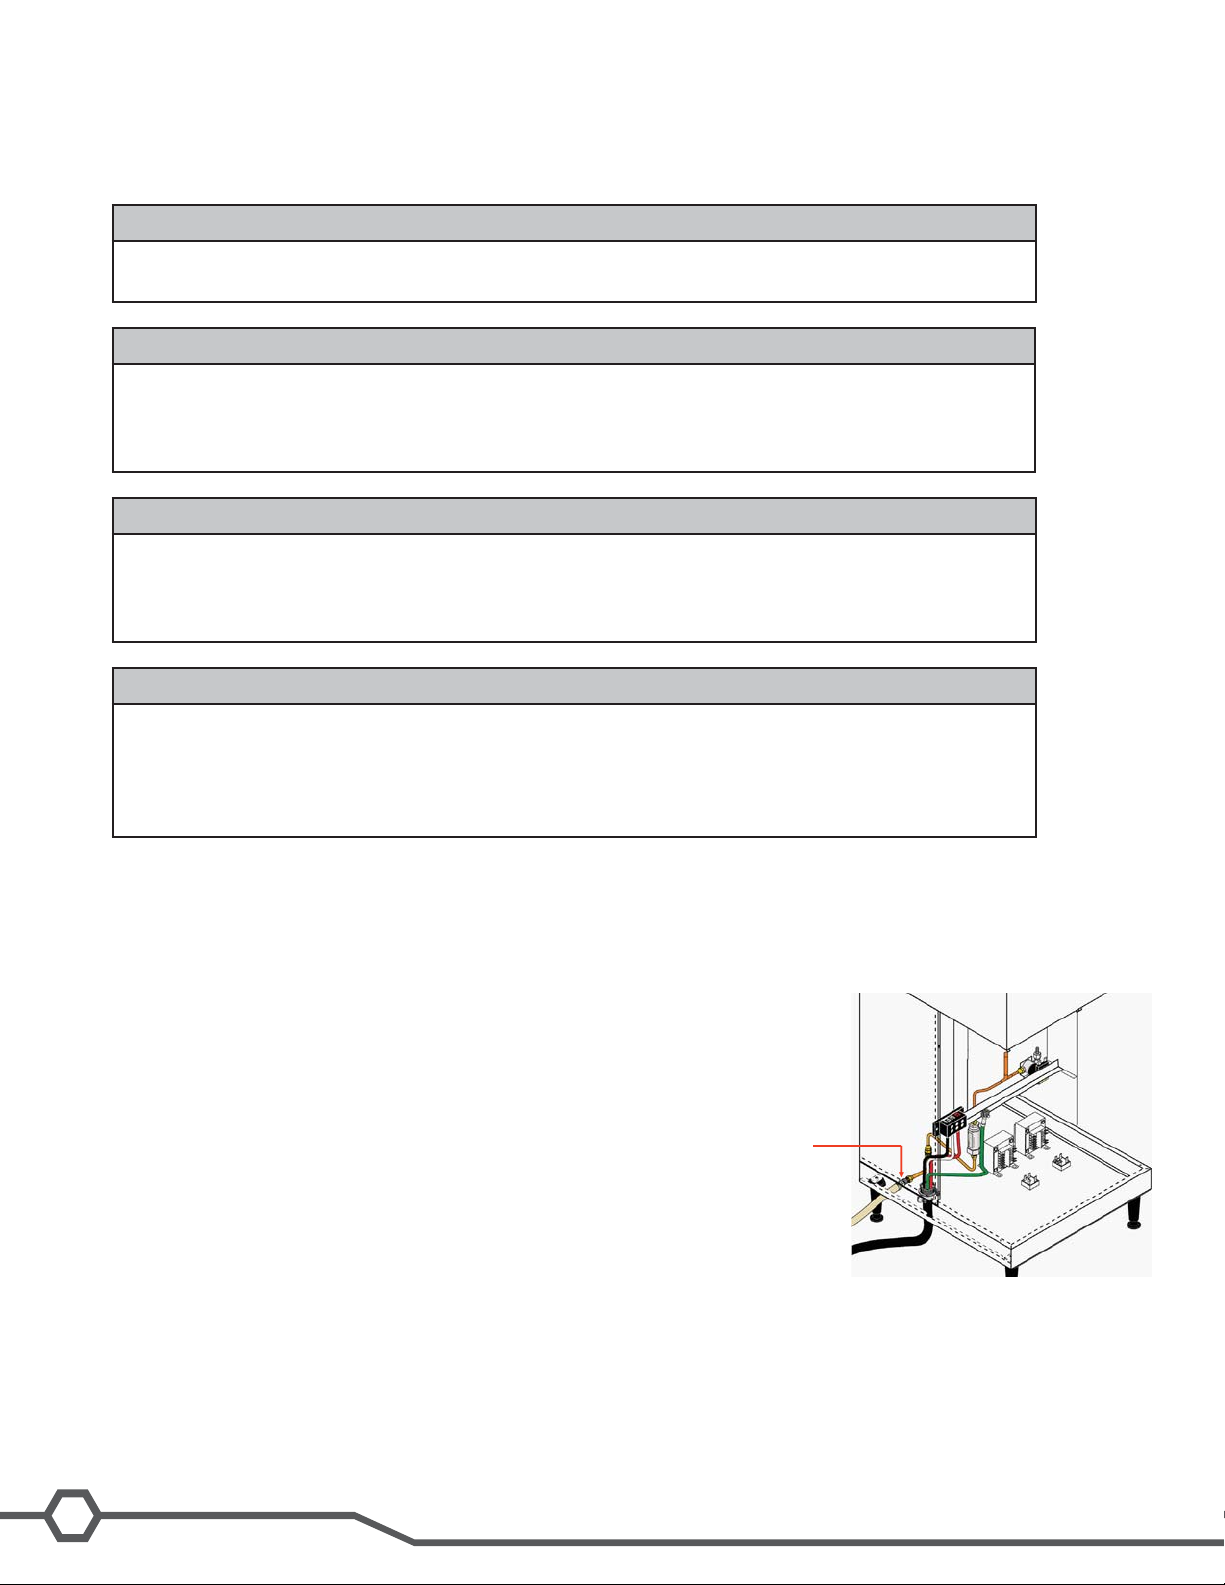
Step 1: Remove the front panel (11 flat head screws).
Step 2: Feed the power cord through the strain relief in the bottom of the machine.
4
Dual SH BrewWISE® Training Manual

Step 3: Attach the wire ends to the terminal block.
Step 4: Attach the ground wire to connector on the frame cross bar.
Step 5: Check that all connections are tight.
Step 6: Tighten the strain relief and replace the front panel.
Step 7: Plug the unit into the power source.
Initial Start-Up
Note: If the brewer has a serial number prior to DUAL0680000 the machine does not have
an On/Off switch and will turn on when the unit is plugged in.
Step 1: Flip the On/Off switch to the On position.
When the machine is turned on, it will begin to fill the tank. After the tank fills the machine
will automatically begin the heating cycle. This will take approximately 20 minutes.
Once the water temperature has reached the programmed Brew Lockout temperature it will
display the ready screen. The machine will continue to heat until it reaches its programmed
shut-off temperature.
PLEASE WAIT
TANK FILLING
HEATING
WATER TEMP ###°
READY TO BREW
WATER TEMP 200°
Bunn-O-Matic Corporation
5

UNIT 2 SETUP
Unit Objectives
Given a realistic scenario depicting a new site install, the learner will be able to install and setup the brewer
for customer turnover without error.
Given an installed machine, all the necessary tools and safety equipment, the learner will be able to
set the machine up for initial operation.
The learner will be able to power on the machine.
The learner will be able to perform the calibrations.
Setup and Programming
The BrewWISE® software is the latest evolution of BUNN’s digital brewer control (DBC®) system. The software allows
precise brewing control and multiple extractions recipes to be stored on the brewer and onboard troubleshooting
capabilities for the technician. The software also allows the brewer to communicate with a DBC® grinder, to reduce
operator errors when selecting products and batch sizes.
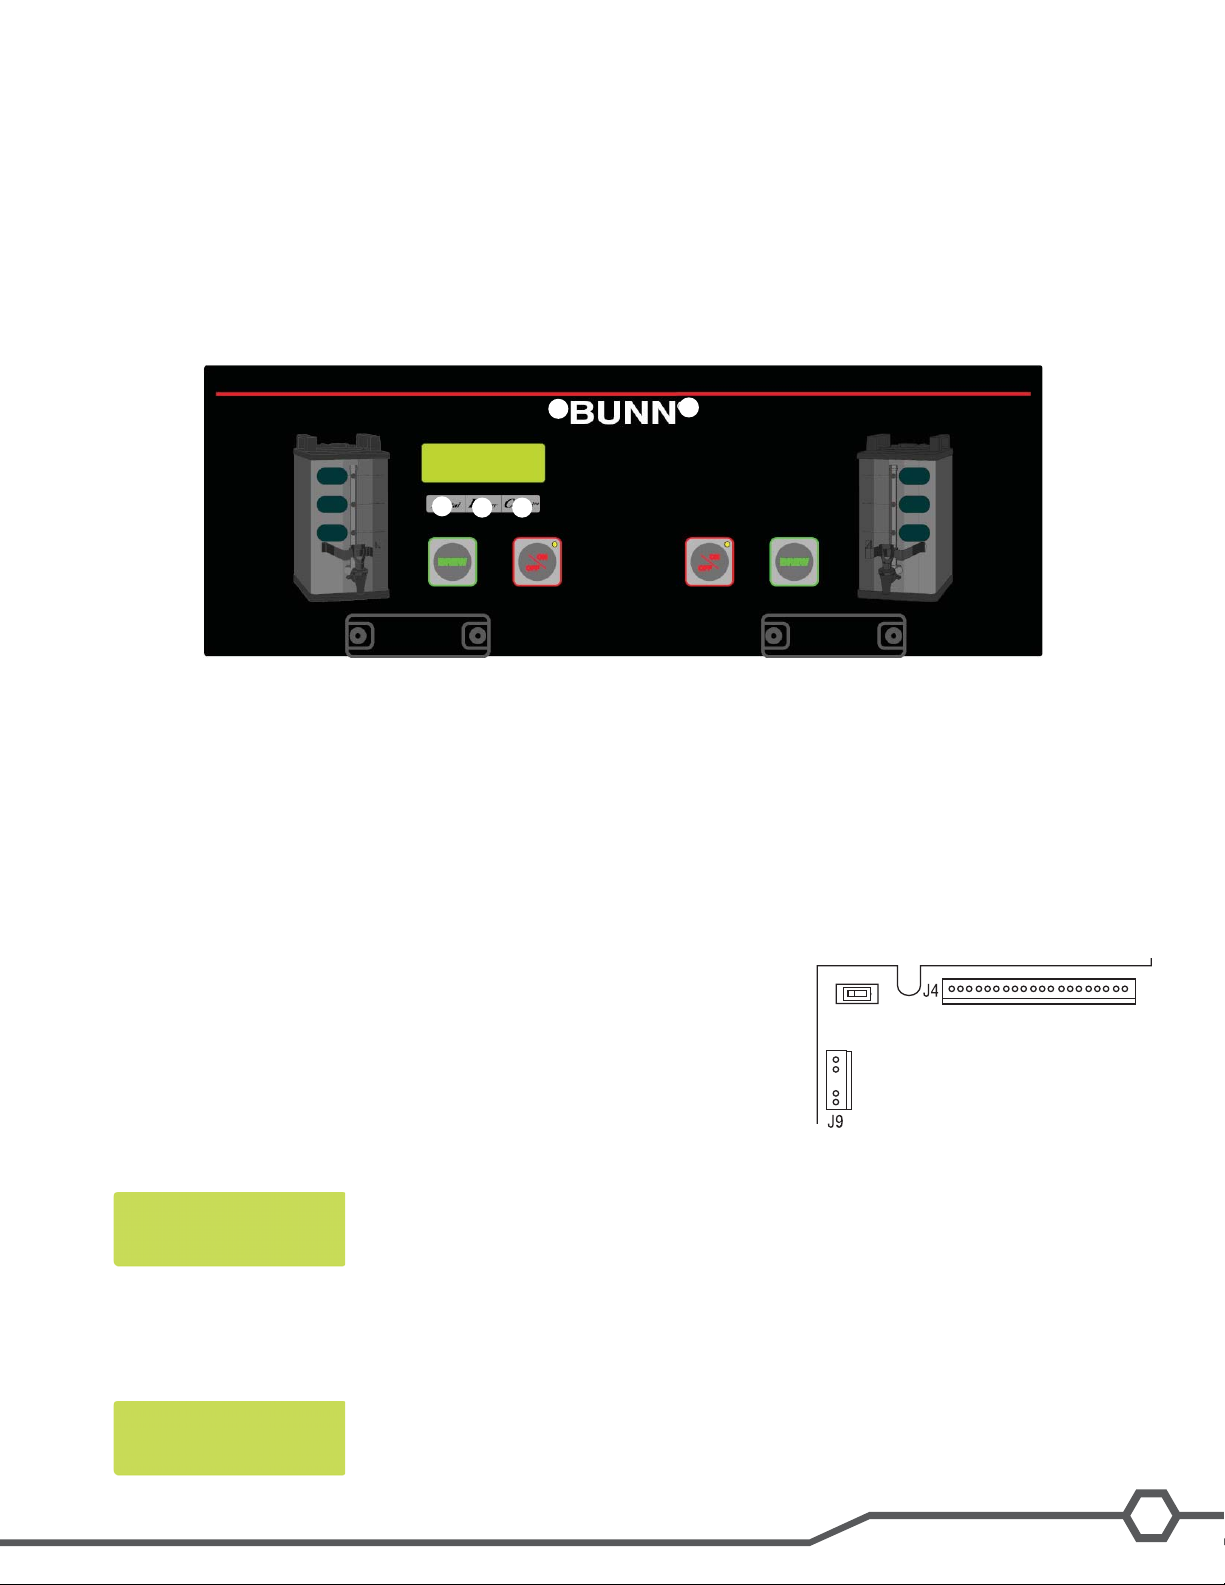
Accessing and using the brewer’s programming features is done from the front panel and requires no special tools.
The programming menu is accessed by pressing the hidden switch, located under the trademark symbol, on the right
side of the Bunn logo. The hidden switch on the left side will allow you to scroll backwards.
1
34
2
5
1 Right Hidden Switch: This is used to access the programming mode and is also used to scroll forward through the
function list.
2 Left Hidden Switch: This is used to scroll backwards through the function list.
3 Digital (lower left under the display): This is used to select options that appear on the display during programming.
4 Brewer (center under the display): This is used to select options that appear on the display during programming.
5 Control (lower right under the display): This is used to select options that appear on the display during
programming.
Programming Lockout
PROGRAM
ENABLE
DISABLE
If the programming cannot be accessed then the programming lockout switch
is in the Disable position. The switch is located on the control board. Remove
the top panel, locate the switch and place it into the Enable position.
Level 1 Programming
Press the hidden switch for one second to access.
BREW LOCKOUT ?
ON OFFDONE
Level 2 Programming
Press and hold the hidden switch for 5 seconds.
This screen is for setting water volumes for the Brew (dump) valve and the Bypass valve.
SET NEW RECIPE ?
Pulse Brewing will also be found in this screen.
NO YES
Bunn-O-Matic Corporation
7

This screen allows the user to preview recipes that are already programmed you can
REVIEW RECIPES ?
also modify or set the recipes manually in this screen.
NO YES
This function allows for assigning a coffee name other than No-Name to the brew switch.
ASSIGN RECIPE ?
Note: This function is only on machines with serial number DUAL0680000 and later.
NO YES
If one NO NAME coffee is set up, this function allows you to copy the settings to the
COPY SETTINGS ?
opposite side.
NO YES
This screen allows the operator to utilize the screen for advertising; a tag card can be
ENABLE ADS ?
programmed with your message.
NO YESDONE
Sets the temperature of the brew tank.. Range of 185°F to 205°F
SET TEMP 200
O
(-) (+)DONE
This function sets the minimum temperature to start a brew cycle (BREW LOCKOUT).
SET READY 195
Range of 179°F min. to 203°F max. (or within minimum 2° of tank target temp).
(-) (+)DONE
Set the sensitivity of the refill circuit. Range of 20 (Open circuit) to 230 (Short circuit).
XXX REFILL 155
Can be adjusted for different water conditions. Increase number for very soft water.
(-) (+)DONE
Default is 155
Enter new number for each spray head, after doing CALIBRATE FLOW and measuring
L SPRAY Oz/M: 39.2
output.
(-) (+)DONE
Enter new number for each spray head, after doing CALIBRATE FLOW and measuring
R SPRAY Oz/M: 39.2
output.
(-) (+)DONE
Enter new number for each bypass valve, after doing CALIBRATE FLOW and measuring
L BYPASS Oz/M: 24.1
output.
(-) (+)DONE
Enter new number for each bypass valve, after doing CALIBRATE FLOW and measuring
R BYPASS Oz/M: 24.1
output.
(-) (+)DONE
O
Technician can measure actual flow rate through all 4 valves with 60 second flow test.
CALIBRATE FLOW ?
NO YES
Allows the operator to track the number of brew cycles completed left, right, Combined
BREW COUNTERS ?
(resettable) & Combined (no reset).
NO YES
YES allows the operator to prevent the start of a brew cycle, must have a Smart funnel.
FUNNEL DETECT ?
NO does not need Smart funnel to brew.
NO DONE YES
®
Prevents the start of a brew cycle if a Soft Heat
SERVER DETECT ?
server is not in place.
NO DONE YES
8
Dual SH BrewWISE® Training Manual
 Loading...