

Page 1

BT Cloud Voice
Access Control
Simple programming guide
Page 2
Hello,
There are two main steps to setting up
visitor and employee Access Control units
to your premises using Cloud Voice:
1. Set up the physical devices
2. Program the Access Control unit
2
Page 3

1. Set up the physical devices
We have three main physical devices:
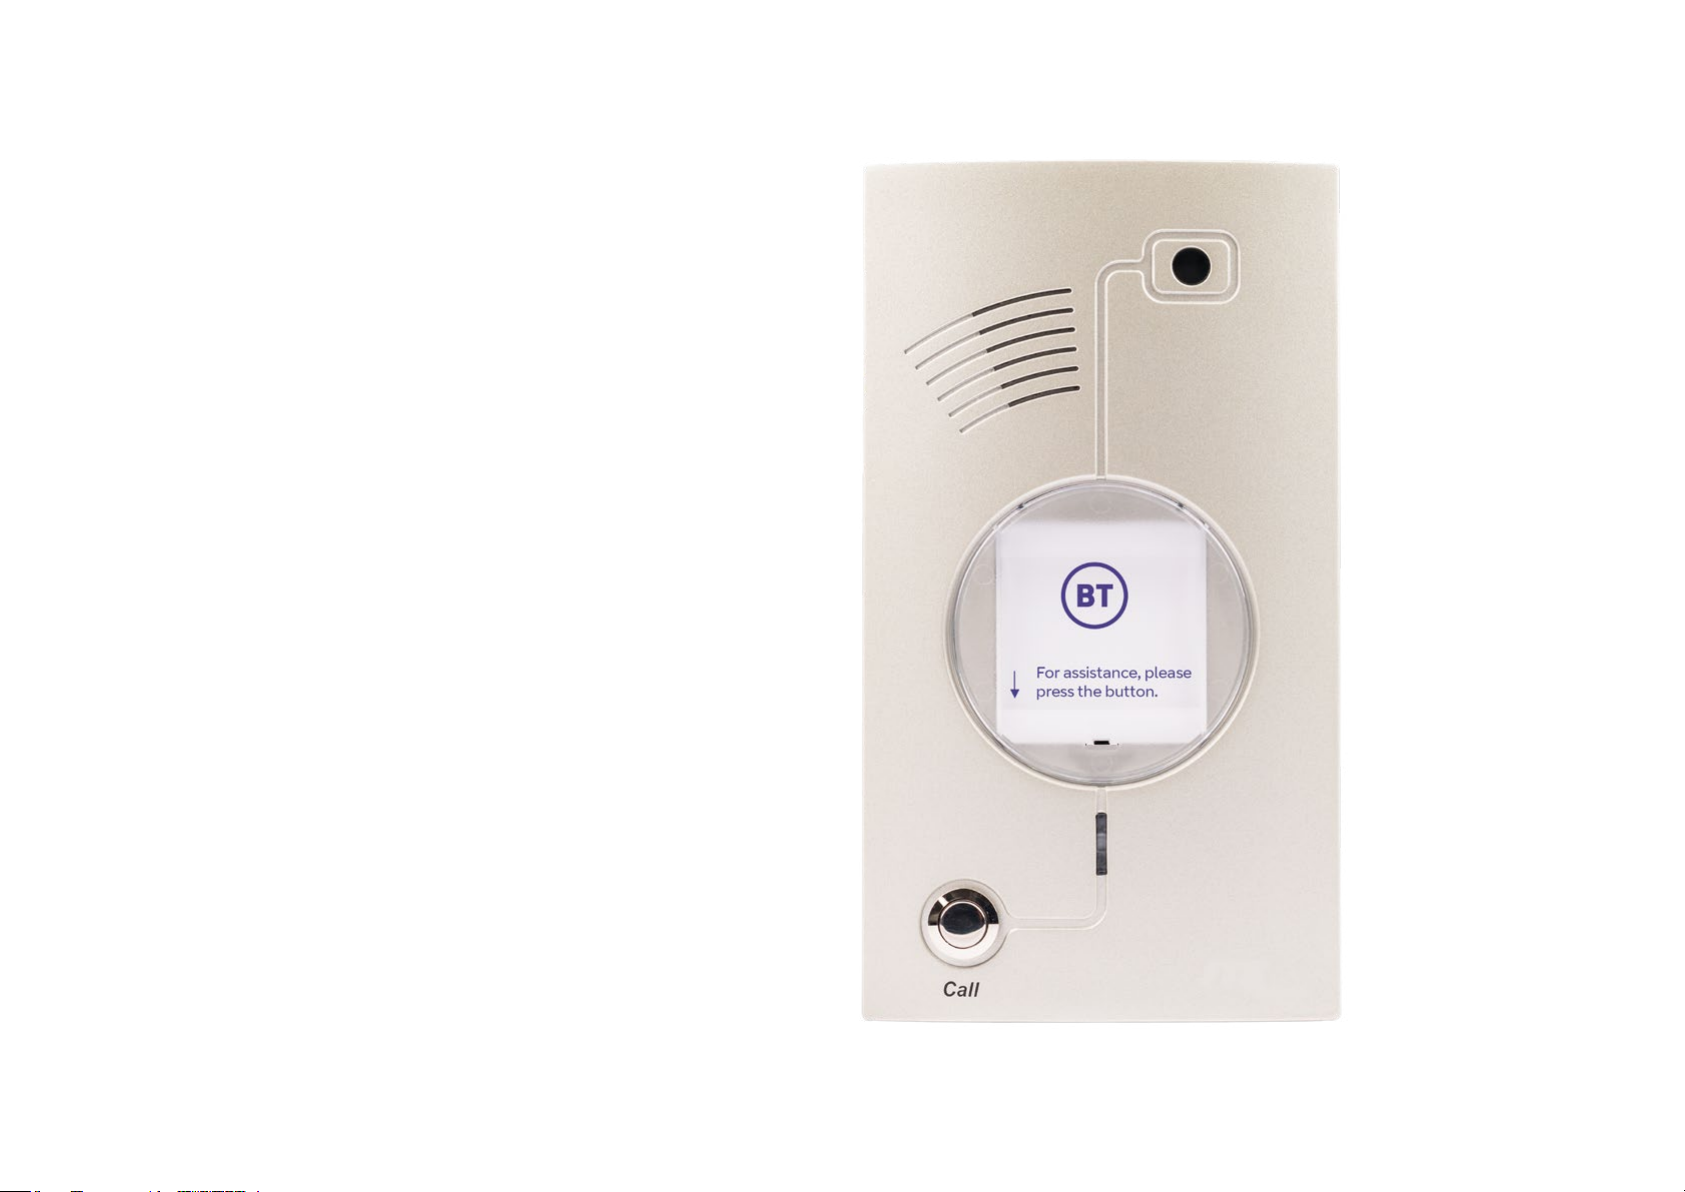
• Access Control unit (that’s the
intercom panel).
• Locking mechanism (for the
Access Control unit).
• Cisco S PA-112 ATA .
1.1 Connect the devices
Although you can connect the ATA
yourself, the engineer will deal with
the Access Control unit when they
install it.
1. Connect the ATA to your LAN
switch or Hub with a LAN cable.
2. Plug the ATA into a power socket.
3. The engineer will connect the
Access Control unit to the phone
port on the ATA with a standard
RJ11 phone cable before turning
it on.
1.2 Set up the Access
Control unit on the Cloud
Voice Business Portal
You’ll need to set up the Access
Control unit as a user on the Cloud
Voice system.
1. Login to the Business Portal.
2. From the Employees tab, click
Add Employee. (Fig. 1)
3. Fill in the mandatory Add
Employee details:
• Username:
We suggest using
something easy to
recognise like AccessControl
• Role: Employee
• Language: English
4. Click Save & Activate.
5. Select the site where the Access
Control unit is located. (Fig . 2)
6. Choose an extension number for
the Access Control unit (note:
you’ll need this later when you’re
configuring the unit). (Fig . 3)
7. In Device Selection, click the
Existing Device radio button.
8. Select the Cisco SPA-112 Fax
ATA ada pto r from the list of
existing devices.
9. Click Activate.
Fig. 1
Fig. 2
Fig. 3
3
Page 4

1.3 Set up multiple users
to open the door (optional)
You can set up Access Control so it
alerts multiple users when someone’s
at the door. It’s a useful feature for
those times when there’s no one at
reception.
You’ll need to create a Hunt Group.
Here’s how to do it:
1. Login to the Business Portal.
2. From the Sites tab, select the
site where the Access Control is
located.
3. Click Features. (Fig. 4)
4. Under Call Groups, go to Hunt
Groups and click Configure.
Fig. 4
Fig. 55. Click Add to set up a new Hunt
Group (make a note of the
extension number as you’ll need
to configure the Access Control
unit to call it).
6. Set the Call Distribution to
Simultaneous or Sequential.
(Fig. 5)
7. Click Save.
8. In Assign Agents, add details of
who you want to include in the
Hunt Group. (Fig. 6)
Fig. 6
4
Page 5

2. Program the Access Control unit
Before you can program your Access
Control unit, you need to
put it in programming mode:
1. Dial the unit’s extension number
from a phone on the Cloud
Voice system.
2. When the Access Control unit
answers, dial *900 and wait for a
confirmation beep.
3. Enter the programming access
password (the default is 123 4)
and wait for a confirmation beep.
You are now ready to program your
unit from your Cloud Voice phone.
To set the number that the Call
button dials in Day mode
1. Dial *360 followed 1 followed by
the extension number that you
want the unit to call. The extension
number can either be a single
number or a Hunt Group number.
2. Press #.
To set the access code on the
Access Control unit
You can store up to four access codes,
numbered 1-4.
For each access code you want to
store:
1. Dial *4 42 followed by 1, 2, 3 or 4
(depending on which access code
you’re storing) followed by the
new four-digit access code.
2. Wait for the confirmation beep.
To exit programming mode
1. Dial *900.
If you don’t dial anything within
45 seconds, programming mode
exits automatically.
5
Page 6

Offices worldwide
The services described in this publication are subject to availability and may be modified from time to time. Services and equipment are provided subject
to British Telecommunications plc’s respective standard conditions of contract. Nothing in this publication forms any part of any contract.
© Britis h Telecomm unications plc 2 020. Registered o ffice: 81 Newgate Street, London EC1A 7AJ. Reg istered in Engl and No. 18000 00.
December 2020
6
 Loading...