

Page 1
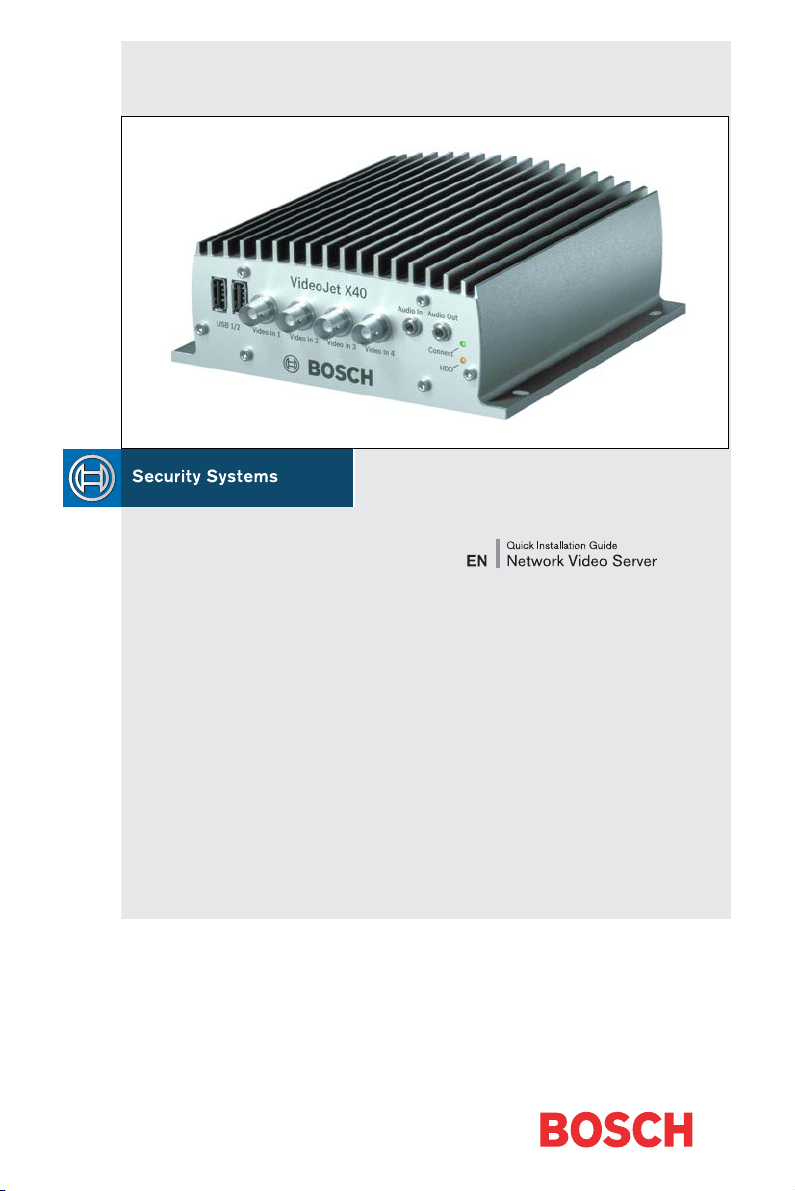
VideoJet X10/X20/X40
Page 2

EN | 2 Quick Installation Guide | VideoJet X10/X20/X40
Attention
You should always make yourself familiar with the required safety measures in the corresponding chapter of the user's manual (see CD-ROM supplied). You will find more
important details on the installation and on the operation of the unit in the manual.
These instructions "Quick Installation Guide" only show the basic installation of a
VideoJet X10, VideoJet X20 or VideoJet X40, but they are no substitute for the complete user's manual.
These instructions "Quick Installation Guide" refer to the units VideoJet X10, VideoJet X20 and
VideoJet X40. The title shows a VideoJet X40. In the drawings the VideoJet X40 is displayed standing for all versions.
Bosch Security Systems | 2006-12 | V2.5
Page 3

VideoJet X10/X20/X40 | Quick Installation Guide EN | 3
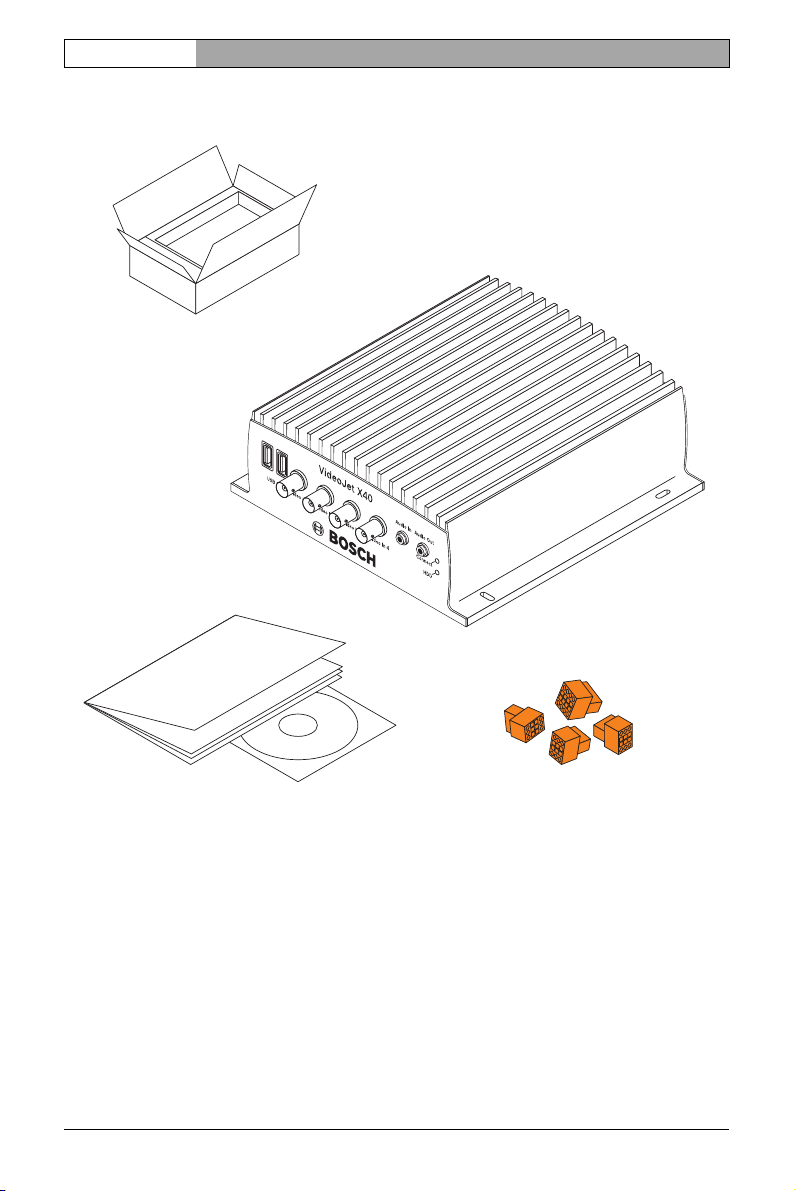
Contents of Delivery
• VideoJet X10, VideoJet X20 or VideoJet X40 Network Video Server
• Drilling template
•4 spring clamps
•Product CD
• Quick Installation Guide
Bosch Security Systems | 2006 -12 | V2.5
Page 4
EN | 4 Quick Installation Guide | VideoJet X10/X20/X40
1. Unpack the Box
• Please check the delivery for completeness and integrity.
• Have your unit checked by Bosch Security Systems if you detect any damages!
Bosch Security Systems | 2006-12 | V2.5
Page 5

VideoJet X10/X20/X40 | Quick Installation Guide EN | 5
2. Connect the Camera(s)
• VideoJet X10: Connect the camera with the Video In socket.
• VideoJet X20: Connect one camera to each, the Video In 1 socket and the Video In 2 socket.
• VideoJet X40: Connect one camera to each, the Video In 1 socket to the Video In 4 socket.
Bosch Security Systems | 2006 -12 | V2.5
Page 6

EN | 6 Quick Installation Guide | VideoJet X10/X20/X40
3. Connect the Audio Components
•Use the Audio In and Audio Out jack sockets for audio line connections.
Bosch Security Systems | 2006-12 | V2.5
Page 7

VideoJet X10/X20/X40 | Quick Installation Guide EN | 7
4. Connect the Alarm Switches and Relay Connections
• Connect the alarm switches to the corresponding terminals.
• Connect the relay connections to the corresponding terminals.
Bosch Security Systems | 2006 -12 | V2.5
Page 8

EN | 8 Quick Installation Guide | VideoJet X10/X20/X40
5. Insert the SFP Module
• If necessary, insert an SFP module into the SFP socket.
Bosch Security Systems | 2006-12 | V2.5
Page 9

VideoJet X10/X20/X40 | Quick Installation Guide EN | 9
6. Connect to the Network and Power Supply
• Connect the unit to the network via the ETH 1 socket.
• If necessary, set up a redundant network connection or connect an iSCSI RAID system using the
ETH 2 socket.
• Connect the power supply lines to the + and – terminals.
• Connect the power supply unit to the power outlet.
Note: Power supply units are not included in delivery. You can order power supply units in different variations at Bosch Security Systems.
Bosch Security Systems | 2006 -12 | V2.5
Page 10

EN | 10 Quick Installation Guide | VideoJet X10/X20/X40
7. Configure the IP Address
• Install the program Configuration Manager from the CD-ROM provided. If the CD-ROM
does not start automatically doubleclick the index.htm file.
• Start the Configuration Manager when installation is completed. The network is scanned for
compatible devices automatically.
• When a VideoJet X is listed, click the entry and click the tab Network, located in the right frame.
• Enter the desired IP address (e.g. 192.168.0.40) in the Unit IP address field and click the button Set at the bottom on the right. The new IP address is valid after a reboot of the unit.
Bosch Security Systems | 2006-12 | V2.5
Page 11

VideoJet X10/X20/X40 | Quick Installation Guide EN | 11
8. Test the Configuration
• Launch the Web browser and enter the IP address of the unit (e.g. http://192.168.0.40) to
check that the unit is properly connected to the network.
Note: Set the graphics card of the computer to 16-bit or 32-bit color depth. Otherwise the computer cannot display the video images.
• Use the links at the top of the Web pages to navigate.
Bosch Security Systems | 2006 -12 | V2.5
Page 12

Bosch Sicherheitssysteme GmbH Bosch Security Systems B.V.
Robert-Koch-Straße 100 P.O. Box 80002
85521 Ottobrunn 5600 JB Eindhoven
Germany The Netherlands
www.bosch-sicherheitssysteme.de www.boschsecuritysystems.com
© 2006 Bosch Sicherheitssysteme GmbH
Subject to change.
F.01U.033.683/1206/QIG_en/1
 Loading...