

Page 1
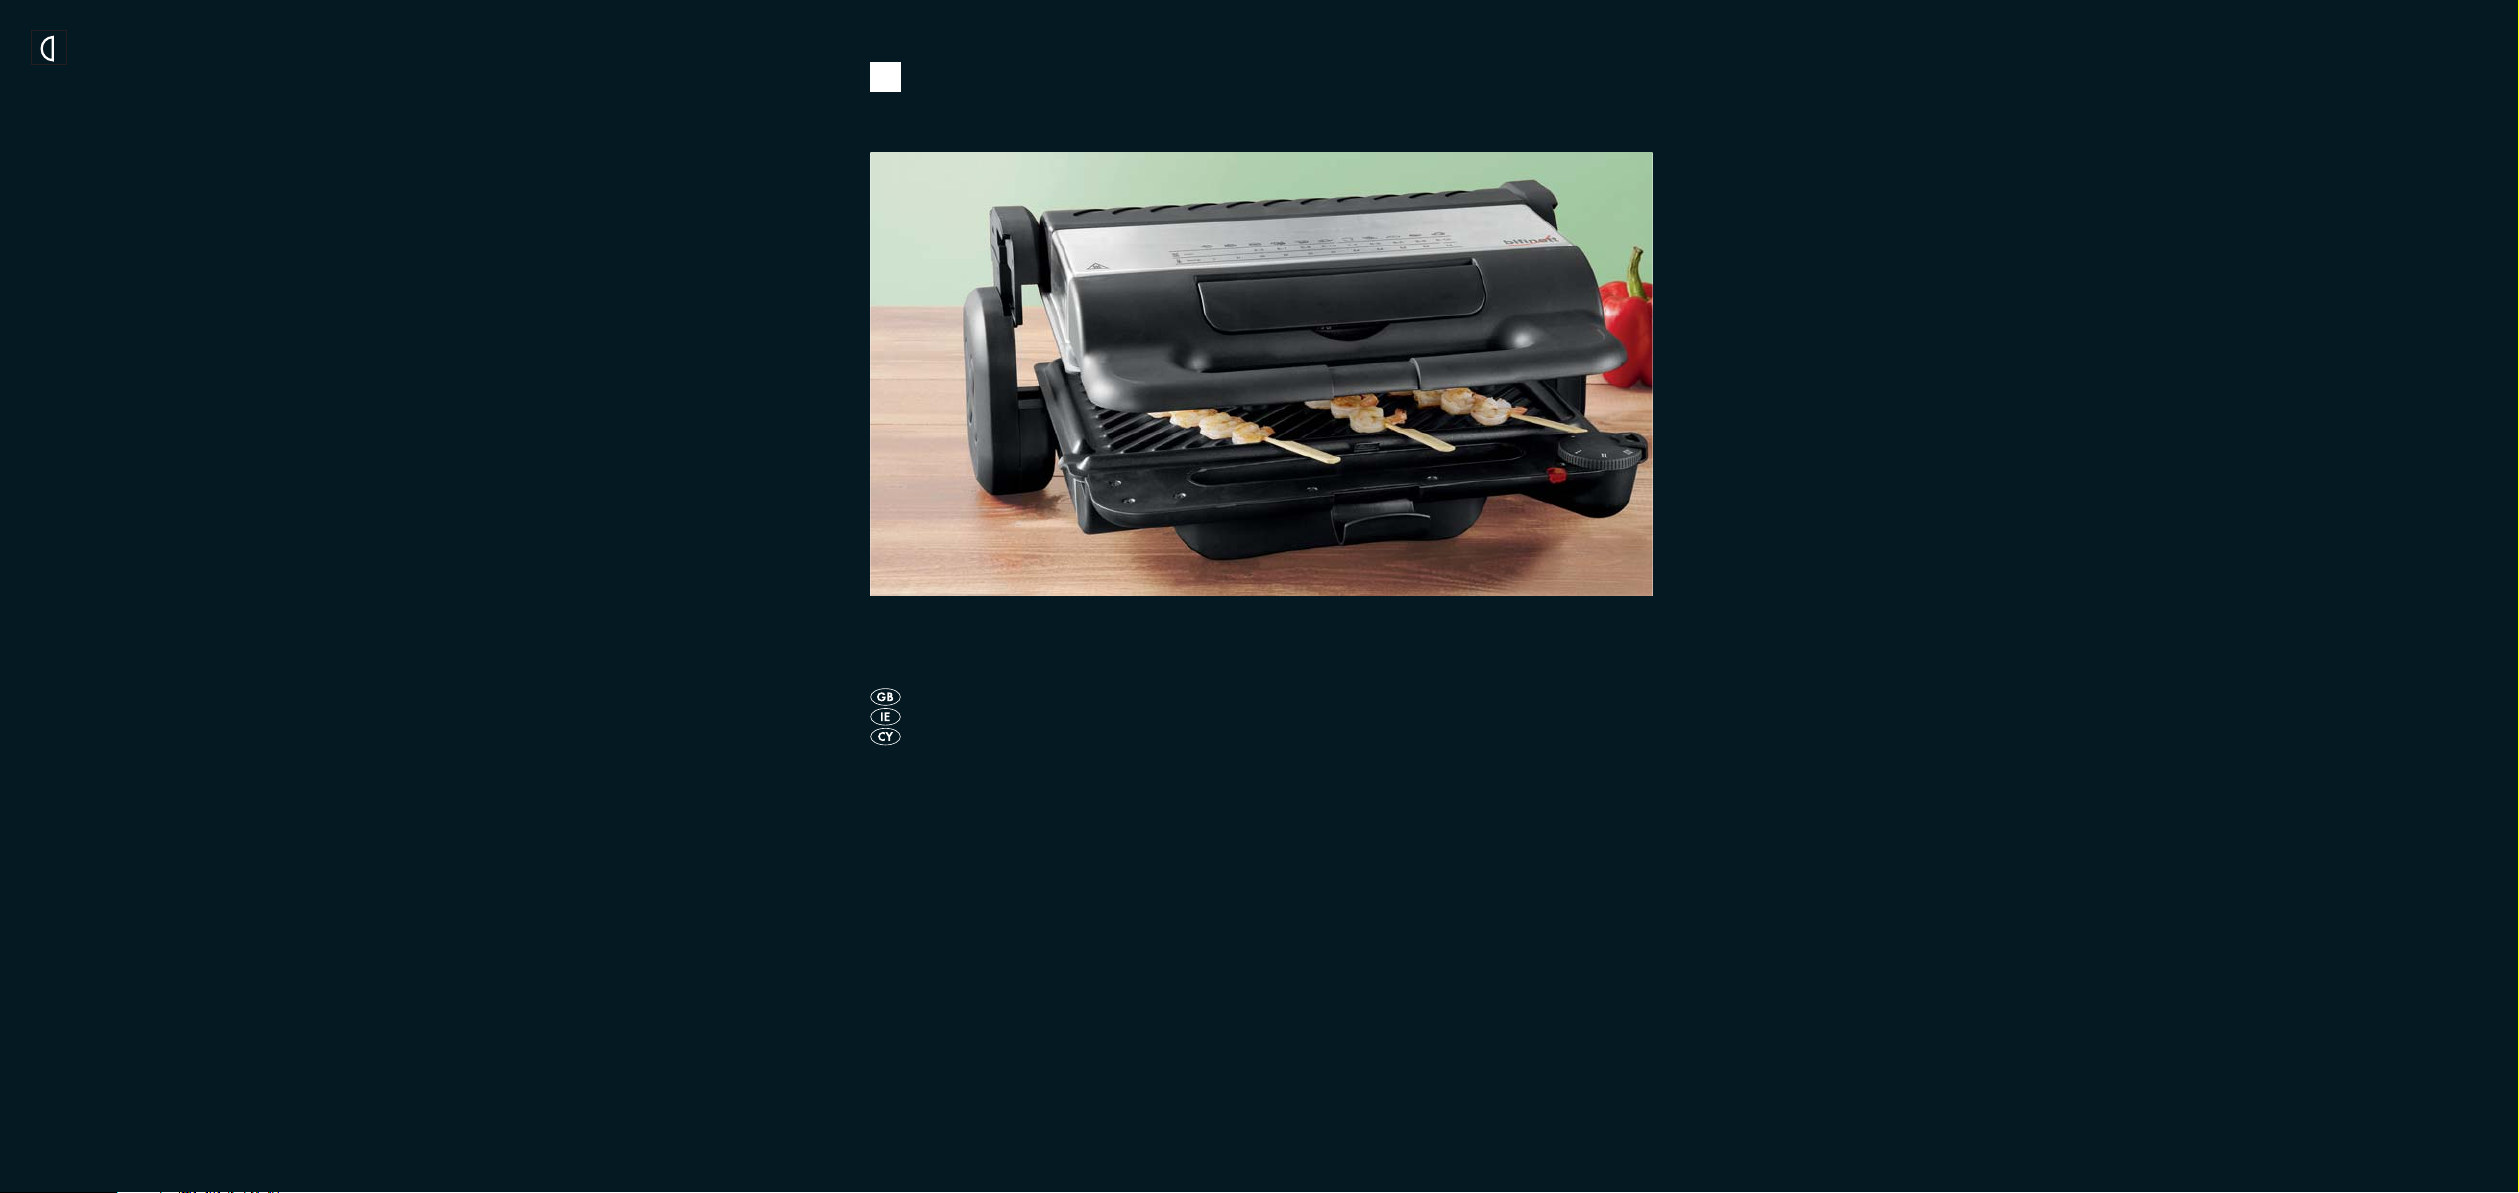
CONTACT GRILL
KH 1141
KOMPERNASS GMBH · BURGSTRASSE 21 · D-44867 BOCHUM
www.kompernass.com
ID-Nr.: KH1141-02/09-V3
CONTACT GRILL
Operating instructions
Page 2

KH 1141
r
e
w
q
i
y
u
o
t
a
Page 3

CONTENT PAGE
Intended use 2
Contents 2
Technical specifications 2
Safety first 2
Description of the appliance 3
Before you use the appliance for the first time 3
Roasting with the Contact Grill 4
Temperature control / preparation methods .................................................................................4
Hot plate positions............................................................................................................................4
Grill roasting / Plates in contact .....................................................................................................4
Barbecue / Hot plate position 180° open...................................................................................5
Oven function / Plate position parallel distance approx. 7 cm..................................................5
After roasting ....................................................................................................................................5
Recipe suggestions (contact position) 6
Mex-Tex-Burger (4 persons) ............................................................................................................6
Turkey Rolls with Serrano Ham (4 persons)...................................................................................6
Tuna with Orange Slices (4 persons).............................................................................................6
Rump Steak with Spring Onion and Herb Sauce (4 persons) ....................................................6
Cleaning & Maintenance 7
Storage 7
Disposal 7
Warranty & Service 8
Importer 8
Read these operating instructions carefully before using the appliance for the first time and preserve this
maual for later reference. Pass this manual on to whoever might acquire the appliance at a future date.
- 1 -
Page 4

CONTACT GRILL
KH 1141
Intended use
This Contact Grill is intended for
• grilling food such as meat, fish, vegetables, sandwiches, etc.
• in household quantities
• in private households
Contents
Contact Grill with two grill plates
2 oil drip pans
Operating booklet
Prevent electrical shock hazards
• You may use the Contact Grill only in-doors in a
dry place. Keep the appliance away from splashing water even when it is switched off.
• Use the appliance only if the local power supply
voltage corresponds to the voltage specified for
the appliance (220-240V AC at 50 Hz).
• Do not connect the appliance over a multisocket
adapter, from which many other electrical devices may be simultaneously drawing power, as
this can lead to overloading of the circuit.
• After each use switch off the appliance and
unplug the unit.
• While cleaning, make sure that water does not
seep into the inner areas of the appliance. Never attempt to clean the appliance under running
water.
Never dip the appliance into water.
Technical specifications
Input voltage: 220-240V, 50 Hz
Power consumption: 2.000 W
Safety first
• Before you start using your Contact grill, please
read the following directions for use carefully.
• Keep this instructions brochure in a safe place
near the appliance for ready reference. Pass it
on, as the case may be, to the next owner of the
appliance.
• Use the Contact grill only for its intended purpose in accordance with the instructions given here.
• Protect the power cord from damages through
entanglement with other objects. Keep it away
from hot surfaces. Do not let the power cord
hang loosely from the table or over the hot plate.
• Never open the housing of the appliance.
• To avoid the risk of injury, arrange for defective
power plugs and/or cables to be replaced as
soon as possible by a qualified technician or by
our Customer Service Department to avoid the
risk of injury.
• Only service centres authorised by the manufacturer or experienced technicians may undertake
repairs (see "Repair & Customer Service").
Prevent fire hazards and injuries
• Place your Contact Grill on an even, nonslippery
and heat-resistant base and never on or near other appliances that may radiate high levels of
heat (e.g. toaster or cooking-range).
• Do not operate the appliance near inflammable
objects, for example, close to curtains or near tissue paper roles in the kitchen.
- 2 -
Page 5

Even during general use, some of the components of the appliance become very hot (e.g.
the top and bottom housing plates). Do not
touch the surface immediately after switching
off the appliance until it cools down
completely.
• To prevent possible overheating, always unwind
the power cord in its entire length.
• While operating, you can open or close the
Contact Grill safely using the heatinsulated
handle.
• This appliance is not intended for use by persons
(including children) with reduced physical, sensorial or mental cabilities, or lack of experience
and knowledge, unless they have been given
supervision or instruction concerning use of the
appliance by a person responsible for their
safety.
• Children should be supervised to ensure that
they do not play with the appliance.
• After use, allow the appliance to cool down
completely before you clean and store it away.
• Do not use an external time switch or a separate
remote control system to operate the appliance.
Prevent damages to the appliance
• Use a plastic or wooden spatula or any other suitable non-metallic utensil to remove the food
items so as not to damage the non-stick coating
of the Contact Grill's hot plate.
• For the same reason, do not use any corrosive
detergents or pointed instruments when cleaning
the appliance.
Description of the appliance
Pilot light
q
Snap locking device on the handle
w
Handles
e
Swivelling support
r
Temperature control knob
t
Hot plate locking springs
y
Ridge for oil drainage
u
Leads for fixing the hotplates
i
Grill hot plates
o
Oil drip pan
a
Before you use the appliance
for the first time
1. Unpack your new Contact Grill and remove all
extra fittings such as plastic wrappers and cable
clamps meant for protection during transportation.
2. Before starting up your new Contact Grill, check
the contents for completeness and any visible
damage.
3. Read the directions for use carefully.
4. Install the appliance as described in the safety
precautions.
5. Clean the new Contact Grill with a wet cloth as
described under "Cleaning & Maintenance".
When using the Contact Grill for the first time,
you may notice fumes caused by heating. These
fumes are not injurious to health; however, initially they may affect the taste of your first few dishes. Therefore, before preparing any food items
for the first time, we advise you to switch on the
Contact Grill once without any food items and
allow it to heat up at the maximum temperature
setting for 15 minutes.
- 3 -
Page 6

Roasting with the Contact Grill
1. Open the lid of the Contact Grill by pulling the
locking clasp on handle
the lid up to the stopper. If necessary, remove all
fallen food particles from the hot plate surface
using a dry cloth.
o
2. Dab some oil or butter on the surface of the hot
plate
.
o
3. Close the lid of the Contact Grill. The appliance
is fully closed when the locking clasp on handle
audibly snaps into position.
w
4. Insert the plug into a power socket to switch the
appliance on and set the temperature control
knob
Contact Grill starts heating up.
The pilot light
5. After a few minutes the pilot light
Now the Contact Grill has reached the set temperature and is ready for operation.
at the desired temperature. Now the
t
turns on.
q
Temperature control / preparation
methods
You can set the temperature control knob tat the
following positions:
• Switched off
I Defrost
II Heat up
III Medium grilling
M Fast grilling
Pictograms for the most important methods of preparation that can be used with the appliance in contact position are shown on the appliance. The cooking times generally depend on the weight and size
of the food being grilled as well as your individual
tastes. The values given are guiding values based
on a quantity of 100 g.
, downwards and tilt
w
switches off.
q
The individual symbols have the following
meanings:
Grilling or cooking time
Temperature setting to use
Thawing
Heating up
Hamburger / sandwich
Vegetables
Shrimp
Fish
Toast, etc.
Meat skewers
Sausages
Meat (cutlets, steaks)
Chicken / turkey
Hot plate positions
You can position the hot plates in different ways
depending on the preparation method.
Grill roasting / Plates in contact
This position is suitable for simultaneous and fast
roasting of foodstuffs on both sides. It is ideal for
grilling meat that needs to be seared fast at high
temperature, e.g. rump steak, filet cuts, chops,
sausages and vegetables.
- 4 -
Page 7

1. Open the lid of the Contact Grill up to the
stopper without lifting it up.
2. Place one of the oil drip pans
for oil drainage
3. Place the food items to be grilled on
the bottom grilling hot plate
4. Close the lid gently exerting slight pressure till
the distance between both the hot plates are adjusted automatically depending on the thickness
of the food items.
u
.
under the ridge
a
.
o
Barbecue / Hot plate position 180°
open
This position is suitable for grilling thick food-
stuffs that need to be roasted slowly and uniformly. It is ideal for preparing vegetables with
high water content, as the water can evaporate
in the beginning at low or medium temperatures.
You can also use this hot plate position to prepa-
re large quantities of food items or to cook vegetables along with meat.
Example: Pepper
Remove the stem and seeds from the pepper. Cut
the pepper into strips one centimetre wide.
Place the pepper strips on the grill and grill for approx. 15 minutes at temperature setting "M" until
bubbles appear on the skin.
1. Open the swivel support
till the end.
r
2. Open the lid of the Contact Grill in vertical position, lift it up to the stopper and open it further till
it is in horizontal position.
3. Place the two oil drip pans
for oil drainage
4. Spread the grilling foodstuffs on both the grill
plates.
of the grill plates.
u
under the ridges
a
Oven function / Plate position parallel
distance approx. 7 cm
This position is suitable for preparing delicate
foodstuffs that need not be pressed or turned
over when roasting.
Example: Meat Cutlet with Melted Cheese
Pound the meat cutlet flat, then salt and pepper it.
Place the cutlet on the grill and grill evenly from
both sides. Then lay melting cheese atop the cutlet
and cook in the oven function at temperature setting
"M" for approx. 15 minutes.
1. Open the lid part of the Contact Grill up to the
stopper without lifting it up.
2. Place one of the oil drip pans
for oil drainage
3. Place the foodstuff to be grilled on the bottom
hot plate
4. Lift the lid till the stopper and turn it forward till it
rests in a parallel position with the bottom hot
plate.
o
.
u
.
under the ridge
a
After roasting
• Set the temperature control knob to "•" position.
• Pull the power plug out of the socket.
• Remove the grilled food items from the hot plates
using a wooden spatula or any other suitable,
non-metallic utensil.
- 5 -
Page 8

Recipe suggestions (contact
position)
The details provided for grilling times and heat
levels can, subject to the composition of the
foodstuff and personal tastes, be varied.
Tuna with Orange Slices (4 persons)
4 fresh tuna steaks (170 g each)
1 orange
1 tsp. finely chopped parsley
Salt
Pepper
Mex-Tex-Burger (4 persons)
900 g hamburger
6 tbsp. barbecue sauce
6 tbsp. finely chopped onions
3 tbsp. fresh or store-bought salsa
1/2 tsp. chili powder
4 large hamburger buns
1. Mix hamburger, onions, salsa, chili powder and
barbecue sauce well in a large bowl. Form the
meat mix into four equally sized, 2 cm thick
hamburger patties.
2. Warm the appliance up (Heat level III - M).
3. Grill the hamburgers for 8 - 10 minutes on the
pre-heated grill. Then serve the hamburgers on
the hamburger buns together with ingredients
and seasonings of your choice.
Turkey Rolls with Serrano Ham
(4 persons)
8 small, thin turkey cutlets (50 g each)
Salt
Pepper
2 tsp. mustard
8 thin slices of Serrano ham
8 dried, soft apricots
1 tbsp. olive oil
8 roulade needles
1. Pound cutlets flat, salt and pepper. Coat one
side with mustard. Cut ham slices in half. Place
ham and apricots on the mustard-coated side.
2. Warm the appliance up (Heat level M).
3. Roll the cutlet up and then firmly secure it with a
skewer. Smear the roll with cooking oil, then grill
it for approx. 6 minutes at heat level M.
1. Peel the orange and cut into slices roughly 5 mm
thick.
2. Place the tuna steaks on the preheated grill
(Heat level III - M), sprinkle with parsley and season with salt and pepper. Lay the orange slices
on the tuna steaks and grill for approx. 6-8 minutes.
3. Remove the grilled orange slices and serve the
tuna steaks.
Rump Steak with Spring Onion and
Herb Sauce (4 persons)
500 g lean rump steak (125 g each)
120 g margarine
1 tsp. Worcestershire sauce
1 finely chopped garlic clove
4 tbsp. finely chopped parsley
4 finely chopped spring onions
1. Mix the margarine and the Worcestershire sauce
in a small bowl. Mix in the garlic, parsley and
spring onions.
2. Warm the appliance up (Heat level M).
3. Grill the steak for 3 minutes at heat level M,
afterwards smear it with the spring onion & herb
sauce and then cook it for a further 4 minutes at
heat level I. Collect the dripping herb sauce with
the oil drip pan.
4. After they finish grilling, let the steaks rest briefly
and cut into thin strips against the grain. Arrange
the meat on a pre-heated serving plate, pour the
melted herb sauce from the oil drip pan over the
cut meat.
- 6 -
Page 9

Cleaning & Maintenance
Storage
Before cleaning, unplug the appliance and wait
till it has completely cooled down. Never attempt to clean the appliance under running water and never dip it in water.
For normal cleaning, you can remove the grilling
hot plates
• For this purpose, press the hot plate fixing
springs yslightly backwards to release the hot
plates
• Rinse the hot plates
tral detergent. In order to protect the non-stick
coating, do not use any corrosive detergents or
pointed objects for cleaning.
• In case the grill surface has become heavily incrusted, keep a wet cleaning cloth on the hard
residual matter for a while to soak the layer.
The grill plates can even be washed in the
dishwasher!!
• Wash the grease catchment bowl
water and a neutral detergent. To avoid damage
to the upper surfaces, do not use aggressive cleansers, rough sponges or sharp objects when
cleaning the appliance.
from the appliance.
o
.
o
o
with hot water and a neu-
with hot
a
You can store away the Contact Grill in horizontal
or upright position. Your Contact Grill has an integrated compartment for storing the power cord at
the bottom of the housing. You can wind up the power cord in it when the appliance is not in use. This
way you can prevent the power cord from getting
entangled or soiled or from becoming a likely cause
of accidents.
Disposal
Do not dispose of the appliance in your
normal domestic waste. This product is
subject to the European guideline
2002/96/EC.
Dispose of the appliance through an approved disposal centre or at your community waste facility.
Observe the currently applicable regulations.
In case of doubt, please contact your waste disposal
centre.
Dispose of all packaging materials in an
environmentally responsible manner.
To clean the external surface of the appliance, use
a wet cloth.
Before using the Contact Grill again, make sure that
all components are completely dry.
- 7 -
Page 10

Warranty & Service
Importer
The warranty for this appliance is for 3 years from
the date of purchase. This appliance has been
manufactured with care and meticulously examined
before delivery. Please retain your receipt as proof
of purchase date. Should a claim need to be made
under the warranty, please make contact by telephone with our service department. Only in this
way can a post-free despatch for your goods be
assured.
The warranty covers ONLY claims for material and
maufacturing defects, not for wearing or consumable or for damage to fragile components. This product is for private use only and is not intended for
commercial applications.
The warranty will become void in the event of abusive and improper handling, use of force and internal
tampering not carried or approved by our authorized service branch. Your statutory rights are not restricted in any way by this warranty.
DES Ltd
Units 14-15
Bilston Industrial Estate
Oxford Street
Bilston
WV14 7EG
Tel.: 0870/787-6177
Fax: 0870/787-6168
e-mail: support.uk@kompernass.com
KOMPERNASS GMBH
BURGSTRASSE 21
44867 BOCHUM, GERMANY
www.kompernass.com
Kompernass Service Ireland
Tel: 1850 930 412
Standard call rates apply. Mobile operators may vary.
e-mail: support.ie@kompernass.com
(0,082 EUR/Min.)
- 8 -
 Loading...