

Page 1

BeoLab 10
Guide
Page 2
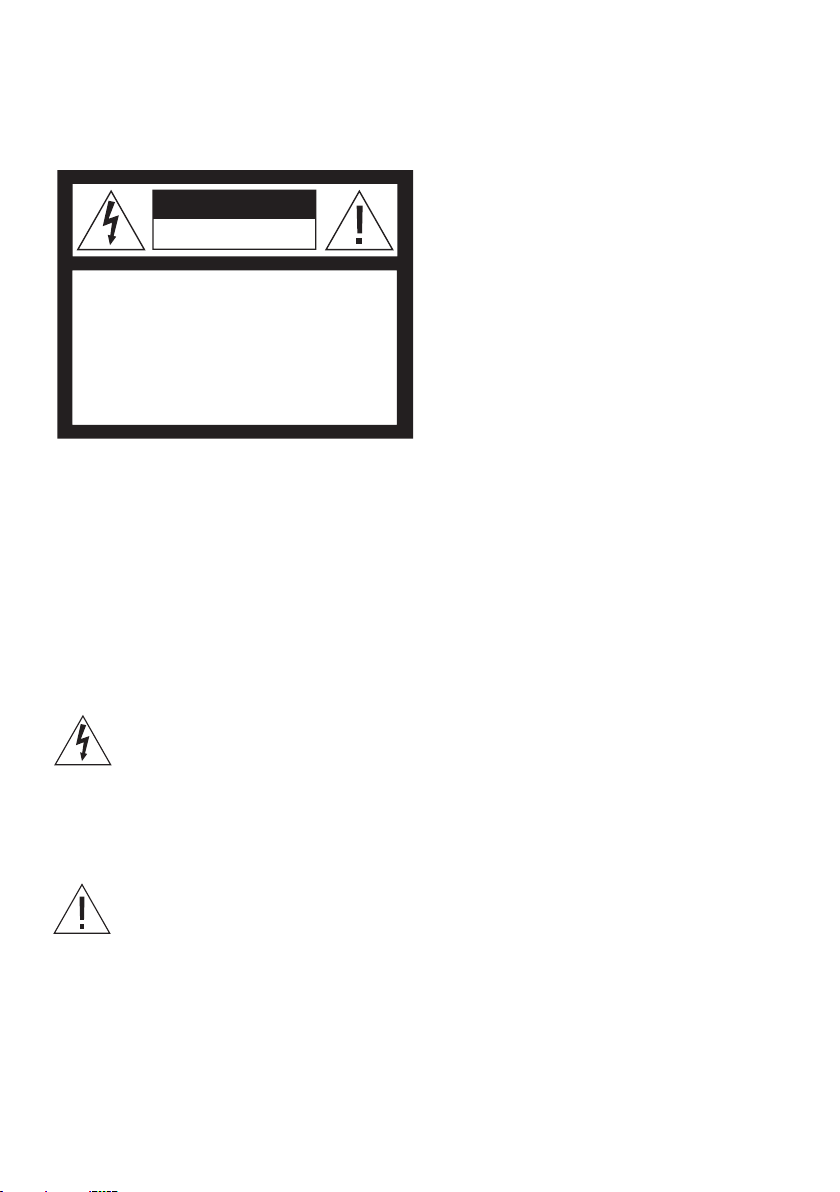
CAUTION: To reduce the risk of
CAUTION
RISK OF ELEC TRIC SHOC K
DO N OT O PEN
electric shock, do not remove
cover (or back).
No User-serviceable parts inside.
Refer servicing to qualified service
personnel.
WARNING: To reduce the risk of fire or
electric shock, do not expose this appliance
to rain or moisture. Do not expose this
equipment to dripping or splashing and
ensure that no objects filled with liquids,
such as vases, are placed on the equipment.
To completely disconnect this equipment
from the AC Mains, disconnect the mains
plug from the wall socket. The disconnect
device shall remain readily operable.
The lightning flash with arrowhead symbol
within an equilateral triangle, is intended
to alert the user to the presence of un-
insulated “dangerous voltage” within the
product’s enclosure that may be of
sufficient magnitude to constitute a risk of
electric shock to persons.
Cautions!
– Make sure that the loudspeaker
is placed and connected in
accordance with the instructions
in this Guide. To prevent injury,
use Bang & Olufsen approved
stands and wall brackets only!
– The loudspeaker can only be
switched off completely by
disconnecting it from the wall
socket.
– Do not attempt to open the loud-
speaker. Leave such operations
to qualified service personnel!
– The loudspeaker is designed for
indoor use in dry, domestic
environments only, and for use
within a temperature range of
10–40º C (50–105º F).
– Do not place any items on the
loudspeaker.
– Do not lift the loudspeaker by
gripping the acoustic lens.
Prolonged listening at high
–
volume levels may cause hearing
damage!
The exclamation point within an equilateral
triangle is intended to alert the user to the
presence of important operating and maintenance (servicing) instructions in the
literature accompanying the product.
Page 3
Daily use
!
3
When you have finished setting
up the loudspeaker as
described on the following
pages, connect the entire
system to the mains.
Loudspeaker protection
The loudspeaker is equipped with a
thermal protection system which
prevents damage from overheating.
If an error occurs – or the speaker
units become overheated – the
system automatically switches the
loudspeaker to standby.
To restore the sound :
> Disconnect the loudspeaker from
the mains supply.
> Allow the system time to reset or
cool down (approximately 3–5
minutes).
> Reconnect the loudspeaker to
the mains supply.
Should the problem persist,
contact your Bang & Olufsen
retailer.
To clean the loudspeaker
Clean dusty surfaces using a dry,
soft cloth. If necessary, remove
grease stains or persistent dirt with
a lint-free, firmly wrung cloth,
dipped in a solution of water
containing only a few drops of
mild detergent, such as washingup liquid.
Never use a vacuum cleaner to
clean the exposed speaker
membrane in the acoustic lens.
However, the loudspeaker front
cloth may be cleaned with a
vacuum cleaner with a soft brush
nozzle, and set to the lowest level.
Never use alcohol or other solvents
to clean any parts of the loudspeaker!
To switch on and off
When you switch on your Bang &
Olufsen system, the loudspeaker
switches on simultaneously, and
when you switch the system off
again, the loudspeaker also
switches to standby.
Caution: Do not touch the
exposed speaker membrane in the
acoustic lens!
Page 4

Power Link
Mk 3
4
The loudspeaker socket panel is
located on the rear. Insert the
cables and set the POSITION
switch before you fasten the
loudspeaker to the wall bracket.
For information about the
sockets on the Bang & Olufsen
system, refer to the Guides
enclosed with the produc t.
Before you make any connections,
disconnect your Bang & Olufsen
system from the mains supply!
Set up the loudspeaker – cable connections
POWER LINK
socket
Cable clamp
POSITION switch
POWER LINK socket: Use this
socket to connect the loudspeaker
to one of the Power Link sockets
on the Bang & Olufsen system.
Note: Do not use a Power Link
cable of the older type, as this will
cause noise, and therefore not give
optimum sound quality! The new
type has a triangular mark on the
plug.
Cable clamp: For safety reasons,
the mains cord from the wall outlet
must be secured to the loudspeaker. To do so, tug the cord
behind the cable clamp.
Mains cord: The supplied mains
cord and plug are specially
designed for the product. If you
change the plug or damage the
mains cord, you must buy another
from your Bang & Olufsen retailer!
Page 5

F W
5
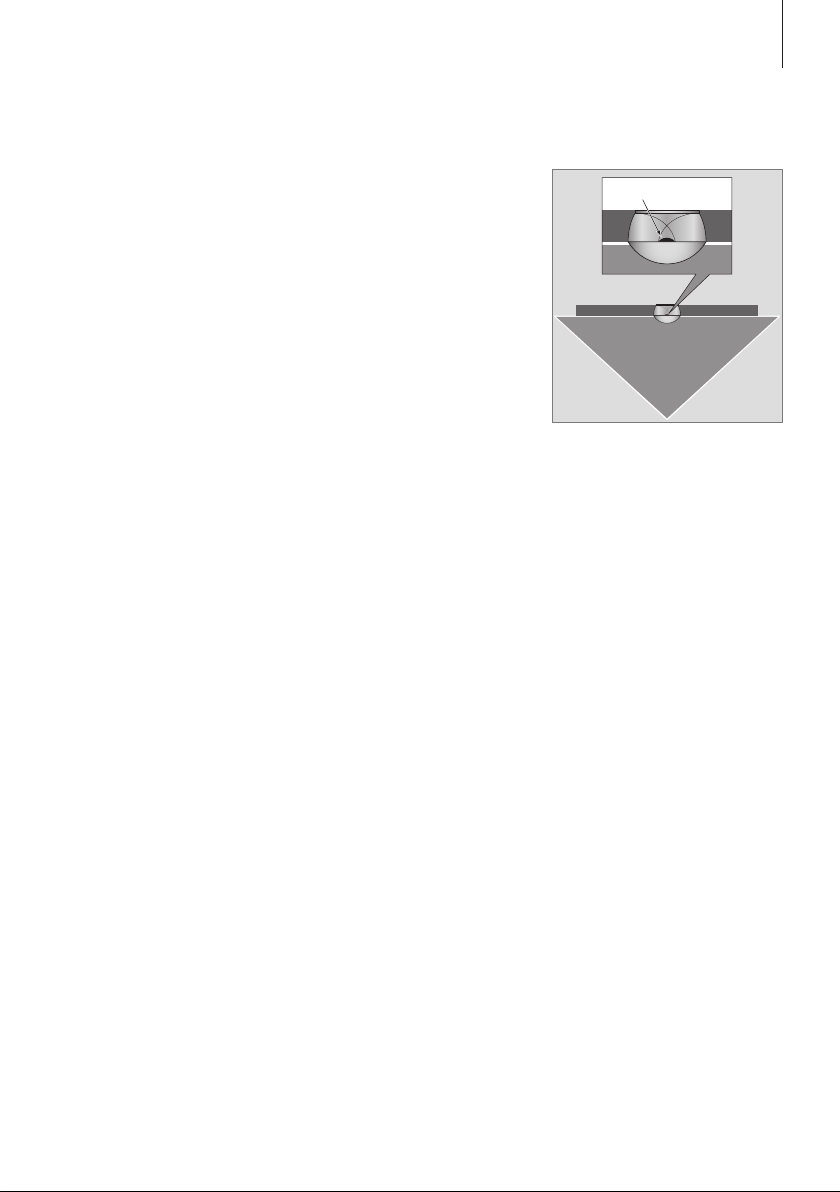
The POSITION switch
When a loudspeaker is placed
in a corner or close to a wall,
the bass level is boosted
compared to the bass level from
a loudspeaker placed in a more
free-standing position.
To remove this excessive bass
boost, use the POSITION switch
to ensure that the bass level
suits the placement of the loudspeaker. The appropriate switch
setting depends on the distance
from the loudspeaker to the
walls and corners of the room.
The switch has t wo settings :
W – Wall position
This is the factory setting. Use this
setting when the loudspeaker is
placed so that the front is less than
50 cm (20") from the rear wall, for
example when the loudspeaker is
mounted on the wall bracket as
explained in this Guide.
F – Free-standing position
This setting is for future use. To be
used if the loudspeaker is placed
so that the front is more than
50 cm (20") from the rear wall.
The POSITION switch is located on
the loudspeaker socket panel.
Acoustic Lens Technology –
manufactured under license from
Sausalito Audio Works.
Page 6

≥ 10 cm
4"
≥ 59 cm
23"
6
The wall bracket must be
fastened to the wall so that the
loudspeaker is placed in a
centred position immediately
below the television screen.
We recommend that you place the
television screen so that the loudspeaker will be at least 10 cm (4")
above the floor.
Set up the loudspeaker – wall bracket
About screws, washers and wall anchors
Use the correct size and type of
screws, washers and wall anchors –
taking into account the
construction and condition of the
wall.
Use at least four screws – two in
each side of the wall bracket.
Under each screw head use an
appropriatly sized washer with a
minimum thickness of 1.6 mm
(0.07"). Each screw and washer
must have a minimum load rating
of 16 kg (35 lbs).
Additional notice about light
partition walls:
If you intend to hang the loudspeaker on a gypsum wall (also
known as drywall or wallboard),
the wall bracket
must be fastened
to a vertical stud! Mounting was
evaluated for use on a drywall
surface.
Use one round-headed lag screw
(ø 6 mm – 0.23"), which
penetrates the gypsum and is
screwed a minimum of 25 mm (1")
into a vertical stud. Furthermore,
use three additional screws of a
type intended for gypsum walls.
Page 7

To fasten the wall bracket
62 mm
2.44"
1 Fold the cardboard ‘tool’ as
shown, and attach it to the wall
bracket.
2 Hold the wall bracket against the
wall – centred below the television screen. Make sure that the
‘tool’ touches the screen edge.
3 Mark up on the wall where to
drill the holes.
4 Drill the holes in the wall, and
insert the appropriate wall
anchors.
5 Fasten the wall bracket to the
wall using the appropriate size
and type of screws and washers.
The holes in the wall bracket allows
for some adjustment. Make sure
that the wall bracket is in the
correct position – level and centred
in the correct distance from the
screen edge. Then fully tighten all
the screws.
7
Cardboard ‘tool’: The ‘tool’ is used as a help to position the wall
bracket in the correct distance from the lower edge of the television
screen.
Page 8

13 mm
0.51"
13 mm
0.51"
8
To fasten the loudspeaker
Attach the television screen and
loudspeaker cables to the wall
bracket before you fasten the loudspeaker. Use the small cable
clamps provided.
– Connect the cables to the loud-
speaker and hang it on the wall
bracket by inserting the three
struts into the corresponding
holes in the loudspeaker cabinet.
– Adjust the loudspeaker position
on the wall bracket. The correct
position is obtained when the
front of the loud¬speaker
cabinet falls 13 mm (0.51")
‘behind’ the front of the
television screen.
– Tighten the screws at the end of
all three struts – in order to lock
the loudspeaker position onto
the wall bracket.
>> Set up the loudspeaker – wall bracket
Loudspeaker position : The wall bracket allows you to adjust the loudspeaker front-to-back position for use with different television screen
sizes. For safety reasons, it is important that you lock the loudspeaker
onto the wall bracket!
Page 9

To attach the loudspeaker front
× 2
panel
1 Insert all the little pegs on the
rear side of the panel into the
corresponding holes in the loudspeaker cabinet.
2 Make sure that all the pegs are
firmly seated into the holes.
When finished, the loudspeaker
front panel must be aligned with
the front of the television screen. If
it apppears not to be so, remove
the loudspeaker front panel again,
and adjust the front-to-back
position of the loudspeaker.
To remove the front panel, for
example for cleaning, just pr y the
little pegs free from the loudspeaker cabinet.
9
Cover plates: If your loud¬speaker
is set up beneath a 65-inch screen,
fasten two cover plates to the wall
bracket – one on each side of the
bracket.
Page 10

10
Waste Electrical and Electronic Equipment (WEEE) –
Environmental protection
Electrical and electronic equipment,
parts and batteries marked with
this symbol must not be disposed
of with normal household
wastage; all electrical and
electronic equipment, parts and
batteries must be collected and
disposed of separately.
When disposing of electrical and
electronic equipment and batteries
by use of the collection systems
available in your country, you
protect the environment, human
health and contribute to the
prudent and rational use of natural
resources. Collecting electrical and
electronic equipment, batteries
and waste prevents the potential
contamination of nature with the
hazardous substances which may
be present in electrical and
electronic products and equipment
Your Bang & Olufsen retailer will
advise you of the correct way of
disposal in your country.
If a product is too small to be
marked with the symbol, it will
appear in the User Guide, on the
Guarantee certificate, or on the
packaging.
Page 11

For the Canadian market only!
This class B digital apparatus meets
all requirements of the Canadian
Interference-Causing Equipment
Regulations.
This product is in conformity
with the provisions of the
Directives 1999/5/EC and
2006/95/EC.
Technical specifications, features
and the use thereof are subject to
change without notice!
For the US -market only!
NOTE: This equipment has been
tested and found to comply with
the limits for a class B digital device,
pursuant to part 15 of the FCC
Rules. These limits are designed to
provide reasonable protection
against harmful interference in a
residential installation.
This equipment generates, uses
and can radiate radio frequency
energy and, if not installed and
used in accordance with the
instructions, may cause harmful
interference to radio
communications. However, there is
no guarantee that interference will
not occur in a particular
installation. If this equipment does
cause harmful interference to radio
or television reception, which can
be determined by turning the
equipment off and on, the user is
encouraged to try to correct the
interference by one or more of the
following measures:
– Reorient or relocate the receiving
antenna.
– Increase the separation between
the equipment and receiver.
– Connect the equipment into an
outlet on a circuit different from
that to which the receiver is
connected.
– Consult the retailer or an
experienced radio /TV technician
for help.
Page 12

www.bang-olufsen.com
3509664 0906
 Loading...