

Bang & Olufsen Beolab 1 User Manual

BeoLab 1
User’s guide
Legal notice:
CAUTION
RISK OF ELECTRIC SHOCK
DO NOT OPEN
CAUTION: To reduce the risk of
electric shock, do not remove
cover (or back).
No User-serviceable parts
inside. Refer servicing to
qualified service personnel.
WARNING: To prevent fire or electric
shock, do not expose this appliance to
rain or moisture.
This symbol indicates that a
dangerous voltage constituting a risk of electric shock is
present within this unit.
This symbol indicates that there
are important operating and
maintenance instructions in the
literature accompanying this
unit.

Contents of the Guide
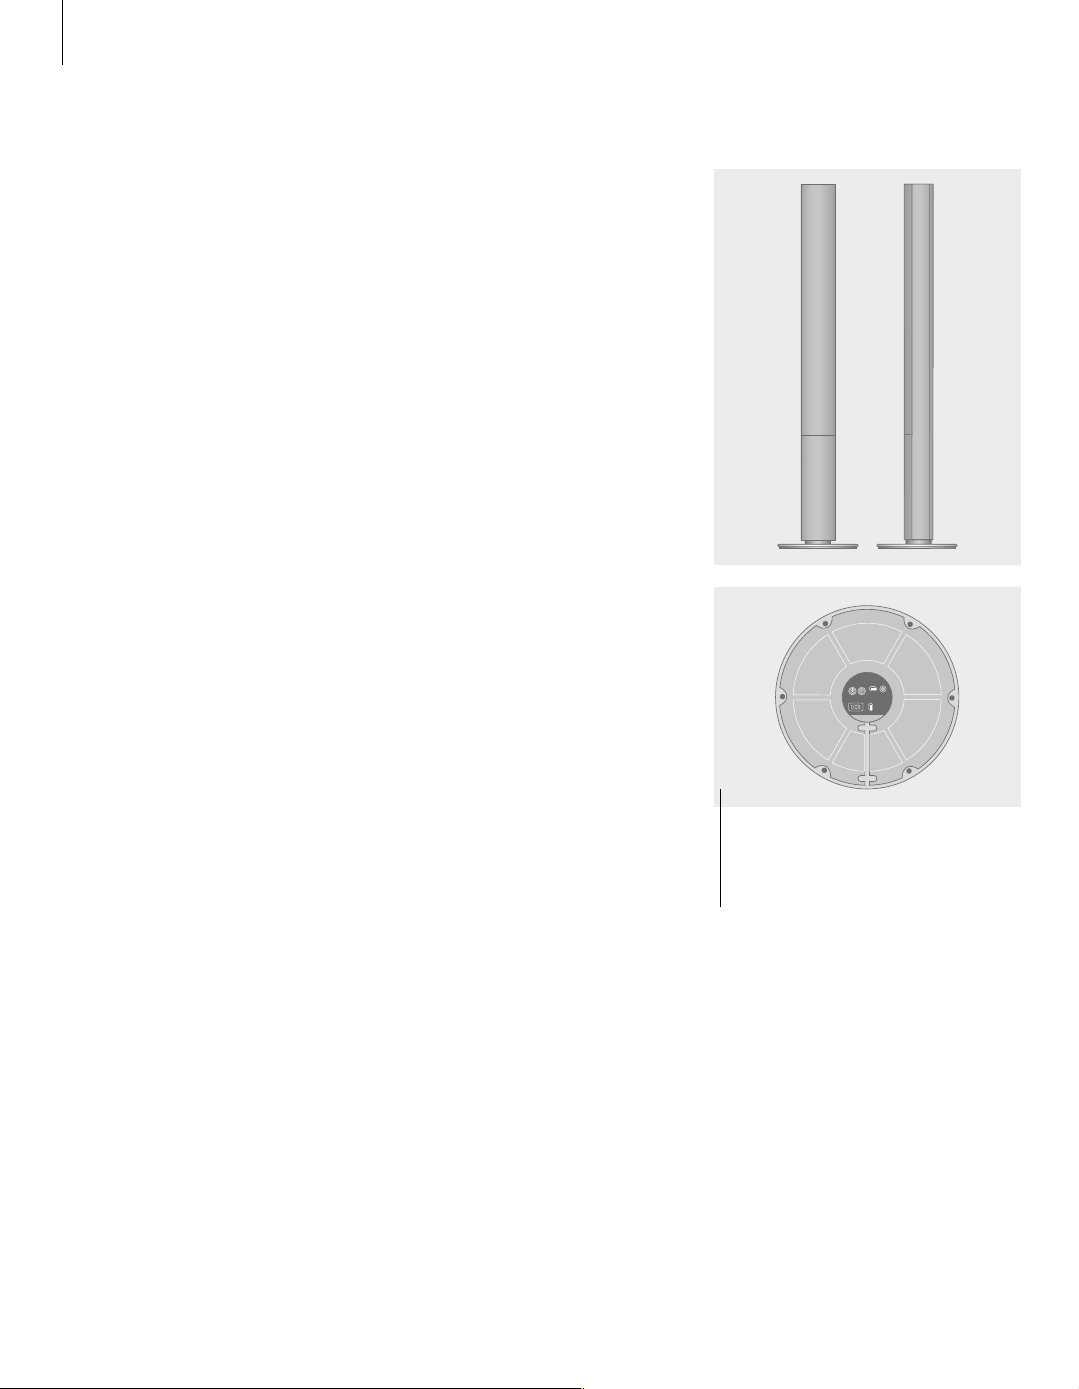
The BeoLab 1 loudspeaker is
separated in two boxes: one
containing the loudspeaker column,
and the other the base plate.
This User’s guide describes how to
assemble the BeoLab 1 loudspeaker
column and base plate, how to
connect the BeoLab 1 loudspeaker,
and how to adjust it to your
surroundings. Likewise, the guide
gives some advice on how to place
the BeoLab 1.
How to set up the BeoLab 1
loudspeaker
4 Before you start…
NOTE! We urge you to read this part before
you start assembling your loudspeakers.
Assemble the column and base
plate
5 Assembly
5 Rubber Feet – adjustment
Connect your loudspeakers
6 …to a Bang & Olufsen product
7 …to a non-Bang & Olufsen product
7 …to the mains
7 Running the cables – cable cover,
cable clamps
Adapt the BeoLab 1 to its
surroundings
8 Setting the Speaker Position switch
(Bass Alignment)
Daily use
10 Switching on and off – indicator
10 Loudspeaker protection
10 Cleaning the BeoLab 1
4
How to set up the BeoLab 1 loudspeaker
We recommend that you follow this
procedure when setting up the
BeoLab 1 loudspeaker:
1 Finish unpacking and assemble
the column and base plate as
described on page 5.
2 Disconnect your Bang & Olufsen
system from the mains.
3 Connect your loudspeaker as
described on pages 6–7.
4 Set the L•R•LINE switch and
the Speaker Position switch to
the correct setting on each
BeoLab 1 as described on pages
8–9.
5 Lift the assembled BeoLab 1 off
the packing materials, and place
it. As for the placement of each
speaker, please refer to pages
8–9.
6 Connect both loudspeakers (and
your system) to the mains – and
enjoy!
Before you start…
Here we have a list of things which should
be considered before setting up the
BeoLab 1:
• Make sure that the BeoLab 1 is set up
(placed and connected) in accordance with the
instructions in this Guide.
• Always place your BeoLab 1 on a firm and
stable surface.
• The BeoLab 1 is designed for indoor use in
dry, domestic environments only, and for use
within a temperature range of 10–40° C (50–
105° F).
• Remember that all speakers in a setup need a
connection to a mains outlet, and that they, in
order to switch on automatically, are designed
to be connected to the mains at all times.
• Do not turn the power on for any units in
your system, until after you have all the cables
plugged in (pages 6–7).
• On the top of the BeoLab 1 is a small recess.
This is for ventilation of the powerful BeoLab 1
amplifiers. Do not cover up this recess (and do
not use it as ‘a carrying handle’ when moving
your BeoLab 1 loudspeaker).
• Do not attempt to open your BeoLab 1.
Leave such operations to qualified service
personnel.
Bottom view of the BeoLab 1 showing access
to the panel with the sockets and switches.
The use and purpose of the sockets and
switches is described on pages 7–9.
 Loading...