

Page 1

AT&T
MERLIN
COMMUNICATIONS SYSTEM
User's Guide:
Models 1030 and 3070
with Feature Module 4
Page 2

Table of Contents
Available Features
Key to Symbols
Placing Calls
Outside Calls
Button Access and Dial Access to Line Pools
Automatic Route Selection
Line Request
Intercom Calls
Ringing Intercom Calls
Announced Intercom Calls
Answering Calls
Fixed Features
Hold
Transfer
Transfer with Voice Announcement
Conference
Drop
Speaker
On-Hook Dialing
Monitor-on-Hold
Group Listening
Message
Recall
Custom Features
Basic Programming Instructions
Outside Auto Dial
Special Characters in Programmed Dialing
Sequences
Auto Intercom
Ringing Intercom Calls
Announced Intercom Calls
OneTouch Transfer
Personal Speed Dial
System Speed Dial
Using a System Speed Dial Button
Saved Number Redial
2
3
4
4
5
6
7
8
8
9
10
11
11
12
12
13
14
15
15
16
16
17
17
18
19
20
20
22
22
23
23
24
25
25
26
Last Number Redial
Manual Signaling
Loudspeaker Page
Group Page
Auto Answer-All
Auto Answer-Intercom
Call Coverage
Coverage Inhibit
Using Call Coverage and Coverage Inhibit to
Forward Calls
Do Not Disturb
Privacy
Touch-Tone Enable
Account Number Entry
Call Park
Call Pickup
Line Pickup
Using a Single Line Pickup Button
Using Buttons Programmed to Pick Up Specific Lines
Using a Dial Code
Ringing and Line Selection Options
Ringing Options
Programmable Line Ringing
Personalized Ringing
Voice Announcement Disable
Automatic Line Selection
Simultaneous Voice and Data Calls
Using PBX, Centrex, or Custom Calling Features
Optional Equipment
Hands-Free Unit
Placing Calls
Answering Calls
General Purpose Adapter
Index
Feature Programming Chart
27
28
29
31
32
33
34
35
35
36
37
38
39
40
41
42
42
43
43
44
44
44
45
46
47
48
50
51
51
51
52
52
53
54
Page 3
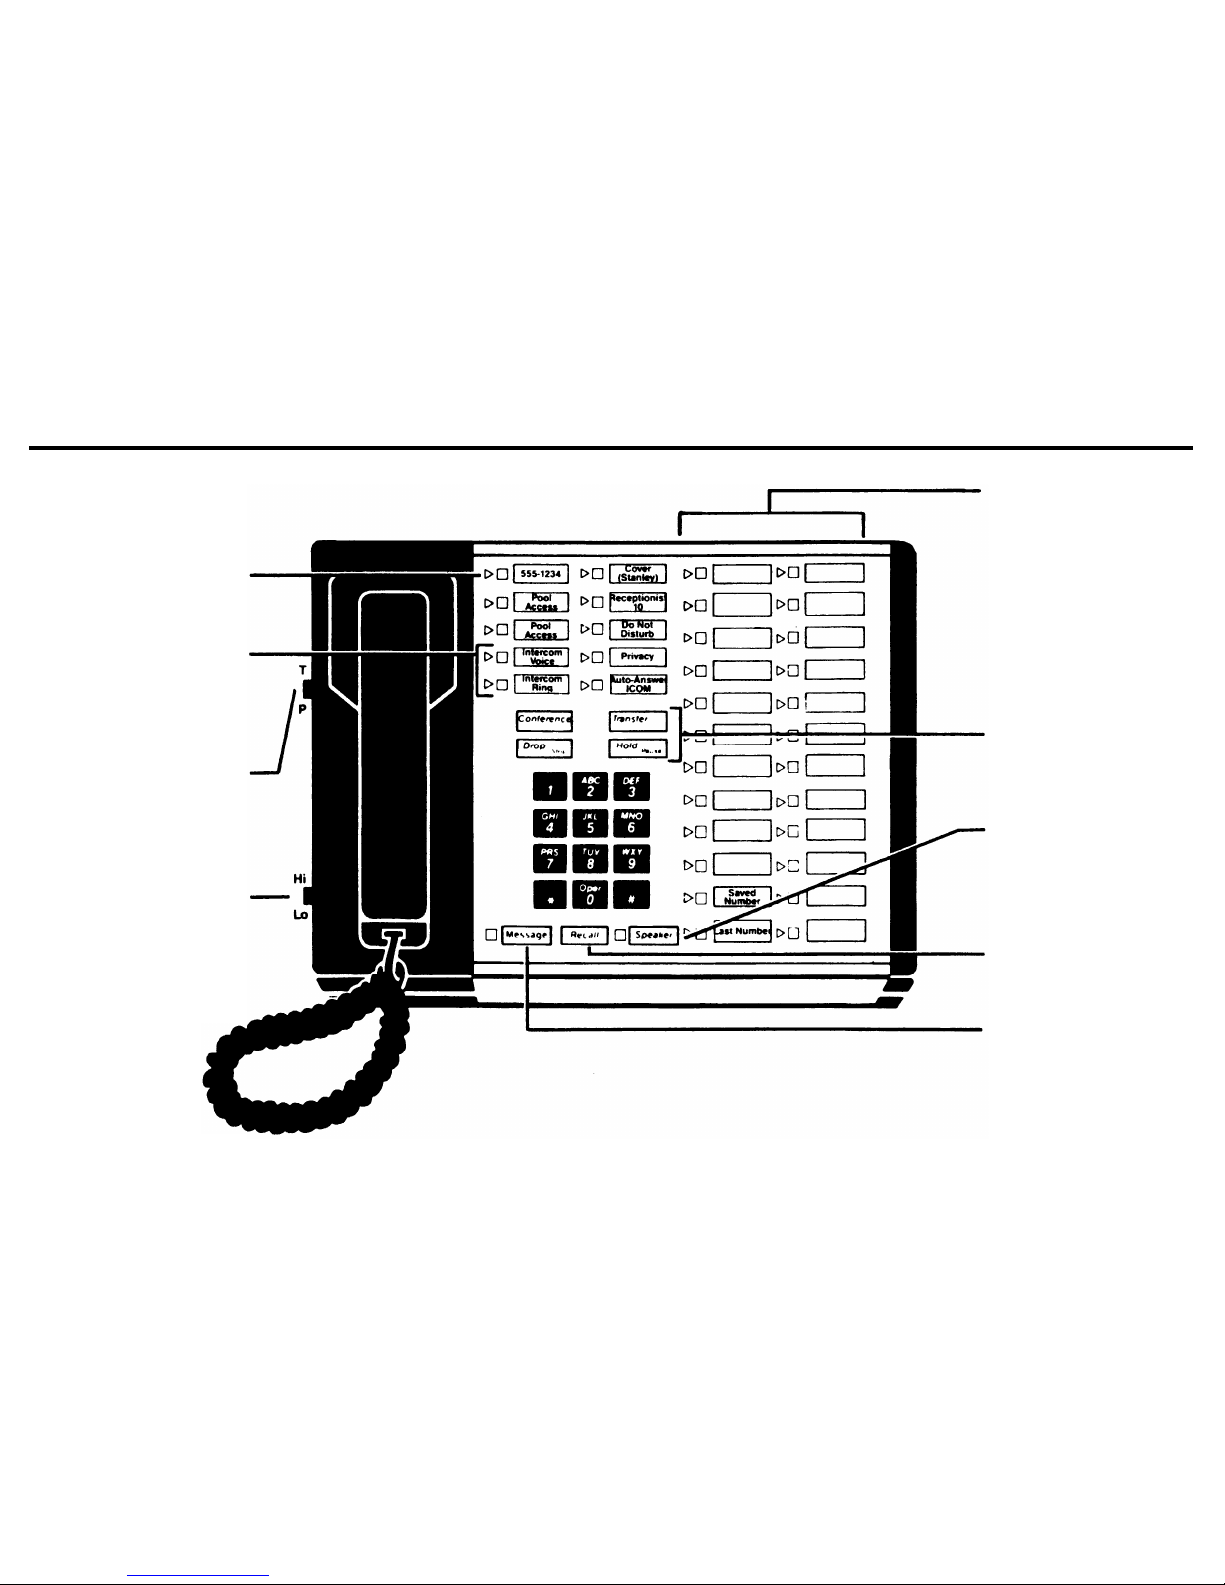
Available Features
Use line buttons to call people who aren’t connected to
your
MERLIN
system.
Touch
Intercom-Ring
or
Intercom-Voice
to use the
MERLIN
system Intercom
feature.
Test your voice terminal and
program its features by
sliding the T/P switch to T
(Test) or P (Program).
Adjust the volume of your
voice terminal’s speaker
and ringing using the
volume control.
Read on to learn how to use these features...and many more.
Tailor your voice terminal to
meet your individual needs
by programming available
buttons with custom
features.
Use Conference, Drop,
Transfer,
and
Hold
for effi-
cient call-handling.
Touch
Speaker
for On-Hook
Dialing and Group
Listening.
Touch
Recall
to disconnect
a call without hanging up
your handset.
Call your
MERLIN
system
attendant for messages
when the light is on next to
Message.
Use
Message
(in
program mode) to set your
voice terminal for making
data calls and voice calls
simultaneously.
2
Page 4
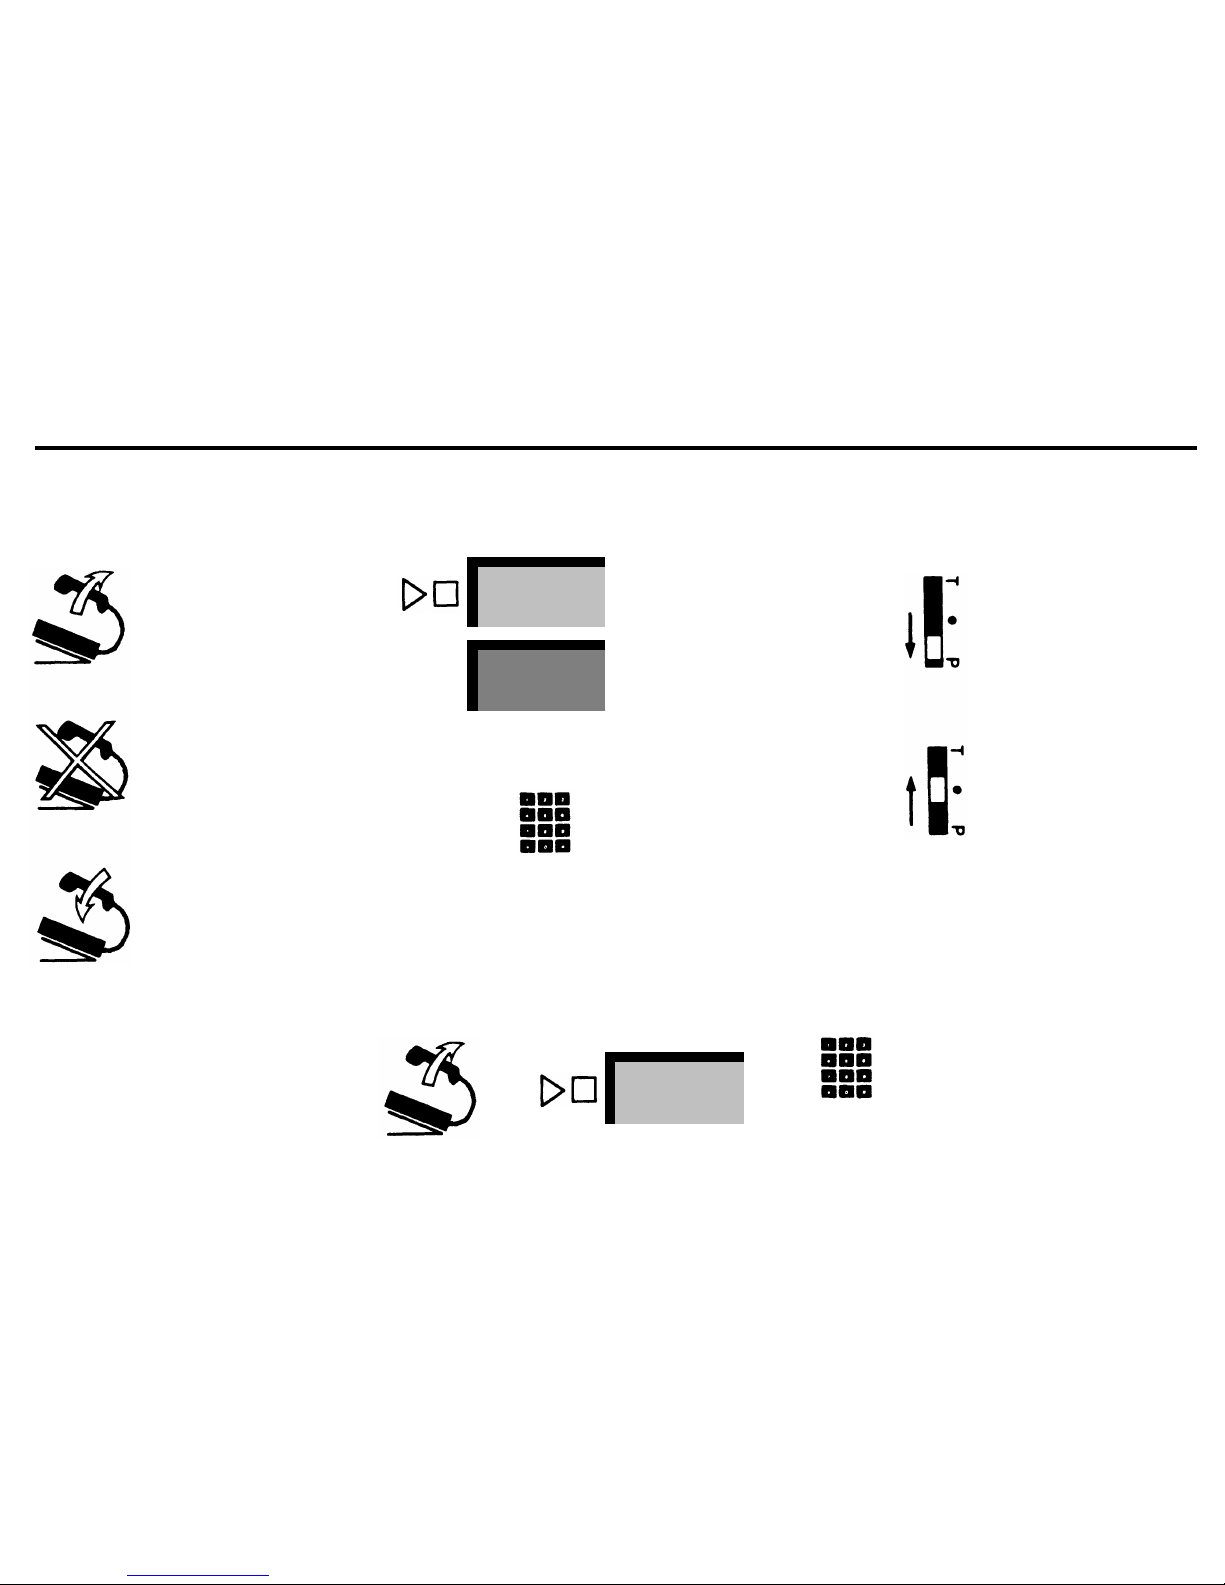
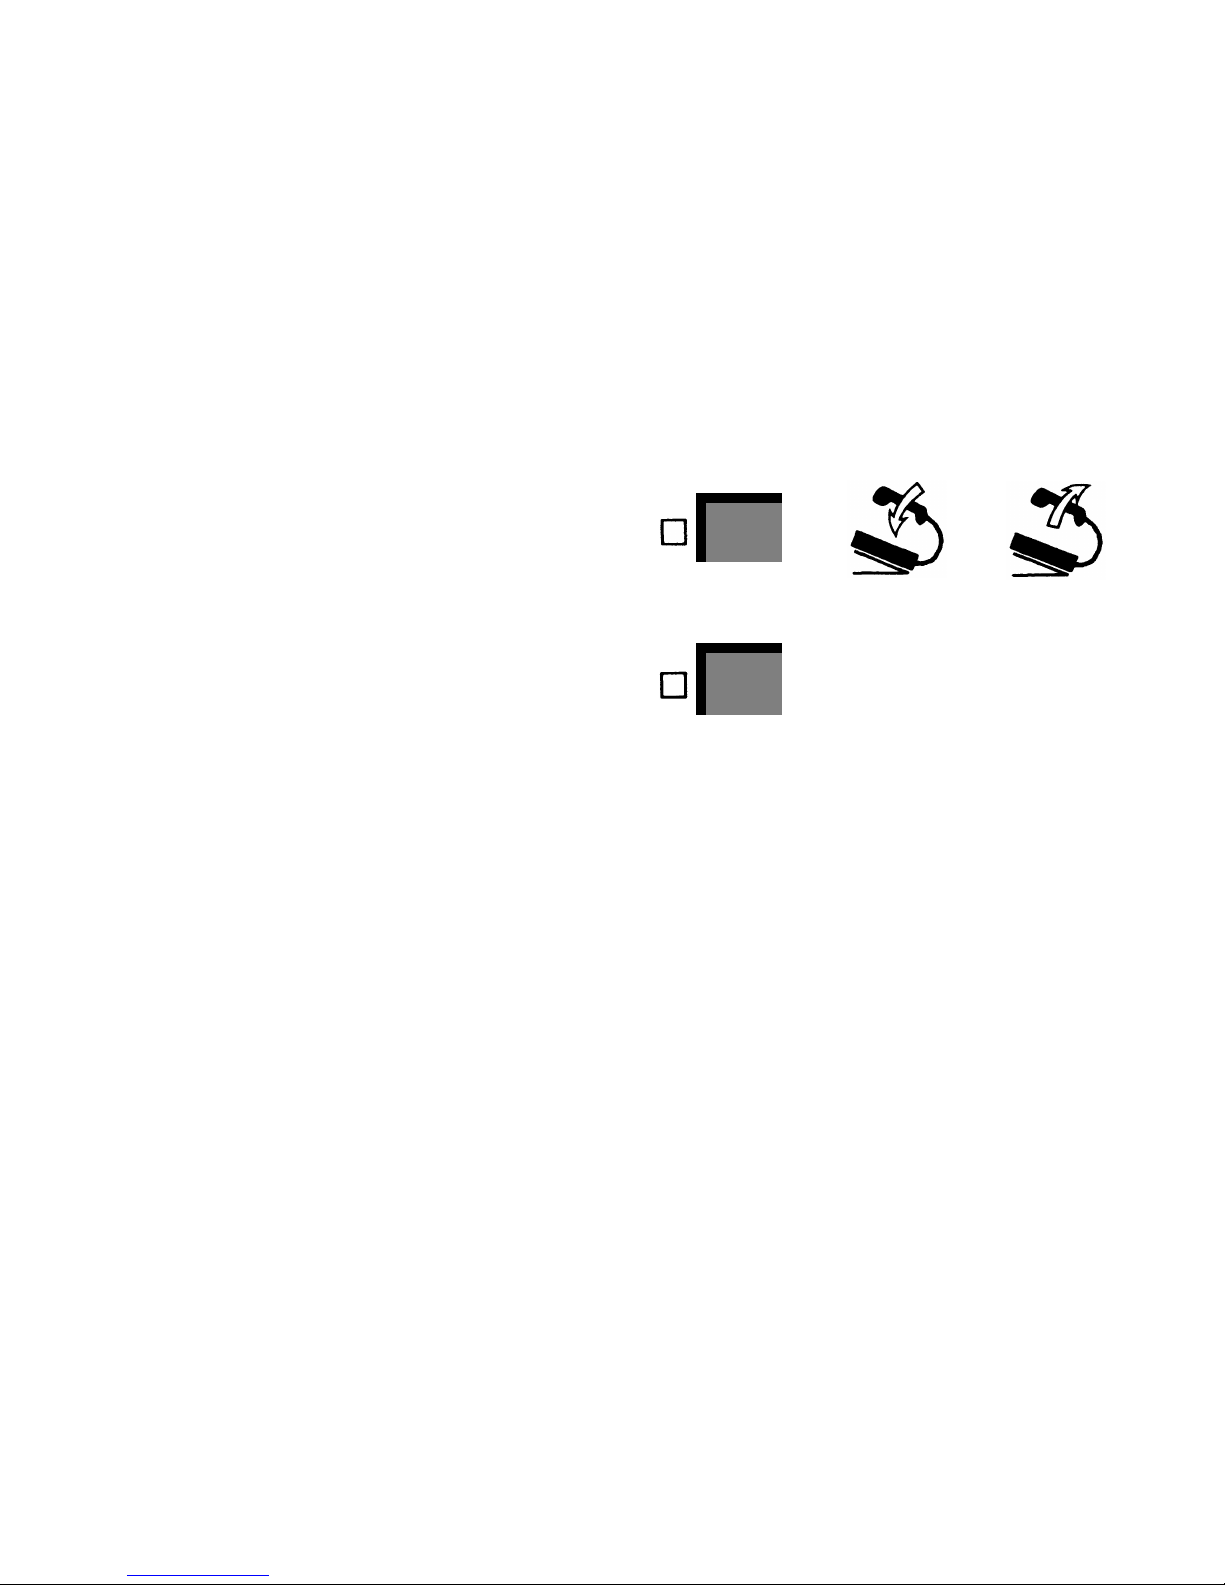
Key to Symbols
The following symbols are used throughout this guide to illustrate the steps for using your
MERLIN
system voice terminal.
After you are familiar with the steps, use the symbols to remind you how to perform each procedure.
Lift your handset.
Don’t lift your handset.
Hang up your handset.
555-1234
Transfer
Touch a button.
(The symbols for buttons
are shaded and labeled
to look like the buttons
on your voice terminal.)
Dial a number.
(This can be an outside
number, an intercom
number, a feature code,
or an account number.)
Slide the T/P switch to
the P position.
Slide the T/P switch to
the center position.
Since each symbol represents one action, a sequence of two or more symbols illustrates a procedure. For example:
+ +
Intercom
Ring
intercom
number
means lift your handset, touch
Intercom-Ring,
and dial an intercom number.
3
Page 5
Placing Calls
With your
MERLIN™
system, you can place two types of calls:
outside calls and intercom calls.
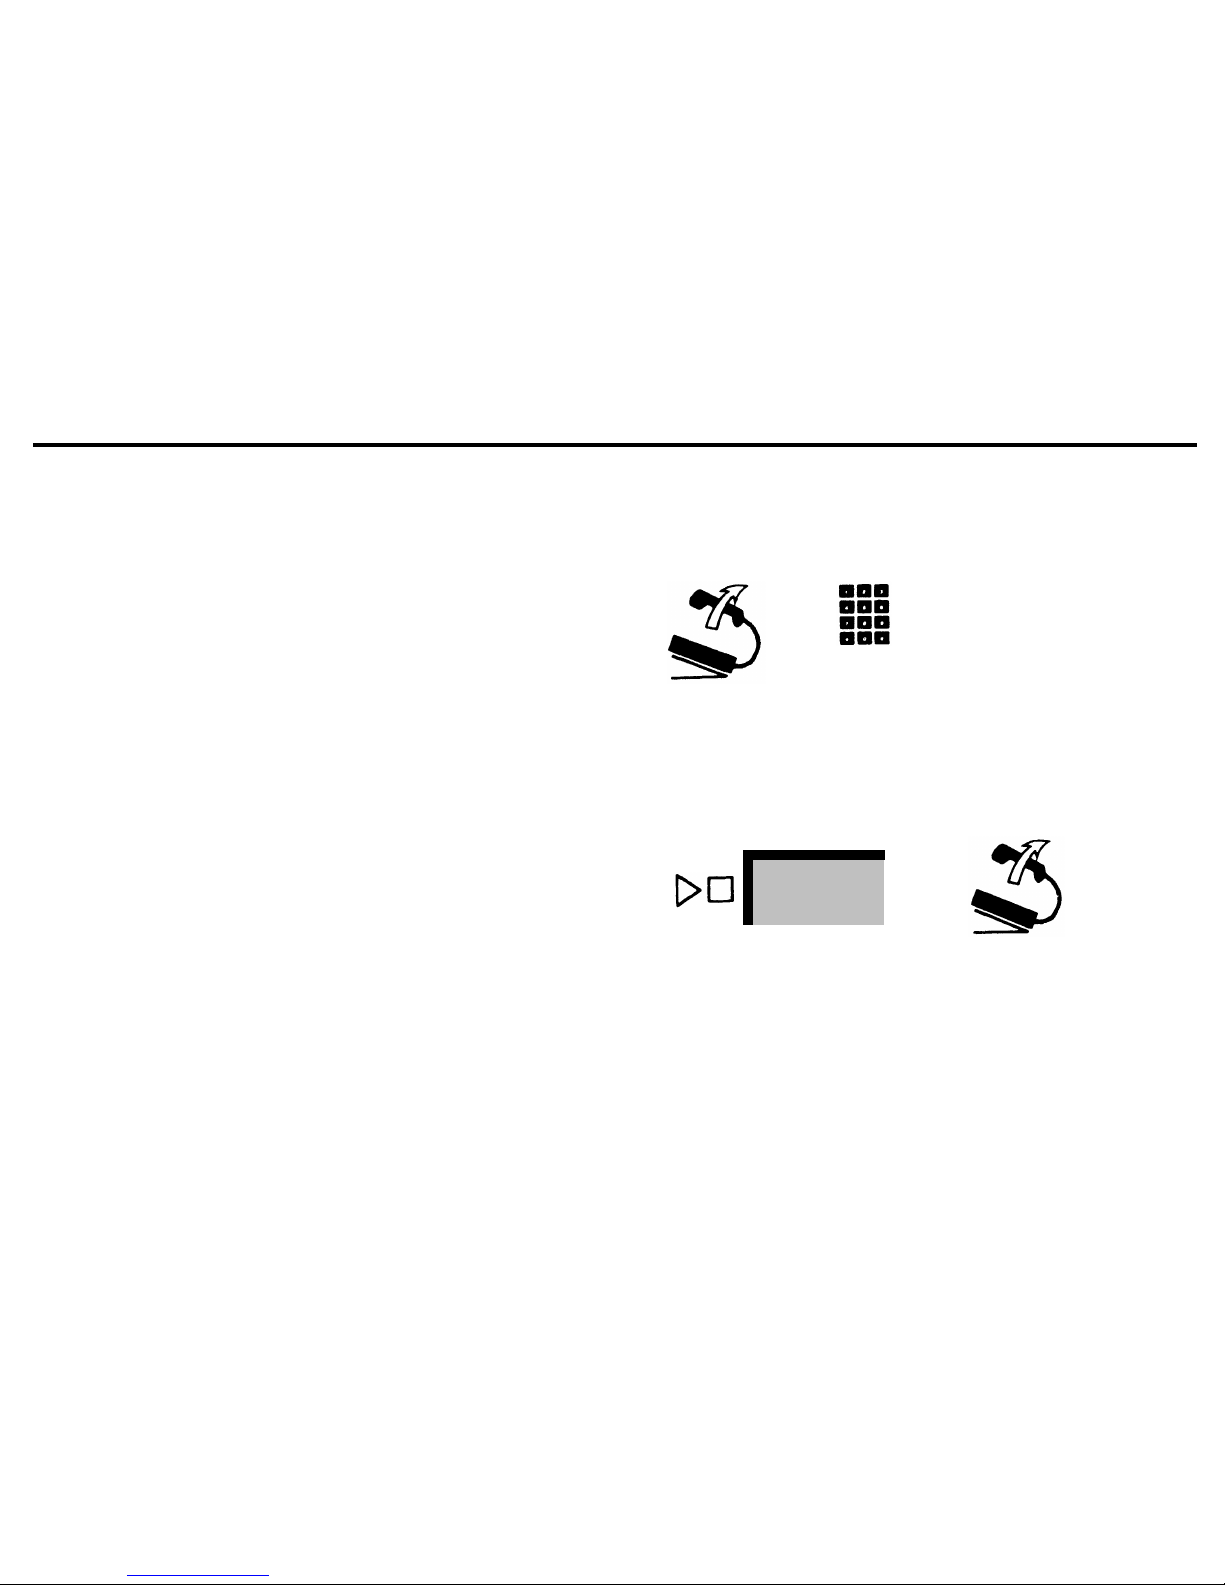
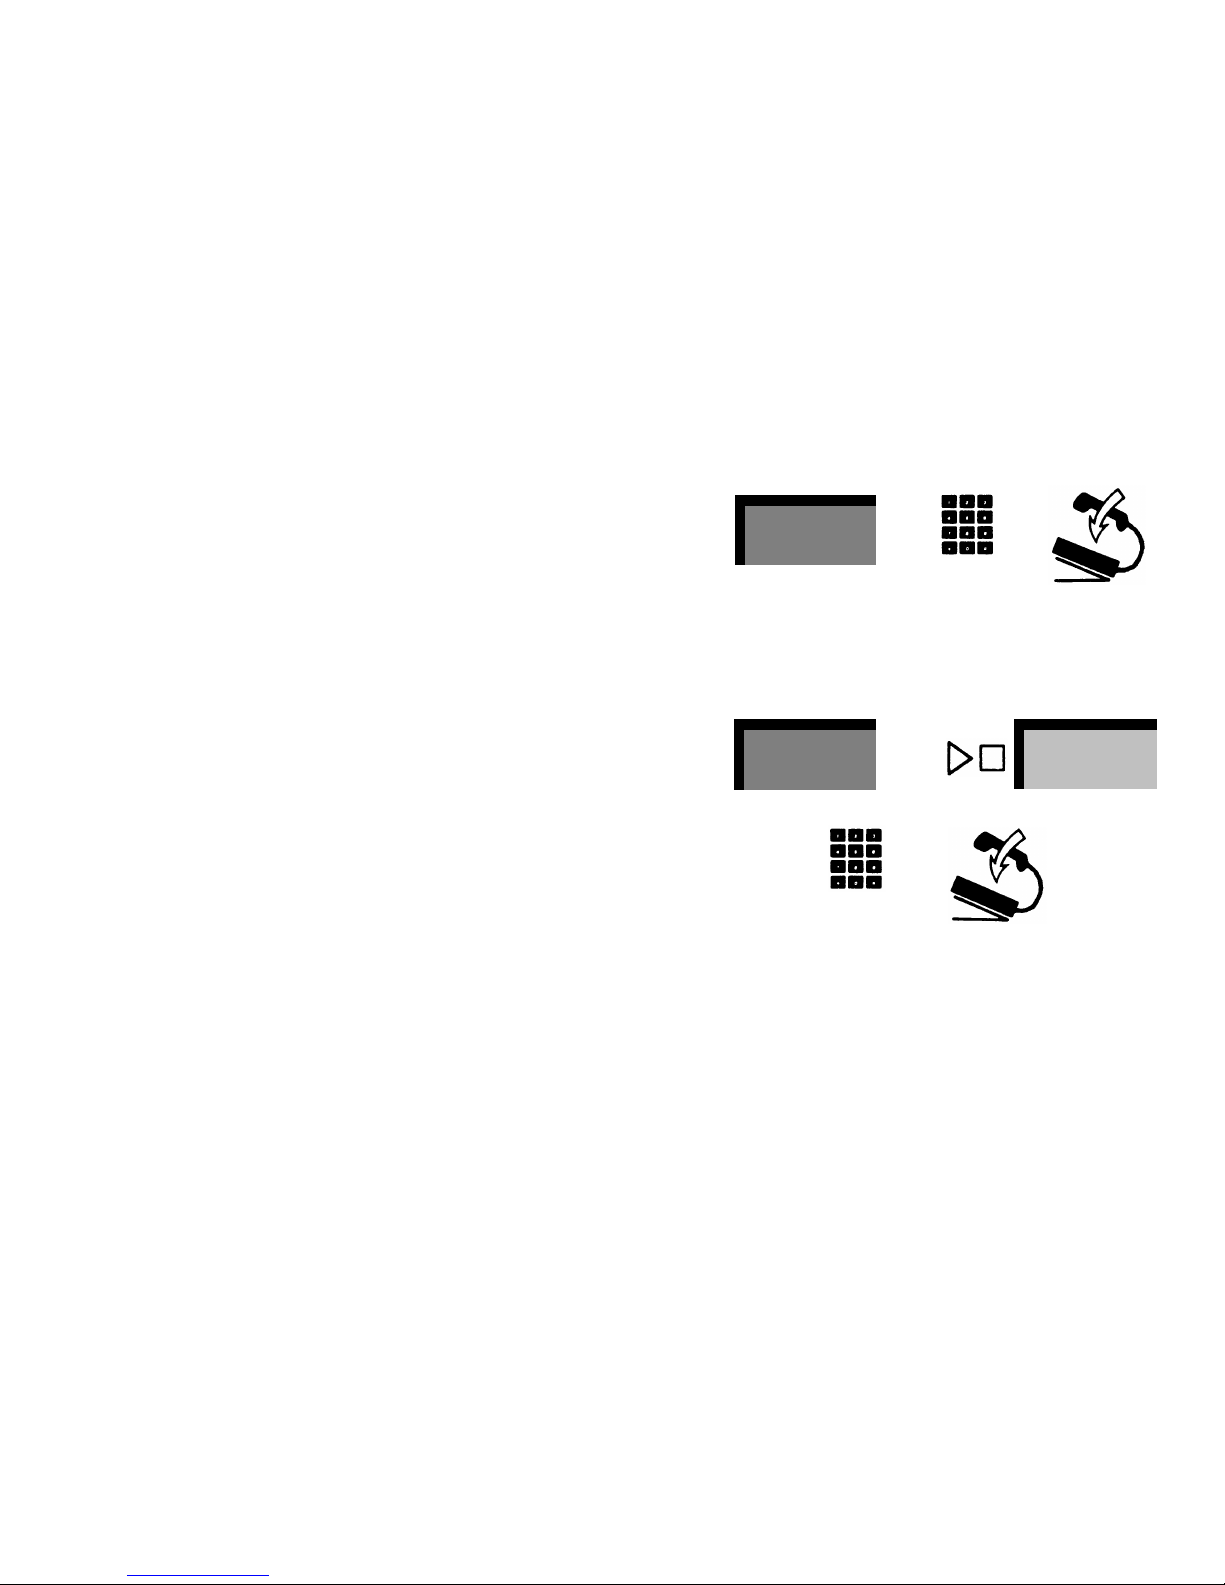
OUTSIDE CALLS
To call someone who is not connected to your
MERLIN
system:
Lift your handset.
The
MERLIN
system automatically selects an available outside
line.
Dial the number.
+
outside
number
NOTE:
When the red light is on next to a line button, it means
you are using that line or will get that line if you lift your handset. When you lift your handset to place a call, the green light
goes on next to the red light to show that the line is busy.
To select a specific outside line:
Touch the button for that line.
●
●
●
●
555-1234
+
Lift your handset.
4
Page 6
Button Access and Dial Access to Line Pools
Your
MERLIN
system may be “pooled,” meaning some or all
of your outside telephone lines are grouped into one or more
pools (for example, a pool of local lines, a pool of WATS lines,
and a pool of Foreign Exchange lines). You make outside calls
on pooled lines in one of two ways, depending on how your
system is set up: either you touch a button for direct access to
a line in a pool (Button Access), or you touch a button and then
dial a code for access to a specific line pool (Dial Access).
Ask your system administrator if your system is pooled. If it is,
find out whether you have Button Access or Dial Access to Line
Pools. If you have Dial Access, ask for a list of codes for the
pools.
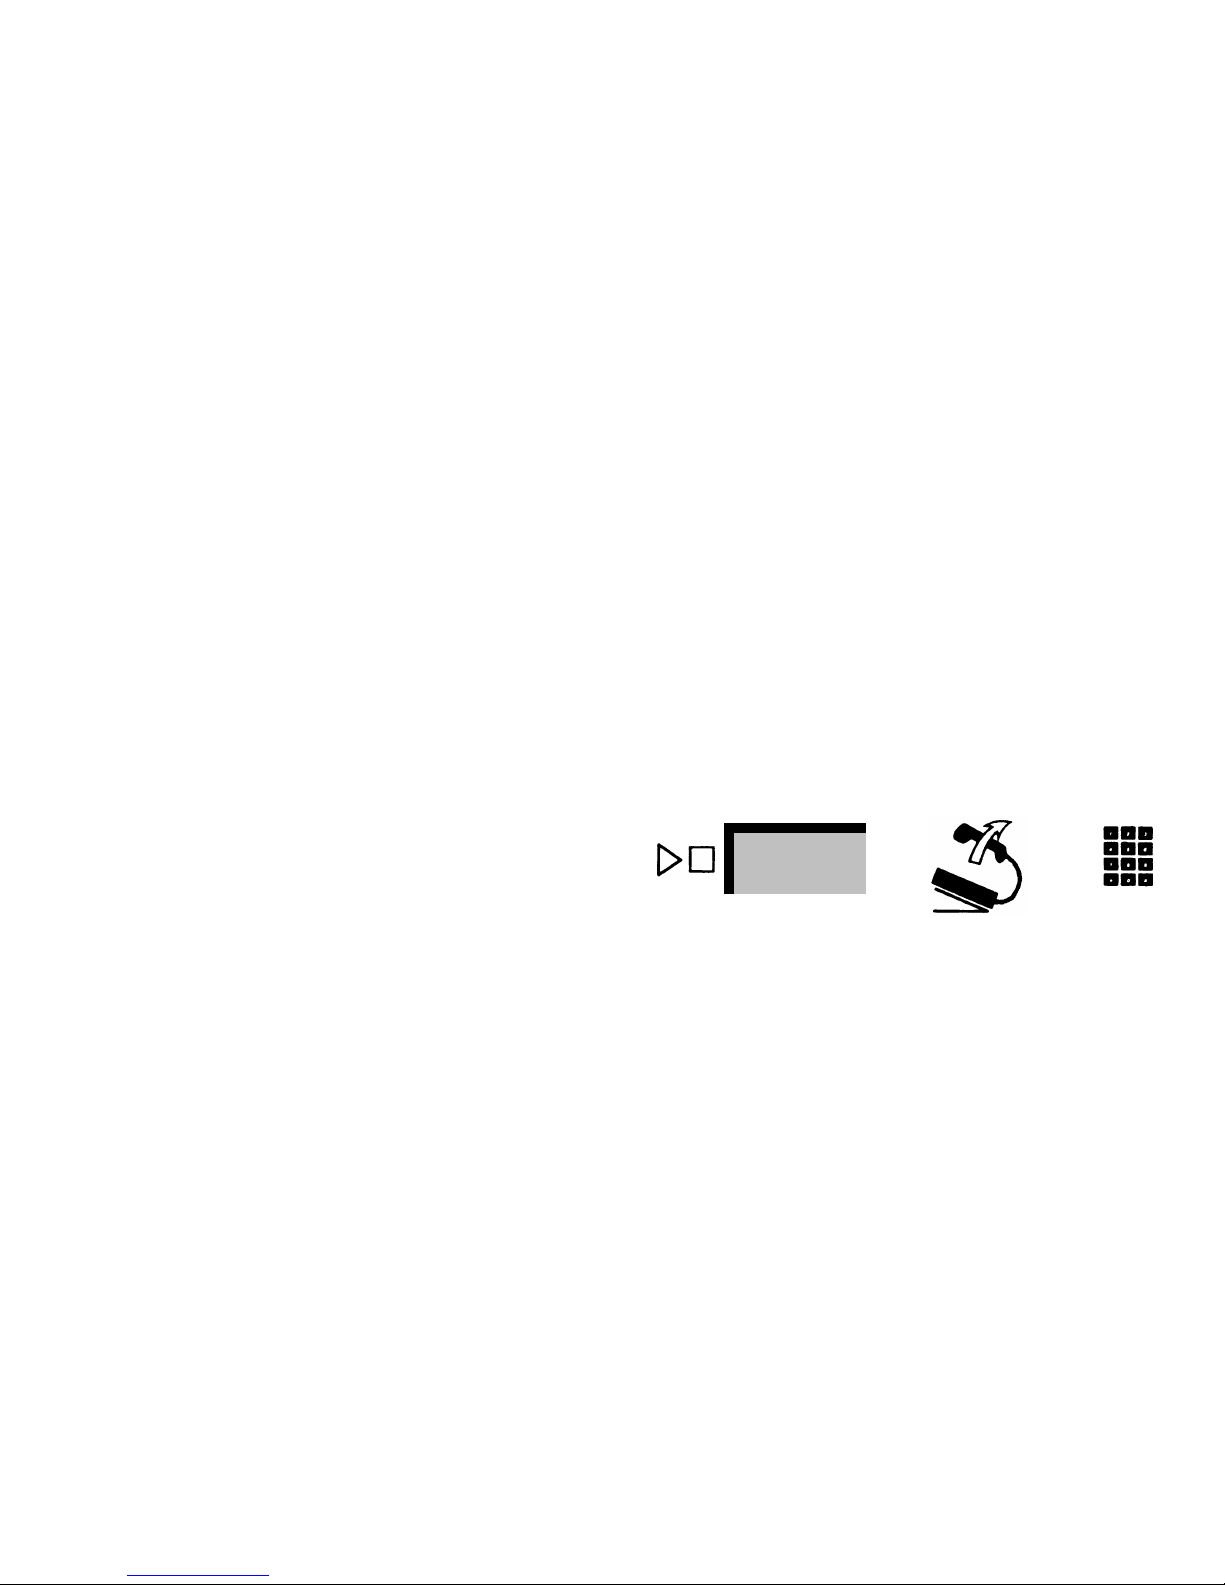
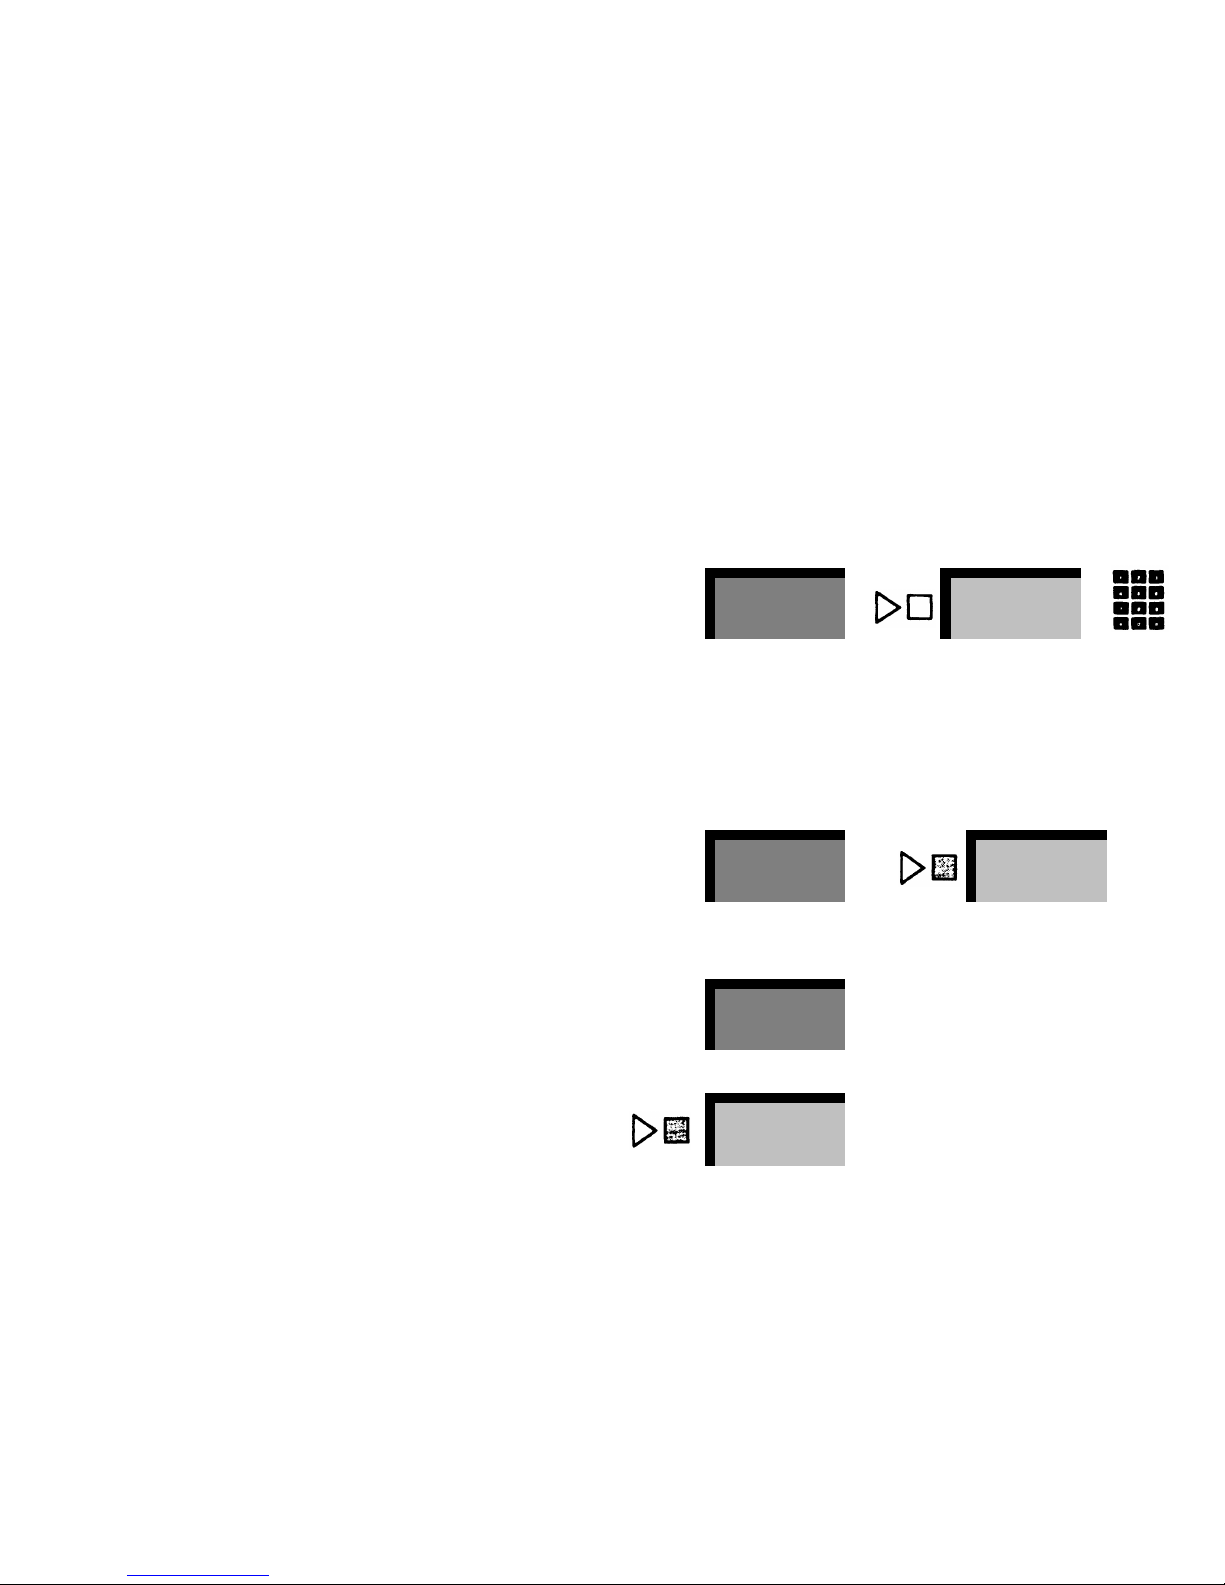
To make an outside call with Button Access to Line Pools:
●
●
●
Touch the button for the line pool you want.
Lift your handset.
When you hear a dial tone, dial the telephone number you
want.
WATS
+ +
outside
number
5
Page 7
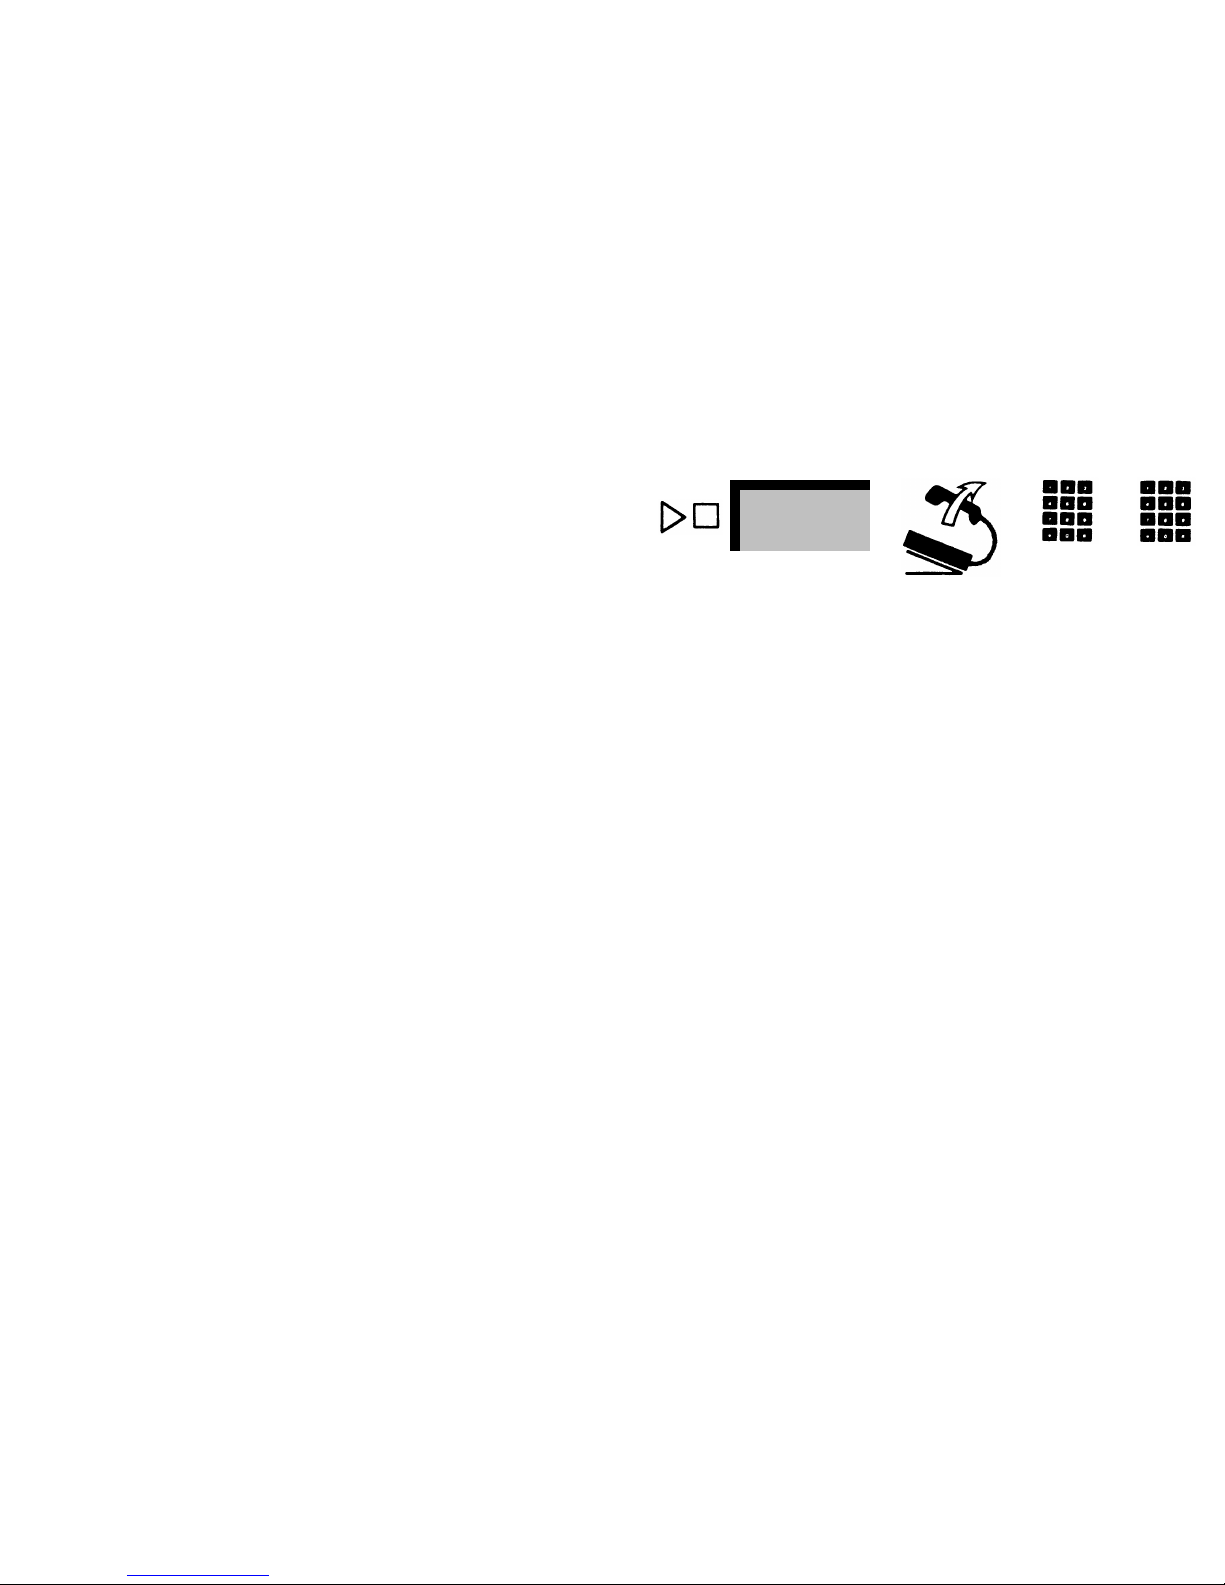
To make an outside call with Dial Access to Line Pools:
●
●
●
●
Touch a Pool Access button.
Lift your handset.
When you hear a dial tone, dial a code for the line pool you
want.
When you hear another dial tone, dial the telephone
number you want.
Pool Access
+
+ +
NOTE: Ask your system administrator if your system has
Automatic Route Selection (ARS). If it does, follow the procedure
for making outside calls in the next section, “Automatic Route
Selection.” Neither of the above procedures works for you if your
system has ARS.
Automatic Route Selection
If you have Pool Access buttons, your
MERLIN
system may
have Automatic Route Selection (ARS). Ask your system administrator if your system has ARS.
This feature automatically selects the best available route for
each outside call you make using a Pool Access button. For example, if you touch Pool Access and dial a long distance
number, ARS may select WATS as the least expensive route for
your call. In this case, ARS automatically routes your call onto
a WATS line.
line
pool
code
outside
number
6
Page 8
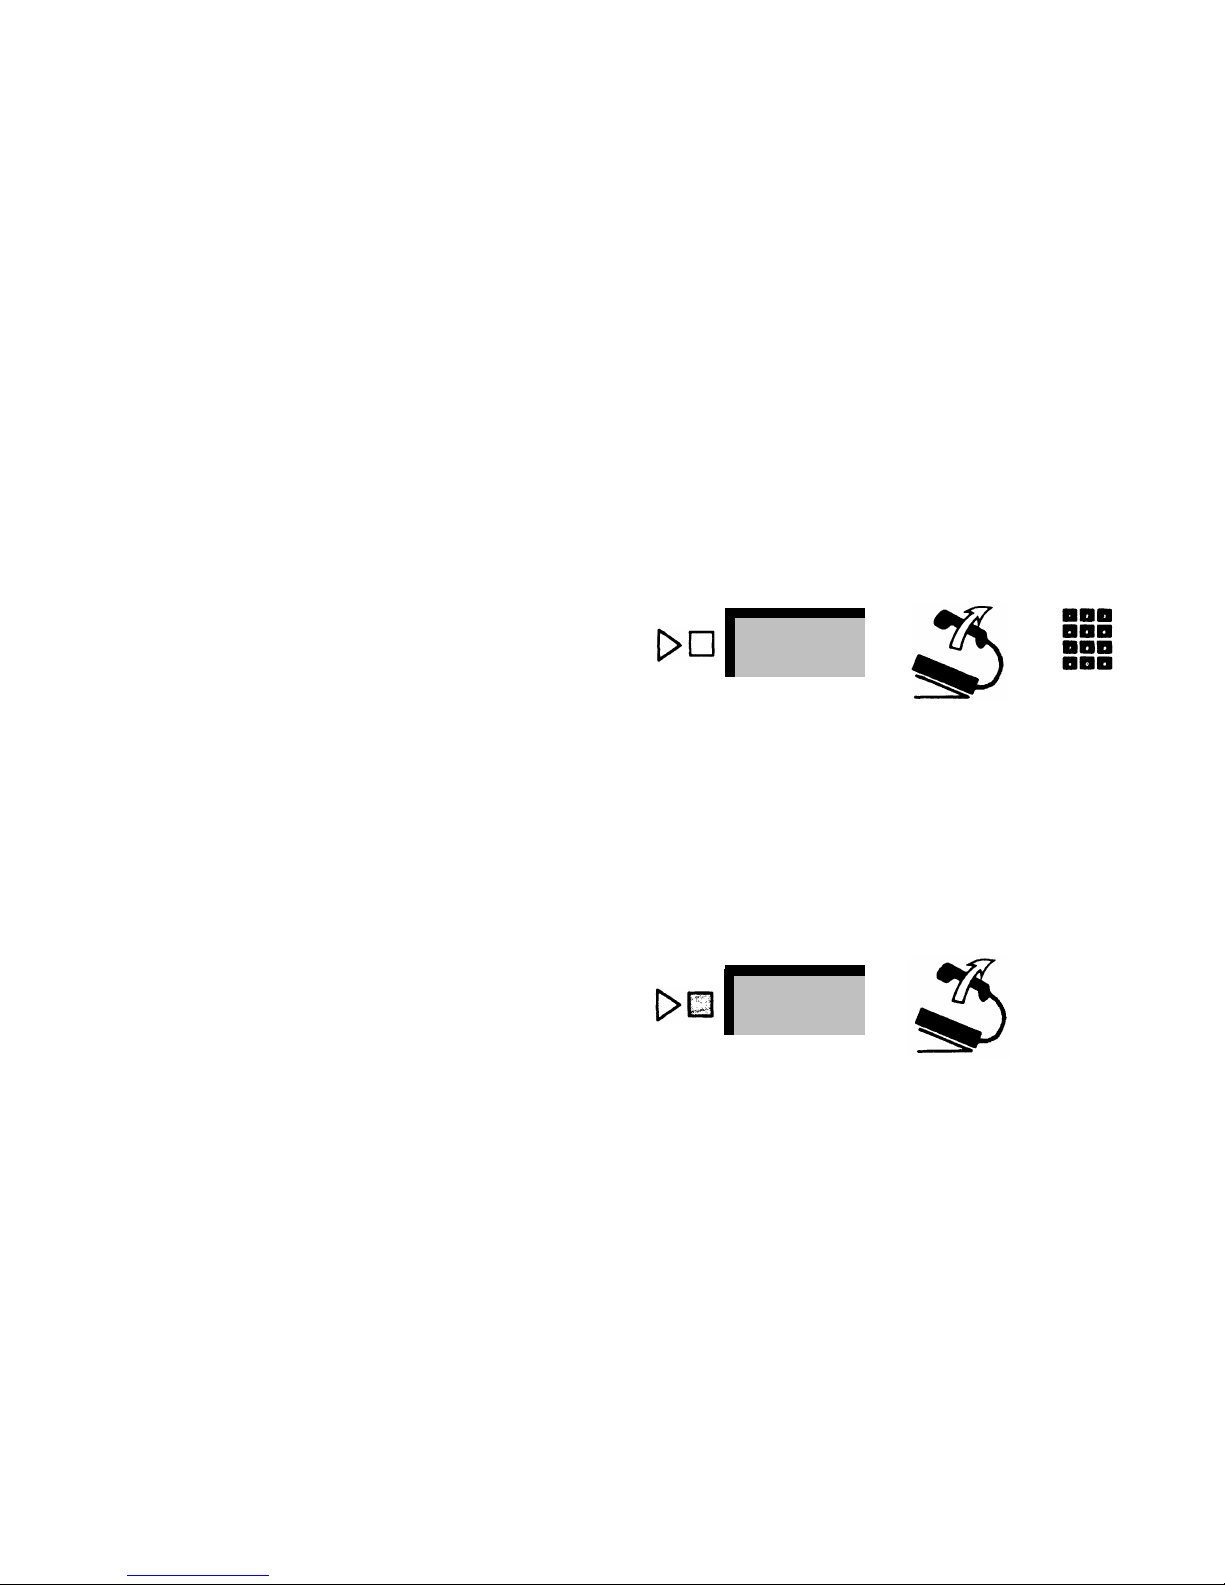
To place an outside call using ARS:
●
●
●
●
●
●
Touch a Pool Access button.
This signals ARS to expect an outside call.
Lift your handset.
Dial the outside telephone number you want.
You hear beeps instead of Touch-Tones or rotary clicks as you dial.
Wait a few moments.
Pool Access
If you hear a faster busy signal than normal:
Touch the same Pool Access button you used to begin your
call.
If you hear a fast
MERLIN
system busy signal:
Hang up and redial in a few moments using the Pool Ac-
+ +
outside
number
cess procedure or the Saved Number Redial feature (see
page 26).
NOTE:
For ARS to work, you must dial a “1” before dialing a
long distance number, even if you do not normally do so.
Line Request
If you are waiting to use a line that is busy, you can have the
MERLIN
system signal you when the line is free:
●
●
Without lifting your handset, touch the button for the busy
line.
555-1234
+
The red light next to the button goes on.
When you hear the voice terminal ring briefly, indicating
the line is available, lift your handset.
You cancel your Line Request when you touch another line button or when you receive or place another call.
7
Page 9
INTERCOM CALLS
Each voice terminal connected to your
MERLIN
system has a
unique 2-digit intercom number. You dial intercom numbers to
place either ringing or announced intercom calls to people connected to your
MERLIN
system.
Ringing Intercom Calls
Place ringing intercom calls when you want to have a two-way
conversation with people connected to your
MERLIN
system.
Your calls ring at their voice terminals, and your co-workers lift
their handsets to hear you and to talk with you.
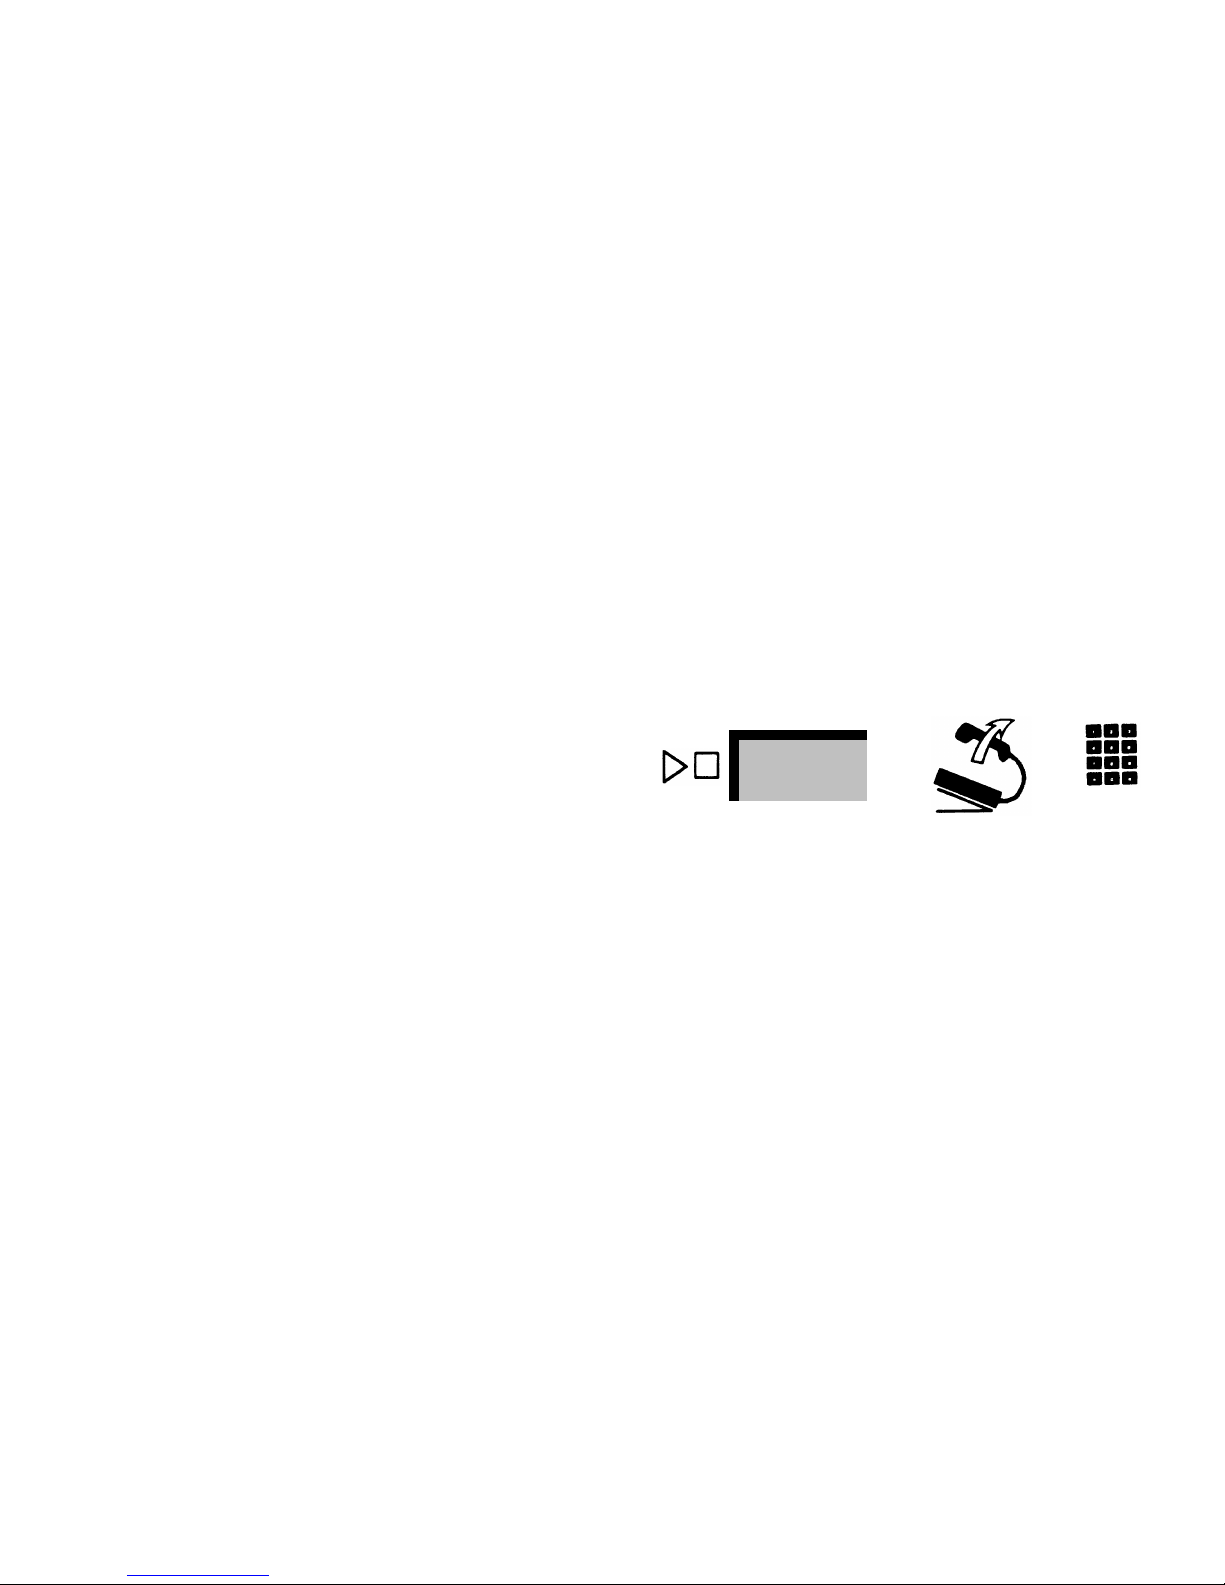
To place a ringing intercom call:
●
●
●
Touch
Intercom-Ring.
Lift your handset.
Dial a 2-digit
MERLIN
system intercom number.
Intercom
Ring
+ +
intercom
number
8
Page 10

Announced Intercom Calls
When you place an announced intercom call, your co-worker
hears your voice through the voice terminal speaker. If your coworker wants to respond to your announcement, he or she
speaks through the handset to talk with you. Your voice announcements do not interrupt your co-workers’ outside calls, so
if you need to, you can make an announcement to someone who
is busy on another line.
To announce your call through another person’s voice terminal
speaker:
●
●
●
●
Touch
Intercom-Voice.
Lift your handset.
Dial the 2-digit
MERLIN
system intercom number.
Intercom
Voice
+ +
When you hear a beep, speak into your handset.
intercom
number
If you try to place an announced intercom call to a voice terminal
that is programmed to prevent voice announcements (see
“Voice Announcement Disable,” page 46), your call becomes
a ringing intercom call.
9
Page 11

Answering Calls
To answer a call:
●
Lift your handset.
You are automatically connected to the incoming call.
You can tell what kind of call you’re receiving by the way your
voice terminal rings.
Intercom
two short and one long ring
Outside
one long ring
Transferred
one short and one long ring
=
=
=
You may personalize these rings to distinguish the ringing of
your voice terminal from that of others in your office (see “Personalized Ringing,” page 45).
10
Page 12
Fixed Features
Fixed features are the features assigned to the permanently
labeled buttons on your voice terminal.
HOLD
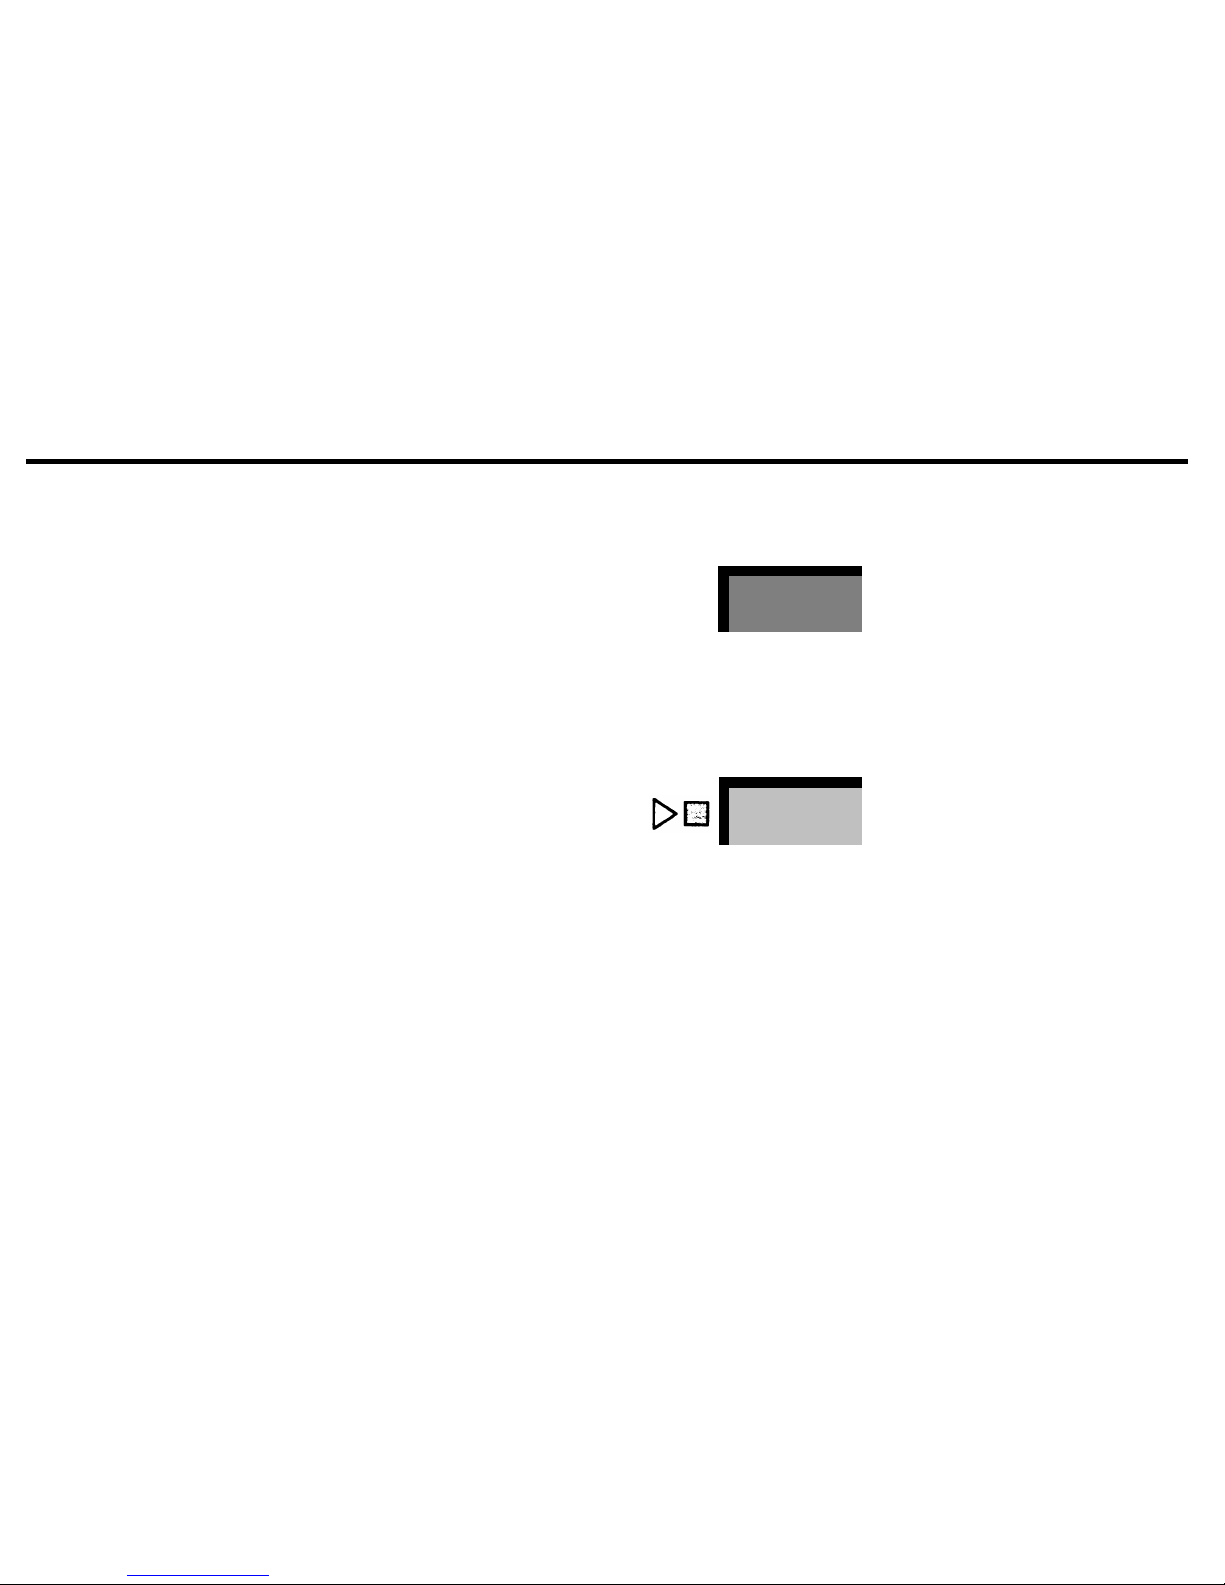
To put a call on hold:
Touch
Hold.
Hold
Pause
●
●
When you put a call on hold, the green light next to the call’s
line button flashes rapidly. If someone else puts a call on hold
from another voice terminal, the green light flashes slowly next
to the call’s line button on your voice terminal.
To take a call off hold:
Touch the held call’s button.
555-1234
When you leave a call on hold for more than a minute, your voice
terminal rings to remind you the call is still on hold.
11
Page 13
TRANSFER
To transfer an outside call from your voice terminal to another
MERLIN
system voice terminal:
●
●
●
●
●
●
●
●
Touch
Transfer.
Dial the other voice terminal’s intercom number.
Hang up.
Transfer
+ +
intercom
number
If the call is not answered within a few rings, it rings at your voice
terminal again.
Transfer with Voice Announcement
To announce a transferred call:
Touch
Transfer.
Touch
Intercom-Voice.
Dial the intercom number of the voice terminal to which you
want to transfer the call.
Announce the call through your handset.
Hang up.
Transfer
+ +
Intercom
Voice
+
intercom
number
12
Page 14
CONFERENCE
You can place a call that includes up to two people outside your
MERLIN
system, two people inside, and you. To set up a conference call when you already have one of the participants on
the line:
●
●
●
●
Touch
Conference.
Touch a line button (or
Intercom-Ring,
or
Intercom-Voice).
Dial an outside number (or an intercom number).
When the other person answers, announce the conference
Conference
+ +
555-1234
outside
number
call.
Repeat this procedure for each person you intend to include in
the conference.
If you don’t want a participant to listen as you set up the rest of
the conference call, touch
Hold
before repeating this procedure.
To take the person off hold:
Touch
Conference.
Touch the button for the line you put on hold.
●
●
Conference
+
555-1234
If you have several lines on hold, repeat this procedure for each
one.
To remove yourself from a conference call without ending the
call:
Touch
Hold
Hold
Pause
●
To rejoin the call:
Touch a button associated with a line active in the call.
555-1234
●
13
Page 15
Drop
To disconnect a busy or unanswered line when you’re trying to
set up a conference call, or to disconnect one person at a time
from a conference call:
Touch
Drop.
Touch the button of the line to disconnect.
●
●
Drop
Stop
+
555-1234
If you’re setting up a conference call, remember to touch
Con-
ference again before trying to add another call to the
conference.
NOTE:
You must use the Drop feature when you want to disconnect one person from a conference call. If you press the switchhook, you end the call.
14
Page 16
SPEAKER
You can use your voice terminal’s speaker to monitor a call as
you dial it, to monitor a call on hold, and to let a group listen to
your conversation.
On-Hook Dialing
Instead of using your handset to listen while you place a call,
you can use your voice terminal’s built-in speaker.
Touch
Speaker.
The green light next to
Speaker
goes on, and you hear a dial tone
throught your voice terminal’s speaker.
Dial the number.
When you hear the other person answer, lift your handset.
Speaker
+ +
outside
number
●
●
●
If the line is busy, or if you get no answer:
Touch
Speaker
to cancel the call.
Speaker
●
You can use On-Hook Dialing any time instructions tell you to
lift your handset before dialing. Simply touch
Speaker
instead
of lifting your handset.
15
Page 17
Monitor-on-Hold
When you’ve been put on hold, you can hang up and continue
working while you wait for the person to return to the call:
●
●
●
●
Speaker
+ +
handset.
Touch
Speaker.
Hang up.
When you hear the other person return to the call, lift your
Group Listening
To let others in the room hear your telephone conversation:
Without hanging up your handset, touch
Speaker.
You can speak to the other person only through your handset
unless you have a Hands-Free Unit (see “Hands-Free Unit,”
page 51).
Speaker
NOTE:
Before hanging up, touch
Speaker
again. This prevents
a squeal from the speaker as your handset comes close to it.
16
Page 18

MESSAGE
Your MERLIN system attendant can let you know that a
message is waiting for you by turning on the light next to
Message.
If you have a 5-button voice terminal, you do not have a Message
button. However, you can program a button to act as a Message
button (see “Basic Programming Instructions,” page 19, and the
Feature Programming Chart on page 56).
●
●
To turn off the message light:
Touch
Message.
Message
RECALL
To disconnect a call without hanging up your handset:
Touch
Recall.
Recall
NOTE:
If you have PBX, Centrex, or Custom Calling features,
touch
Recall
any time instructions call for a switchhook flash.
If you press the switchhook, you disconnect your call.
17
Page 19

Custom Features
Custom features are features that you select and program for
your voice terminal. The basic programming instructions below
describe the procedure you follow to program features on your
voice terminal. You can program most custom features on the
available buttons on your voice terminal; however, if you have
a limited number of feature buttons available, you can dial
special codes to use many of the custom features. Read through
each feature’s description before you program it on your voice
terminal.
18
Page 20

BASIC PROGRAMMING INSTRUCTIONS
Using the following simple procedure, you can assign and
reassign custom features to any buttons that are not already
assigned outside lines, intercom lines, or fixed features.
●
●
●
●
●
●
Label the button(s) you want to program.
Slide the T/P (Test/Program) switch on the left side
of the voice terminal toward you to the P (Program)
position.
The voice terminal rings every 5 seconds to remind you that
you are programming and that you cannot place or receive
calls.
Without lifting your handset, touch the button you
want to program.
Dial the feature’s programming code and any other
numbers required.
If you want to program other buttons, repeat the two
previous steps.
Slide the T/P switch to the center position.
+ +
+
Home
programming
code
● ●
●
●
NOTE:
If you make a mistake entering a programming code,
simply touch the button again and reenter the code.
The following feature descriptions include feature programming
codes and brief programming instructions. For example:
To program:
T/P to P
Touch the button
Dial * 84
T/P to center
means slide the T/P switch to P, touch the button you want to
program, dial the programming code (in this case, * 84), and
slide the T/P switch to the center position.
19
Page 21

OUTSIDE AUTO DIAL
Use the Outside Auto Dial feature for one-touch dialing of frequently used telephone numbers, account numbers, or PBX,
Centrex, or Custom Calling feature codes. You can include up
to 16 numbers and special characters in an Auto Dial sequence.
To program:
●
T/P to P●Touch the button
●
Dial * 90
+ an outside number, an account
number, or a PBX, Centrex, or Custom
Calling feature code
●
T/P to center
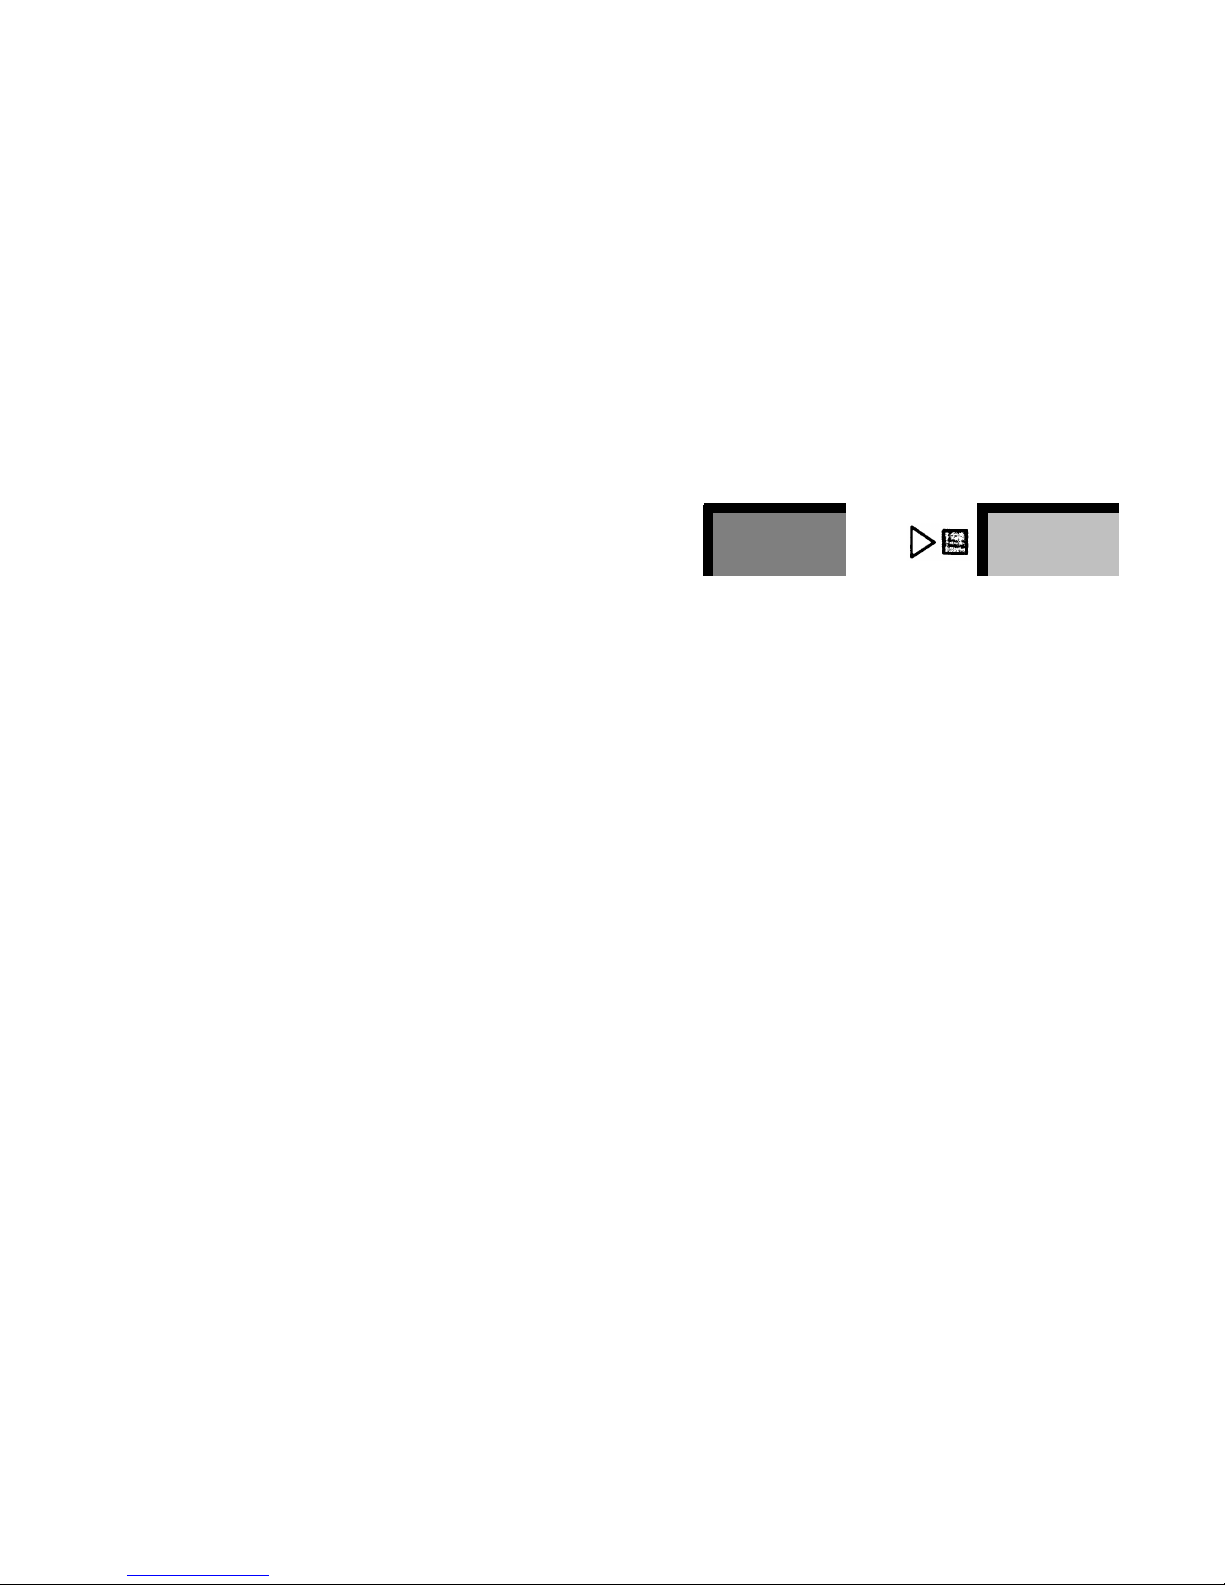
To use the Outside Auto Dial feature:
●
●
●
Without lifting your handset, touch the Outside Auto
Dial button for the number you want to dial.
Your voice terminal speaker goes on, and you hear dialing.
When you hear the other person answer, lift your
+ +
Home
handset.
If the line is busy or if no one answers:
Touch
Speaker
to cancel the call.
Special Characters in Programmed Dialing Sequences
You may occasionally need to program a pause, stop, or switchhook flash into an Outside Auto Dial or Speed Dial sequence,
or you may need to switch from rotary to Touch-Tone signals in
the middle of a programmed dialing sequence. To do so, you
need to enter the following special characters when you program the sequence.
Speaker
20
Page 22

Pause.
To program a pause (1.5 seconds) into a dialing sequence (for example, between a pool access code and an outside telephone number):
●
Touch
Hold
(Pause).
Hold
Pause
Stop.
To program a stop into a dialing sequence (for example,
to program a stop between an alternate long distance telephone
number and your access code):
●
Touch
Drop
(Stop).
Drop
Stop
To resume the dialing sequence after the stop, touch the Auto
Dial button or dial the Speed Dial code again.
Touch-Tone Enable.
To program Touch-Tone Enable into a dialing sequence (for example, to use a credit card authorization
service):
●
Touch
Transfer.
Switchhook Flash.
To program a switchhook flash into a dialing sequence (for example, if you program a button with a PBX,
Centrex, or Custom Calling feature code):
Touch
Recall.
Touch
Hold
(Pause).
Transfer
Recall
●
●
+
Hold
Pause
21
Page 23

AUTO INTERCOM
Use the Auto Intercom feature for one-touch dialing of intercom
numbers.
If you program this feature on a button with lights, the green light
next to the button goes on when the person at that intercom uses
his or her voice terminal or uses the Do Not Disturb feature. You
can use an Auto Intercom button whenever you would usually
dial an intercom number.
To program:
●
T/P to P
●
Touch the button
●
Dial * 91
+ a
MERLIN
system intercom number
●
T/P to center
Ringing Intercom Calls
To place a ringing intercom call with one touch:
●
●
●
Touch the Auto Intercom button for the intercom number
you want to dial.
Your voice terminal speaker goes on, and you hear ringing.
NOTE:
If the red light next to
Intercom-Voice
is on, touch
Intercom-Ring
before you touch the Auto Intercom button.
When you hear the other person answer, lift your handset.
John
+
If the line is busy or if no one answers:
Speaker
Touch
Speaker
to cancel the call.
22
Page 24

Announced Intercom Calls
To place an announced intercom call:
●
●
●
●
●
If the red light next to it is not already on, touch
Intercom-Voice.
Touch the Auto Intercom button for the intercom number
you want to dial.
Intercom
Voice
+ +
John
Your speaker goes on, and you hear a beep.
Lift your handset and begin speaking.
One-Touch Transfer
If you have an Auto Intercom button for the intercom number
to which you want to transfer an outside call, you can transfer
the call with one touch:
Touch the Auto Intercom button.
John
+
Hang up.
23
Page 25

PERSONAL SPEED DIAL
(5- and 10-button voice terminals only)
When you don’t have many buttons available to program for Outside Auto Dial, you can use the programming instructions below
to assign a 3-character Personal Speed Dial code (#01 through
#22) to each telephone number, account number, or PBX, Centrex, or Custom Calling code you frequently dial. You can assign
a sequence containing up to 16 numbers and special characters
to a Personal Speed Dial code.
To program:
●
T/P to P●Dial a Personal Speed Dial
code (#01 through #22)
●
Dial * 90 + a
telephone number, an account number,
or a PBX, Centrex, or Custom Calling
feature code
●
T/P to center.
To place a call using a Personal Speed Dial code:
●
●
Lift your handset.
Dial a Personal Speed Dial code (#01 through #22).
+
personal
speed dial
code
24
Page 26

SYSTEM SPEED DIAL
System Speed Dial is similar to Personal Speed Dial in that
3-character codes (#60 through #99) represent frequently dialed
telephone numbers. However, you do not assign the codes to
telephone numbers; your system administrator is the only one
who can assign a System Speed Dial code to a telephone
number, and everyone connected to your
MERLIN
system can
use those System Speed Dial codes.
To place a call using a System Speed Dial code:
Lift your handset.
Dial a System Speed Dial code (#60 through #99).
●
●
+
system
speed dial
code
Using a System Speed Dial Button
You can use the instructions below to program buttons with frequently used System Speed Dial codes.
To program:
●
T/P to P
●
Touch the button
●
Dial * 95
+ a System Speed Dial code (60 through
99—do not enter the #)
●
T/P to center
●
●
To place a call using a System Speed Dial button:
Lift your handset.
Touch the button for the System Speed Dial code you want
to dial.
+
Denver Office
25
Page 27

SAVED NUMBER REDIAL
Use the Saved Number Redial feature to save a number for
quick redialing later. (The number cannot contain a pause, a
stop, a Touch-Tone enable, or a switchhook flash.) If you have
a 34-button voice terminal, use the instructions below to program a button with the Saved Number Redial feature. If you have
a 5- or 10-button voice terminal, there’s no need for any special
programming. You simply dial a code to use this feature, thus
saving a feature button for a custom feature that requires a
button.
To program:
T/P to P
●
Touch the button
●
Dial * 74
T/P to center
●
●
If you program a Saved Number button, you can save a number
with the touch of a button. So when you dial a number you want
to redial later:
Saved Number
Before hanging up, touch
Saved Number.
When you want to save a new number, repeat the above
procedure.
To redial the number later:
Lift your handset.
+
Saved Number
●
●
●
Touch
Saved Number.
26
Page 28

Using a Dial Code (5- and 10-button voice terminals only)
When you dial a number you want to save for later redialing:
Before hanging up, dial #23.
#23
To redial the number you saved:
●
●
●
●
●
●
●
Lift your handset.
Dial #23.
+
#23
LAST NUMBER REDIAL
Use the Last Number Redial feature to redial the number you
dialed most recently. (The number cannot contain a pause, a
stop, a Touch-Tone enable, or a switchhook flash.) If you have
a 34-button voice-terminal, you can follow the programming instructions below to program this feature onto a button. If you
have a 5- or 10-button voice terminal, you can dial a code to use
this feature and save a button for another use.
To program:
T/P to P●Touch the button
●
Dial * 73
T/P to center
●
●
If you program a Last Number button, you can redial the number
you most recently called with the touch of a button:
Lift your handset.
Touch
Last Number.
+
+
Last Number
Using a Dial Code (5- and 10-button voice terminals only)
To redial a number using the Last Number Redial code:
Lift your handset.
Dial #24.
#24
27
Page 29

MANUAL SIGNALING
Use the Manual Signaling feature to generate a beep at a coworker’s voice terminal. Assign a Manual Signaling button to
each person you want to signal.
To program:
●
T/P to P
●
Touch the button
●
Dial * 6
+ an intercom number
●
T/P to center
To signal a co-worker:
●
Without lifting your handset, touch a Manual Signaling
button.
+
Signal Mary
You can also touch a Manual Signaling button to signal someone while you have an outside call in progress. If you program
this feature on a button with lights, the green light next to the
button goes on when your co-worker uses his or her voice terminal or uses the Do Not Disturb feature.
28
Page 30

LOUDSPEAKER PAGE
If you have a loudspeaker paging system, you can make announcements using your voice terminal. Your system may have
as many as three paging zones; you can choose to make an announcement to one or all of the zones.
If you have available feature buttons, you can use the instructions below to program a button for each loudspeaker paging
zone. However, it isn’t necessary to program a button for
loudspeaker paging. You may dial a code instead.
To program:
●
T/P to P●Touch the button
●
Dial * 91
+ a paging zone code (80=all zones,
81=zone 1, 82=zone 2, 83=zone 3)
●
T/P
to center
When you have a Loudspeaker Page button for the zone you
want to page:
●
●
Touch the Loudspeaker Page button for the zone you want
to page.
Lsp. Page 1
+
When you hear a beep, lift your handset and make your
announcement.
29
Page 31

Using a Dial Code
To page a zone using a dial code:
●
●
●
●
Touch
Intercom-Voice
or
Intercom-Ring.
Lift your handset.
Dial one of the following codes:
80 for all zones
81
zone 1
82
zone 2
83
zone 3
Intercom
Voice
+ +
loudspeaker
page
code
When you hear a beep, speak into your handset.
When you hang up, you turn off the loudspeaker.
30
Page 32

GROUP PAGE
Use the Group Page feature to make announcements through
the speakers in groups of 10 voice terminals specified by your
system administrator. Your system can have as many as seven
groups. You can use the instructions below to program buttons
for the groups you want to page. Or, you can save your feature
buttons for other uses and dial a code to use the Group Page
feature.
To program:
●
T/P to P
●
Touch the button
●
Dial * 91
+ a Group Page code (841=group 1,
842=group 2, 843=group 3; 844=group
4, 845=group 5, 846=group 6,
847=group 7)
●
T/P to center.
To use a Group Page button to make an announcement through
a group of voice terminal speakers:
●
●
Touch the Group Page button for the group you want to
page.
When you hear a beep, lift your handset and make your
announcement.
Group Page 1
+
31
Page 33

Using a Dial Code
To page a group using a dial code:
●
●
●
●
●
●
Touch
Intercom-Voice
or
Intercom-Ring.
Lift your handset.
Dial the code for the group you want to page.
841 for group 1
842
group 2
843
group 3
844
group 4
845
group 5
846
group 6
847
group 7
Intercom
Voice
+ +
group
page
code
When you hear a beep, speak into your handset.
AUTO ANSWER-ALL
If you have a modem or answering machine connected to your
voice terminal, program an Auto Answer-All button so you can
set your answering equipment to go on automatically when you
receive ringing calls. Program this feature on a button with lights.
To program: T/P to P
●
Touch the button
●
Dial * 75
T/P to center
●
●
To have calls answered automatically:
Touch
Auto Answer-All.
Auto Answer-
All
The green light next to the button goes on.
To go back to answering calls yourself:
Touch
Auto Answer-All.
Auto Answer-
All
The green light next to the button goes off.
32
Page 34

AUTO ANSWER-INTERCOM
If you have an optional Hands-Free Unit connected to your voice
terminal, program an Auto Answer-Intercom button so you can
set your Hands-Free Unit to go on automatically when you
receive ringing intercom calls. Program this feature on a button
with lights.
To program:●T/P to P●Touch a button●Dial * 70
●
T/P to center
To have intercom calls answered automatically:
●
●
Touch
Auto Answer-Intercom.
Auto Answer-
All
The green light next to the button goes on.
To go back to answering calls yourself:
Touch
Auto Answer-Intercom.
Auto Answer-
All
The green light next to the button goes off.
33
Page 35

CALL COVERAGE
Use the Call Coverage feature to receive calls directed to
another voice terminal. Follow the instructions below to program
a Cover button for each person you want to cover (you can have
up to six Cover buttons). Program this feature on buttons with
lights.
To program:
●
T/P to P
●
Touch a button
●
Dial * 4 +
the intercom number of the person you
want to cover
●
T/P to center
When you receive a call for a person you’re covering, your voice
terminal rings and the green light next to that person’s Cover
button flashes. To answer the call:
Lift your handset.
You can program Cover buttons so covered calls ring immediately, after a delay, or don’t ring at all (see “Programmable
Line Ringing,” page 44). If you program a Cover button not to
ring, the green light still flashes next to the Cover button when
a call comes in, and you can still answer the call:
●
●
●
Touch the Cover button.
Lift your handset.
Cover John
+
If someone is covering your calls, you may want to program your
voice terminal to ring after a delay, but your voice terminal cannot be set to “no ring.” If you share lines with another person,
use Programmable Line Ringing to cover one another’s calls
(see “Programmable Line Ringing,” page 44).
34
Page 36

Coverage Inhibit
With a Coverage Inhibit button, you can temporarily turnoff the
Call Coverage feature so your calls don’t ring at another voice
terminal. Program this feature on a button with lights.
To program:
●
T/P to P
●
Touch the button
●
Dial * 77
●
T/P to center
●
●
●
●
To stop Call Coverage:
Touch
Coverage Inhibit.
The green light next to the button goes on.
Coverage
Inhibit
To restore Call Coverage:
Touch
Coverage Inhibit
again.
The green light next to the button goes off.
Coverage
Inhibit
Using Call Coverage and Coverage Inhibit to Forward Calls
You can set up a call forwarding feature using Call Coverage
and Coverage Inhibit. If you are often away from your voice terminal, but near another voice terminal connected to your
MERLIN
system:
Program a Cover button on the other voice terminal to cover
your calls.
Calls to you ring at the other voice terminal as well as at your own.
When you want calls to ring only at your voice terminal:
Touch
Coverage Inhibit.
Coverage
Inhibit
35
Page 37

DO NOT DISTURB
If you don’t want to be interrupted as you work, use the Do Not
Disturb feature to prevent calls from ringing at your voice terminal. Program this feature on a button with lights.
To program:
T/P to P
●
Touch the button
●
Dial * 71
T/P to center
●
●
●
●
To prevent calls from ringing at your voice terminal:
Touch
Do Not Disturb.
The green light next to the button goes on.
Do Not Disturb
When the Do Not Disturb feature is active, the green light next
to your line button flashes when you receive outside calls, but
your voice terminal does not ring. Calls transferred to you return
to the sender after two rings, and intercom calls to you get a busy
signal.
The feature remains active until you:
Touch
Do Not Disturb
again.
The green light next to the button goes out.
Do Not Disturb
NOTE:
If you have a Cover button for one or more people (see
“Call Coverage,” page 34), their voice terminals ring when you
call them on the intercom from your voice terminal even if they
are using the Do Not Disturb feature.
36
Page 38

PRIVACY
If you share an outside line with other people connected to your
MERLIN
system, you can use the Privacy feature to prevent
others from accidentally joining your telephone conversations.
Program this feature on a button with lights.
To program:
T/P to P
●
Touch the button
●
Dial * 72
T/P to center
To prevent others from joining your calls:
●
●
●
●
Before placing or receiving a private call, touch
Privacy.
The green light next to the button goes on.
The feature remains active until you:
Touch
Privacy
again.
The green light next to the button goes off.
Privacy
Privacy
37
Page 39

TOUCH-TONE ENABLE
(Only for systems with rotary lines)
If you have telephone lines that carry rotary signals, you can use
the Touch-Tone Enable feature to switch to Touch-Tone signals
midway through a dialing sequence. This lets you take advantage of bank-by-phone, credit card authorization, and alternate
long distance services.
To program:
T/P to P
●
Touch the button
●
Dial * 76
T/P to center
●
●
To switch from rotary pulse to Touch-Tone signals as you dial a
number:
●
●
●
●
Lift your handset.
Dial the first part of the number.
Touch
Touch-Tone Enable.
+
+ +
Touch-Tone
Enable
Dial the remaining numbers.
The Touch-Tone Enable feature turns off when you hang up your
handset or touch
Recall.
38
Page 40

ACCOUNT NUMBER ENTRY
(For use only with the SMDR feature)
With an Account Number button, you can enter an account
number that identifies who should be billed for the call. Program
this feature on a button with lights.
To program:
T/P to P
●
Touch a button
●
Dial * 82
T/P to center
To enter an account code:
●
●
Touch
Account Number
while you have a call in progress.
●
●
●
The green light next to the button flashes.
Dial the account code.
Touch
Account Number
again.
Account Number
+ +
Account Number
If the account code is entered properly, the green light next to the
account
code
button stops flashing and stays on.
If you enter the account code incorrectly, keep the call in progress and simply repeat the above procedure.
39
Page 41

CALL PARK
Use the Call Park feature to put a call on hold for someone to
pick up from any voice terminal in your
MERLIN
system. You
can use the instructions below to program a Call Park button
on your voice terminal. Or, you can save a feature button for
another use, and dial a code to park a call.
If you have a loudspeaker paging system, you can use it to announce the call.
If no one answers a parked call, your voice terminal rings to remind you the call is still parked.
To program:
T/P to P
●
Touch a button
●
Dial * 86
T/P to center
●
●
To park a call using a Call Park button:
Touch
Call Park.
Hang up.
●
●
●
●
●
Call Park
+
Using a Dial Code
To park a call using a dial code:
Touch
Transfer.
The green light next to the line’s button flashes.
Dial your own intercom number.
Hang up.
Transfer
++
your
intercom
number
40
Page 42

CALL PICKUP
Use the Call Pickup feature to answer a call that is ringing,
parked, or on hold at another
MERLIN
system voice terminal.
You can use the instructions below to program a button for Call
Pickup, or, if you want to save a feature button for another use,
you can use a dial code to pick up a call.
To program:
T/P to P
●
Touch a button
●
Dial * 85
T/P to center
●
●
Intercom
Ring
+ +
+
To pick up a call using a Call Pickup button:
Touch
Intercom-Ring
or
Intercom-Voice.
Lift your handset.
Touch
Call Pickup.
Dial the intercom number of the voice terminal holding the
Call Pickup
●
●
●
●
●
●
●
●
call.
Using a Dial Code
To pick up a call using a dial code:
Touch
Intercom-Ring
or
Intercom-Voice.
Lift your handset.
Dial * 7.
Dial the intercom number of the voice terminal holding the
call.
intercom
number
Intercom
Ring
+ +
+
* 7
intercom
number
41
Page 43

LINE PICKUP
Use this feature to pick up a specific line that is ringing, parked,
or on hold at another voice terminal. This feature offers three
options:
●
●
●
●
●
●
Program one Line Pickup button and use it with 2-digit line
codes to pick up lines.
Program individual buttons to pick up specific lines.
Use a dial code and a 2-digit line code to pick up a line.
If you do not have a list of 2-digit line codes for your outside lines,
ask your system administrator for one.
Using a Single Line Pickup Button
To program:
●
T/P to P
●
Touch the button
●
Dial
* 84
●
T/P to center.
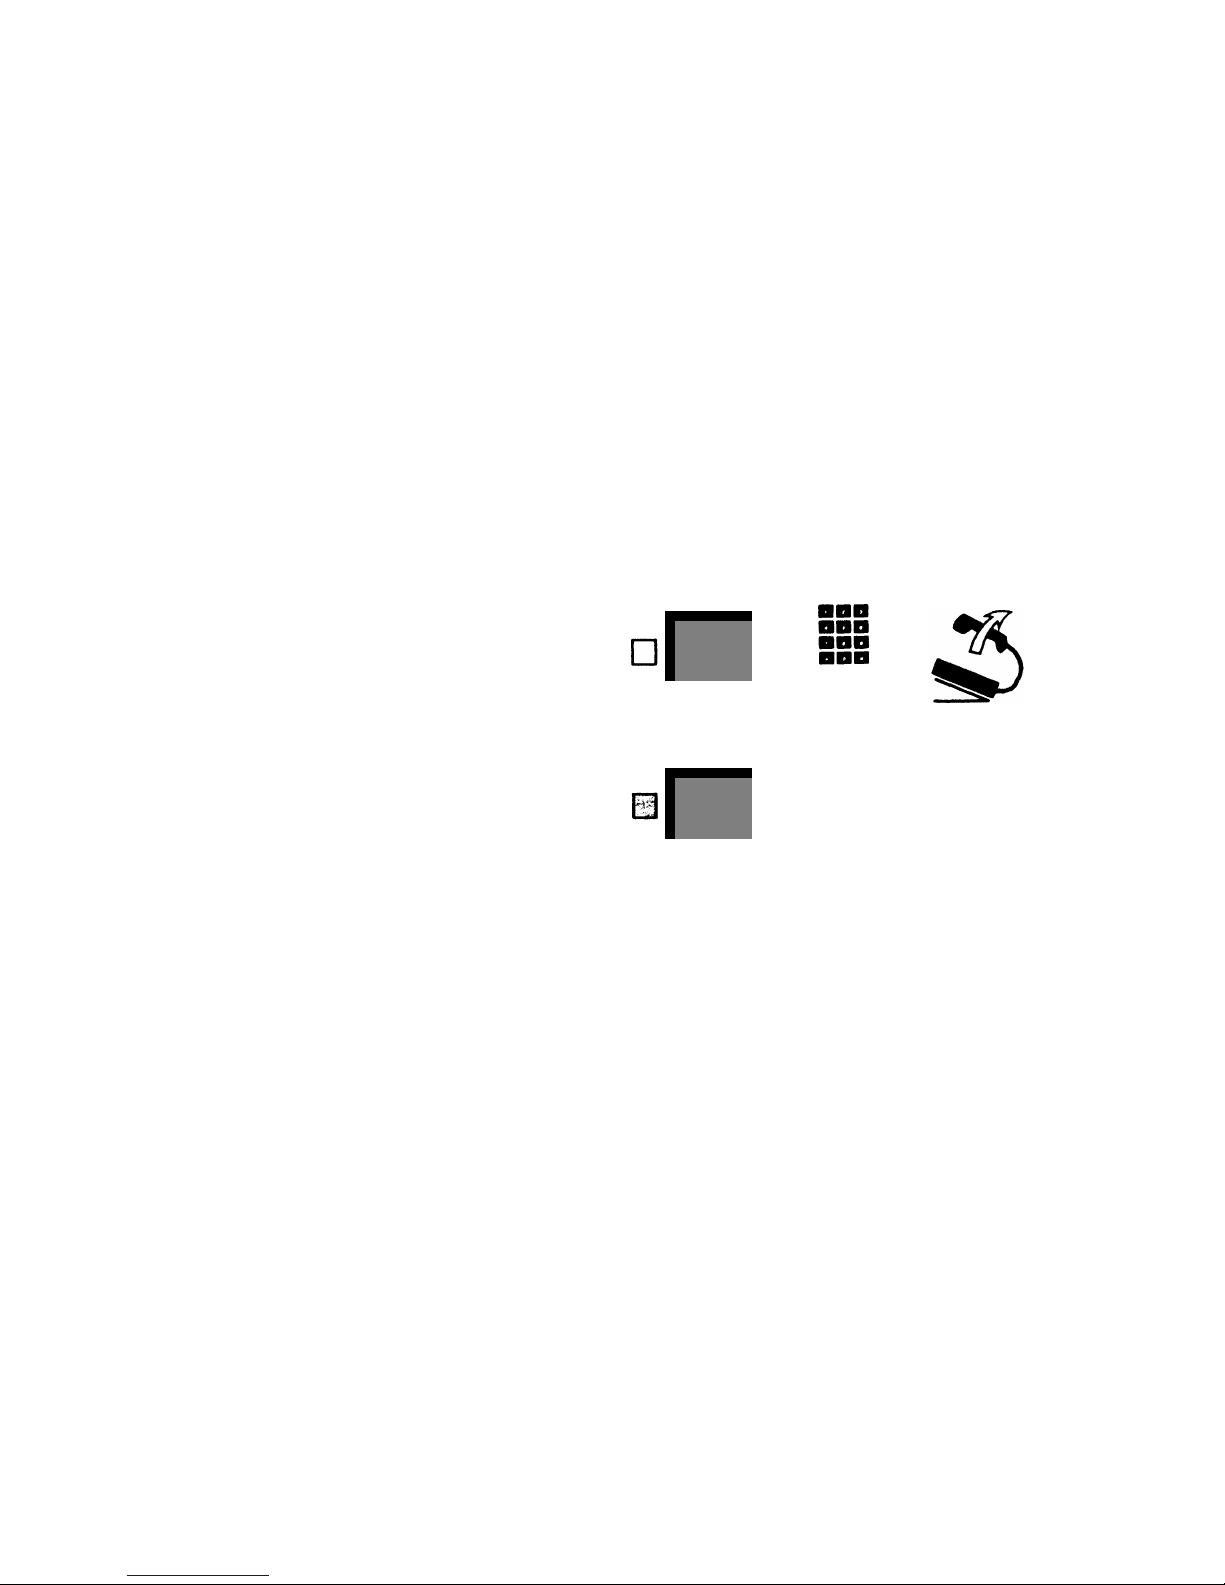
To pick up a line using this option:
Touch
Line Pickup.
Lift your handset.
Dial the 2-digit line code for the line you want to pick up.
Line Pickup
++
line
code
42
Page 44

Using Buttons Programmed to Pick Up Specific Lines
To program:
●
T/P to P
●
Touch the button
●
Dial
* 84 + the 2-digit line code for the line
●
T/P to center
To pick up a line using this option:
●
●
●
●
●
●
Touch the button for the line you want to pick up.
Lift your handset.
Pickup
555-1234
Using a Dial Code
To pick up a line using a dial code:
Touch
Intercom-Ring
or
Intercom-Voice
Lift your handset.
Dial * 8.
Dial the 2-digit line code for the line you want to pick up.
Intercom
Ring
+
+ +
+
* 8
line
code
43
Page 45

Ringing and Line Selection Options
RINGING OPTIONS
Programmable Line Ringing
You can determine whether calls coming in through a line pool,
your individual line, or a line you’re covering ring immediately,
ring after a delay, or do not ring at all.
NOTE:
This does not affect intercom calls or calls transferred
to you.
If you share lines with someone, use this feature to cover out-
side calls for one another. For example, if you want your coworker’s calls always to ring first at your voice terminal, program
your lines to ring immediately and your co-worker’s to ring after
a delay or not at all. Or, if you want to cover that person’s outside calls only when he or she is out of the office, program your
lines to ring after a delay and your co-worker’s lines to ring
immediately.
44
Page 46

If your voice terminal has Pool Access buttons, calls coming in
on the pooled lines do not ring at your voice terminal unless you
change the setting for your Pool Access buttons.
To program line ringing:
●
●
●
●
●
Slide the T/P switch to the P position.
Touch the line button successively until the red light in-
dicates the type of ringing you want.
Red light on
immediate ring
+ +
555-1234
Red light flashing delayed ring
Red light off
no ring
=
=
=
Slide the T/P switch to the center position.
If your lines are not pooled, the green light flashes next to the
line button when a call comes in for you, even if you program
the line not to ring. If you want to answer the call:
Touch the button next to the flashing green light.
Lift your handset.
Personalized Ringing
If your voice terminal’s ringing is easily confused with the ringing of other nearby voice terminals, you can choose another
ringing pattern from eight different ringing options.
555-1234
+
45
Page 47

To program Personalized Ringing:
●
●
●
●
Slide the T/P switch to the P position.
You hear the ringing sound that your voice terminal makes when
you receive an outside call.
Touch
Speaker.
The ringing sound changes.
Touch
Speaker
repeatedly until you hear a ringing sound
you like.
Slide the T/P switch to the center position.
Speaker Speaker
+ +
+
Voice Announcement Disable
Ordinarily, people can announce calls through your voice terminal speaker. However, you can prevent voice announcements
and have all intercom calls ring instead.
To program Voice Announcement Disable:
●
●
●
+ +
=
=
Slide the T/P switch to the P position.
Touch
Intercom-Voice.
Green light on
voice signal allowed
Green light off
voice signal prevented
Slide the T/P switch to the center position.
Intercom
Voice
46
Page 48

AUTOMATIC LINE SELECTlON
This feature controls the order in which the system selects outside lines when you lift your handset to place a call. You can,
for instance, program the line you use most often to be the first
line in the Automatic Line Selection sequence, and a line you
use less often to be the next line the system selects. Then, when
you lift your handset, the system automatically selects the line
you usually use, if that line is not busy. If it is busy, the system
automatically selects your second choice, unless that line is
busy, and so on.
You can specify up to eight of your outside lines (both individual
and pooled) and intercom lines for Automatic Line Selection.
NOTE:
If you plan to program other features when you program
Automatic Line Selection, you must program Automatic Line
Selection first. If you are already in the middle of a programming
session, slide the T/P switch to center and then back to P before
programming this feature.
●
●
●
●
Slide the T/P switch to the P position.
Dial * *.
Touch the line buttons in the order you prefer.
Slide the T/P switch to the center position.
+ +
+
**
555-1234
NOTE:
If you dial ** and then do
not
touch a line button or a
Pool Access button, you cancel Automatic Line Selection.
47
Page 49

Simultaneous Voice and Data Calls
If you have a General Purpose Adapter and a modem connected
to your voice terminal, you can use the Simultaneous Voice and
Data Calls feature. You may be speaking with someone on the
telephone and wish to obtain some data from a computer to support your conversation. Or you may want to make a voice call
while you are sending data to someone outside your business.
With Simultaneous Voice and Data Calls, you can make voice
calls and data calls at the same time.
NOTE: You cannot use your Hands-Free Unit when the
Simultaneous Voice and Data Calls feature is active.
To enter simultaneous voice and data mode:
●
●
●
Slide the T/P switch to the P position.
Touch
Message.
The green light next to the button goes on.
Slide the T/P switch to the center position.
The green light next to the button goes off unless you have a
message waiting.
Message
+ +
48
Page 50

To make a data call:
●
●
●
●
●
●
●
●
●
Touch
Speaker.
Dial the outside telephone number or intercom number for
your host computer.
When the computer returns the carrier signal, turn on your
modem.
Speaker
+
The green light next to the line or intercom button you used to call
the computer begins to flash and continues to flash until you end
the data call.
outside
number
Log on from your terminal keyboard.
To end a data call:
Log off from your terminal keyboard.
Turn off your modem.
The green light next to the line or intercom button you used to make
your data call goes off.
You can keep your voice terminal in simultaneous voice and data
mode indefinitely. If you want to leave this mode, however, follow
these steps:
Slide the T/P switch to the P position.
The green light next to
Message
goes on.
Touch
Message.
The green light next to the button goes off.
Slide the T/P switch to the center position.
Message
+ +
49
Page 51

Using PBX, Centrex, or Custom Calling Features
If you have PBX, Centrex, or Custom Calling features, use them
exactly as their instructions describe with one important exception: Any non-
MERLIN
system feature code that begins with
a “#” must be preceded by another “#”. For example, if PBX,
Centrex, or Custom Calling instructions tell you to dial
#1234
you must dial
##1234
to use the feature with your
MERLIN
system.
Similarly, when you program a PBX, Centrex, or Custom Calling feature code beginning with “#” for Outside Auto Dial or
Speed Dial, you must enter “##” before you enter the rest of
the feature code.
50
Page 52

Optional Equipment
HANDS-FREE UNIT
The Hands-Free Unit is a high-quality speakerphone that allows
you to use your voice terminal without lifting your handset.
NOTE:
Any custom feature that ordinarily activates your voice
terminal’s speaker activates your Hands-Free Unit.
Placing Calls
To place outside calls using your Hands-Free Unit:
●
●
●
●
●
●
●
●
●
Touch
Speakerphone On/Off
on the Hands-Free Unit.
Dial a number, or touch an Outside Auto Dial button.
When you hear the other person answer the phone, begin
talking.
To end the call, touch
Speaker.
To place intercom calls using your Hands-Free Unit:
Touch
Intercom-Ring
or
Intercom-Voice.
Touch
Speakerphone On/Off
on the Hands-Free Unit.
Dial an intercom number.
Speak when you hear the other person answer (ringing in-
tercom calls), or when you hear a beep (announced intercom calls).
To end the call, touch
Speakerphone On/Off.
51
Page 53

Answering Calls
To answer a call with your Hands-Free Unit:
●
●
●
●
●
Touch
Speakerphone On/Off,
and begin speaking.
To temporarily remove yourself from a conversation to consult
with someone else in your room:
Touch
Microphone On/Off.
The green light next to the button goes off.
To participate in the conversation again, touch
Microphone
On/Off
again.
The green light next to the button goes on.
If you lift your handset during a call, you turn off the Hands-Free
Unit. To turn it on again:
Touch
Speakerphone On/Off.
Hang up your handset.
GENERAL PURPOSE ADAPTER
The General Purpose Adapter enables you to place and receive
calls through a cordless telephone, a facsimile machine, or data
transmission equipment. It also allows you to place calls with
a Touch-Tone autodialer and to receive calls with an answering
machine.
To learn how to use the adapter with your equipment, refer to
the instructions that come with the adapter.
52
Page 54

Index
Account Number Entry, 39, 56
SMDR, 39
Answering Calls, 10, 52
Answering Machine, 52
And General Purpose Adapter, 52
Assigning Custom Features to Buttons, 19
Auto Answer-All, 32
Auto Answer-Intercom, 33
Auto Intercom, 22
Automatic Line Selection, 47
Automatic Route Selection (ARS), 6
Call Coverage, 34, 44
Call Forwarding, 35
Call Park, 10, 56
Call Pickup, 41, 56
Conference, 2, 13 - 14
Drop with Conference, 14
Hold with Conference, 13
Rejoining a Conference Call, 13
Coverage Inhibit, 35, 56
Custom Features, 18 - 47
Programming Instructions, 19
Data Calls, 48 - 49
Delayed Ring. See Programmable Line
Ringing
Do Not Disturb, 36, 56
Drop, 2, 14
Feature Programming Chart, 54 - 56
Fixed Features, 11 - 17
Group Page, 31 - 32, 55
Hands-Free Unit, 16, 48, 51
Hold, 11
Immediate Ring. See Programmable Line
Ringing
Intercom Calls, 8 - 9
Announced Intercom Calls, 9, 51
Ringing Intercom Calls, 8, 51
Ringing Patterns, 10
Last Number Redial, 27, 54
Line Pickup, 42 - 43
Line Pools, 5 - 6
Button Access, 5
Dial Access, 6
Line Request, 7
Line Selection Options, 42 - 43, 47
Loudspeaker Page, 29 - 30, 55
Manual Signaling, 28, 54
Message, 17, 48 - 49, 56
Modem, 48 - 49
No Ring. See Programmable Line Ringing
On-Hook Dialing, 2, 15
Optional Equipment, 51 - 52
Outside Auto Dial, 20 - 21, 54
Outside Calls, 4 - 7, 51
Ringing Patterns, 10
Paging, 29 - 32, 55
Group Page, 31 - 32, 55
Loudspeaker Page, 29 - 30, 55
Personal Speed Dial, 24, 54
Personalized Ringing, 45 - 46
Placing Calls, 4 - 9, 51
Intercom Call, 8 - 9, 51
Outside Calls, 4 - 7, 51
Privacy, 37, 56
Programmable Line Ringing, 44 - 45
Delayed Ring, 44 - 45
Immediate Ring, 44 - 45
No Ring, 44 - 45
Recall, 2, 17
Instead of Switchook Flash, 21
Ringing Options, 44 - 46
Personalized Ringing, 45 - 46
Programmable Line Ringing, 44 - 45
Voice Announcement Disable, 46
Saved Number Redial, 26 - 27, 54
Simultaneous Voice and Data Calls, 48 - 49
SMDR, 39
Speaker, 2, 15 - 16
Speakerphone. See Hands-Free Unit
Special Characters, 20 - 21, 54
Pause, 21
Stop, 21
Switchhook Flash, 21
Touch-Tone Enable, 21
Switchhook Flash. See Recall
System Speed Dial, 25, 54
Touch-Tone Enable, 21, 38
T/P Switch, 2, 19
Transfer, 2, 12, 23
One-Touch Transfer, 23
Ringing Pattern, 10
Transfer with Voice Announcement, 12
Voice Announcement Disable, 46
Volume Control, 2
53
Page 55

Feature Programming Chart
Use the chart below as a quick reference when you want to program features onto your voice terminal.
54
Feature Name
(Suggested Button Label)
Programming Code
Notes
QUICK DIALING FEATURES
Outside Auto Dial
Dial * 90 + an outside number, an account
See page 20.
(name or location)
number, or a PBX, Centrex, or Custom Calling
feature code.
Auto Intercom
Dial * 91 + a MERLIN system intercom
A button with lights is recommended but not re-
(name or location)
number.
quired. See page 22.
Personal Speed Dial
Dial a Personal Speed Dial code (#01 through
This feature does not use a button. For 5- and
(does not use a button)
#22) + * 90 + an outside telephone number,
10-button voice terminals only. See page 24.
an account number, or a PBX, Centrex, or
Custom Calling feature code.
System Speed Dial
Dial * 95 + a System Speed Dial code (60
See page 25.
(name or location)
through 99).
Saved Number Redial
Dial * 74. If you have a 5- or 10-button voice terminal, you
(Saved Number)
can dial a code to use this feature. See page 26.
Last Number Redial
Dial * 73. If you have a 5- or 10-button voice terminal, you
(Last Number)
can dial a code to use this feature. See page 27.
Manual Signaling
Dial * 6 + the intercom number for the person See page 28.
(Signal “name”)
you want to signal.
Page 56

Feature Programming Chart (continued)
Feature Name
(Suggested Button Label)
Programming Code
Notes
PAGING FEATURES
Loudspeaker Page
Dial * 91 + one of the following codes:
Used only with loudspeaker paging equipment.
(Page 1)
80 for all zones See page 29.
81
zone 1
82
zone 2
83
zone 3
Group Page
Dial * 91 + one of the following codes:
See page 31.
(Grp. Page 1)
841 for group 1
842
group 2
843 group 3
844
group 4
845
group 5
846 group 6
847 group 7
AUTO ANSWER FEATURES
Auto Answer-All
Dial * 75.
Requires a General Purpose Adapter and a but-
(Auto Answer-All)
ton with lights. Used only with a modem or an
answering machine. See page 32.
Auto Answer-Intercom
Dial * 70.
Requires a Hands-Free Unit and a button with
(Auto Answer-Intercom)
lights. See page 33.
55
Page 57

Feature Programming Chart (continued)
Feature Name
(Suggested Button label)
Programming Code
Notes
CALL COVERAGE FEATURES
Call Coverage
Dial * 4 + the intercom number of the person Requires a button with lights. See page 34.
(Cover “name”)
you want to cover.
Coverage Inhibit
Dial * 77.
Requires a button with lights. See page 35.
(Coverage Inhibit)
OTHER FEATURES
Privacy
Dial * 72.
Requires a button with lights. See page 37.
(Privacy)
Do Not Disturb
Dial * 71.
Requires a button with lights. See page 36.
(Do Not Disturb)
Touch-Tone Enable Dial * 76.
See page 38.
(Touch-Tone Enable)
Account Number Entry
Dial * 82.
Requires a button with lights. See page 39.
(Account Number)
Call Park
Dial * 86.
See page 40.
(Call Park)
Call Pickup
Dial * 85.
See page 41.
(Call Pickup)
Line Pickup
Dial * 84 (or dial * 84 + a line code to program
See page 42.
(Line Pickup)
buttons to pick up specific lines).
Message
Dial * 98.
Requires a button with lights. For 5-button voice
(Message)
terminals only. See page 17.
56
Page 58

Fixed Features
FEATURES
HOW TO USE
INTERCOM CALLS
Intercom-Ring Calls
1.
Touch
Intercom-Ring. 2.
Lift your hand-
set.
3.
Dial the 2-digit intercom number.
Intercom-Voice Calls
1.
Touch
Intercom-Voice. 2.
Lift your hand-
set.
3.
Dial the 2-digit number.
4.
When
you hear a beep, talk into your handset.
OUTSIDE CALLS
Outside Calls (Regular)
1.
Touch the line button you want if the red
light next to the button is not lit.
2.
Lift your
handset.
3.
Dial the number.
Outside Calls with Button
Access to Line Pools
1.
Touch the line pool button you want if
the red light next to it is not lit.
2.
Lift your
handset.
3.
When you hear a dial tone, dial
the code for the line pool you want.
4.
When you hear another dial tone, dial the
outside telephone number you want.
Outside Calls with Dial
Access to Line Pools
1.
Lift your handset.
2.
Touch a Pool
Access button.
3.
When you hear a dial
tone, dial the code for the line pool you
want.
4.
When you hear another dial tone,
dial the outside telephone number you
want.
CALLS ON HOLD
Put Call On Hold
Touch
Hold.
Take Call Off Hold
Touch the held call’s button.
TRANSFER CALLS
Transfer Calls
1.
Touch
Transfer. 2.
Dial the appropriate
intercom number.
3.
Hang up.
Transfer Calls with Voice
Announcement
1.
Touch
Transfer. 2.
Touch
Intercom-
Voice. 3.
Dial the appropriate intercom
number.
4.
Announce the call through your
handset.
5.
Hang up.
CONFERENCE CALLS
Connect Conference
Calls
Disconnect Conference
Calls
1.
Touch
Conference. 2.
Touch a line but-
ton (or
Intercom-Ring
or
Intercom-Voice).
3.
Dial an outside number (or an intercom
number).
4.
When the person answers, an-
nounce the conference call.
5.
Repeat this
procedure for each person you want to include in the conference.
1.
Touch
Drop. 2.
Touch the button of the
line you want to disconnect.
Page 59

Programmable Features
HOW TO PROGRAM
FEATURES
QUICK DIALING
Slide T/P to P, touch button, then dial
this code:
Outside Auto Dial
* 90 + an outside number, an account
number, or a PBX/Centrex feature code
Auto Intercom * 91 + a
number
Personal Speed Dial
A Personal Speed Dial code (#01 through
#22) + * 90 + desired number
a button)
System Speed Dial
Saved Number Redial
Last Number Redial
Manual Signaling
* 95 + System Speed Dial code
* 74
* 73
* 6 + the intercom number
PAGING
Loudspeaker Page
Group Page
* 91 + the appropriate code (uses additional
equipment)
* 91 + the appropriate code
AUTO ANSWER
Auto Answer-All
* 75
(uses additional equipment)
MERLIN
(best on a button with lights)
system intercom
(does not use
Auto Answer-Intercom
* 70
CALL COVERAGE
Call Coverage
* 4 + intercom number of the person you
want to cover
Coverage Inhibit
* 77 (use a button with lights)
OTHER
Privacy * 72
Do Not Disturb
Touch-Tone Enable
Account Number Entry
Call Park
Call Pickup
Line Pickup
* 71 (use a button with lights)
* 76
* 82 (use a button with lights)
* 86
* 85
* 84 (or * 84 + line code to program but-
tons to pick up specific lines)
Message
* 98
(uses additional equipment)
(use a button with lights)
(use a button with lights)
(use a button with lights)
Simultaneous Voice and
Data Calls
No dial code is necessary. Just slide T/P to
P and touch
Message
(light goes on).
Page 60

AT&T
MERLIN is a trademark of AT&T.
© Copyright 1985 AT&T. Printed in U.S.A.
999-500-140 IS
Issue 1
September 1985
 Loading...