

Page 1
Xonar U5
5.1-Channel USB Audio Card
User Guide
Page 2

E9429
First Edition
June 2014
Copyright © 2014 ASUSTeK COMPUTER INC. All Rights Reserved.
No part of this manual, including the products and software described in it, may be reproduced,
transmitted, transcribed, stored in a retrieval system, or translated into any language in any form or by any
means, except documentation kept by the purchaser for backup purposes, without the express written
permission of ASUSTeK COMPUTER INC. (“ASUS”).
Product warranty or service will not be extended if: (1) the product is repaired, modied or altered, unless
such repair, modication of alteration is authorized in writing by ASUS; or (2) the serial number of the
product is defaced or missing.
ASUS PROVIDES THIS MANUAL “AS IS” WITHOUT WARRANTY OF ANY KIND, EITHER EXPRESS
OR IMPLIED, INCLUDING BUT NOT LIMITED TO THE IMPLIED WARRANTIES OR CONDITIONS OF
MERCHANTABILITY OR FITNESS FOR A PARTICULAR PURPOSE. IN NO EVENT SHALL ASUS, ITS
DIRECTORS, OFFICERS, EMPLOYEES OR AGENTS BE LIABLE FOR ANY INDIRECT, SPECIAL,
INCIDENTAL, OR CONSEQUENTIAL DAMAGES (INCLUDING DAMAGES FOR LOSS OF PROFITS,
LOSS OF BUSINESS, LOSS OF USE OR DATA, INTERRUPTION OF BUSINESS AND THE LIKE),
EVEN IF ASUS HAS BEEN ADVISED OF THE POSSIBILITY OF SUCH DAMAGES ARISING FROM ANY
DEFECT OR ERROR IN THIS MANUAL OR PRODUCT.
SPECIFICATIONS AND INFORMATION CONTAINED IN THIS MANUAL ARE FURNISHED FOR
INFORMATIONAL USE ONLY, AND ARE SUBJECT TO CHANGE AT ANY TIME WITHOUT NOTICE,
AND SHOULD NOT BE CONSTRUED AS A COMMITMENT BY ASUS. ASUS ASSUMES NO
RESPONSIBILITY OR LIABILITY FOR ANY ERRORS OR INACCURACIES THAT MAY APPEAR IN THIS
MANUAL, INCLUDING THE PRODUCTS AND SOFTWARE DESCRIBED IN IT.
Products and corporate names appearing in this manual may or may not be registered trademarks or
copyrights of their respective companies, and are used only for identication or explanation and to the
owners’ benet, without intent to infringe.
Page 3

Contents
1. Introduction ..................................................................................... 4
1.1 Package contents ............................................................. 4
1.2 System requirements ......................................................... 4
1.3 General Specication ......................................................... 5
2. Hardware .......................................................................................... 7
3. Driver Installation ............................................................................ 9
3.1 Installing the Xonar U5 Card Driver ................................... 9
3.2 Uninstalling or Reinstalling the Xonar U5 Card Driver ....... 9
4. Connecting Speakers and Peripherals ....................................... 10
4.1 Input connection .............................................................. 10
4.2 Output connection ............................................................ 13
5. Software Utilities ........................................................................... 18
English
ASUS Xonar U5 User Guide
3
Page 4

English
1. Introduction
1.1 Package contents
Check your ASUS Xonar™ U5 audio card package for the following items:
• ASUS XonarTM U5 5.1-Channel USB Audio Card x1
• Driver CD x1
• S/PDIF TOSLINK optical adapter x1
• Quick Start Guide x1
• Type B to A USB Cable x1
1.2 System requirements
To ensure a successful installation of the Xonar U5 audio card, make sure that
your computer meets the following requirements:
• IBM compatible PC with one USB1.1 (or higher) compatible port for the
USB audio device
• 32/64bit Microsoft® Windows® 7 / Windows® 8 / Windows® 8.1
• Intel® Pentium® 4 1.4GHz, AMD Athlon 1400 CPU, or faster CPU
• 256MB system memory
• 60MB available storage space for driver installation
• CD-ROM drive (or DVD-ROM drive) for software installation
• High-quality headphones, powered analog speakers, or a Dolby Digital
decoder
4
ASUS Xonar U5 User Guide
Page 5

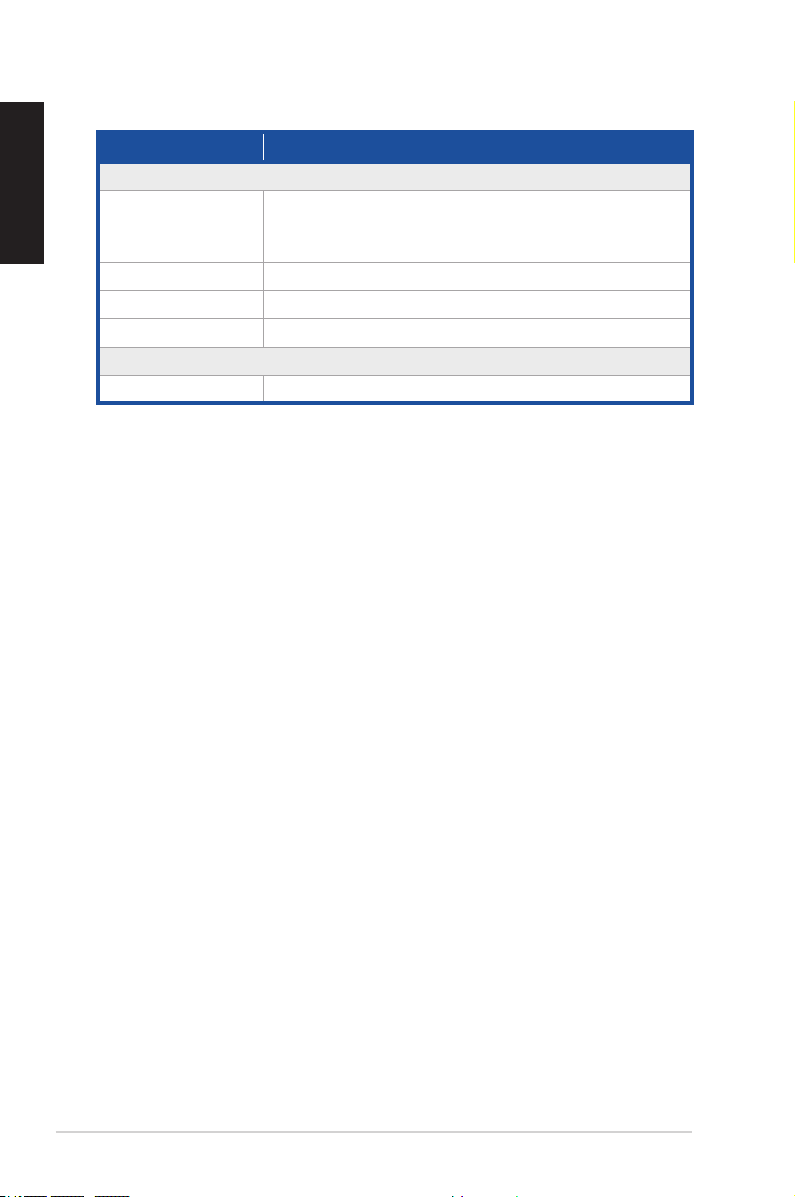
1.3 General Specification
Items Description
Audio Performance
Output Signal-to-Noise Ratio
(A-Weighted)
Input Signal-to-Noise Ratio
(A-Weighted)
Output Total Harmonic Distortion +
Noise at 1kHz (A-Weighted)
Input Total Harmonic Distortion +
Noise at 1kHz (A-Weighted)
Frequency Response
(-3dB, 24-bit/96kHz input)
Output / Input Full-Scale Voltage
Bus Compatibility
USB audio class
Main Chipset
Audio Processor
D-A Converter of Digital Sources
A-D Converter for Analog Inputs
Sample Rate and Resolution
Analog Playback Sample Rate and
Resolution
Analog Recording Sample Rate
and Resolution
S/PDIF Digital Output
ASIO 2.0 Driver Support
Up to 104dB
Up to 94dB
Up to 0.005% (-86dB)
Up to 0.005% (-86dB)
< 10Hz to 44kHz
1 Vrms (2.828 Vp-p) for rear output (Speaker)
1.3 Vrms (3.677 Vp-p) for headphone out
1 Vrms (3.677 Vp-p) for line in
USB audio class 2.0 for all functions;
USB audio class 1.0 for playback
Cmedia 6631A High-Performance Sound Processor
(Max. 192kHz / 24bit)
Cmedia CM9882A x1 (108dB SNR, Max.
192kHz/24bit)
Cmedia CM9882A x1 (104dB SNR, Max.
192kHz/24bit)
44.1k/48k/88.2k//96k/192kHz @ 16/24bit
44.1k/48k/88.2k//96k/192kHz @ 16/24bit
44.1k/48k/88.2k//96k/192kHz @ 16/24bit
44.1k/48k/88.2k//96k/192kHz @ 16/24bit
English
(continued on the next page)
ASUS Xonar U5 User Guide
5
Page 6
English
Items Description
I/O Ports
Analog Output Jack
Analog Input Jack
Button
Digital S/PDIF Output
Driver Features
As SW specications Version 1.01
3.50mm mini jack x3 for surround
(Front/Center-Subwoofer/Rear-out)
3.50mm mini jack x1 (Headphone out)
3.50mm mini jack x1 (Shared by Line-In / Mic-In)
Output volume / Output selection / Microphone Volume)
High-bandwidth coaxial / optical port supports 192kHz/24bit
6
ASUS Xonar U5 User Guide
Page 7

2. Hardware
Xonar U5 Audio Card
Top view
Rear view
Bottom view
English
3
2
1
Front
654 7 8 9 10
11
ASUS Xonar U5 User Guide
7
Page 8

English
No Item Description
Microphone Volume
1
Control
Output Selection
2
Indicator
Output Selection/
3
Volume Control
4 Microphone In port
Headphone Out
5
port
6 Front Out port
Center/Subwoofer
7
Out port
8 Rear Out port
9 S/PDIF Out port
10 USB Port
USB Audio 1.0/2.0
11
switch
Press to increase or decrease microphone volume.
LED indicator indicates different output selection
(Headphone/Speaker/S/PDIF).
Rotate to adjust the playback volume. Press to select
an output source.
Connect your external PC microphone to this 3.5mm
port for voice input. Built-in high-quality Microphone
pre-amplier.
Connect your headphone to this port.
For 2/4/5.1 channel speaker systems, connects to the
front input on the powered speakers.
Connects to the center/subwoofer input on 5.1 powered
analog speakers.
Connects to the rear/subwoofer input on 5.1 powered
analog speakers.
Coaxial digital output port. Connects to an external
digital decoder or digital speaker systems, Home
Theater systems, AV receivers for outputting digital
audio including PCM, Dolby Digital, DTS, WMA-Pro,
etc. Connects to the surround channel input on 4/5.1
powered analog speakers.
Connects to your computer using a USB Type B-A lead.
Move this switch to toggle between USB Audio 2.0
and USB Audio 1.0 connection. Use USB Audio 1.0
for plug and play. Use USB Audio 2.0 on a mac (Apple
computer).
USB Audio 1.0/2.0 switch is located at the bottom side of the audio card. USB
Audio 1.0 connection has the following limitations:
• Only supports playback features.
• 5.1 speakers, Headphone, Mic In / Line-In, and SPDIF Out can only
support sample rates of 44.1KHz/48KHz @16-bit.
8
ASUS Xonar U5 User Guide
Page 9

3. Driver Installation
3.1 Installing the Xonar U5 Card Driver
After connecting the Xonar U5 audio card to your computer, you need to install
the device driver that enables the Xonar U5 audio card to work with Windows
operating system.
The version and content of the support CD are subject to change without notice.
To install the device driver:
1. Insert the ASUS Xonar U5 support CD into your optical drive. If Autorun is
enabled, the ASUS Xonar Card Driver screen appears automatically. Go to
step 4. If Autorun is not enabled in your computer, perform step 2.
2. Click Computer on your desktop and double-click the optical drive icon.
3. Double-click setup.exe located on the optical drive.
4. Click Driver to start the installation.
5. Follow the on-screen instructions to complete the installation. Read,
understand, and accept the END USER LICENSE AGREEMENT before
continuing the installation.
6. When the installation nishes, you may be prompted to restart your
computer. You can choose to restart the computer at a later time.
3.2 Uninstalling or Reinstalling the Xonar U5 Card
Driver
English
3.2.1 Uninstalling the Xonar U5 Card Driver
To uninstall the Xonar U5 card driver:
1. Click Start > Control Panel > Programs and Features.
2. Right-click the driver you want to remove, and then click Uninstall.
3. In the InstallShield Wizard dialog box, select Remove.
4. Restart your computer when prompted.
3.2.2 Reinstalling the Xonar U5 Card Driver
To reinstall the Xonar U5 card driver:
1. Uninstall the existing software or driver.
2. Follow the installation process to reinstall the driver.
ASUS Xonar U5 User Guide
9
Page 10

English
4. Connecting Speakers and Peripherals
4.1 Input connection
4.1.1 Connecting to a USB 2.0 port on your computer
1
Front
USB
10
Desktop PC
Laptop/Portable
No Item Description
1 USB Port
Connects to your computer using a USB Type B-A lead.
ASUS Xonar U5 User Guide
Page 11

4.1.2 Connecting digital audio systems
1
Front
S/PDIF
AVR
No Item Description
1 S/PDIF Out port
Connect an AVR (Audio/Video Receiver) to this S/PDIF
output port.
English
ASUS Xonar U5 User Guide
11
Page 12

English
4.1.3 Connecting microphone / Line-In
1
Front
OR
Microphone
No Item Description
1 Microphone In /
Line In port
Connect the microphone’s 3.5mm plug into this Mic-In
port for voice communication, recording, or karaoke.
Connect the 3.5mm plug of the CD/MP3 Player or any
other Line level analog audio sources into this Line-In
port for sound recording.
CD Player
MP3 Player
12
ASUS Xonar U5 User Guide
Page 13

4.2 Output connection
4.2.1 Connecting Stereo Headphones
1
Front
No Item Description
1 Headphone Out
Port
The Headphone Out port has a built-in high-quality
amplier to drive headphones. Connect your stereo
headphones directly to this port.
English
ASUS Xonar U5 User Guide
13
Page 14

English
4.2.2 Connecting 5.1 channel headphones
1 2 3
Front
No Item Description
1 Front Out port
2 Center/Subwoofer
Out port
3 Rear Surround
Out port
Connect the Front-channel 3.5mm plug of your 5.1
channel headphone into this jack.
Connect the Center/Bass-channel 3.5mm plug of your
5.1 channel headphone into this jack.
Connects to the rear surround input port of your 5.1
channel headphone.
14
ASUS Xonar U5 User Guide
Page 15

4.2.3 Connecting analog speaker systems
Connecting 2 channel speakers
1
Front
No Item Description
1 Front Out port
Connect the Front-channel 3.5mm plug of 2 channel
speakers using a 3.5mm cable.
English
ASUS Xonar U5 User Guide
15
Page 16

English
Connecting 4.1 channel speakers / power amplifier
1 2
Front
OR
16
Speaker
AV Receiver/Amplifier
No Item Description
1 Front Out port
2 Rear Surround
Out port
Connect the Front-channel 3.5mm plug of your 5.1
channel headphone into this jack.
Connects to the rear surround input port of 4.1 channel
speakers.
ASUS Xonar U5 User Guide
Page 17

Connecting 5.1 channel speakers
1 2 3
Front
No Item Description
1 Front Out port
2 Center/Subwoofer
Out port
3 Rear Surround
Out port
Connect the Front-channel 3.5mm plug of your 5.1
channel headphone into this jack.
Connects to the Center and Subwoofer input ports of 5.1
channel speakers.
Connects to the rear surround input port of 5.1 channel
speakers.
English
ASUS Xonar U5 User Guide
17
Page 18

English
5. Software Utilities
Sonic Studio overview
Sonic Studio comes with advanced sound algorithms and virtual surround effects
to enhance your gaming and entertainment experience.
18
For more details about using Sonic Studio, refer to the Sonic Studio manual.
ASUS Xonar U5 User Guide
 Loading...