

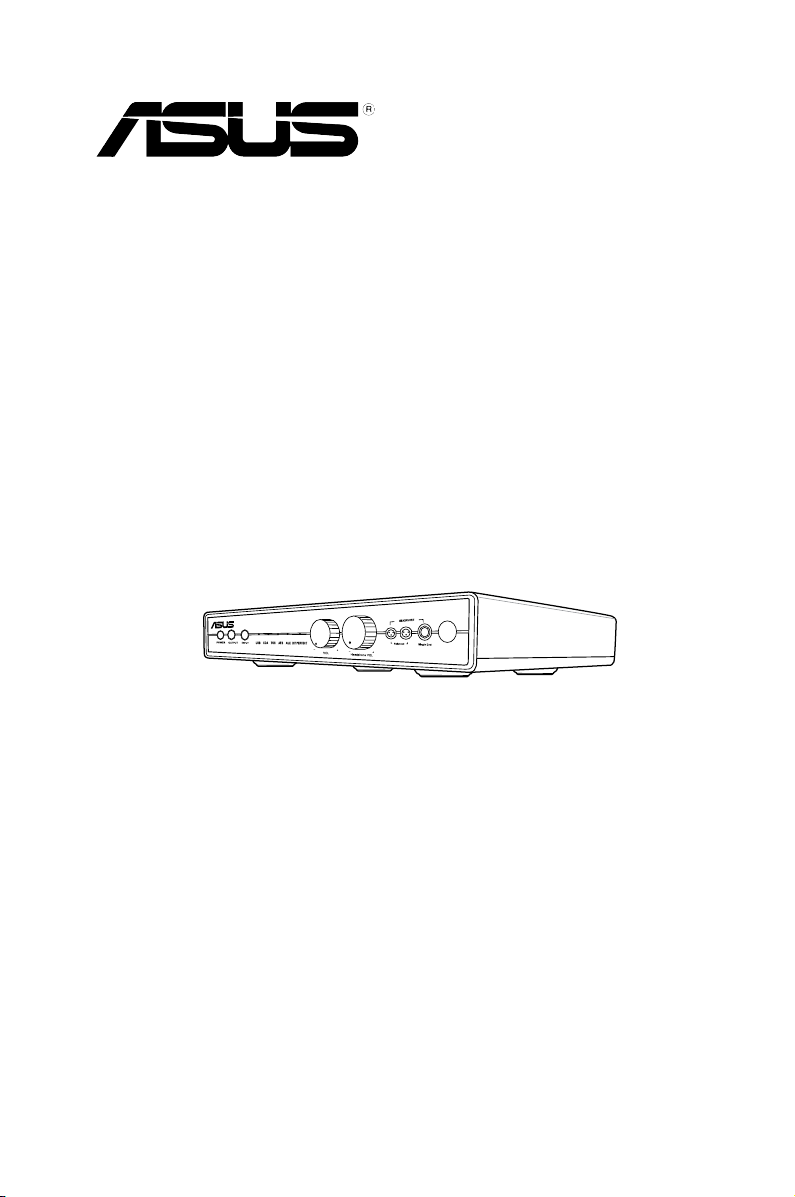
Q8395
Essence 3
Hi-Fi USB DAC (Digital-to-Analog Converter)
Opamp Swap Guide
First Edition
August 2013
Copyright © 2013 ASUSTeK Computer Inc.
All Rights Reserved

English
An operational amplier (op-amp) plays an important role in audio performance
and tonal style by creating a distinct listening experience. Catering to the needs
of audiophiles, the Essence series streamlines op-amp modications with easilyswappable op-amp sockets.
1. Swap guide
Replace op-amps with the same type for the corresponding slot. For example,
if you need to change DAC I/V, replace the op-amp with a DAC I/V op-amp in
slot 1. If you need to change SE LPF, you need to replace the op-amp with the
same type of op-amp in slot 2.
NO. Items
1 DC Servo
2 XLR Buffer
3 I/V
4 SE LPF
2
ASUS Essence 3 Opamp Swap Guide

2. Instructions on swapping Op-Amps
1. Use an IC clamp to clasp an op-amp and
remove it vertically upwards.
2. Replace the op-amp with a similar type of
op-amp from the op-amp kit.
NO. Pin Function
1 A OUTPUT
2 A-INPUT
3 A+INPUT
4 V
5 B+INPUT
6 B-INPUT
7 B OUTPUT
8 V
+
English
Ensure that the half-moon opening on the op-amp points to the same
direction as that of the socket.
ASUS Essence 3 Opamp Swap Guide
3
English
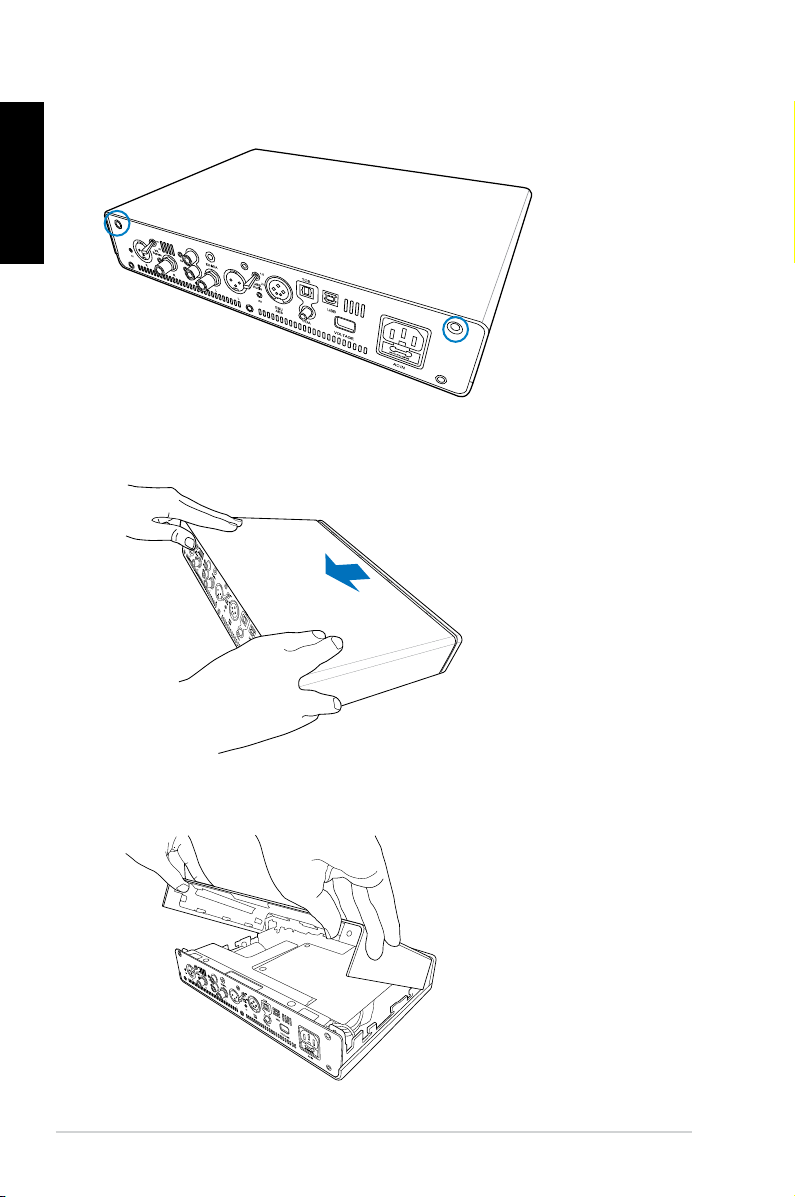
3. Disassembly
1. Remove two screws from the rear panel.
2. Place your thumbs on the rear panel and your ngers on the top cover. Slide
the cover towards you to disengage the top cover from the chassis.
3. Gently lift up the top cover.
4
ASUS Essence 3 Opamp Swap Guide

Follow step 4 only if you need access to buffer op-amps on the analog board.
4. Remove four screws from the rear panel.
5. Remove the rear panel.
English
ASUS Essence 3 Opamp Swap Guide
5
English
6. Unscrew the silver chassis panel.
7. Remove the silver chassis panel.
6
ASUS Essence 3 Opamp Swap Guide

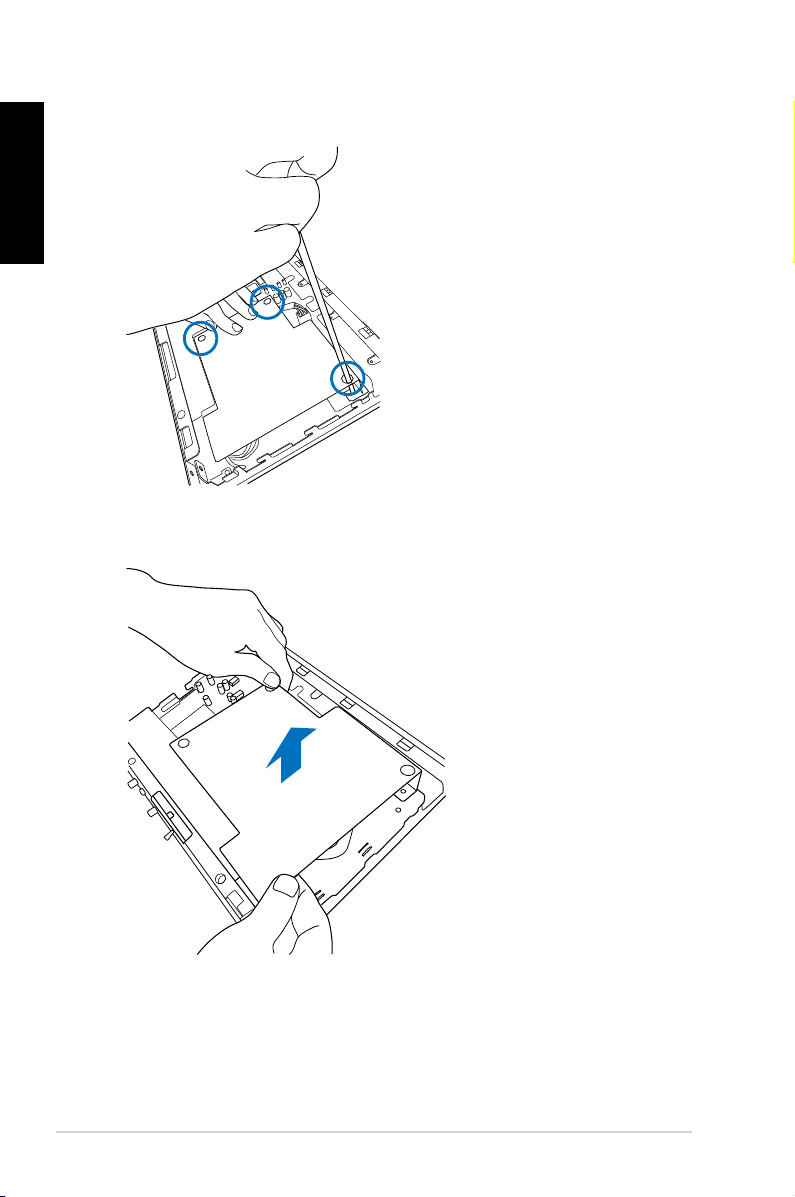
8. Unscrew the four screws as indicated on the inner rear panel.
9. Unscrew the upper layer PCB board.
English
Use a pair of pliers to secure the stools underneath the PCB board as you turn
the screws.
ASUS Essence 3 Opamp Swap Guide
7

English
10. Disconnect the ribbon cable.
11. Disconnect the cable as shown below.
12. Gently lift and slide the PCB board from the chassis. Take care when removing
the board away from the Bypass switch and RCA jacks.
8
ASUS Essence 3 Opamp Swap Guide

4. Op-amp pairing impression
Recommended op-amp pairing combinations
Brand Model name
NS LME49860
NS LME49720NA
NS LM4562NA
TI OPA2111
TI OPA2132
TI OPA2107
ADI OP275
ADI AD823
NJRC MUSE01
NJRC MUSE02
ADI AD827SQ
TI OPA2227P
TI OPA2227PA
English
ASUS Essence 3 Opamp Swap Guide
9

English
Exclusions from this limited Warranty Service
ASUS does not warrant uninterrupted or error-free operation of this Product. The
warranty only covers technical hardware issues during the warranty period and
under normal use conditions. It does not apply to software issues or customer
induced damages or circumstances such as but not limited to:
(a) the Product has been tampered with, repaired and/or modied by non-
authorized personnel;
(b) the serial number of the Product, components or accessories has been
altered, cancelled or removed;
(c) the warranty seals have been broken or altered;
(d) obsolescence;
(e) damage (accidental or other) to the Product that is cosmetic, meaning
damage that does not impact the operation and functioning of the Product,
such as without limitation to rust, change in color, texture or nish, wear
and tear, gradual deterioration;
(f) damage to the Product caused by war, terrorism, re, accident, natural
disaster, intentional or accidental misuse, abuse, neglect or improper
maintenance, use under abnormal conditions;
(g) damage to the Product cause by improper installation, connection or
malfunction of a peripheral device such as printer, optical drive, network
card, or USB device, etc.;
(h) damage to the Product cause by improper installation, modication and/or
repairing of components
(i) damage to the Product caused by an external electrical fault or any
accident;
(j) damage to the Product resulting from use outside of the operation or
storage parameters or environment detailed in the User’s Manual;
(k) damage to the Product caused by third party software or virus(es); or there
is software loss or data loss that may occur during repair or replacement;
(l) Un-usability due to forgotten or lost security passwords.
(m) Un-usability of or damage to the Product caused by contamination with
hazardous substances, diseases, vermin or radiation.
(n) fraud, theft, unexplained disappearance or willful act;
10
ASUS Essence 3 Opamp Swap Guide

Except as provided in this Warranty and to the maximum extent permitted by law,
ASUS is not responsible for direct, special, incidental or consequential damages
resulting from any breach of warranty or condition, or under any other legal
theory, including but not limited to loss of use; loss of revenue; loss of actual or
anticipated prots (including loss of prots on contracts); loss of the use of money;
loss of anticipated savings; loss of business; loss of opportunity; loss of goodwill;
loss of reputation; loss of, damage to or corruption of data; or any indirect or
consequential loss or damage whatsoever caused including the replacement of
equipment and property, any costs of recovering or reproducing any data stored
on or used with the Product. The foregoing limitation shall not apply to death or
personal injury claims, or any statutory liability for intentional and gross negligent
acts and/or omissions by ASUS. Some jurisdictions do not allow the exclusion or
limitation of incidental or consequential damages; to the extent such jurisdiction is
governing this Warranty the above limitations do not apply to You.
The standard warranty policy applies to all related products.
English
ASUS Essence 3 Opamp Swap Guide
11

English
12
ASUS Essence 3 Opamp Swap Guide
 Loading...