How it Works
Log In / Sign Up
Buy Points
How it Works
FAQ
Contact Us
Questions and Suggestions
Users
ASUS
Loading...
E
EN8800
29
ENGTX260
EP121
10
EP121-1A010M
EP121-1A011M
EPC1001
EPC1005
EPC 1215N
EPC 701SD LX HW
EPC 701SD LX SW
EPC900
EPCS1N766
EPC VX6
EPd SL101
EPd tf101
EPd tf101g
EPU
EPU-6
ES-101
ES5000
4
ES5000-P
4
ES5100
3
ES5100-P
ES5120
2
ES7895
ESC1000
3
ESC1000G2
5
ESC2000
8
ESC2000G2
2
ESC300 G4
2
ESC4000
11
ESC4000A-E10
4
ESC4000-FDR
3
ESC4000FDRG2
ESC4000-FDR G2S
3
ESC4000G2
2
ESC4000 G2S
2
ESC4000 G3
5
ESC4000 G3S
5
ESC4000 G4
ESC4000 G4S
ESC4000/IB
2
ESC500
2
ESC500 G2
3
ESC500 G3
3
ESC500 G4
ESC500 G4-M2V
2
ESC500 G4 SFF
ESC700
ESC700 G2
2
ESC700 G4
ESC8000
ESC8000 G3
3
ESC8000 G4
ESC8000 G4/10G
ESC800 G4
ESEDRW-08-H
Espada GT200
5
Essence III
5
Essence One
2
Essence One Series
Essence STX II
4
Essence STX II 7.1
2
Essentio
9
Essentio CG1330
Essentio CG Series
ESSENTIO CM6730
Essentio CM6830
2
Essentio CP1130
Essentio CP5141
Essentio CP6130
ESSENTIO CP6230
ESSENTIO DESKTOP PC CM1630
ESSENTIO E4712
ET16
30
et1601
ET1602
8
ET1602C
31
ET1605
ET1610
18
ET1610P
15
ET1610PT
19
ET1610 series
ET1611
19
ET1611PUK
19
ET1611PUT
20
ET1611PUT-B001E
ET1611PUT-B008E
ET1611PUT-B009E
ET1611PUT-B011F
ET1612I
20
ET1612IU
ET1612IUKS
22
ET1612IUTS
21
ET1620I
ET1620IUTT
21
ET 16 series
ET1801IUK
19
ET20
35
et20 hw
Loading...
Loading...
Nothing found
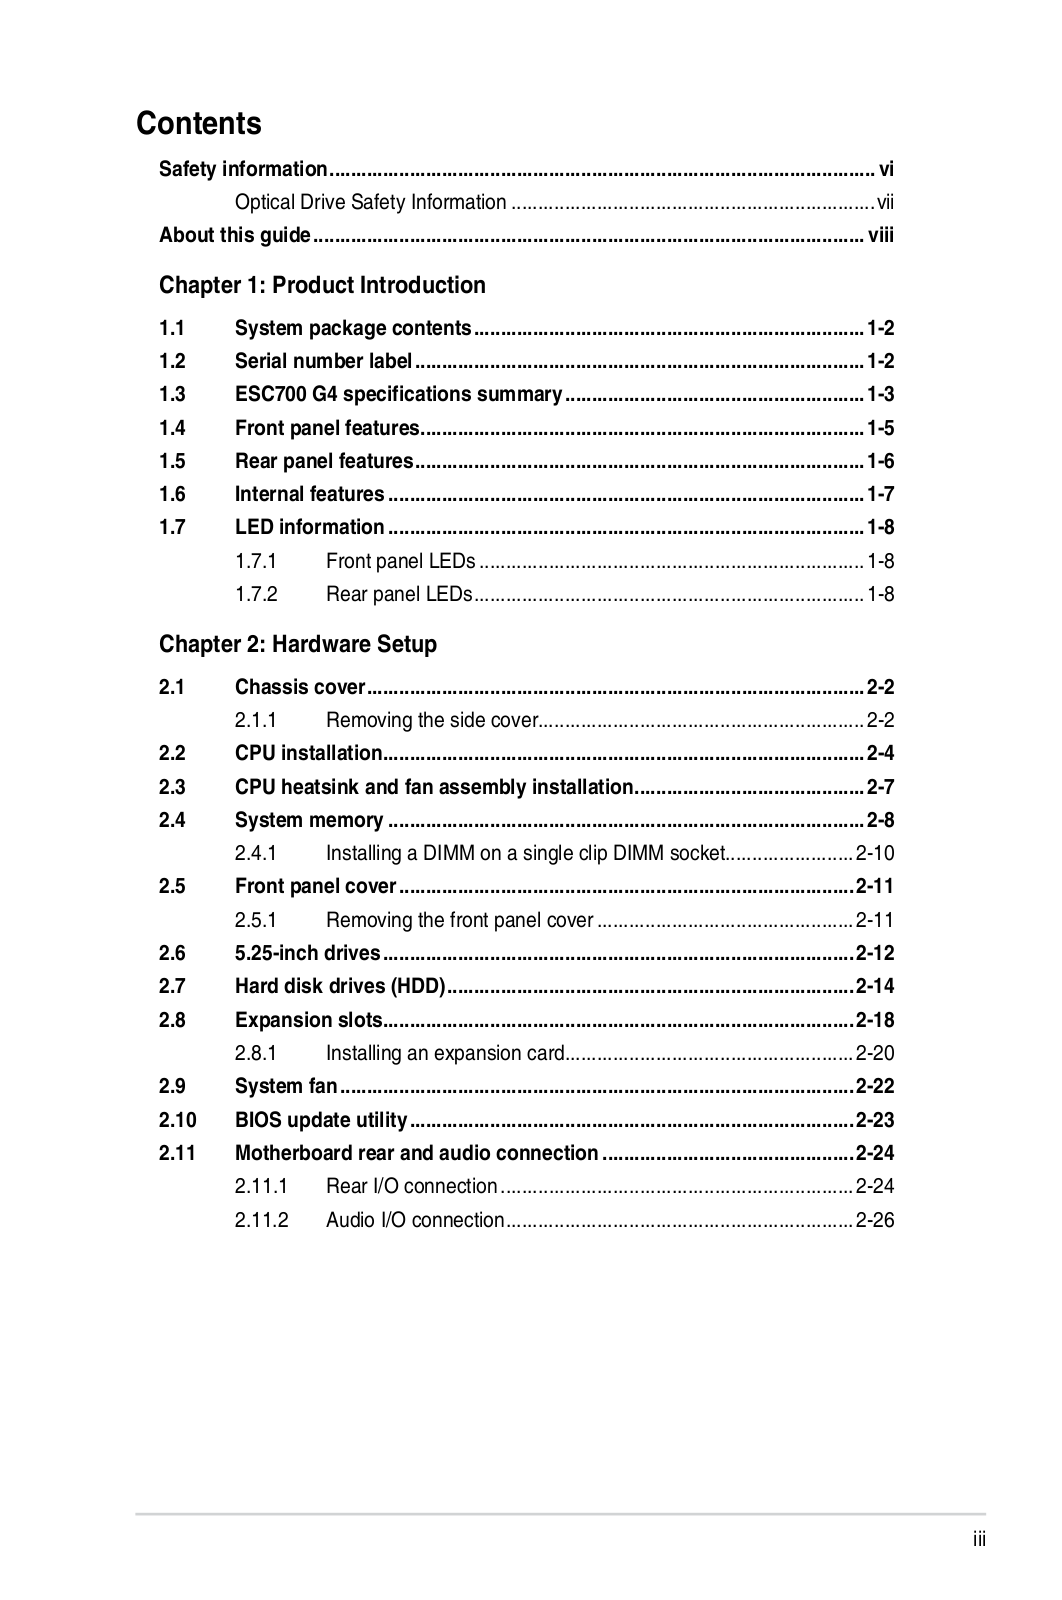
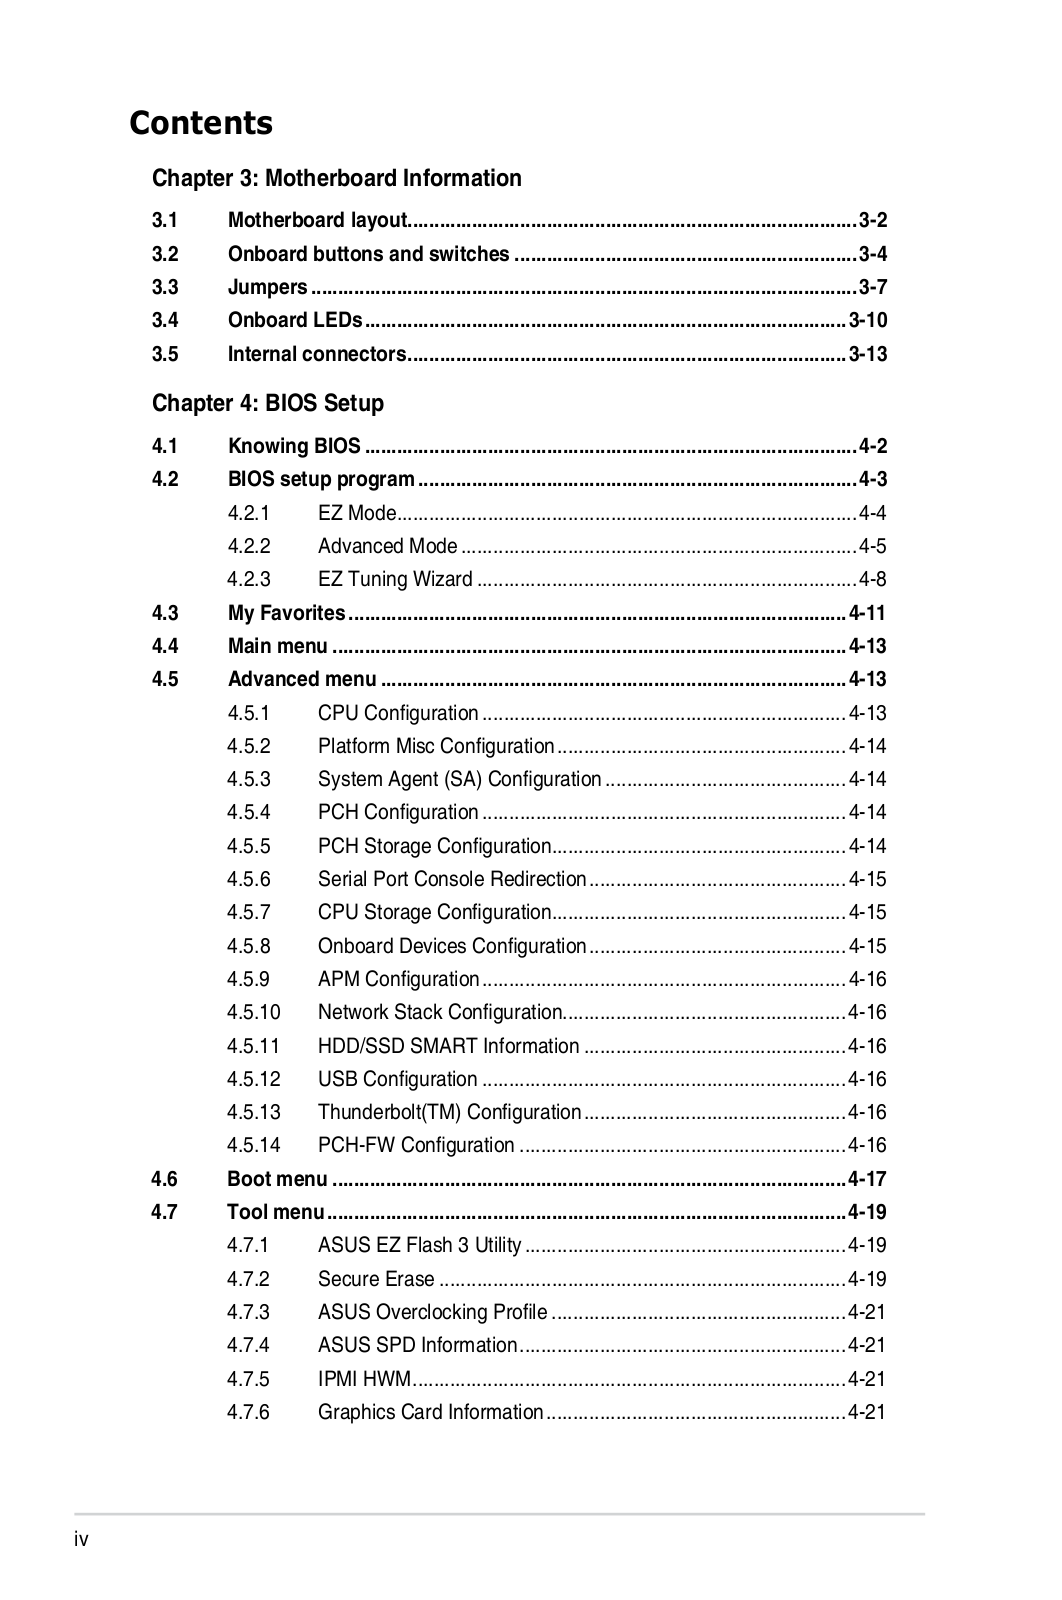
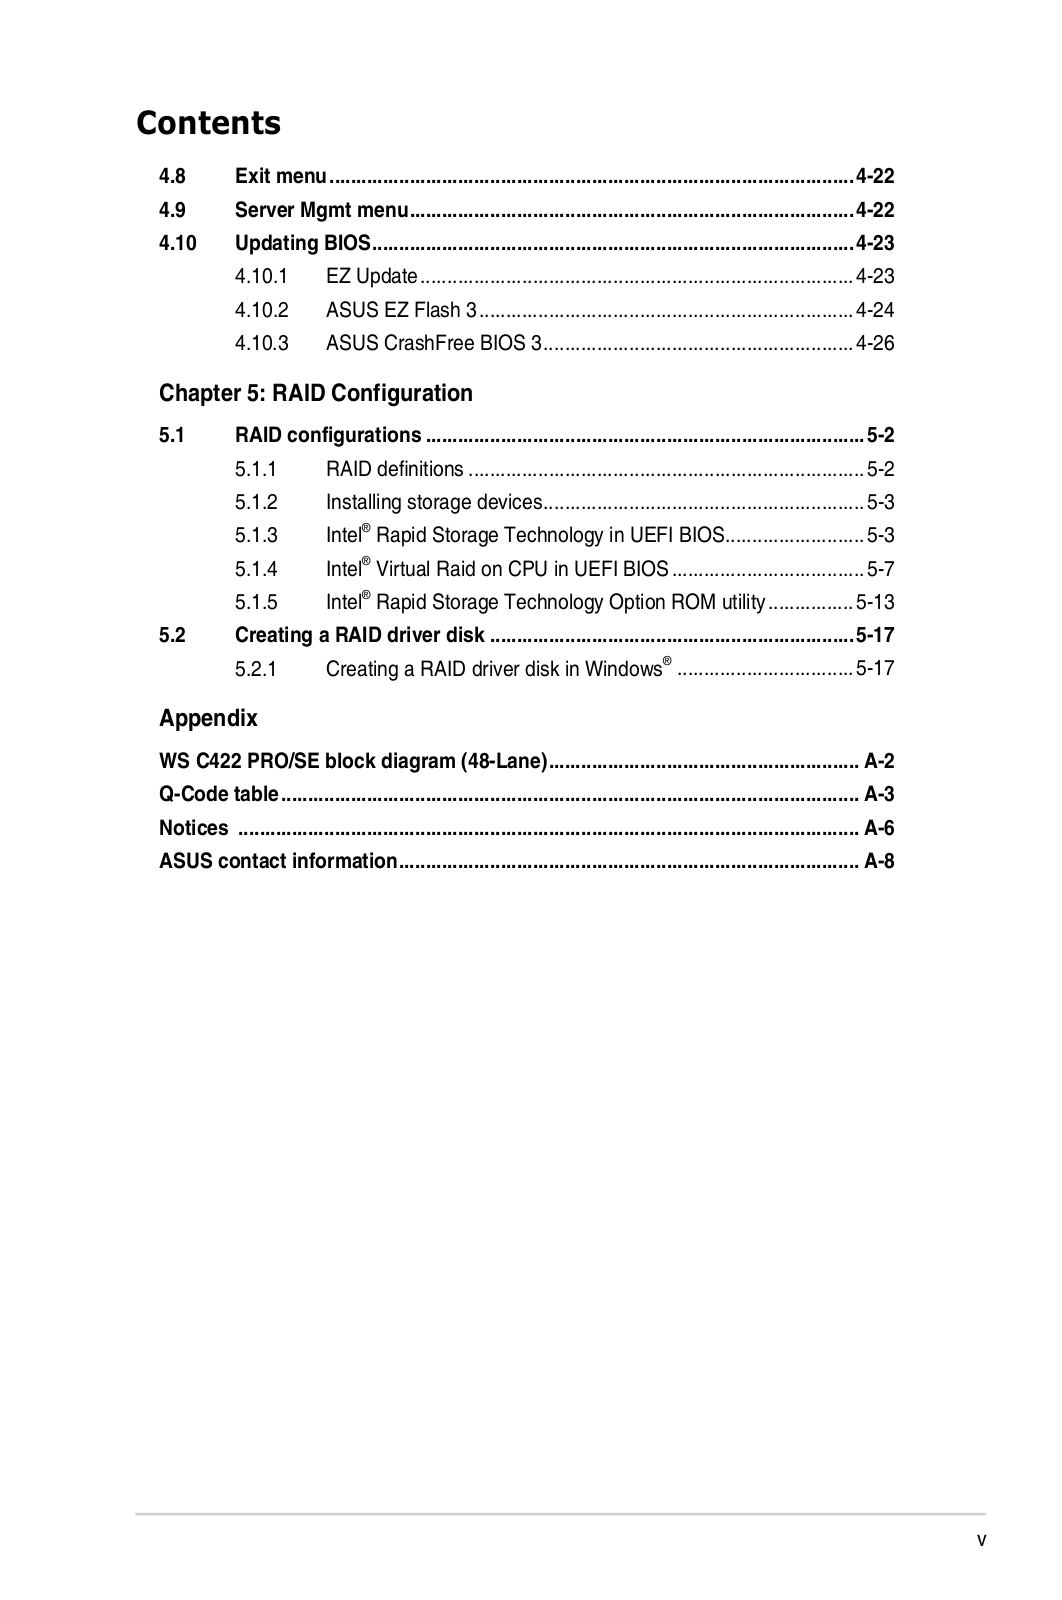
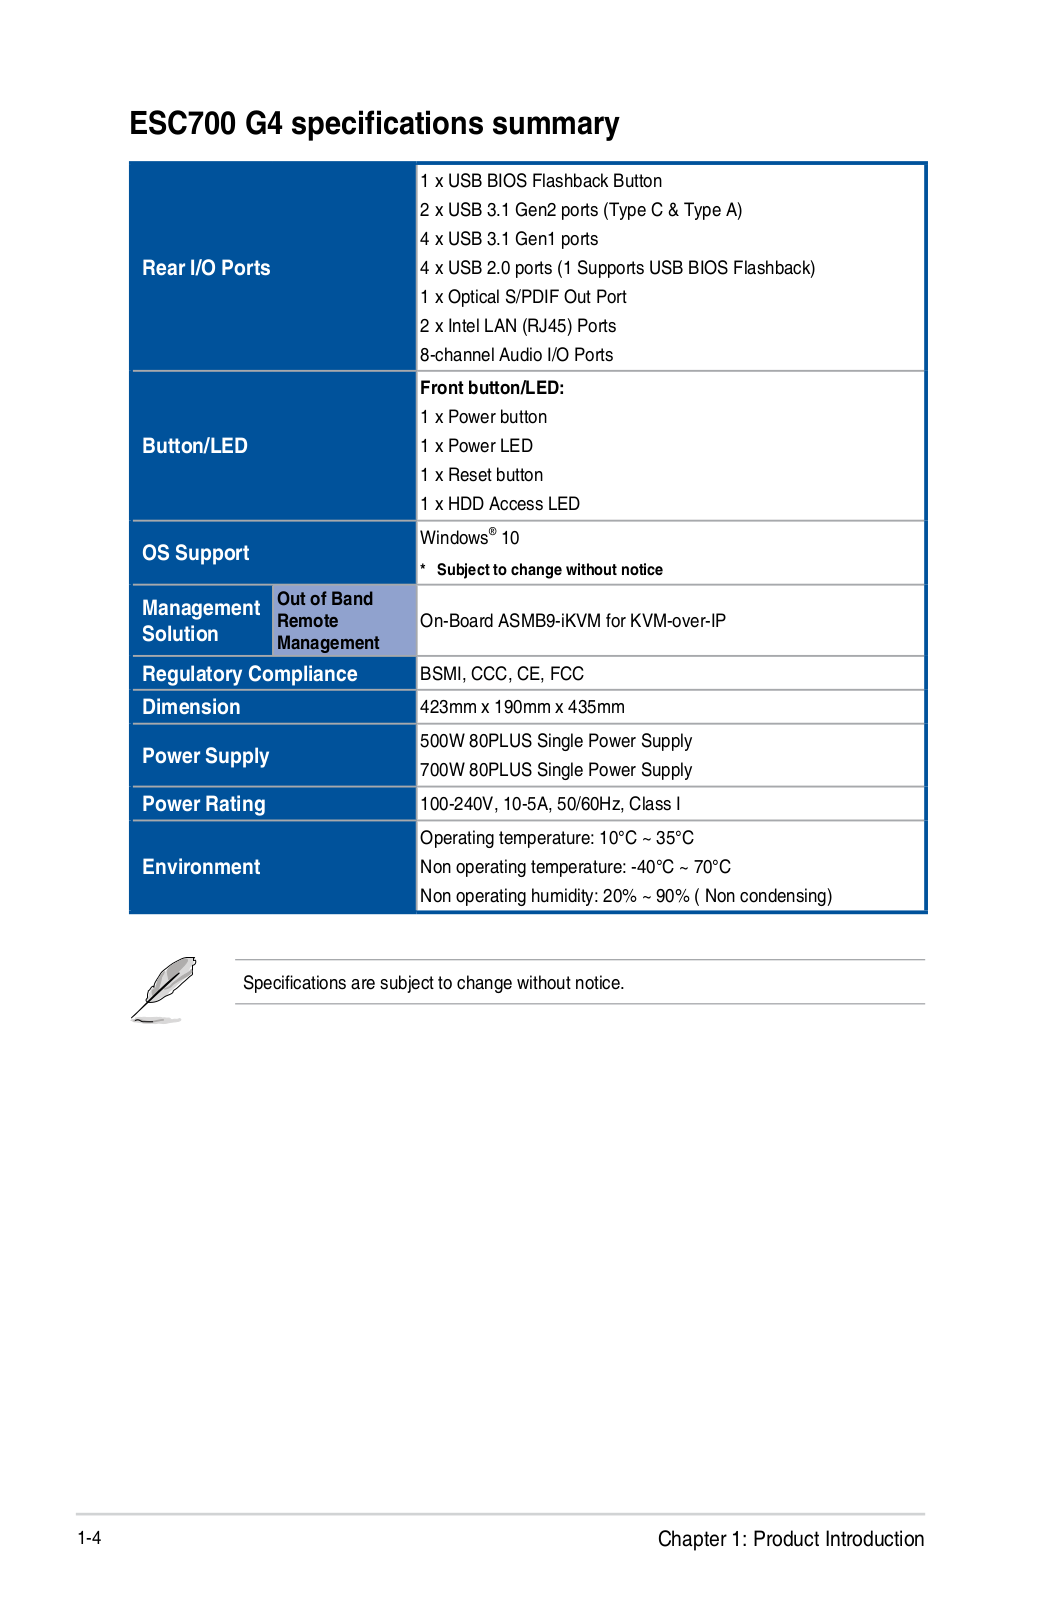
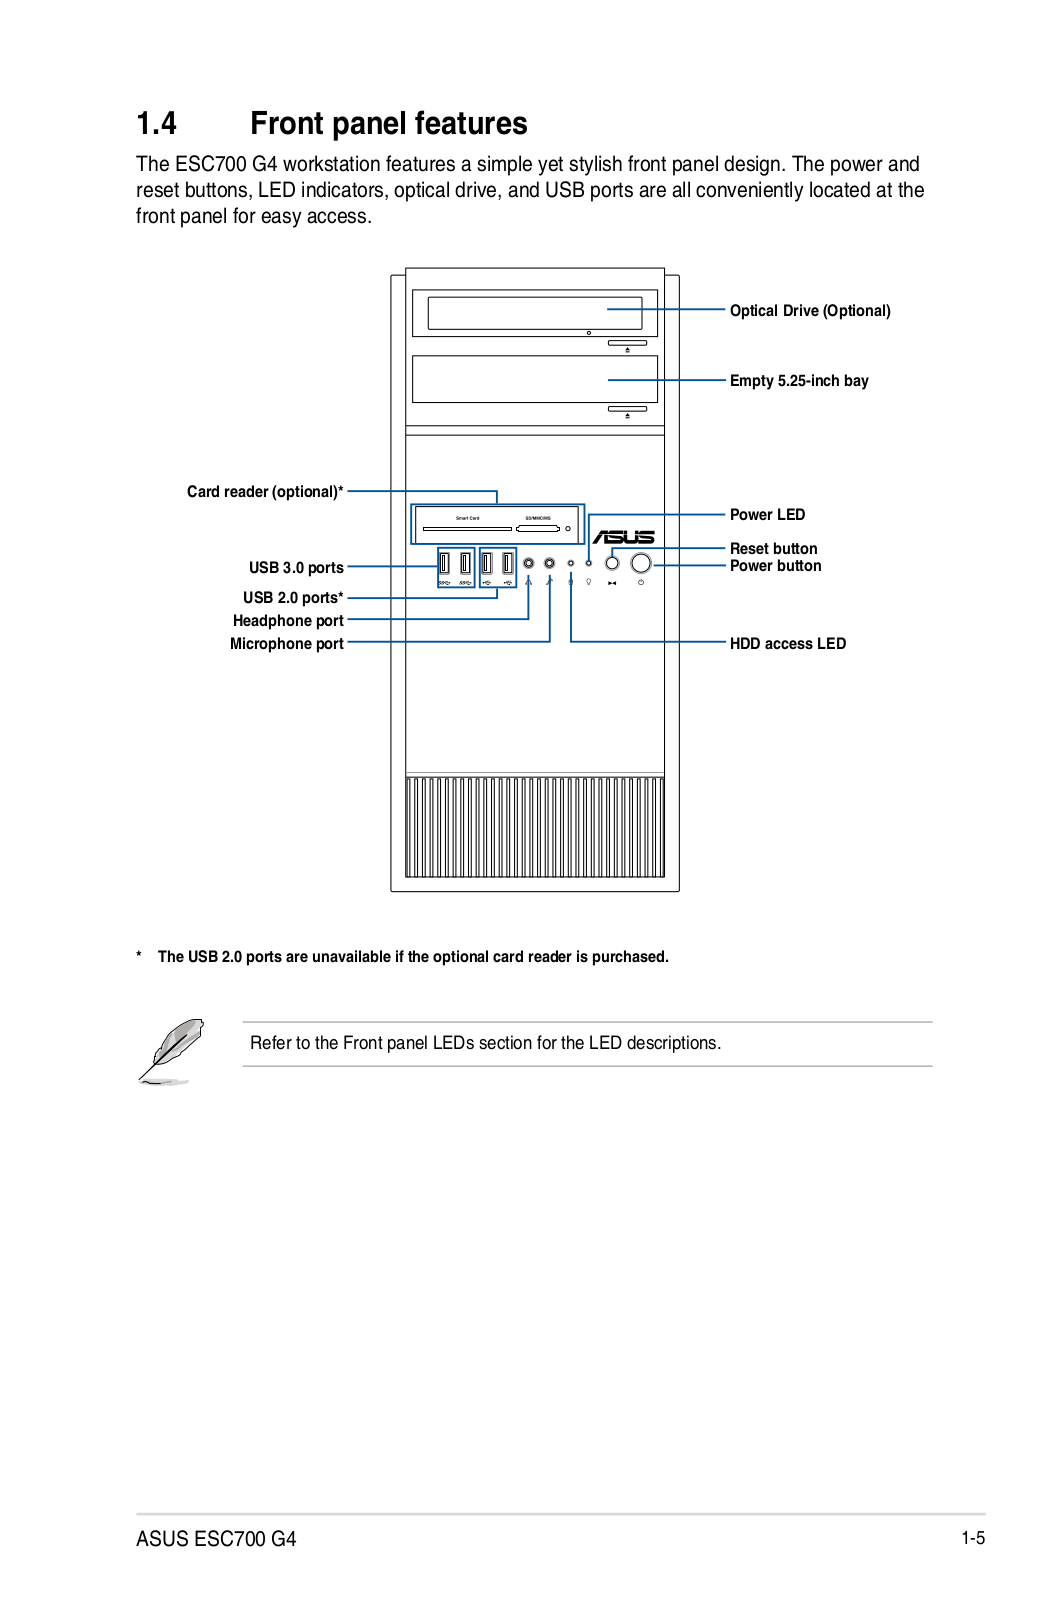
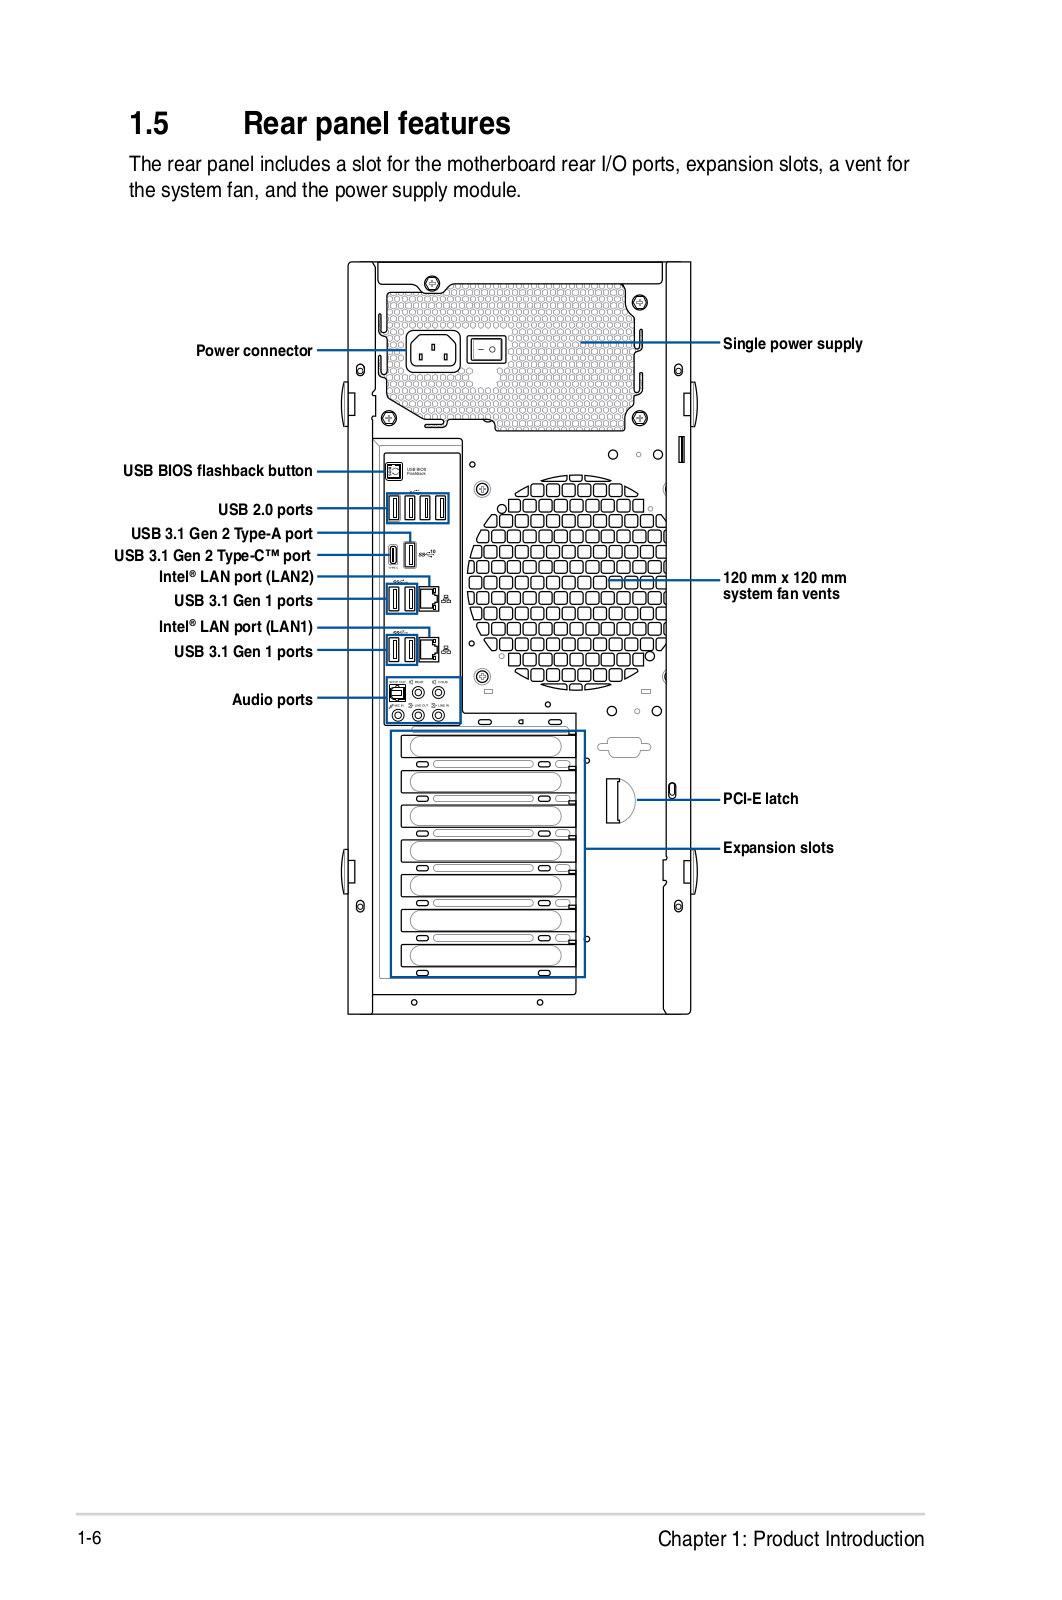
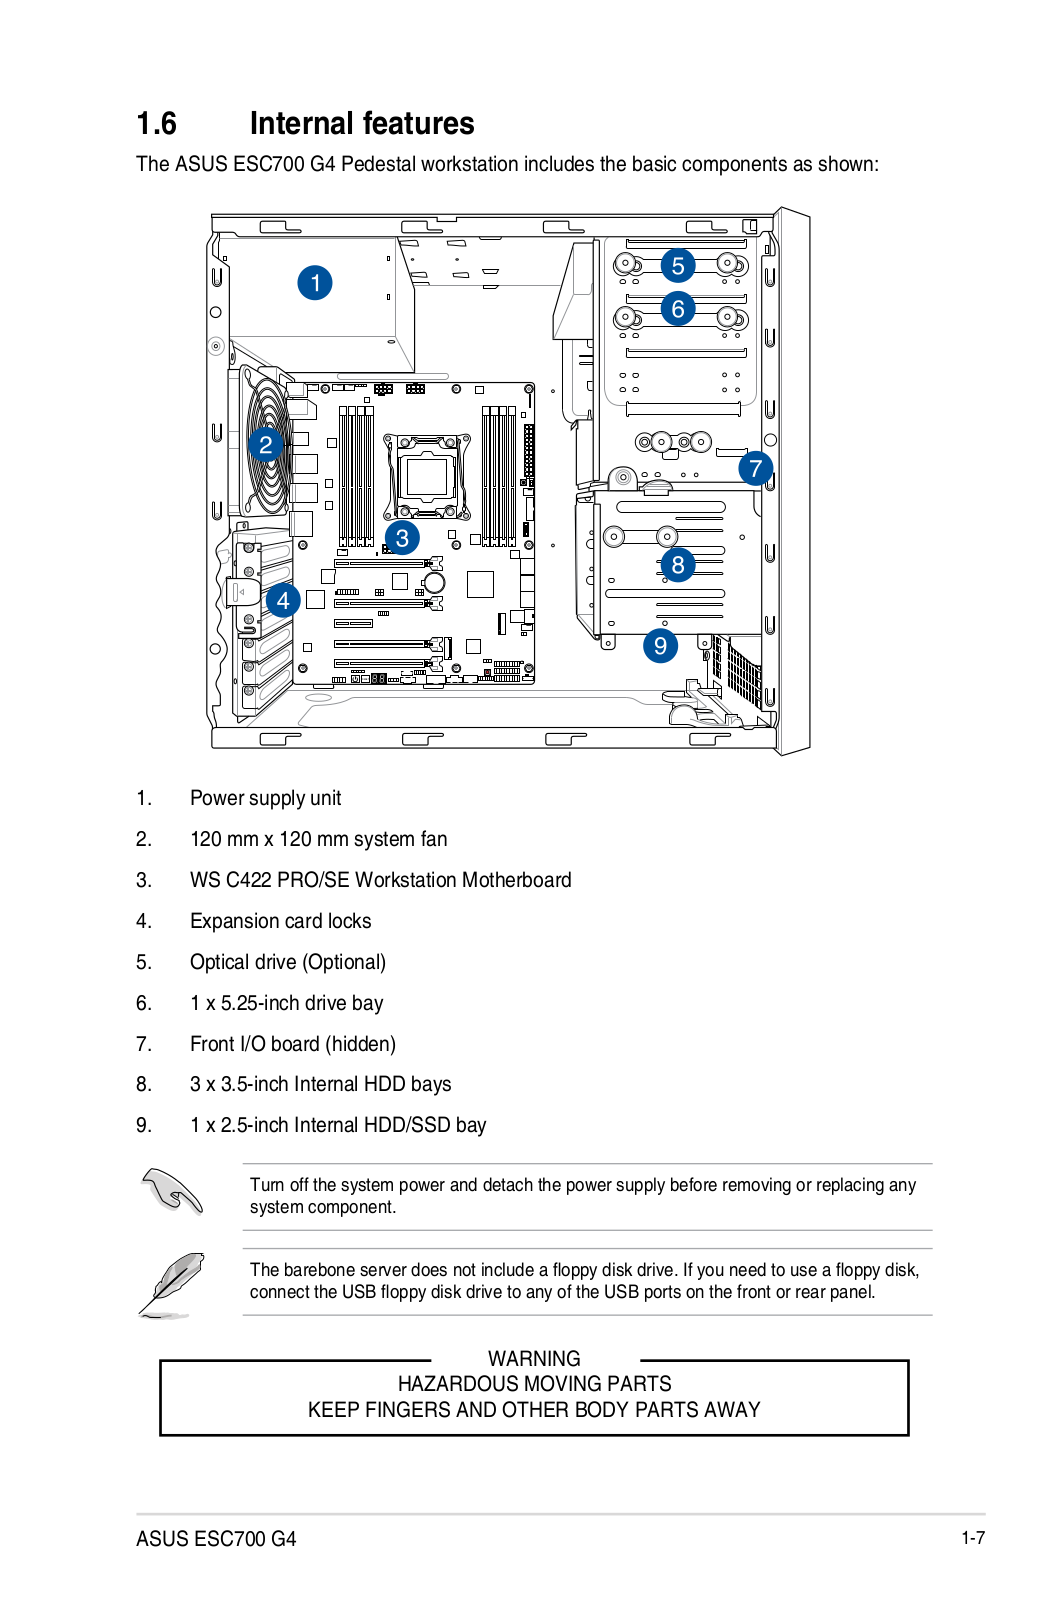
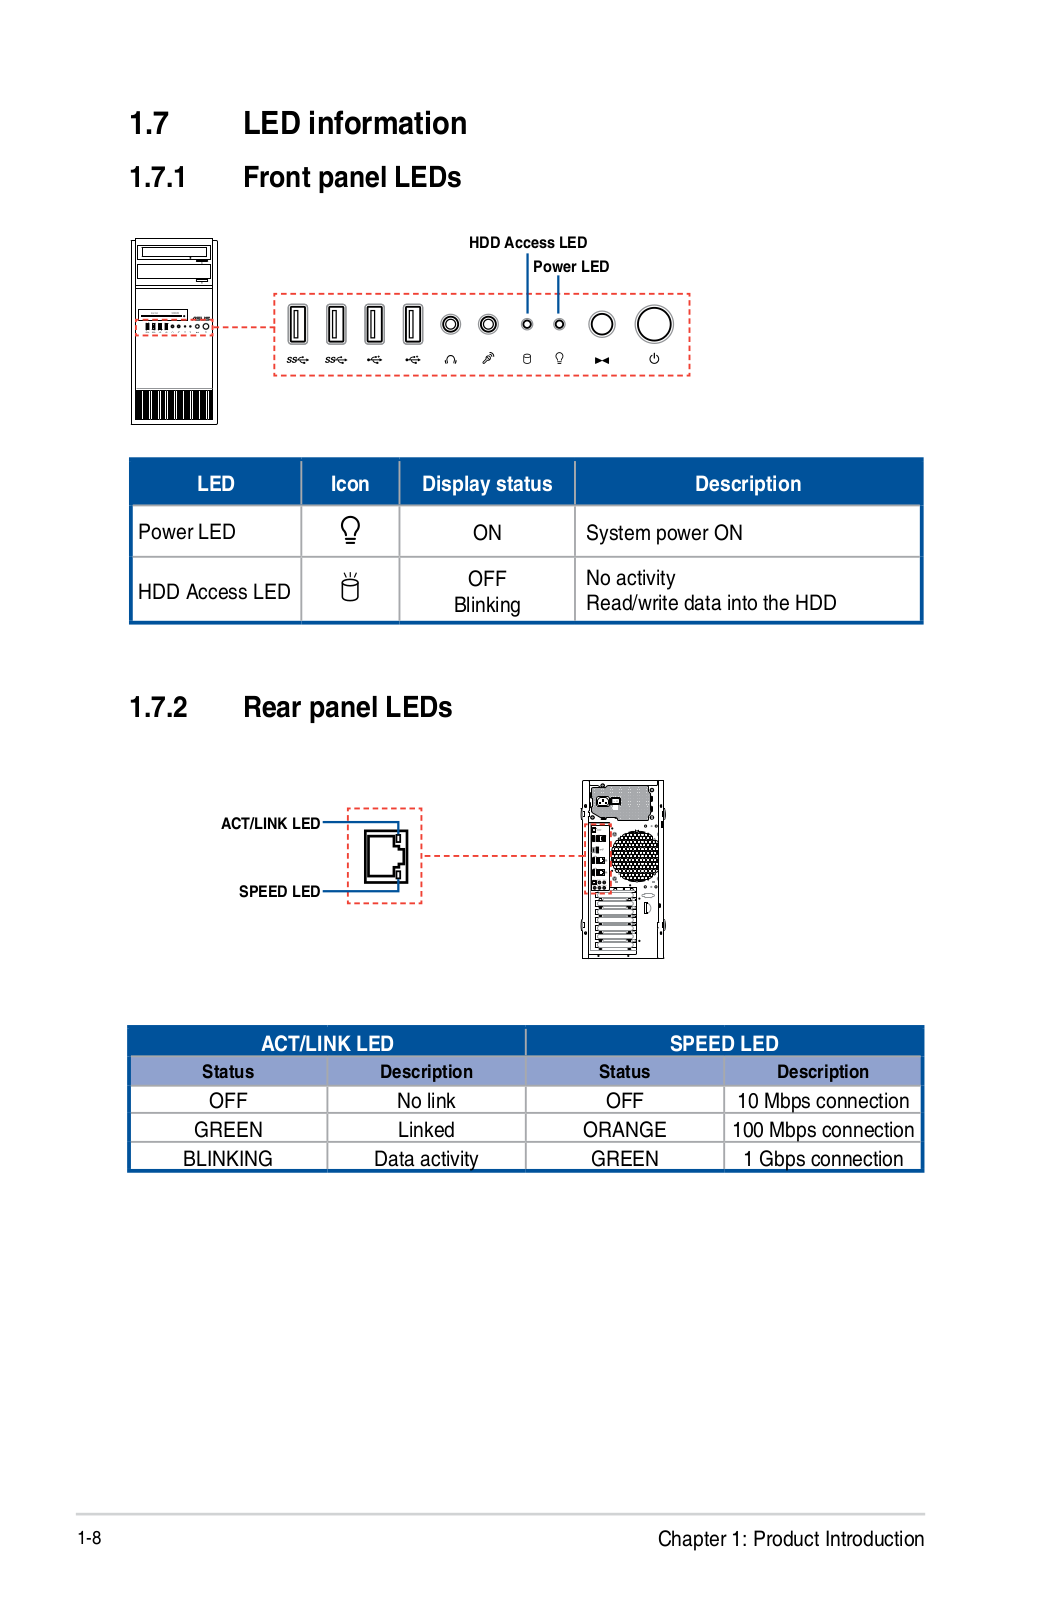
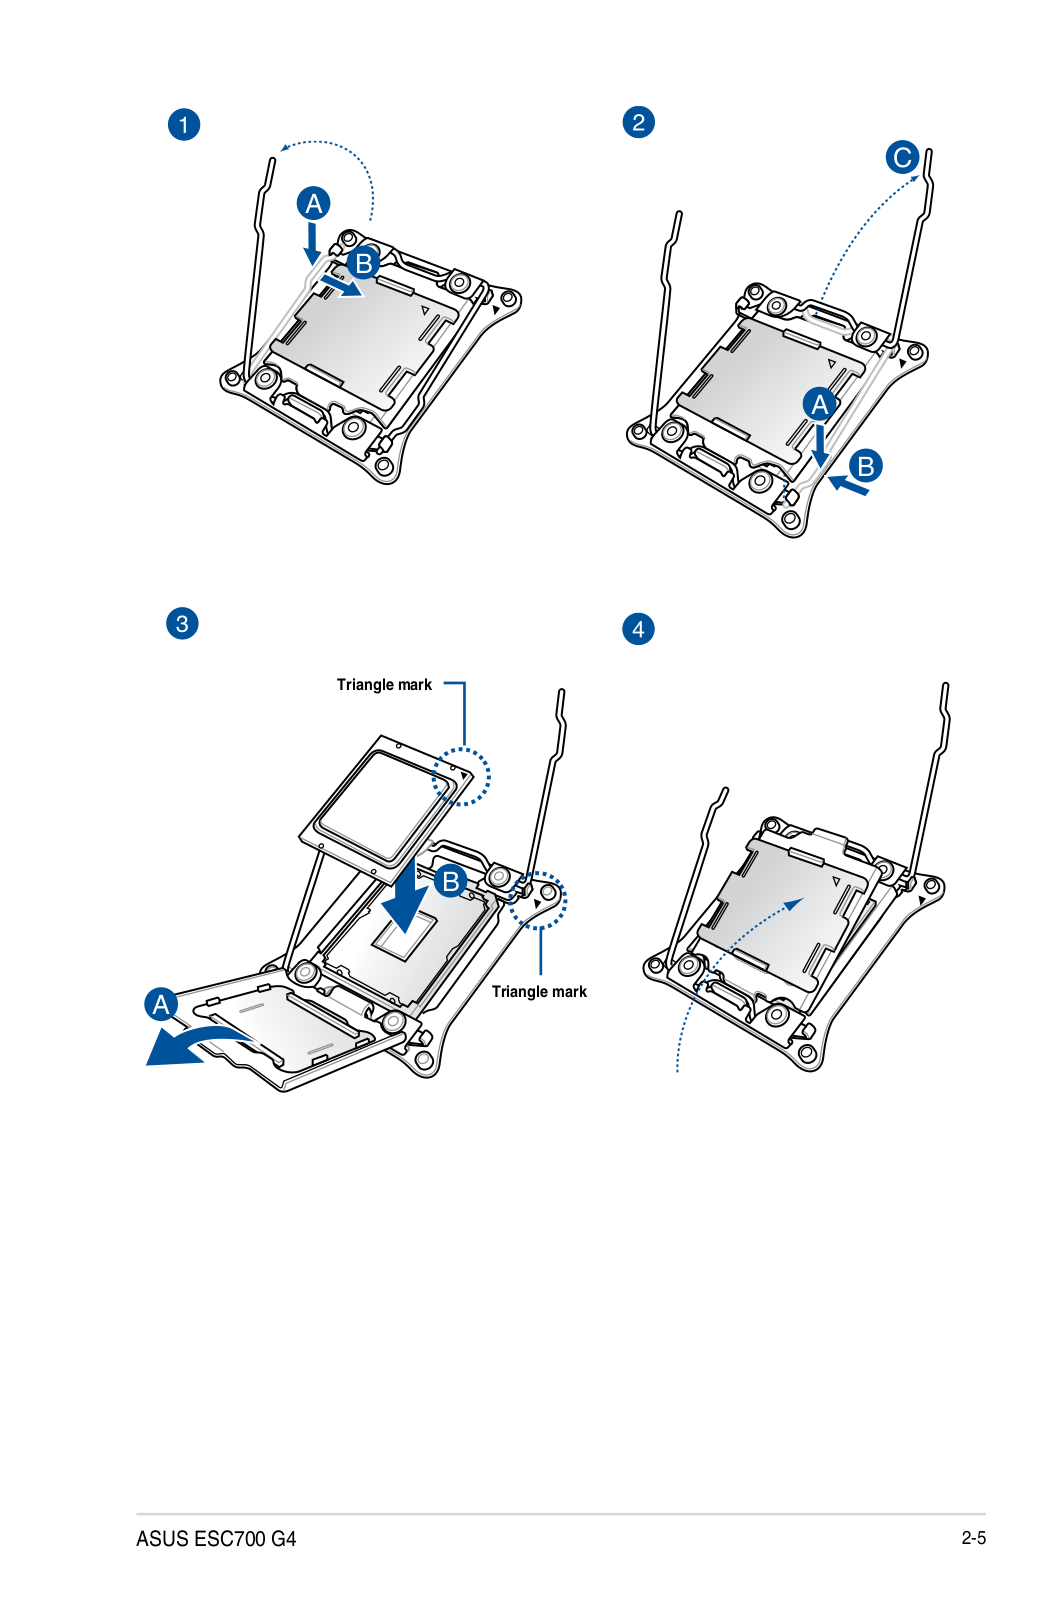
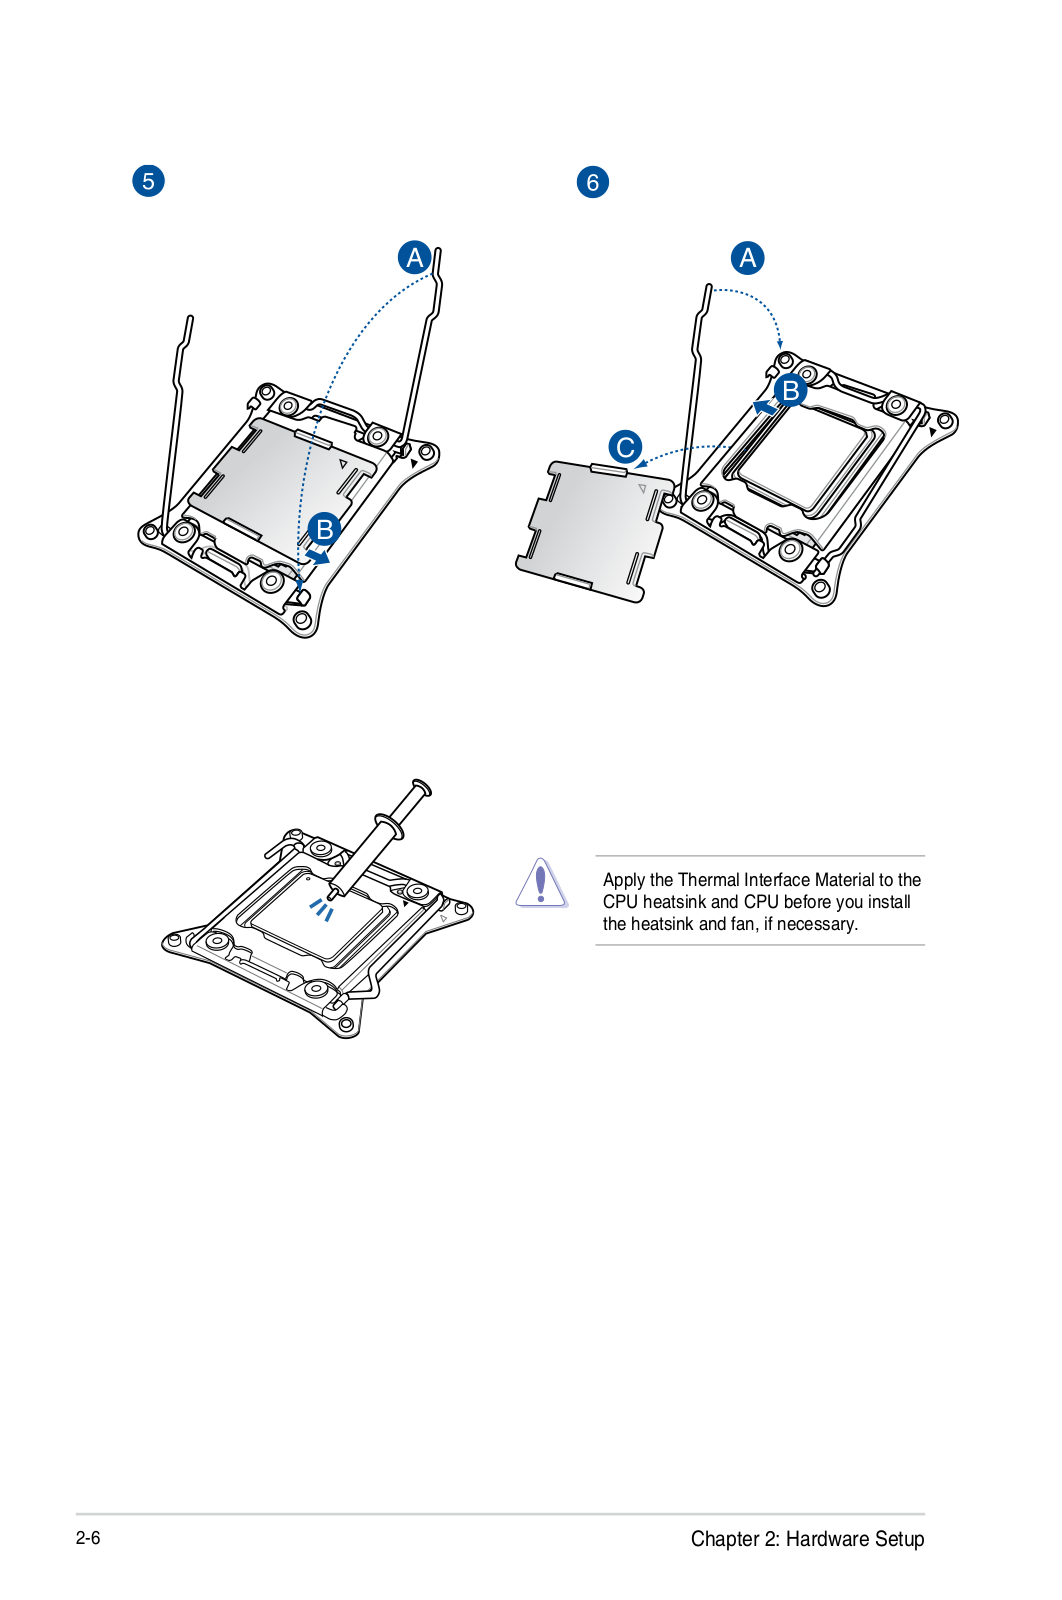
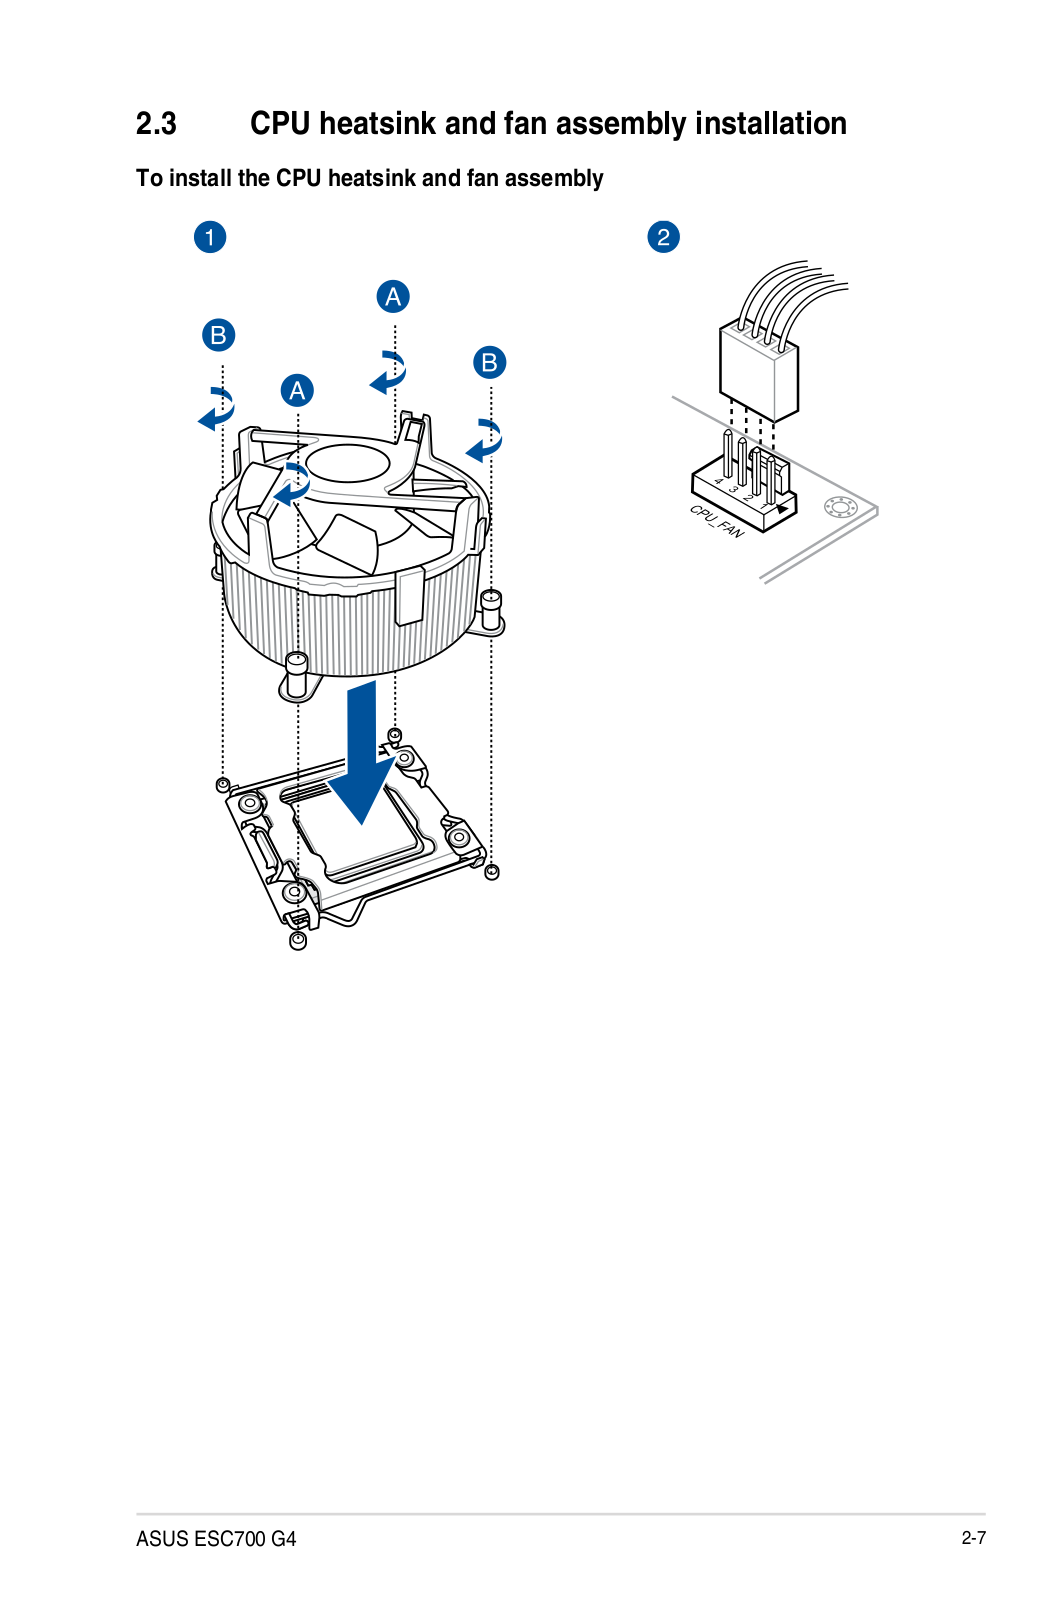
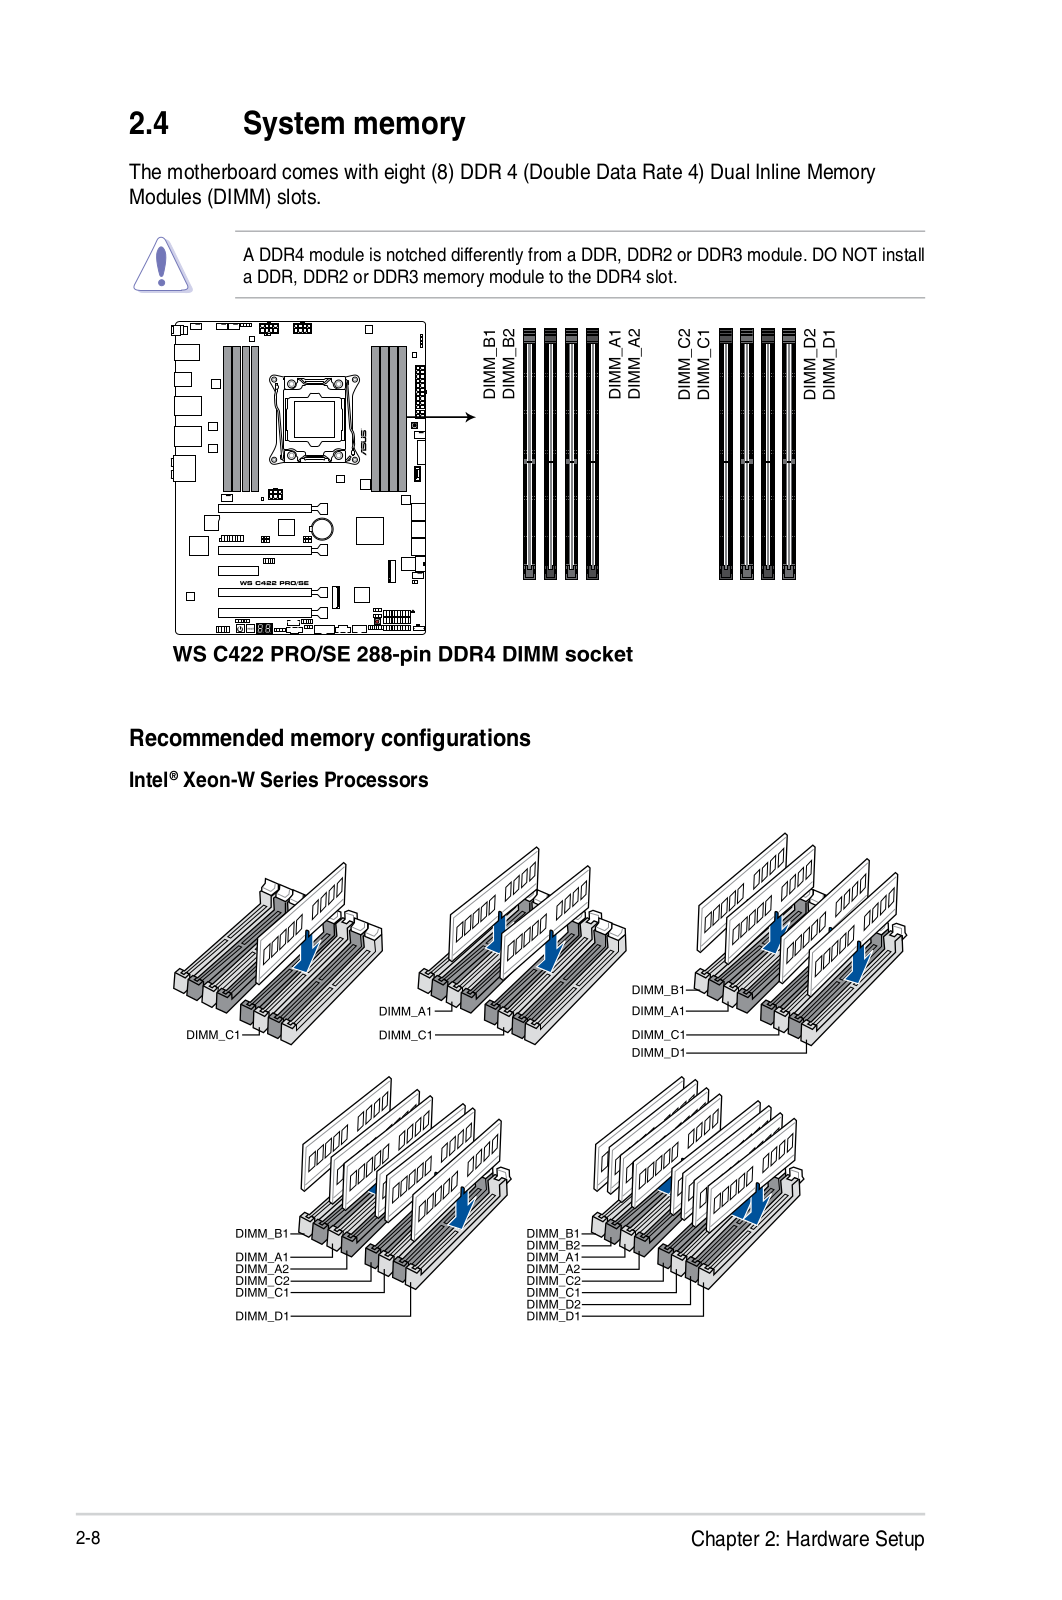
ESC700 G4
Service Manual
130 pgs
13.41 Mb
0
Table of contents
Loading...
ASUS ESC700 G4 Service Manual
...
ASUS Service Manual
Download
Specifications and Main Features
Frequently Asked Questions
User Manual
Download
Loading...
+
100
hidden pages
Unhide
You need points to download manuals.
1 point = 1 manual.
You can buy points or you can get point for every manual you upload.
Buy points
Upload your manuals
 Loading...