


1
Overview
The Marvell RAID Utility (MRU) is a browser-based graphical user interface (GUI)
tool for the Marvell RAID adapter. It supports IO Controllers (IOC) and
RAID-On-Chip (ROC) Controllers. RAID technology allows you to create arrays and
virtual disks using one or more physical disk drives in combination in order to
achieve increased disk fault tolerance and improved performance.
The Marvell RAID adapter supports the following RAID levels:
• RAI D 0 (striping). Mult iple drives can read and write data in parallel to increase
performance.
• RAI D 1 (disk mirroring). Two disks mirrored to each other.
Marvell SATA3 RAID Installation Guide
Installation................................................................................................................... 2
Launching the MRU in the Browser ..................................................................... 6
Local Adapter ............................................................................................................. 7
Remote Adapter ......................................................................................................... 7
Login Screen .............................................................................................................. 8
Create RAID ................................................................................................................ 9
Marvell RAID ROM .................................................................................................. 12
Create UEFI RAID Mode with Marvell 9172 ...................................................... 17
2
Installation
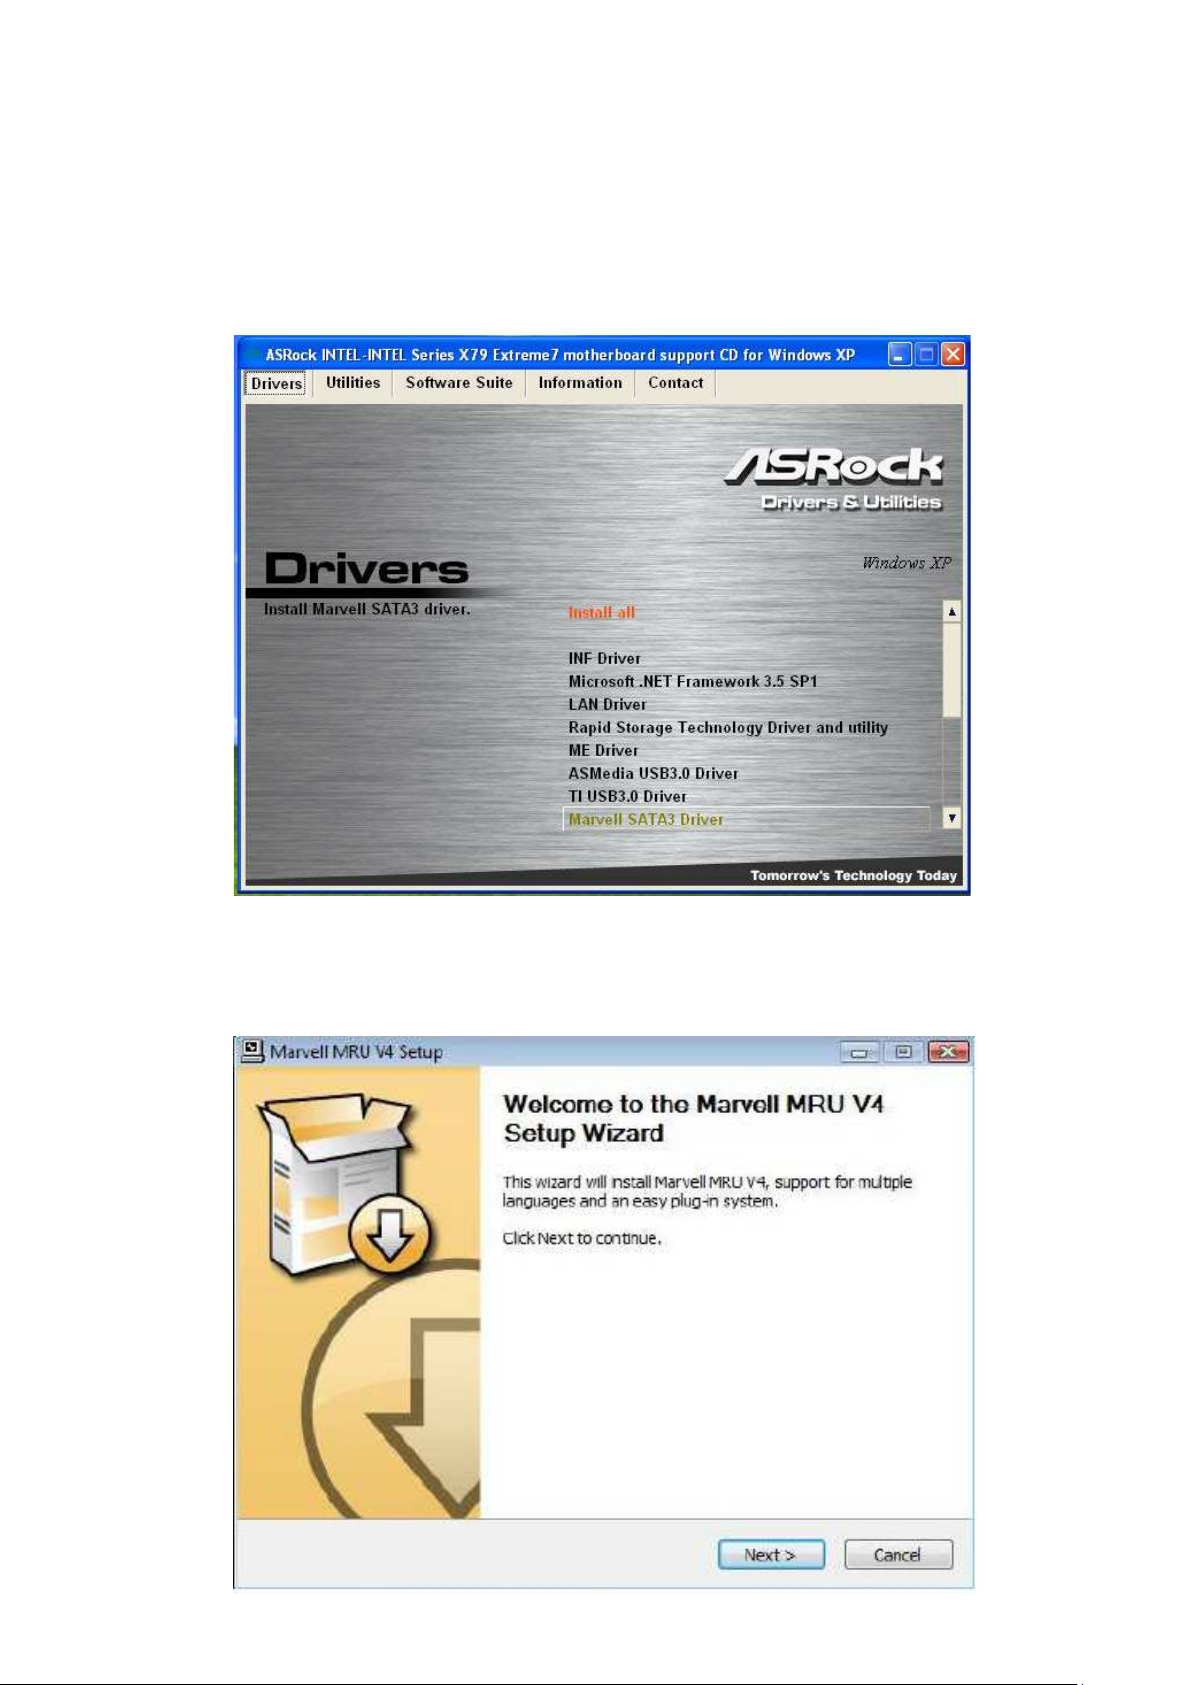
Step 1
Insert ASRock support CD to the optical drive. Click “Install all” or “Marvell SATA3 Driver”. The
system will start to auto-install Marvell SATA3 driver.
Step 2
Click “Next” at the welcome screen.

3
Step 3
The End User License Agreement (EULA) window appears. Read the EULA. Select “I accept”
and click “Next” to continue.
Step 4
Select the options you want for custom installation. Click “Next”.

4
Step 5
Choose Install Location win do w appear s . For an alternative location, click “Browse”, and then
select your desired location. Click “Install”.
Step 6
The software has been installed to your system. Click “Finish” to close the wizard.

5
Step 7
Restart your system. You will find the “Marvell RAID Utility” icon on the Windows task bar.
6
Launching the MRU in the Browser
After installing your MRU software, you can access and control both local and remote adapters
using the browser GUI. For remote access, you need to know the IP address of the system
with the remote adapter.
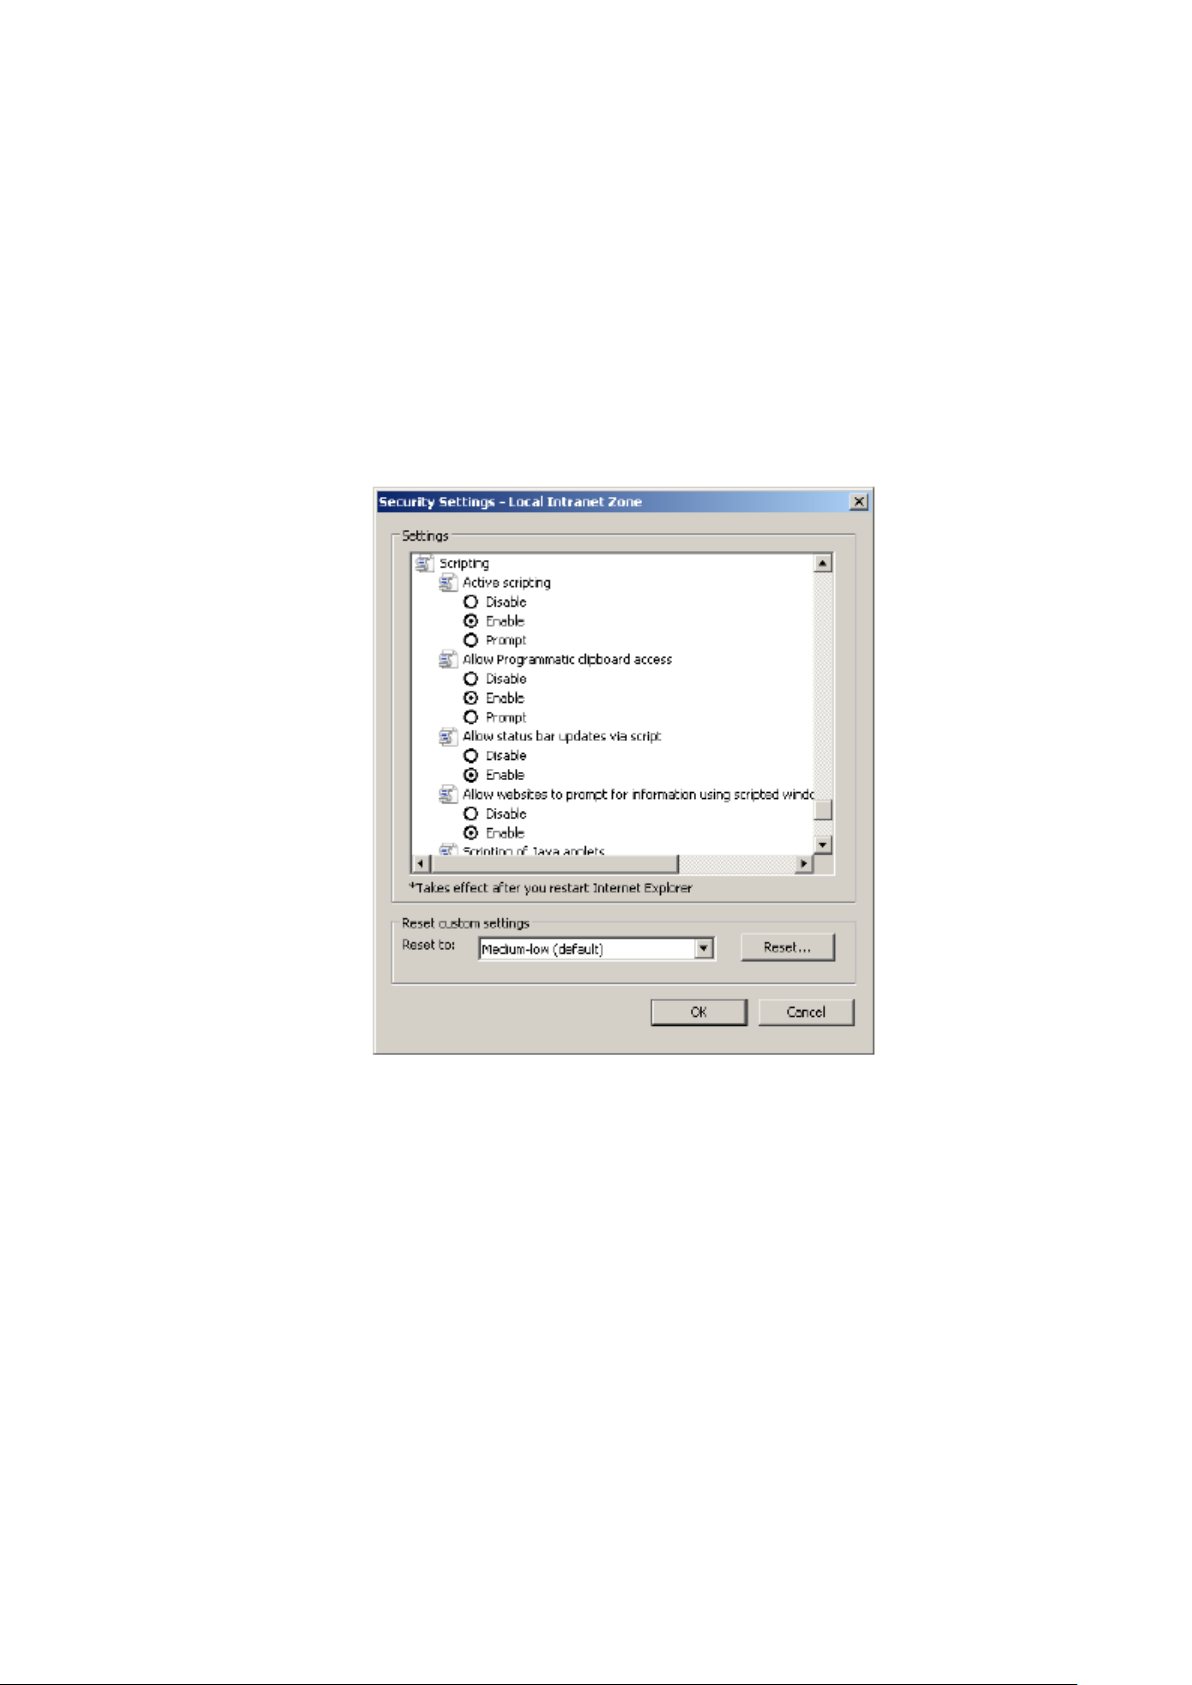
For the MRU to function properly in the browser, Active Scripting must be enabled in your
default browser.
To enable Active Scripting in Internet Explorer
1. Select Tools > Internet Options > Security > Custom Level.
2. Under Scripting and check the radio button for Active Scripting.
Note: Active Scripting is disabled by default in Internet Explorer distributed with
Windows 2008.
 Loading...