

Page 1

Contacting ArcSoft
Main:
ArcSoft,Inc. M-F 8:30AM - 5:30PM (PST)
46601 Fremont Blvd. Phone: 1-510-440-9901
Fremont, CA 94538 Fax: 1-510-440-1270
USA Email: feedback@arcsoft.com
Technical Support:
Phone:1-510-440-9901 M-F 8:30AM - 5:30PM (PST)
Fax: 1-510-440-1270 Email: support@arcsoft.com
Websites:
www.arcsoft.com
www.photoisland.com
Internet options:
PhotoPrinter can link you directly to ArcSoft’s PhotoPrinter webpage, where you can find the latest additions to your program
(e.g. templates, more frames), as well as new product info and customer support.Just click on the ArcSoft logo on any
PhotoPrinter screen.You will see another ArcSoft logo. Click on that logo to go to the webpage. There is also a “Web Services”
option in the Start Menu.Web Services contains helpful ArcSoft services, such as tips and technical support.You’ll find it’s easy
to stay in touch with ArcSoft!
How to Register:
Mail or fax the built-in registration form to receive technical support and information on new products and releases.
Windows 95, 98 or NT users: Go to Start/Programs/ArcSoft PhotoPrinter/Register & Upgrade.
ArcSoft Imaging Suite users: Please refer to the ReadMe documentation enclosed in the ArcSoft Imaging Suite.
Copyright 1998 by ArcSoft,Inc. All rights reserved.PhotoPrinter is a trademark of ArcSoft,Inc.
Kodak and Digital Science are trademarks of Eastman Kodak Company.
Avery and all Avery codes are registered trademarks of Avery Dennison Corporation.
All other brands and product names are trademarks or registered trademarks of their respectives holders .
Page 2
Instantly fit all your
Instantly fit all your
favorite photos
favorite photos
on a page
on a page
2.0SE
Print multiple pictures in multiple sizes on one page
Page 3

Software Licensing Agreement
The following is a legal software license agreement between you, the software end user, and ArcSoft, Inc. Carefully read this license
agreement before using the product. Using the product indicates that you have read this license agreement and agree to its terms.If
you do not agree to the terms, promptly return the package to the place where you purchased it within 10 days of the date you
acquired it for a full refund.
Grant of License.This license permits you to use one copy of the software included in this package on any single computer.For each
software licensee, the program can be in use on only one computer at any given time. The software is in use when it is either loaded
into RAM or installed into the hard disk or other permanent memory.
A multi-seat license permit fromArcSoft is required if the program is going to be installed on a network server for the sole purpose
of distribution by other computers, or if the program is going to be installed on and used by more than one computer.
Copyright. The software contained in this package is owned by ArcSoft and is protected by United States copyright laws,international
treaty provisions, and all other applicable national laws. The software must be treated like all other copyrighted materials (e.g. books
and musical recordings). This license does not allow the software to be rented or leased, and the written materials accompanying the
software (if any) may not be copied.
LimitedWarranty. ArcSoft,Inc., warrants that the software contained herein will perform substantially in accordance with the
accompanying documentation.No Other Warranties.ArcSoft disclaims all other warranties, either express or implied, including but
not limited to implied warranties of merchantability and fitness for a particular purpose, with respect to the Software,the
accompanying written materials, and any accompanying hardware (if any).
No Liability for Consequential Damages. In no event shall ArcSoft or its suppliers be liable for any damages whatsoever
(including but not limited to damages for loss of business profits,business interruption, loss of business information, or any other
pecuniary loss) which results from an inability to use this software, even if ArcSoft,Inc. has been advised of the possibility of such
damages. Because some states/jurisdictions do not allow the exclusion or limitation of consequential or incidental damages,
the above limitations may not apply to you.
U.S.Government Restricted Rights. The Software and documentation are provided with Restricted Rights. Use,duplication,
or disclosure by the U.S. Government is subject to restrictions as set forth in subparagraph (c)(1)(ii) of the Rights in Technical
Data and Computer Software clause at DFARS 252.227-7013 or subparagraphs (c)(1),(2), and (3) of the Commercial Computer
Software - Restricted Rights at 48 CFR 52.227-19, as applicable, and any amendments thereto.
The manufacturer is ArcSoft, Inc., 46601 Fremont Blvd., Fremont,CA 94538.
If this product was purchased in the United States, this Agreement is governed by the laws of the state of California;
otherwise,local laws may apply.
Page 4

PhotoPrinter 2.0 SE Quick Start Guide
Table of Contents:
INTRODUCTION
Welcome to PhotoPrinter.................................................... . . . . . . . . . . . . . . . . . . . . . . . . ..3
System Requirements.....................................................................................3
Installing and Starting PhotoPrinter.............................................................3
GETTING ACQUAINTED
Quick Start Tutorial................................................................... . . . . . . . . . . . . . . . . . . ..4
Navigation Diagram..................................................................... . . . . . . . . . . . . . . . . . 4
USING PHOTOPRINTER
Main Preview Screen..................................................................................... 5
Associated Screens..........................................................................................6
- Album Manager Screen.................................................... . . . . . . . . . . . . . . . . . . . .7
- Crop Screen........................................................................... . . . . . .. . . . . . . . .7
- Edit Screen......................................................................... . . .. . . . . . . . . . . . . . . .7
2
Page 5

PhotoPrinter 2.0 SE Quick Start Guide
3
INTRODUCTION
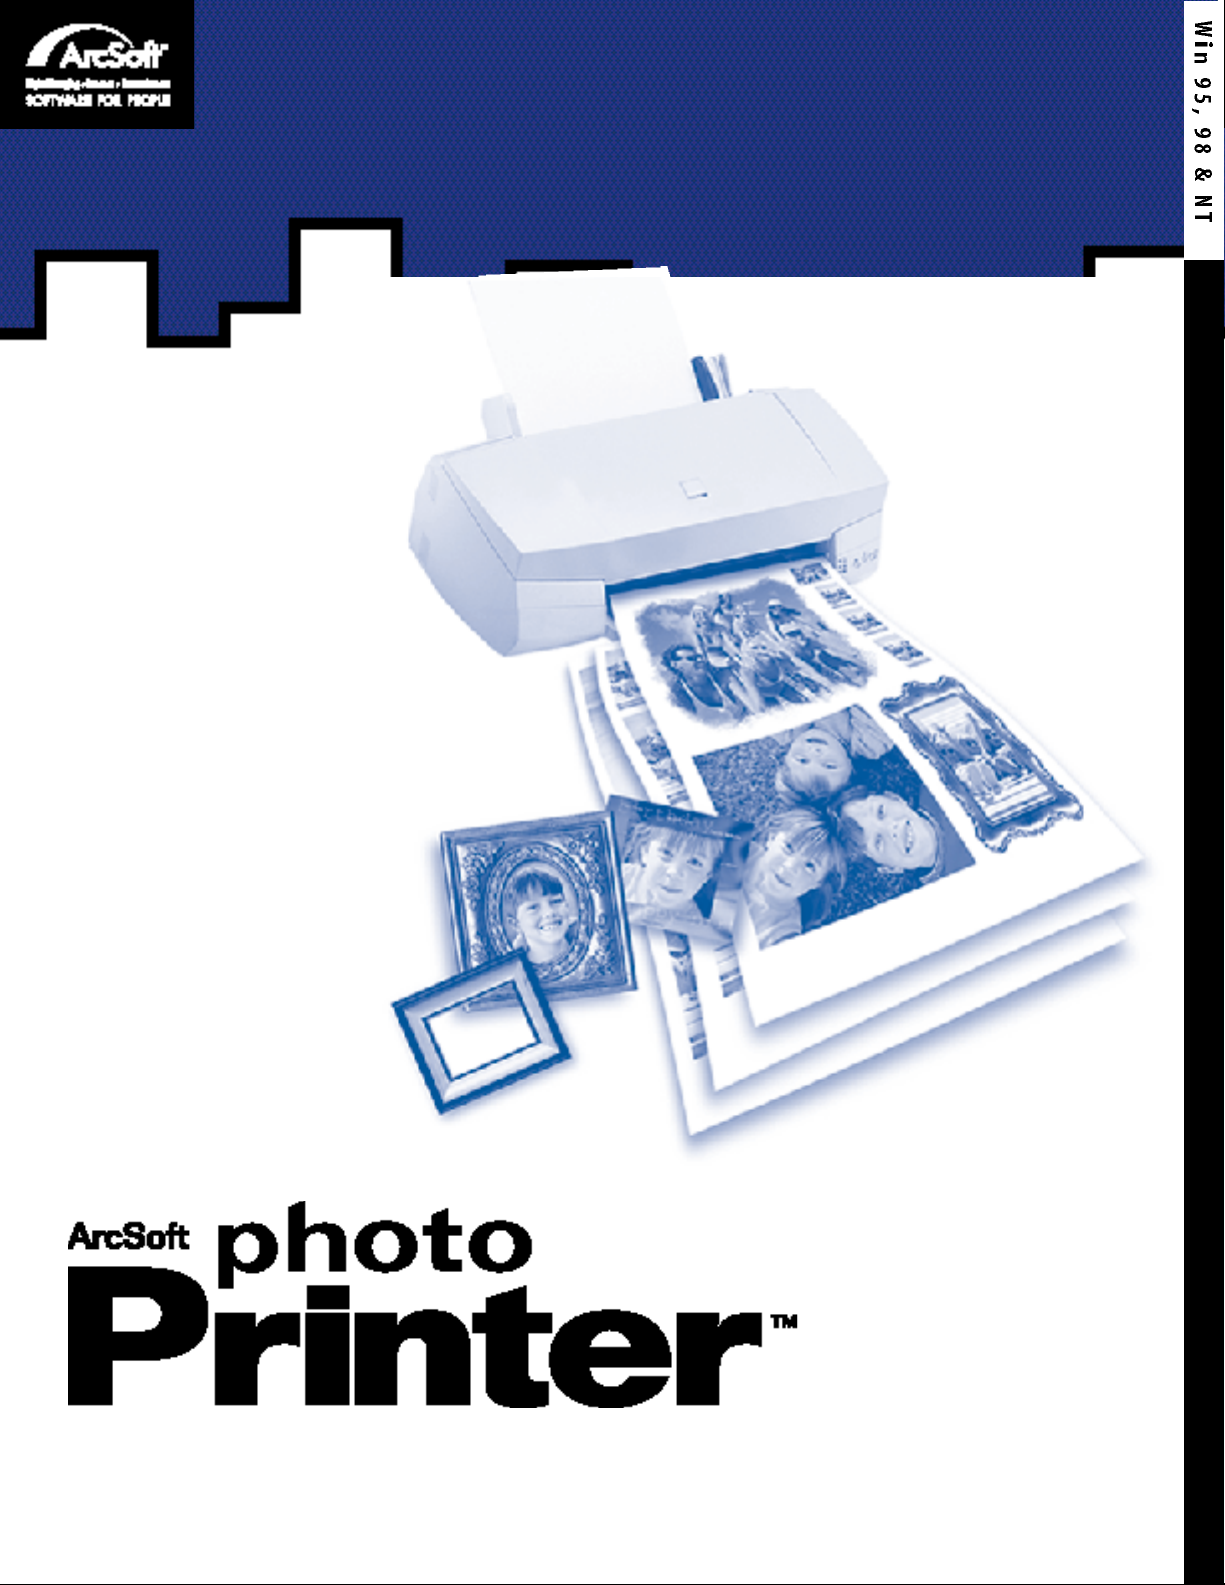
Welcome to ArcSoft PhotoPrinter 2.0 SE, where printing digital images has never been easier! This 32-bit program is a versatile
printing utility that lets you quickly print multiple copies of an image or several different images on a single sheet of paper.It’s as
simple as opening your image, selecting from an assortment of templates and clicking Print!
Special features include:
• Fun,easy-to-use interface screens to guide you through your projects
• TWAIN-compliance for importing images from digital cameras and scanners
• ArcSoft’s exclusiveAlbum Manager for organizing your digital photos
• Image editing tools for cropping,rotating,color adjustment
• Support for KODAK DIGITAL SCIENCE Inkjet Photo Paper Templates
• Support forAvery products
• Support for popular image file formats including BMP, TIF, JPG, GIF,
PCD (read only), PCX, TGA and FlashPix
System Requirements
• Windows 95, 98 or NT
• CD-ROM drive for installation
• 486-based PC (Pentium recommended)
• VGA monitor w/16-bit color (or better) display
• 12 MB hard disk space
• 16 MB RAM (32 MB recommended)
• Mouse
Installing and Starting PhotoPrinter
Windows 95, 98 and NT users: To install, insert the PhotoPrinter CD in your CD-ROM drive.Click Start/Run and type D:\Setup.exe
(where“D”is your CD-ROM drive). Click OK. Follow the instructions on the screen. To start, click Start/Programs. Go to the ArcSoft
PhotoPrinter folder and click PhotoPrinter.(To uninstall, click Start/Programs. Go to the PhotoPrinter folder and click Uninstall.)
Page 6

PhotoPrinter 2.0 SE Quick Start Guide
GETTING ACQUAINTED
Quick Start Tutorial
In addition to this Quick Start Guide, PhotoPrinter provides you with online Help which can be accessed by clicking the online
Help icon at the top right corner of any screen. Online Help includes a Quick Start Tutorial that leads you through a sample
project, as well as visual help to provide a quick viewing guide that makes learning the program screens and controls
as easy as the click of your mouse!
Help Index Screen
4
Navigation Diagram
The following diagram shows how each of PhotoPrinter’s five interface screens relate to one another.As you can see, the Main
Preview Screen acts as your “home base”. From the Main Preview Screen, you have access to all of PhotoPrinter’s functionality.
Album Manager Screen
Main Preview Screen - your "home base"
Crop Screen
Edit Screen
Page 7

PhotoPrinter 2.0 SE Quick Start Guide
5
USING PHOTOPRINTER
Main Preview Screen
The Main Preview Screen is the introductory point to PhotoPrinter and your “home base”.It contains buttons that let you quickly
access the Album Manager,Crop,and Edit. The Main Preview Screen is where you may select a print layout,preview and arrange
your page for printing,select printer settings and set the number of copies you wish to print.
Page Preview Window
Control Buttons
Get Photos
Crop Photo
Edit Photo
Clear Page
Template Menu
Template Preview Window
Setup
Print
Copies(+/-)
Cells
Information Bar
Print
Control
Buttons
Page Preview Window
This window gives you a preview of how your printed page will look. It functions as a page layout area where you can copy an image
from one cell to another by dragging and dropping. You can also right-click on an image to take advantage of the Rotate, Cut,Copy
and Paste options. Images can be originals or ones you have cropped, or edited.
Cell
A cell is one of the rectangular areas in a template that can contain a single image.
Size Adjuster
This tool, to the right of the Information Bar, can be used for adjusting the size of the white space between images
along with the image size.
Information Bar
By holding your cursor over a cell, the Information Bar will display the size of the image contained in that cell. If the cell is blank,
the bar will display the size of the cell.
Template Menu
This menu allows you to choose from a variety of template categories (e.g. Landscape, Portrait, One-Size and Mixed). Using the
down arrow button lets you view and select a category. Once the category is selected, the corresponding templates will be shown in
Page 8

PhotoPrinter 2.0 SE Quick Start Guide
the Template Preview Window.See online Help to learn more about template categories.
Template Preview Window
This window shows the available templates (up to five at a time) for the selected template category. To view more templates,
use the up/down arrow buttons.To choose a template,simply click on it. The selected template will be highlighted and
will appear in the Page Preview Window.
Get Photos Button
This button takes you to the Album Manager Screen where you can manage image files and select them for printing.
See “Album Manager Screen” on page 7.
Crop Photo Button
This button brings your selected image to the Crop Screen where you can trim it to meet your needs. See “Crop Screen” on page 7.
Edit Photo Button
This button brings your selected image to the Edit Screen where you can enhance or modify the image with special effects.
See “Edit Screen” on page 7.
Clear Page Button
This button removes all images from the Page Preview Window, allowing you to begin a new project.
6
Control Buttons
These four buttons are displayed throughout all PhotoPrinter screens.
Tips - let you turn ToolTips off/on. (ToolTips identify the name of a button when your cursor pauses over it.)
Click once to turn off, click again to turn on.
Help - opens online Help. Click “Index” or “Search”to look up specific PhotoPrinter functions.
This is a great resource for learning more about the program!
Minimize - leaves PhotoPrinter running in the background
so you can work in other programs.
Exit - closes PhotoPrinter completely.
Printer Control Buttons
The following buttons control your printer output:
• Print Setup - gives you standard Windows printing options: printer type,
paper size and layout orientation (portrait or landscape).
• Copies (+/-) - lets you set the number of copies you want to print.
• Print - begins the print job.
Associated Screens
In order to move from the Main Preview Screen to other screens, and vice-versa,
you will need to have a good understanding of how to use the Save As, OK
and Cancel buttons.Please read the following:
SAVE AS - opens the standard Windows SaveAs dialog box so you can save your image with the changes you’ve made.
Note: If you want to keep the original, remember to save the modified image under a different name.
Page 9

PhotoPrinter 2.0 SE Quick Start Guide
7
OK - returns you to the Main Preview Screen and places the selected image, with changes you’ve made,
in the Page Preview Window.
Note: OK will not permanently save the changes you’ve made to an image. To keep any changes,
you must first use Save As.
Cancel - returns you to the Main Preview Screen without applying or saving any of the changes made.
Album Manager Screen
Clicking the Get Photos button on the Main Preview Screen takes you to the Album Manager Screen where you can
select image(s) for printing. Here you will find buttons that make it easy to create new photo albums,delete thumbnails
from your albums and acquire photos from TWAIN-compliant cameras or scanners. See online Help to learn more about
creating and naming albums.
Note:AnAlbum is made up of thumbnails, which are small representations of image file.
Crop Screen
Clicking the Crop Photo button on the Main Preview Screen brings your selected image to the Crop Screen. Here you
can trim your image, keeping just the portion you want to print. Simply use the Crop Menu arrow at the top left corner
to choose between Landscape and Portrait crop orientations. Use the scrollbar to browse the available choices,and then
click on your desired choice. Adjust the position and scale of the crop selection box with your cursor. When you like
what you see, click the OK button to automatically return to the Main Preview Screen with the newly cropped image. See
online Help to learn more about cropping.
Edit Screen
Clicking the Edit Photo button on the Main Preview Screen brings your selected image to the Edit Screen.Here you can
enhance your image instantly.Just use the Edit Menu arrow at the top left corner to choose between Enhancements and
Effects. Use the scrollbar to browse available edit and enhancement options, and then click on your desired choice.
Adjust the intensity of the selected enhancement or effects by holding down the +/- slider.When you like what you see,
click the OK button to automatically return to the Main Preview Screen with the modified image.See online Help to
learn more about edit options.
Page 10

Notes:
8
 Loading...