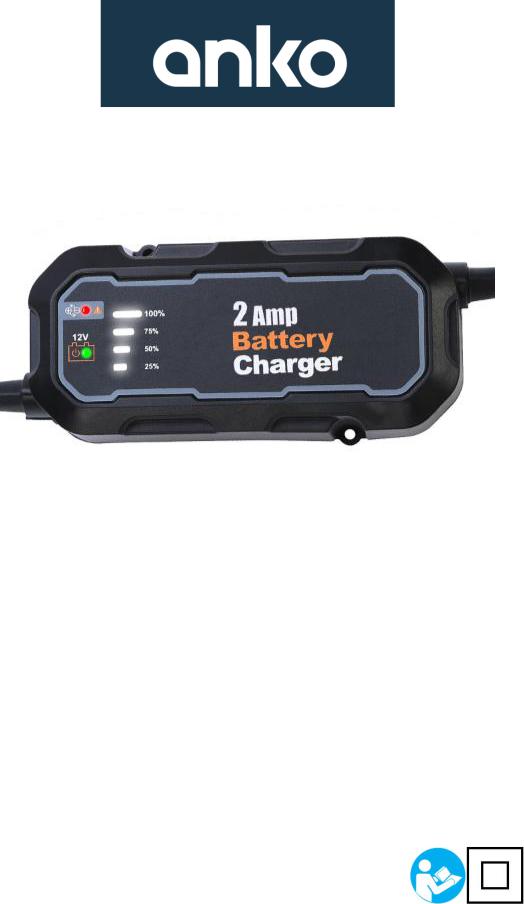
Anko RH1302 User Manual

Instruction Manual for Battery Charger
RH1302 (KC: 42781448)
Rated Input: AC 230-240V
Frequency: 50-60Hz
Input Power: 24W
Rated Output: DC 12V 2A
Not for commercial or industrial use
GENERAL SAFETY WARNINGS
This appliance is not intended for use by children or by persons with reduced physical, sensory or mental capabilities, or lack of experience and knowledge, unless they have been given supervision or instruction concerning the use of the appliance by a person responsible for their safety.
Children should be supervised to ensure that they do not play with the appliance.
If the supply cord is damaged, it must be replaced by the manufacturer, its service agent or similarly qualified persons, in order to avoid a hazard.
Do not use to charge non-rechargeable batteries.
During charging, batteries must be placed in a well-ventilated area.
After charging, disconnect the battery charger from the supply mains. Then remove the chassis connection and then the battery connection.
The battery terminal not connected to the chassis has to be connected first. The other connection is to be made to the chassis, remote from the battery and fuel line. The battery charger is then to be connected to the supply mains.
The battery charger is designed to charge a single 12 volt automotive lead acid battery in the capacity range of between 15-80 amp hours.
The charger must work on AC 230-240V Voltage.
Do not allow the red(+) and black clip(-) to touch. This could cause the charger to short circuit.
Always store the charger in a safe, dry location.
Examine the battery charger regularly for damage, especially the cord, plug and enclosure. If the battery charger is damaged, it must not be used until it has been repaired.
Caution: Not suitable to be used by children.
OPERATING INSTRUCTIONS
Please read these instructions carefully before use.
This battery charger is designed to charge 12 volt lead acid batteries. This charger is simple to use and operate and an easy solution to charge your flat battery in your car, boat or motorcycle. Built-in internal protections such as the thermal overload switch, cuts off the current in an event of a short circuit overload or reversed polarity connection to the battery. This makes this unit safe to use as well as the addition of double insulation for added safety.
Please ensure that you read all important safety information and operating instructions before using this charger.

LED METER
The visual display meter has 6 visible LEDs (Light Emitting Diodes) that illuminate to register the connected, charging and charged status of your battery.
Fault indicator
Battery capacity
Power indicator
CHARGING 12 VOLT BATTERIES
Note: the output leads are fitted with colored insulated clips for easy identification of polarity – RED(+) for POSITIVE and BLACK(-) for NEGATIVE
1.Ensure the power point is switched OFF before connecting or disconnecting the charger to a battery.
2.If possible, remove the battery from the vehicle. If not, ensure that the battery leads are disconnected to protect the electronic systems within the vehicle.
3.Remove the battery filler caps and check the liquid in the cells, topping up with distilled water if required to ensure the liquid is at least 6mm above the top of the plates. Note that the filler caps should not be replaced until the charging process has been completed. This will aid in the dispersion of battery gasses during the charging process.
4.Ensure the polarity is correct and connect the clips to the battery terminals assuring there is a firm connection. Once connected if the fault indicator light up to red. Please check the below:
Polarity check – ensure the positive (RED) clip is connected to the positive (+) battery terminal
Check the contact between the terminals and the clips to ensure sufficient contact is made
Note that your battery may be completely flat or have damaged cells meaning no charge can be applied
5.Once the battery charger is plugged into a regular 240V household power point, the power indicator will turn on the green light.
6.Once the battery capacity indicator light is illuminated, the battery is charged.
 Loading...