

Page 1

Altos S300
Rail Kit
Installation Guide
Revision 1.0
September 2001
Page 2
Rail Kit Installation Instructions
Before an enclosure can be installed in an equipment rack,
the rail kit must be fitted to the equipment rack. The
following procedures describe how to fit the rail kit and
install the enclosure.
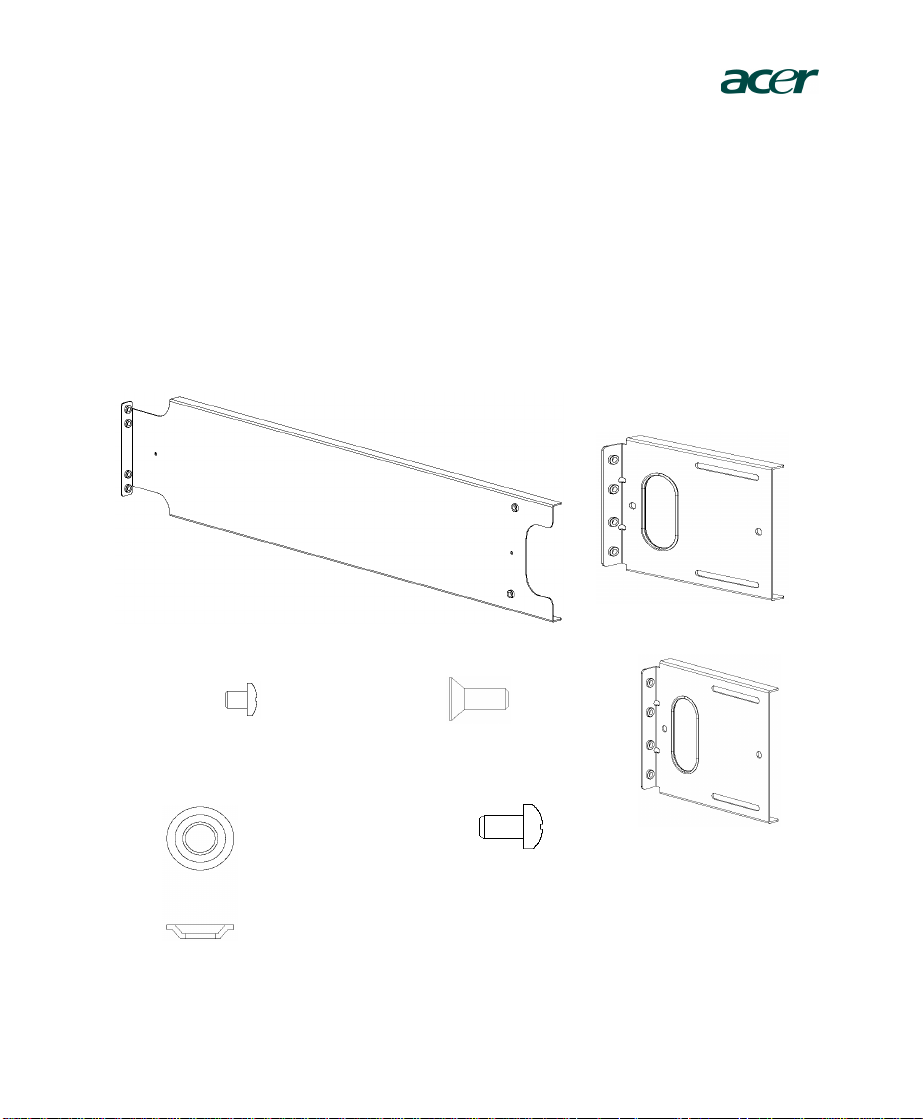
Rail Kit Contents The rail kit should contain the fol lowing components:
2 x Front Rails
4 x Phillips SEMS Head Screw
10-32 x .31LG
8 x Conical Washer #10
Rail Kit Installation Instructions
2 x Rear Rails #1 ( long)
8 x Phillips Flat Head Screws
10 - 32 x .50LG
2 x Rear Rails #2 ( s hort)
2 x Phillips Truss Head Screws
10 - 32 x .75LG
2
Page 3

Installing the Rail
Kit
Once you have verified that all the components are present
in the rail kit, you are ready to begin the installation.
1. Select the location in the equ ip ment rack where the enclosure is
2. Depending on depth of th e equi pment rac k, sele ct rear rails #1 or
3. Connect the front rails to the rear rails using the Phillips SEMS
Rail Kit Installation Instructions
to be installed.
#2.
Head screws (10-32x.31), but do not tighten them as some horizontal adjustments may be required later.
3
Page 4

4. Fix the front rails to the front posts of the equipment rack and
secure in place using the Phillips Flat Head screws (10-32x.50)
and the conical washer (washer to the outside of the post).
5. Adjust the rear rails to fit the depth of the equipment rack (using
rear rails #1 or #2 as appropriate) by sliding them horizontally in
or out. Fix them to the re a r po sts o f the e q uip m ent ra ck u s in g th e
Phillips Flat Head screws (10-32x.50) and conical washers
(washer to the outside of the post).
6. Tighten the Phi llip s SEMS Head screws (10-32x.3 1) that fix the
front and rear rails togethe (see Step 2).
The rail kit is now fitted and the enclosure can be installed
in the equipment rack. The f ollowing section d escribes how
to install the enclosure.
Installing the Enclosure
With the rail kit fitted the enclosure is installed in the
equipment rack by following this procedure:
CAUTION: When installing or removing an equipment rack ,
remove all disk drives. It is recommended that you work with at
least one other person. These precautions are necessary to prevent
personal injury and damage to the en closure.
1. Remove all disk drives from the enclosure.
2. Slide the enclosure into the equipment rack (rail kit).
3. Secure the enclosure in position using the two Phillips Truss
4. Install the disk drives in the enclosure.
Rail Kit Installation Instructions
Head screws (10-32 x .75 LG, Black) through the bottom two fixing holes on the front of the enclosure.
4
 Loading...