

ZENEC Z-E7015S Installation Manual
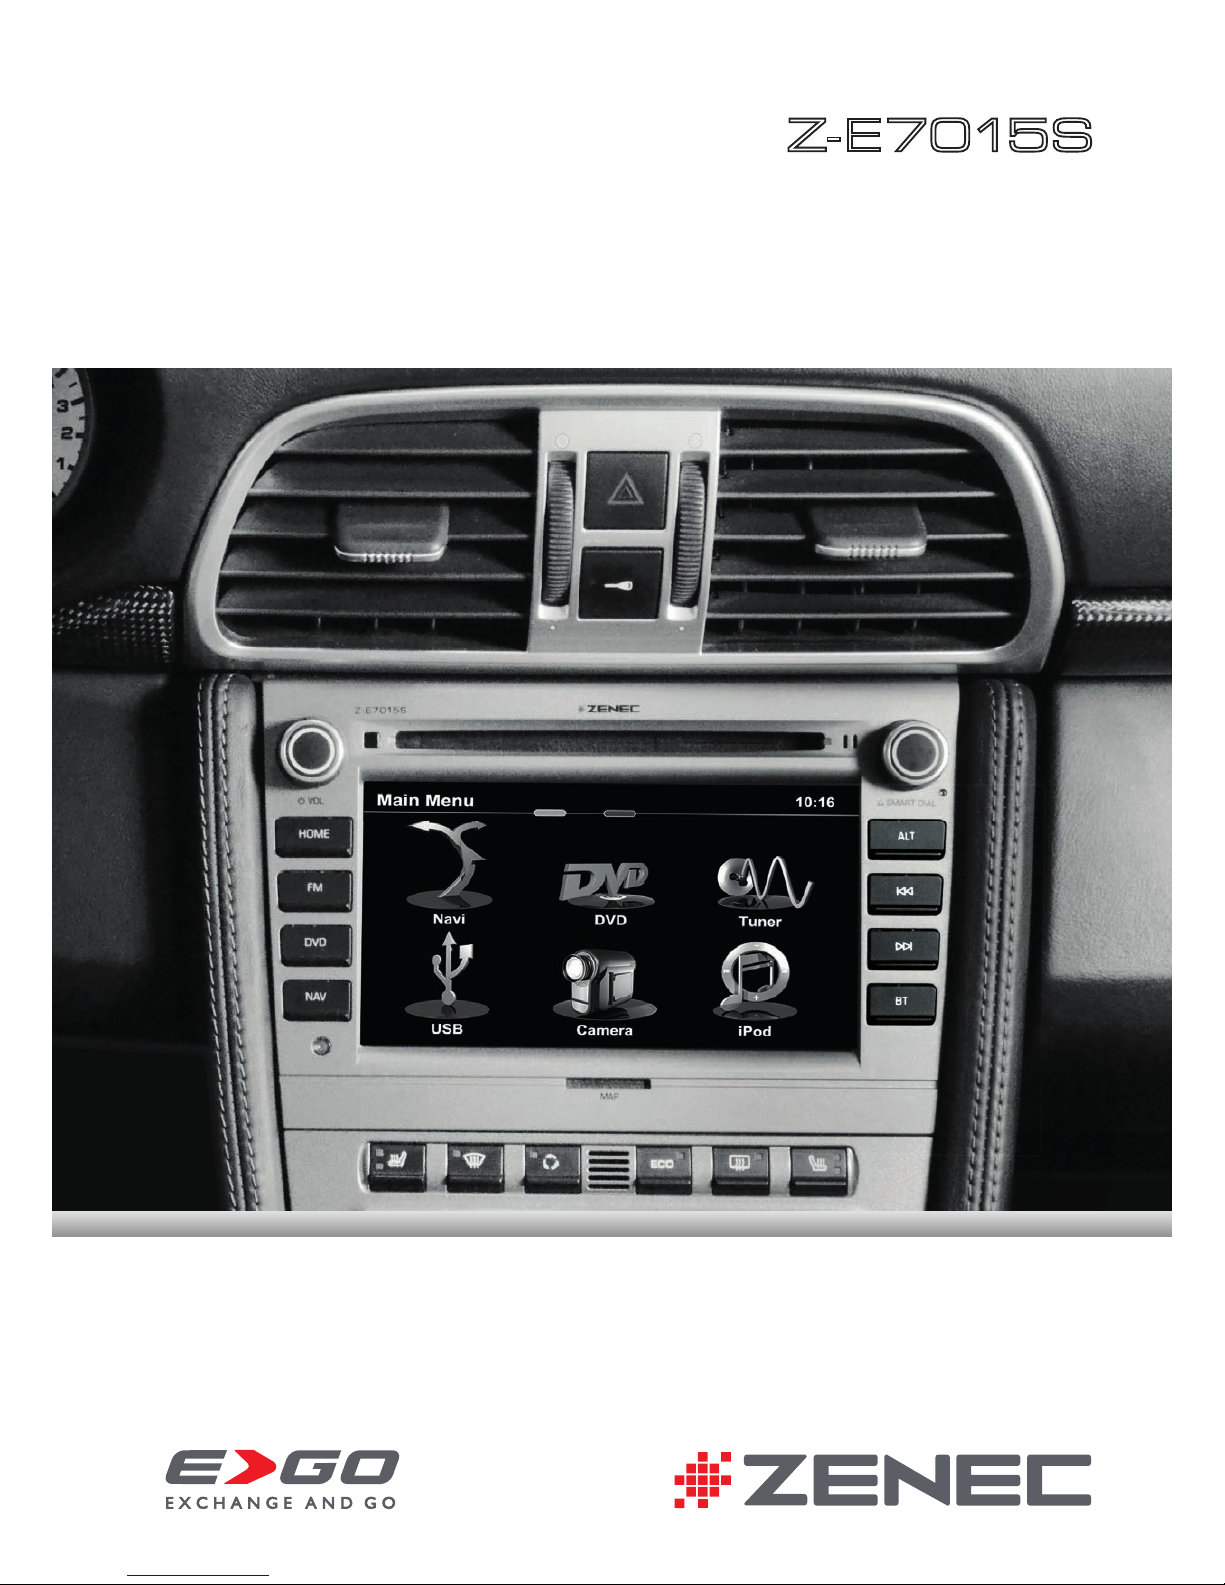
PORSCHE
Z- E 7 0 15 S
INSTALLATIONSANLEITUNG
DEVICE INSTALLATION MANUAL
Bitte Beachten / Please Note
➜ Eine einwandfreie Funktion des Gerätes kann nur
dann gewährleistet werden, wenn Sie das im Lieferumfang
enthaltene Zubehör verwenden.
➜ Am beiliegenden originalen Hauptanschlusskabel dürfen
keine Veränderungen irgendwelcher Art vorgenommen
werden.
➜ Achten Sie bei der Installation darauf, dass die
verschiedenen Anschlusskabel und Zubehörteile nicht
durch scharfe Kanten beschädigt oder geknickt werden.
Verwenden Sie keine Gewalt während der Montage.
➜ Die im Text in Klammern stehenden Nummern (No.x) sind
den im Lieferumfang befindlichen Zubehörteilen zugeordnet.
Beachten Sie zur besseren Identifikation die Packliste mit
den entsprechenden Abbildungen.
➜ Achten Sie vor der finalen Montage des Gerätes darauf,
dass alle Steckverbindungen auf der Geräterückseite richtig
verbunden und fest eingerastet sind.
➜ Aktualisierungen der Gerätesoftware des Gerätes
werden mit einem USB-Datenträger installiert.
Das Gerät muss während der Montage mit dem im
Lieferumfang enthaltenen USB-Hub bestückt werden,
um zukünftige Software Updates zu gewährleisten.
➜ Bei Fahrzeugen mit dem originalen Navigationssystem
PCM 2.1. und integrierter SOS-Taste muss die externe Box
für die Freisprecheinrichtung stillgelegt werden.
➜ Achten Sie bei Fahrzeugen mit Lichtwellenleitertechnik
darauf, dass die Kabel nicht zu sehr gebogen oder geknickt
werden. Bei Nichtbeachtung kann eine Beschädigung des
Kabels resultieren.
➜ Bei Fragen oder Problemen wenden Sie sich an Ihren
ZENEC-Händler, bei dem Sie das Gerät gekauft haben.
➜ The flawless function of the device can only
be guaranteed, when the original accessories and wire
harnesses contained in the set are deployed as described in
this installation manual.
➜ Do not apply any modifications on the original wire
harness of device and vehicle.
➜ During device installation, pay proper attention not to
damage any of the wires, plugs or other parts. Avoid
applying excessive mechanical force especially when
pushing the unit back into the slot.
➜ There are numbers in side the parentheses (No.x), which
are dedicated to the acces sories, contained in the scope of
delivery. For a better i dentification, please pay attention to
the packing list with the co rresponding drawings.
➜ Please check if all plug-and-socket connections on the
rear of the device are properly seated before you insert
and fix the device in the console.
➜ MainSystem software updates of the device are
installed via a USB flash memory device.
The device thus requires fitting of the USB hub which is
included in delivery, to sustain future software updates.
➜ For vehicles with the original navigation system PCM 2.1
and integrated SOS button, the external hands-free box has
to be shut down.
➜ If your vehicle is equipped with fibre optic cable technology, pay proper attention not to bend the wires too much.
Non-observance may damage the cables.
➜ Please contact your authorized ZENEC dealer or the
distributor of the country, where you have purchased your
E>GO unit, if you have any technical problems or further
questions.
Das Fahrzeug ist mit einem Eigendiagnosegerät (DME) ausgestattet.
Um Fehlermeldungen und Fehlfunktionen (z.B. Antennensystem) zu vermeiden, muss vor Beginn der Montage
unbedingt der negative Pol der Fahrzeugbatterie abgehängt werden.
Montage / Installati on
This vehicle is equipped with a DME
system featuring self-diagnosis. To avoid
error codes in the DME and malfunctions
(e.g. antenna system), the GND wire
of the negative battery pole must be
disconnected before any wiring or installation work is started.
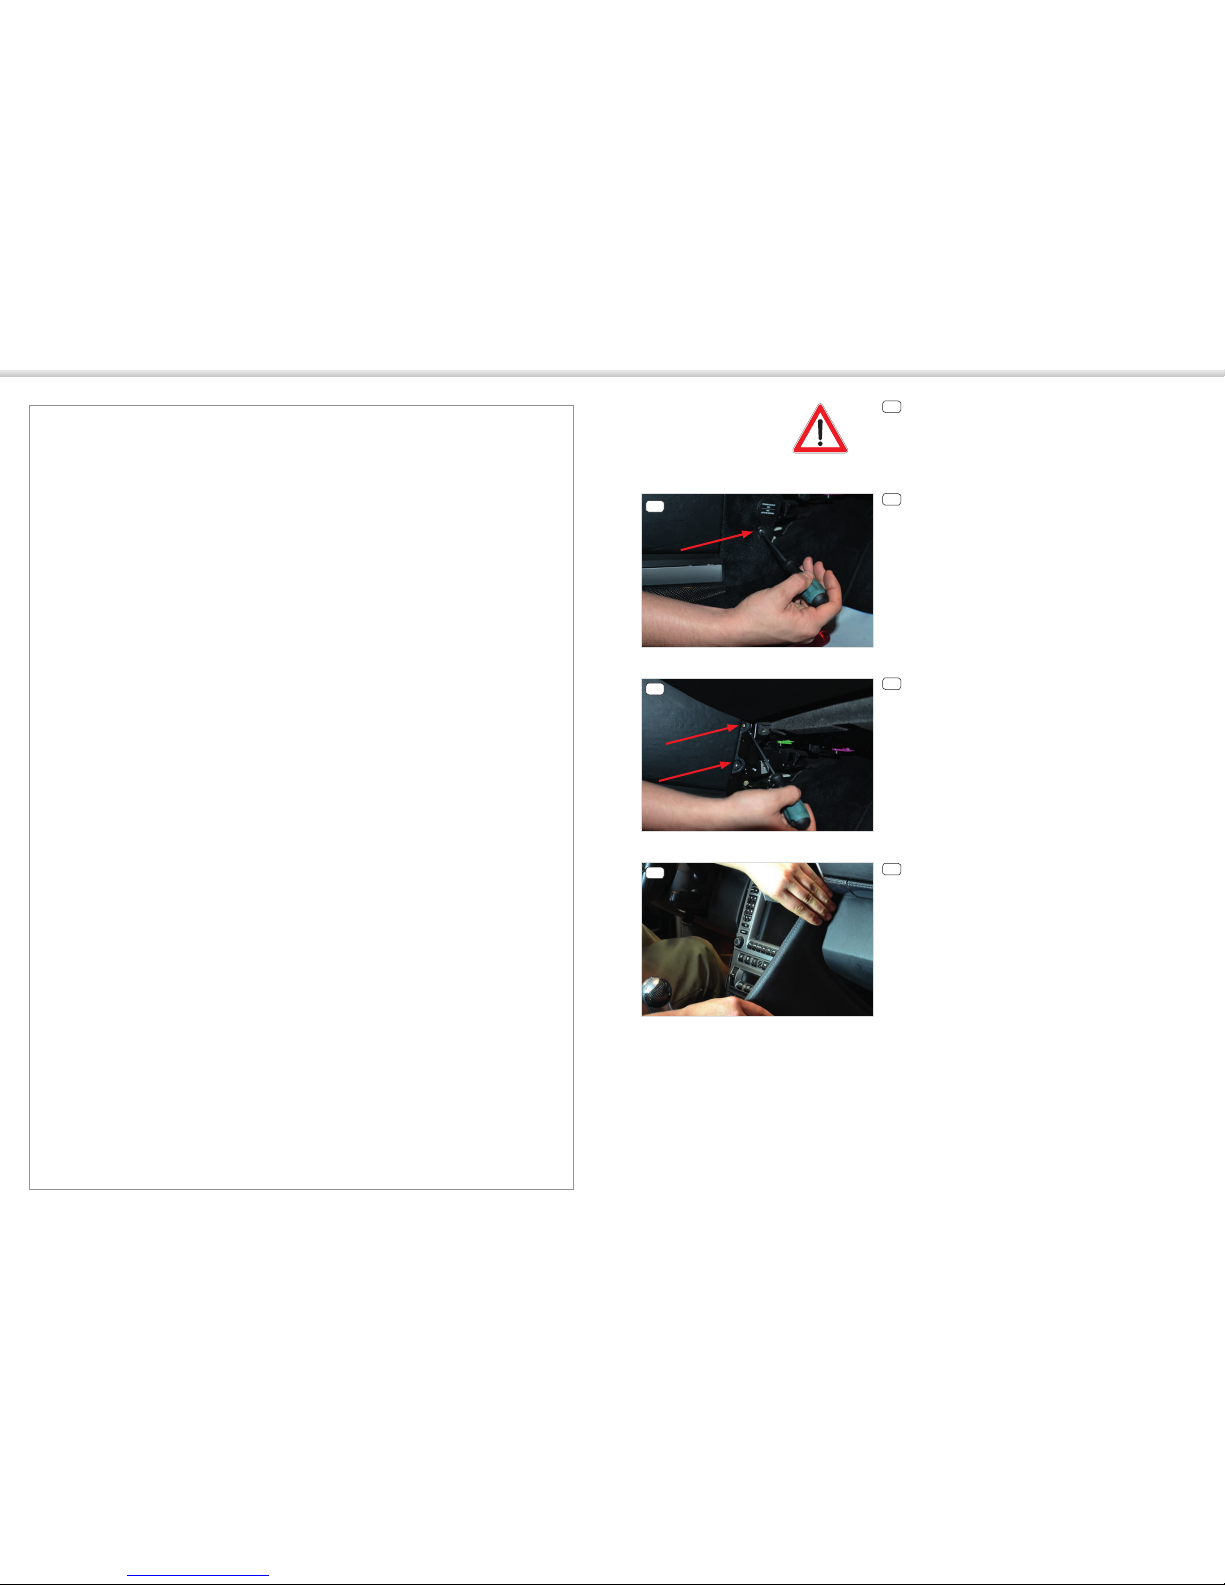
1
Entfernen Sie die sich hinter den
Seitenabdeckungen befindlichen Torxschrauben (TX25).
Remove the torx screws (TX25) behind
the side covers.
2
2
Entfernen Sie jeweils die Torxschraube
(TX20), um die hinteren Seitenabdeckungen im Fussraum der Fahrer- und Beifahrerseite zu demontieren.
Remove the torx screws (TX20) to disassemble the rear side covers on the floor
of the driver and passenger side.
3
3
You can now remove the panels on both
sides of the center console.
Sie können nun die Verkleidungen auf
beiden Seiten der Mittelkonsole entfernen.
4
4
 Loading...