

Yamaha YOB-411, YOB-410, YOB-411P, YOB-811, YOB-821 Owner's Manual
...
Thank you for choosing Yamaha. We
prepared this owner
’
s manual to inform
you on how to properly care for your
oboe.
Inside you will see examples of what you
should do to help keep your oboe playing
correctly and sounding its best.
– 2 –
– 3 –
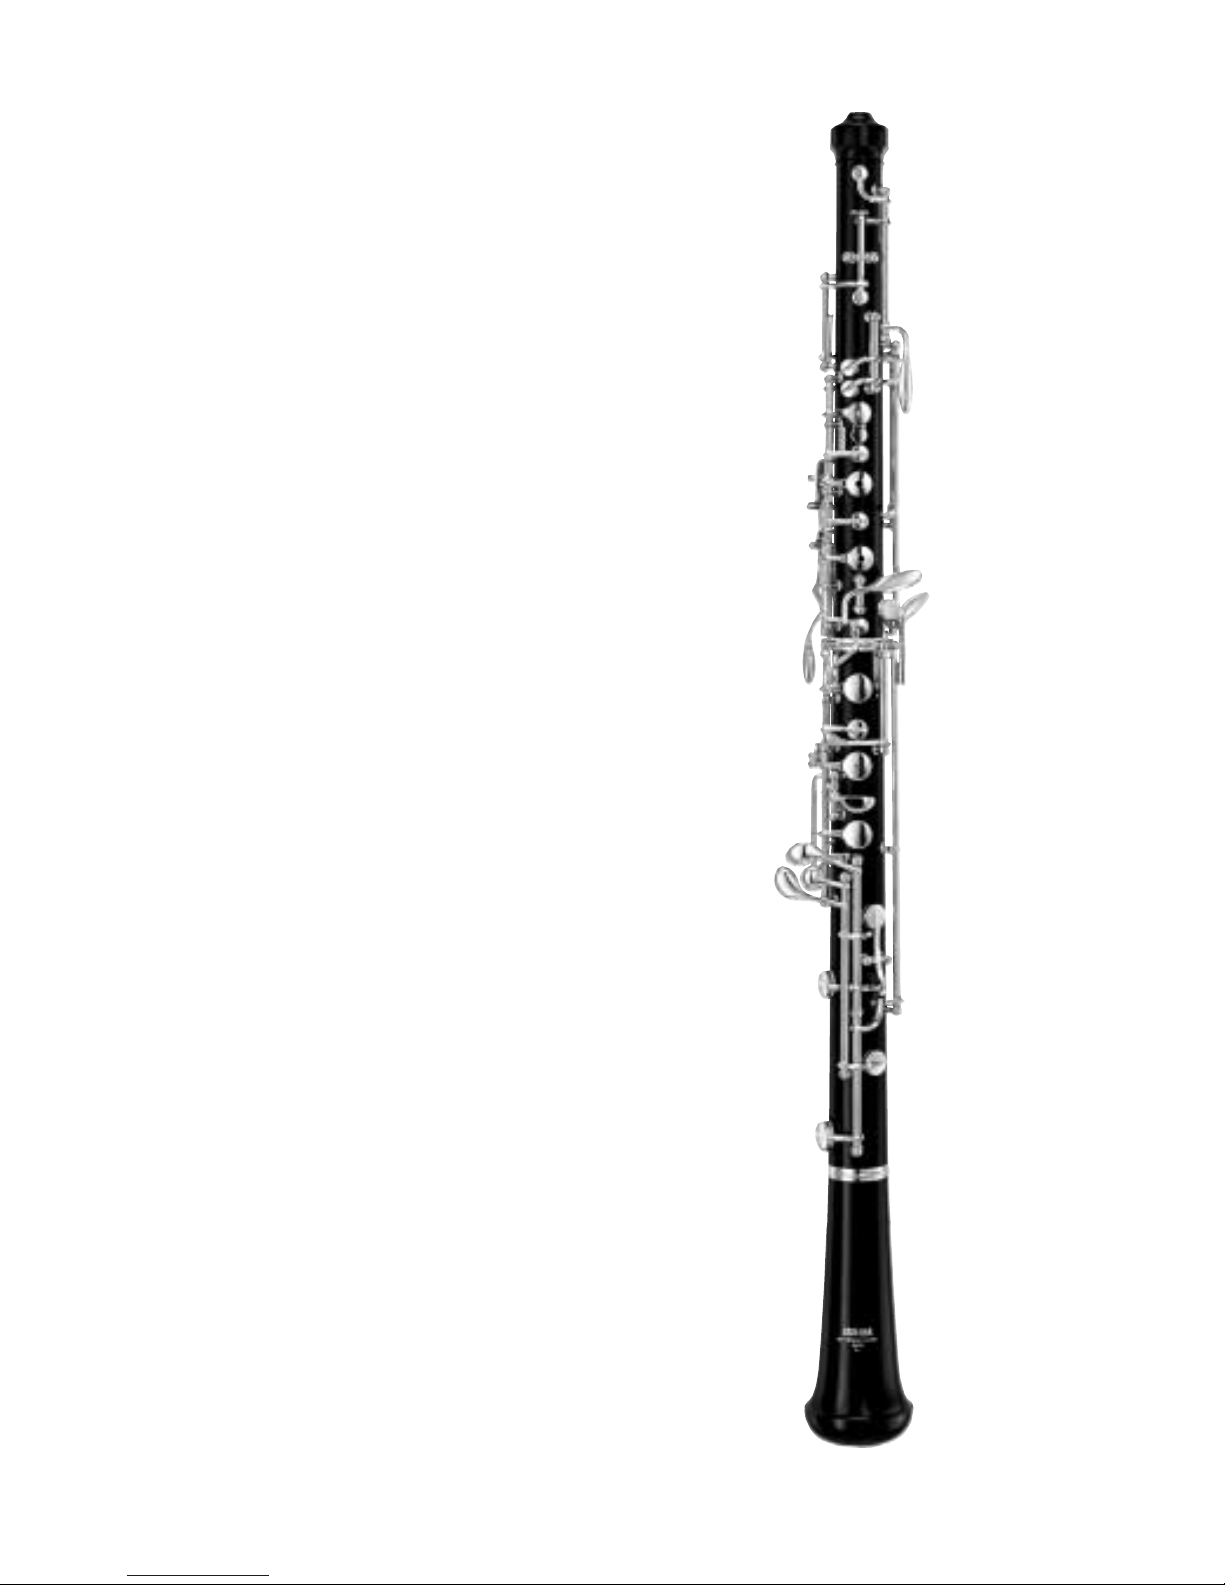
Caring for Wood Body Oboes
Yamaha wooden oboes are made of grenadilla wood, a
material more susceptible than plastic to changes in
climate. Sudden shifts in temperature and/or humidity
cause subtle changes in wooden instruments, potentially
causing the body to crack or joints to swell. The oboe,
due to the wall thickness of its body, is more delicate
than any other woodwind instrument. The following
care is recommended to extend the life and maintain
the quality of your instrument.
Take extra care to prevent exposure to sudden changes
in temperature and humidity. Avoid direct, extended
exposure to:
• Sunlight • Rain
• Heaters • Air Conditioners
Remove all moisture after you have finished playing.
Refer to Caring for the Interior of your Oboe on page 5 for
detailed instructions.
Assembling Your Oboe
Assemble, tune, clean and lubricate your instrument for the
first time under the guidance of your instructor.
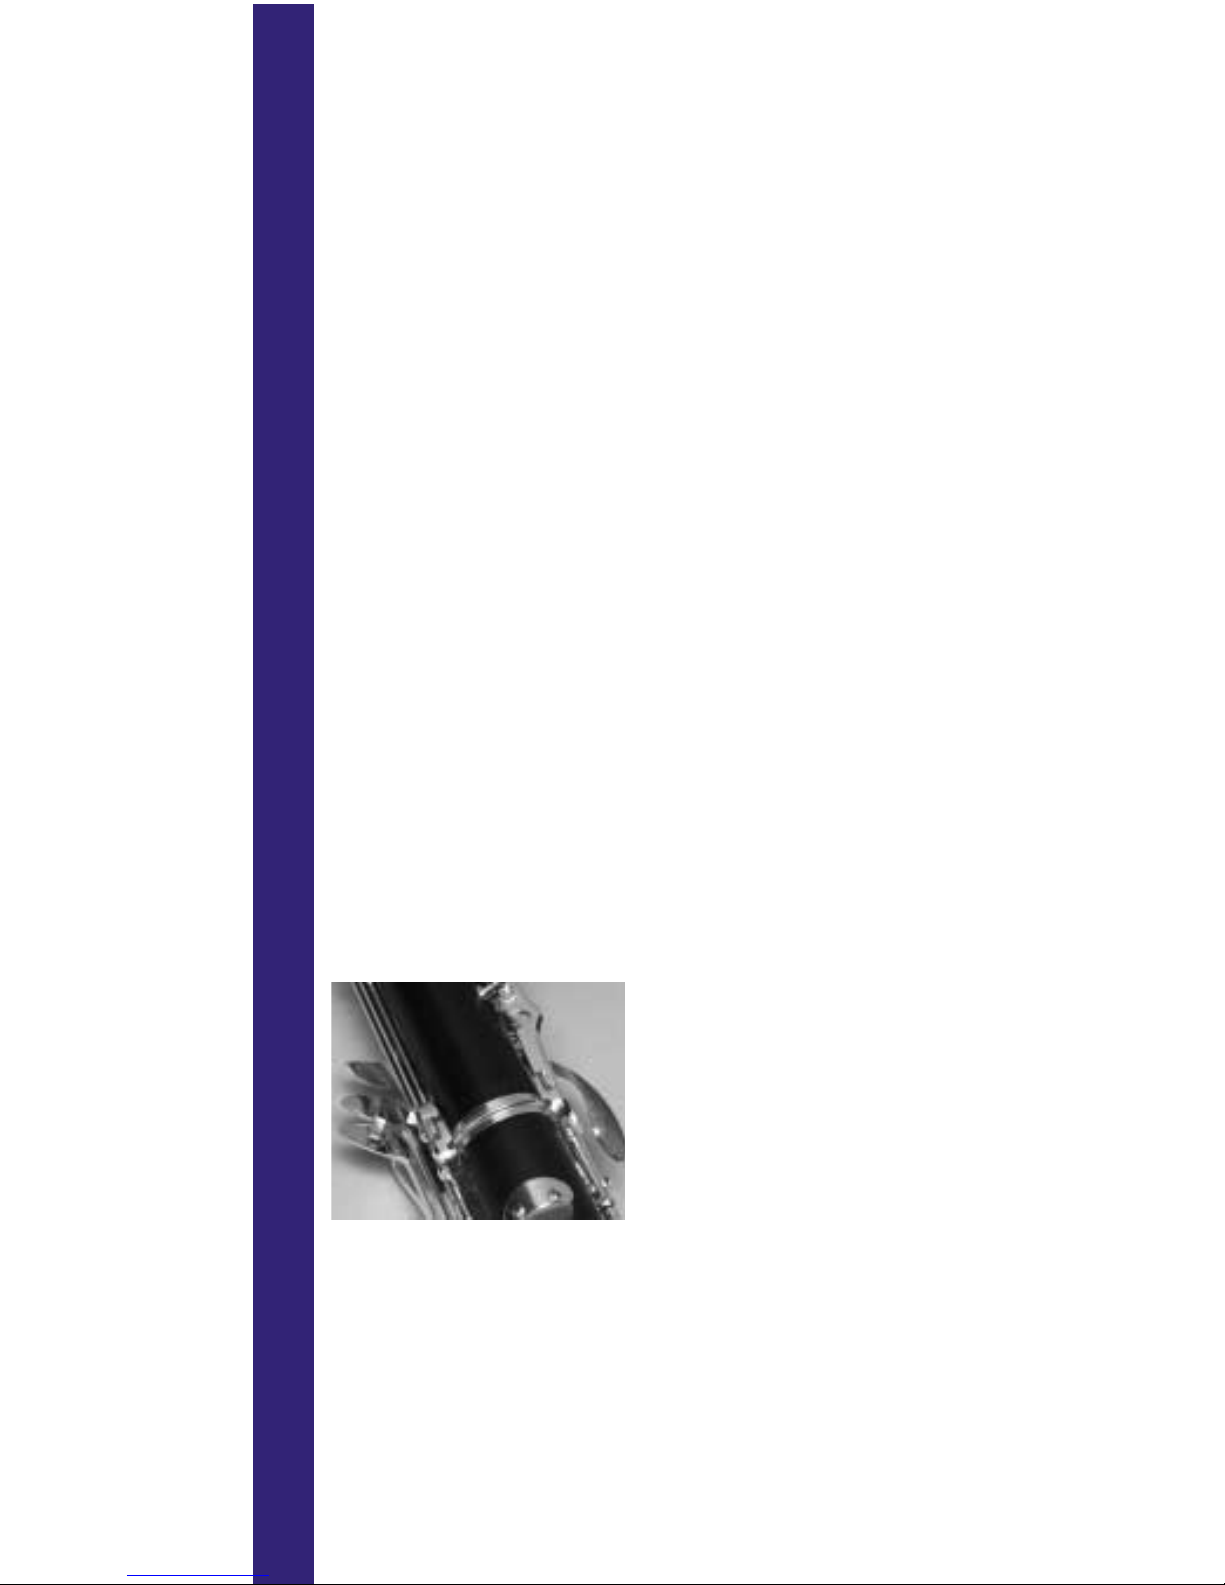
Applying Cork Grease
Cork grease (YAC 1007P) applied just prior to assembly
promotes an easy,
proper fit of oboe joints.
A thorough, even coat
on all cork joints
provides protection and
extends cork life. It is a
good idea to wipe off
old cork grease before
adding new.
ENGLISH
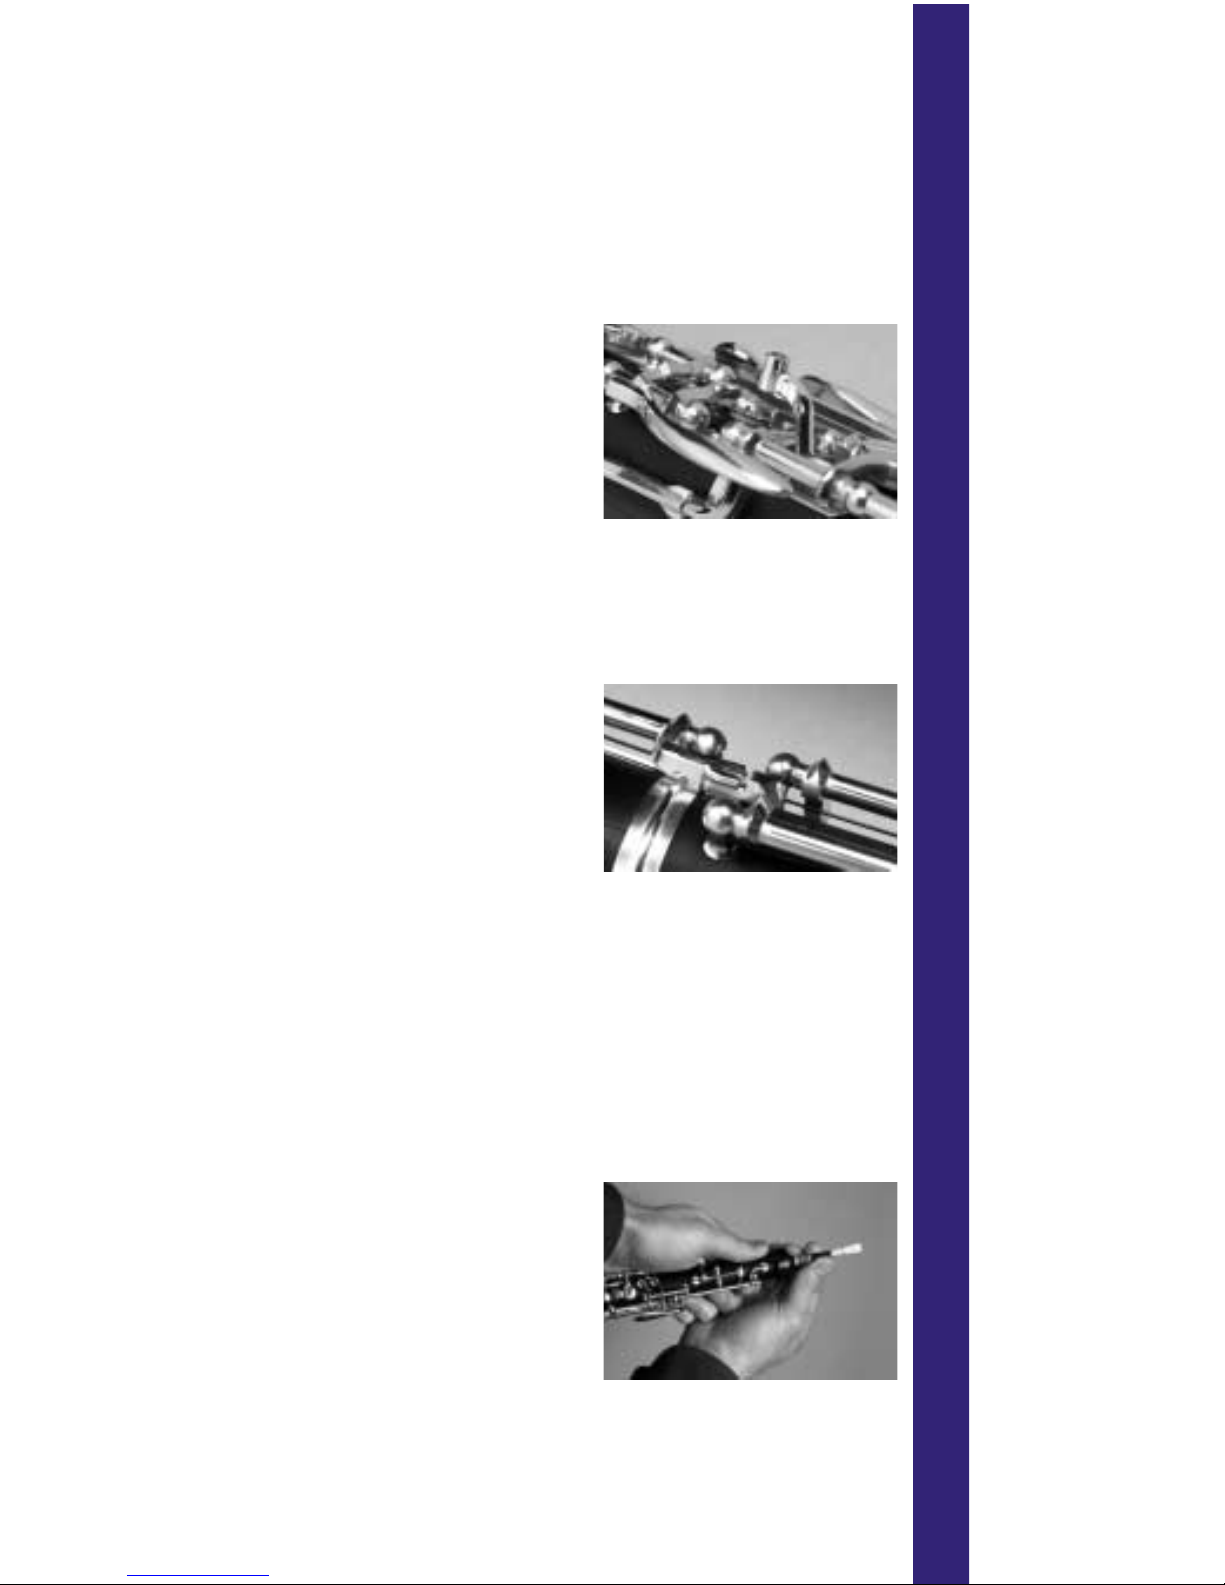
Assembly
YOB-410, -411, -411P, -811, -821, -831, -841:
•To connect the bell to the lower joint, hold down the
B
b
key on the bell section and gently twist the lower
joint into place until the key bridges are aligned. Pay
careful attention to the bridge keys; they are easily
damaged.
•Connect upper joint
and lower joint in a
similar fashion, with a
gentle twisting motion.
Again, pay careful
attention to the bridge
keys. To move them into alignment hold upper joint
keys lightly, making sure the bridge key is up. Align
upper joint bridge key on top of lower joint bridge key.
YOB-211:
•Attach the bell to the
lower joint.
•Connect upper joint
and lower joint in same
manner as above.
Never lay your oboe
with keys facing downwards, whether assembled or not.
Placing the Reed in the
Upper Joint
Gently hold the reed in your mouth for a few minutes
before putting it on your oboe. Apply cork grease to the
reed cork and gently insert the reed into receiver.
Tuning Your Oboe
Pitch is affected by
temperature, so warm up
the instrument before
playing by blowing air
through it. To tune, adjust
the reed on the body. The
length you pull out or push in depends on individual
preference and method of playing.
– 4 –
ENGLISH
 Loading...