

Page 1
Intruder Alarm Kit
IA-210
IA-220
IA-230
The smarter way to
protect your home.
Quick Start Guide
Page 2
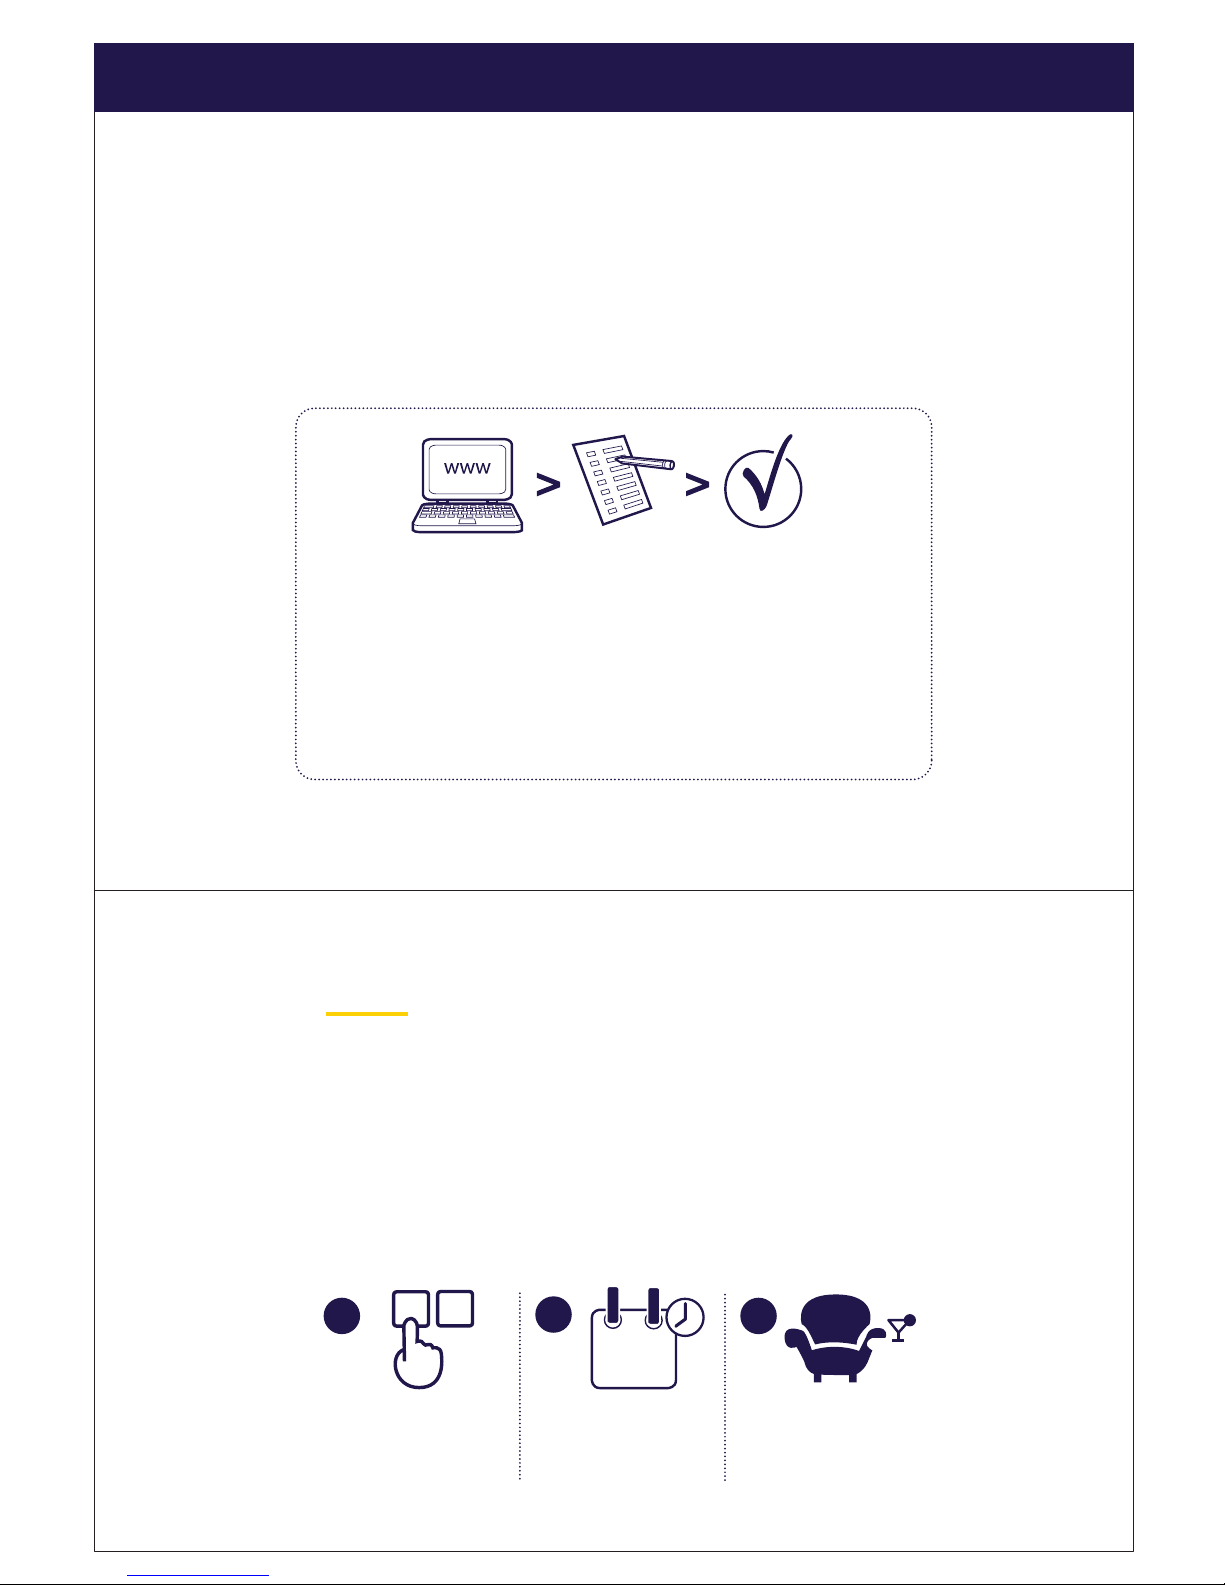
1. Go to Yale web site
www.yale.co.uk/product-registration
2.Complete product information form
3.Activate your guarantee
Thank you for choosing the Yale Intruder Alarm System.
This simple to install system has been designed with the user in mind, just follow
these simple steps:
Register your product guarantee. Please visit the registration web page and insert
the product details. Register your product to get products news and updates.
if you need extra accessories or spare parts please visit yale.co.uk
1
Installation Service
Want us to install this product ?
Why not call Yale Smart Security Partners and
let a professional installer take care of the rest.
Choose your package online at
www.yalestore.co.uk/installation
Choose your
package.
Agree a Date & Time
A B
Enjoy your
professionally installed
Yale product!
2
3
Date
Page 3
(03)
1
2
3
4
5
6
7
(p. 04-05)
(p. 06)
(p. 07-09)
(p. 10)
(p. 10)
(p. 11-14)
(p. 15-18)
Install your system in a few easy steps. Please read through all of the steps shown below
and then follow the detailed instructions in the following pages. See your box for kit content.
Unpack your kit
Plan your system
Panel set up
Device installation: Activating devices
Device installation: Testing device signal strength
Device installation: Install the devices in the desired location
Using the system
*Each kit contains different components, see your box for kit content.
*
Page 4
(04)
Max. Total 40 pcs.
1
Door/Window contact
AC-DC
Keypad
AC-KP
Available as accessory
Motion Detector
AC-PIR
Available with IA-210, IA-220
Kit or as accessory
~12m
110°
~ 1.8
2.1m
~ 1.8
2.1m
~7m
110°
+ PIN CODE
Panic buttons press/hold
Panic Buttons can activate your
alarm immediately - even when
the system is disarmed.
How to
Disarm
>3sec.<
Motion Detector Pet
AC-PETPIR
Available with IA-230
Kit or as accessory
How to
Full-Arm
How to
Part-Arm
Max < 27 kg
All the devices in this kit are pre-paired for easy installation. If you are adding more devices
(purchased separately to this kit) you will need to pair these into the system separately
(see page 18)
Page 5
Most of the devices are provided with either internal or external security
tamper mechanism, please make sure the tamper spring is fully
compressed when you install the devices.
(05)
Keyfob
AC-KF
Available with IA-230 Kit
or as accessory
Contactless Tag
AC-RFIDTAG
1
Page 6

Example
Plan Your home
(06)
2
Location tips:
1. Panel/Keypad should be accessible from a protected entry/exit point. Ensure that the Panel/KeyPad is not
visible from the outside of the premises.
2. Mount Door/Window contacts as high as possible on the door window frame.
3. PIR Motion Detectors should be located in the corner of the room to maximise coverage.
Do not point directly at a source of heat (eg.fires or boilers), facing a window or a door protected by a
Door/Window contact. Avoid installing directly above radiators.
4. If you have Pets that may climb on furniture, avoid using PET PIR Motion detectors as this can cause false
alarms. Instead replace with additional Door/ Window Contacts.
5. Mount the External siren as high as possible on an external wall.
Plan your system: Before beginning the installation process, take some time to plan your
system, decide where you want to locate the devices.
Page 7

1
2
4
5
(07)
Standard PSTN phone
landline socket
The wall mounting holder
should be always inserted
because the panel has got
a tamper switch.
3
3
Panel set up
<On Off>
a
b
c
a
b
c
d
Page 8

(08)
3
Welcome to your Yale Intruder System
please follow the on screen setup guide.
Press to start setup.
Press to select right setting.
Press to confirm and move to next step.
To learn all the system features and set up options
please visit the product page and download the full
advanced manual for further details.
When set up is complete, select:
> Exit set up <
Press to confirm
Press + PIN code to exit the set up process
If you wish to repeat the process, select:
> Repeat set up <
Press to confirm
Wecome to your
Yale Alarm System
Yale Intruder Alarm
Initial Menu
> Exit set up <
Repeat set up
Continue installation
www.yale.co.uk
Panel Set Up
Page 9

(09)
3
Add a contactless tag
Press or button and enter your
PIN code to access the main menu
Scroll down using button and select
“Contactless tag” and press
Select “Add Tag” and press to enter the
panel into learning mode
Scan one tag to the panel reader
If the tag is detected, the tag information
will be displayed on the panel screen,
then press
Associate the tag with desired user in the list.
Press to confirm
Press to exit the tag learning mode
Contactless tag
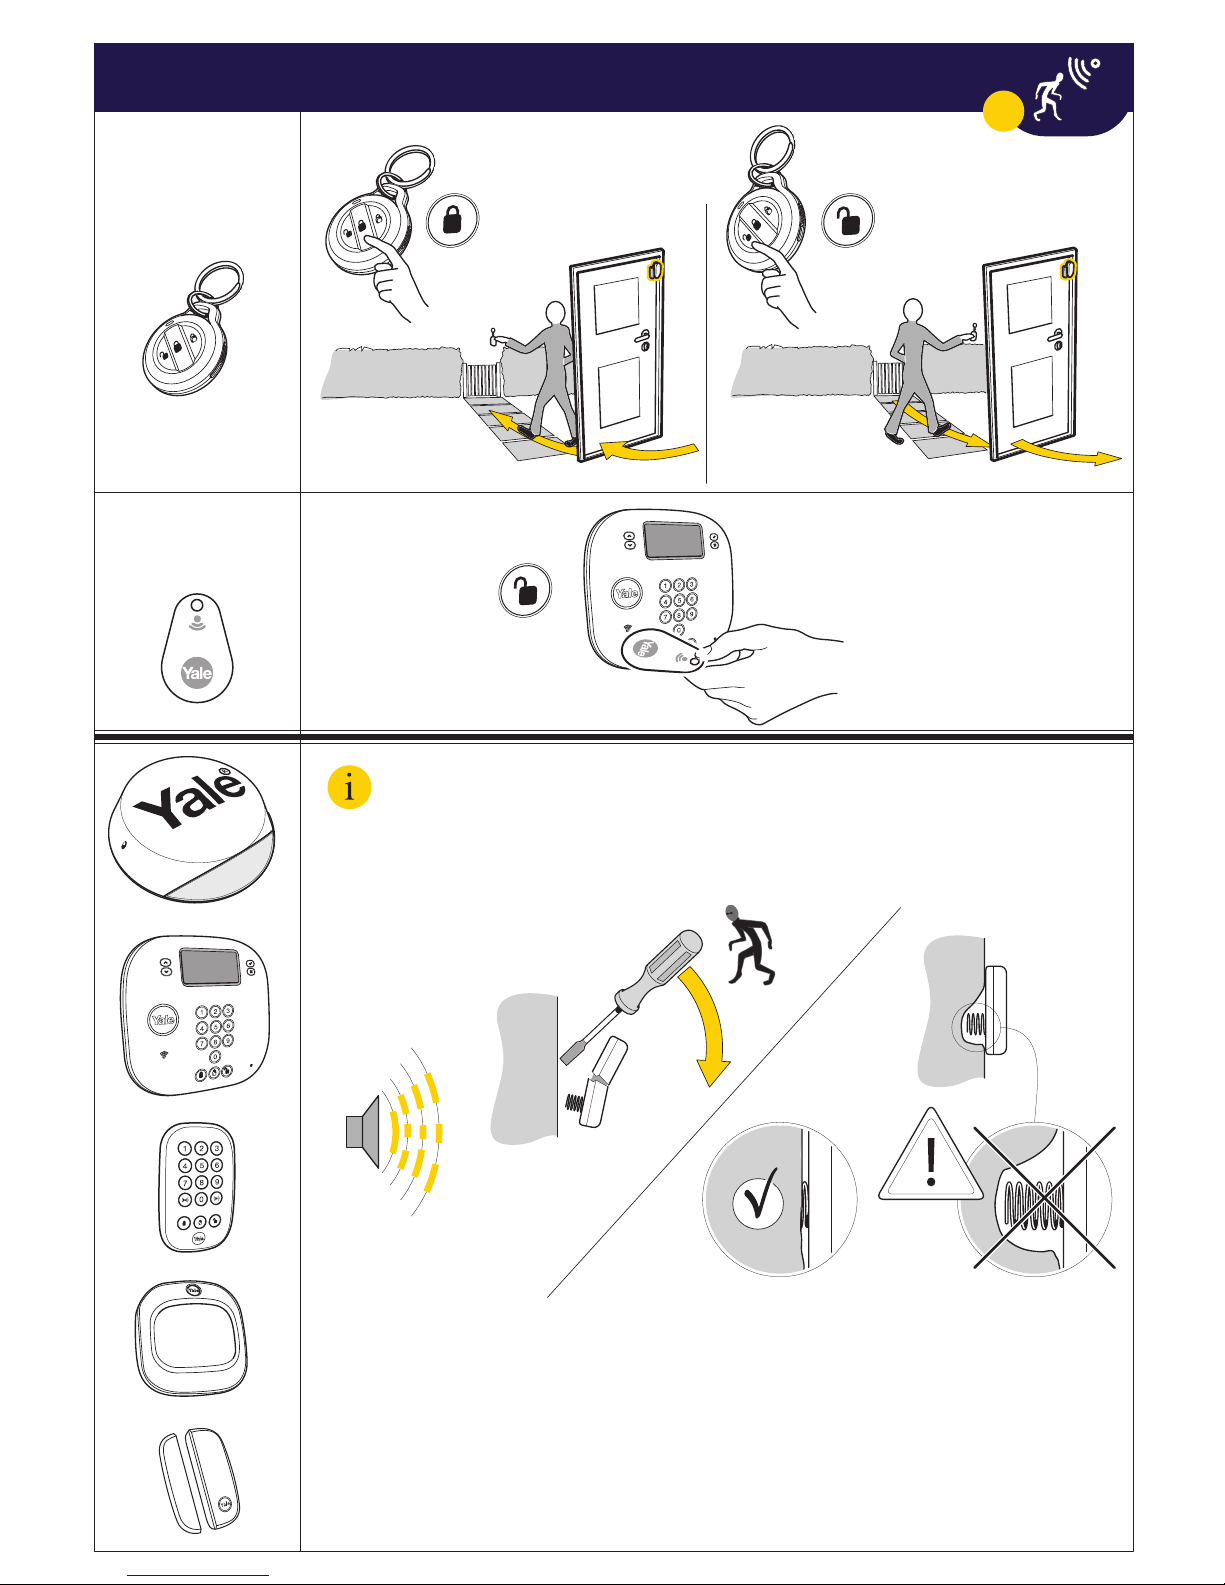
Panel setup: Adding a contactless tag
Page 10

Test your planned location of devices and check the signal strength on the panel screen.
Activate the devices by removing the battery strips. All devices in the kit are pre linked, If you have
purchased extra accessories in addition to the kit, you’ll need to pair them to the system, following
the instructions on page 18
Device Installation: Test device signal
(10)
PIR Zone03 E
T:9 PIR 1
If signal strength is below 2 please try
to move the device to a different
location and repeat connection test.
After all devices have been tested in the desired location -
Press to exit Test mode
Press or button and enter your
PIN code to access the main menu
Scroll down using button and select
“Test” and press
Select “Device” and press to enter the
panel into learning mode
Press button to test connection
4
5
8 9
Page 11

1
a
b
c
~1.8m
2.1m
d
2
a
a
b
3
4
5 6
(11)
Ø 5mm
6
Device installation: Install the device in the desired location
Page 12

1
3
5
6 7
2
4
a
b
max 10mm
or
(12)
6
Device installation: Install the device in the desired location
Clean the mounting surface before application
with a suitable degreasing agent
Page 13

(13)
6
1
3
4 5
2
6
a
a
a
b
b
b
c
d
Ø 5mm
Device installation: Install the device in the desired location
Page 14

1
a
a
d
b
b
c
2
3
4
5 6
(14)
Ø 5mm
6
Device installation: Install the device in the desired location
Page 15

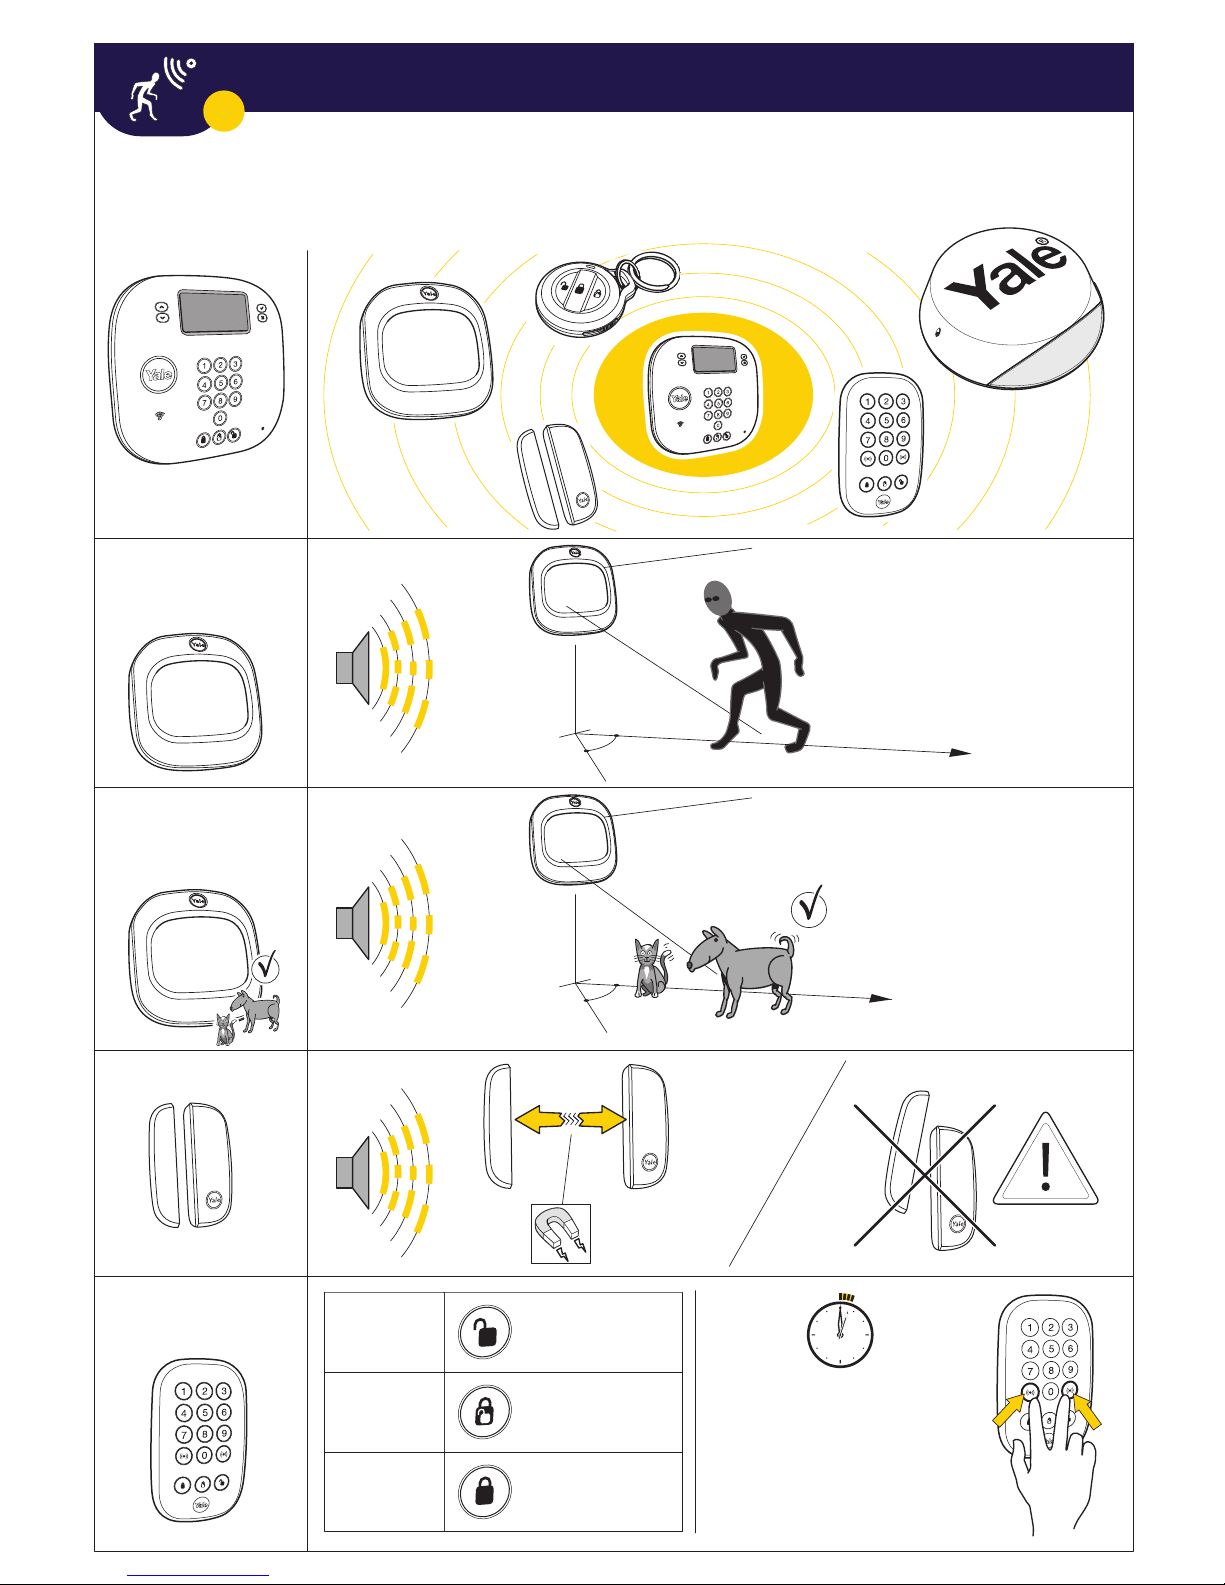
(15)
7
Status LED: displays
different LED colors to
notify you of the system
status.
Using the system
Contactless Tag reader:
tap your contactless
tag to disarm the system
Full Arm: fully arm the
system. It’s possible to set an exit
delay timer to allow a person to
disarm the system before the
alarm goes off (download the
advanced manual for full
instructions)
Part Arm: Secure your home even when you
are in with zone control, typically used to
protect the ground floor when you are upstairs.
To set-up Partial Arming see Page 17.
Disarm: press the disarm button followed by
your PIN code to disarm the system.
It is possible to set an entry delay timer to
allow you to enter the property and disarm
your system before the alarm is triggered.
(download the advanced manual for full
instructions)
When the alarm is triggered, the system will auto dial pre programmed
telephone numbers. Please download the full user manual to find how
to set up more telephone numbers, use the telecommunication features
and tailor your system to your needs.
Using the system
Page 16

Burglar
Start Entry / Exit time
before the alarm goes off
No Action
Instant Buglar Alarm
Panel Notification
Home Omit
Entry
24 Hours
Away Entry
(16)
Device Setting
System Mode
Using the system: Sensor setting options
5 different settings are available for PIR
Motion Detectors and Door/Window contacts .
Note: These settings do not apply to the
Key Fob and Key Pad devices.
7
You can change Entry / Exit time
in the advanced settings.
See full user manual for the details.
Page 17

(17)
Device settings
Press or button and enter your
PIN code to access the main menu
Select Set up press
Select Device press
Select Edit Device press
Select Device name press
Select Device mode press
Press to change or to skip change
Enter Device Name
Press to change or to skip
Select Device
Edit Device
ABC DEF
JKL MNO
TUV WXYZ
GHI
PQRS
Access to
alphabet
Burglar
Home Omit
Entry
24 Hours
Away Entry
7
Using the system: Device setting
All devices are pre set to "Entry" mode
Page 18

(18)
7
Add Device
Press or button and enter your
PIN code to access the main menu
Select Set up press
Select Device press
Select Add Device press
Press Learn Button on device to add
ABC DEF
JKL MNO
TUV WXYZ
GHI
PQRS
Access to
alphabet
Select Device
Add Device
Device information on screen - press
Select Device mode press
Press to change or to skip change
Enter Device Name
Press to change or to skip
Burglar
Home Omit
Entry
24 Hours
Away Entry
Using the system: Add device
Page 19

(19)
All devices
Housings ABS/polycarbonate
Outdoor Siren
-10˚C to 40˚C
70%
-20˚C to 50˚C
95%
Congratulations you have completed
the Yale Intruder Alarm installation.
Hereby, ASSA ABLOY Ltd., School Street, Willenhall,
West Midlands, England Wv13 3PW declares that the radio
equipment type IA-210, IA-220, IA-230 is in compliance with
Directive 2014/53/EU. The full text of the EU declaration of
conformity is available at the following internet address:
www.yale.co.uk/declaration-of-conformity
Page 20

THE YALE BRAND, with its unparalleled global reach and
range of products, reassures more people in more countries
than any other consumer locking solution.
THE ASSA ABLOY GROUP is the world´s leading
manufacturer and supplier of locking solutions, dedicated to
satisfying end-user needs for security, safety and convenience.
PACKAGING FR
An ASSA ABLOY Group brand
Yale Intruder Alarm v08
YaleSecurityUK
YaleSecurity
YaleUK
Customer Service
At Yale, we know the importance of providing
security products that are easy to install and use.
However, should you have any questions or
experience a problem with your purchase, please
visit www.yale.co.uk/help
 Loading...