


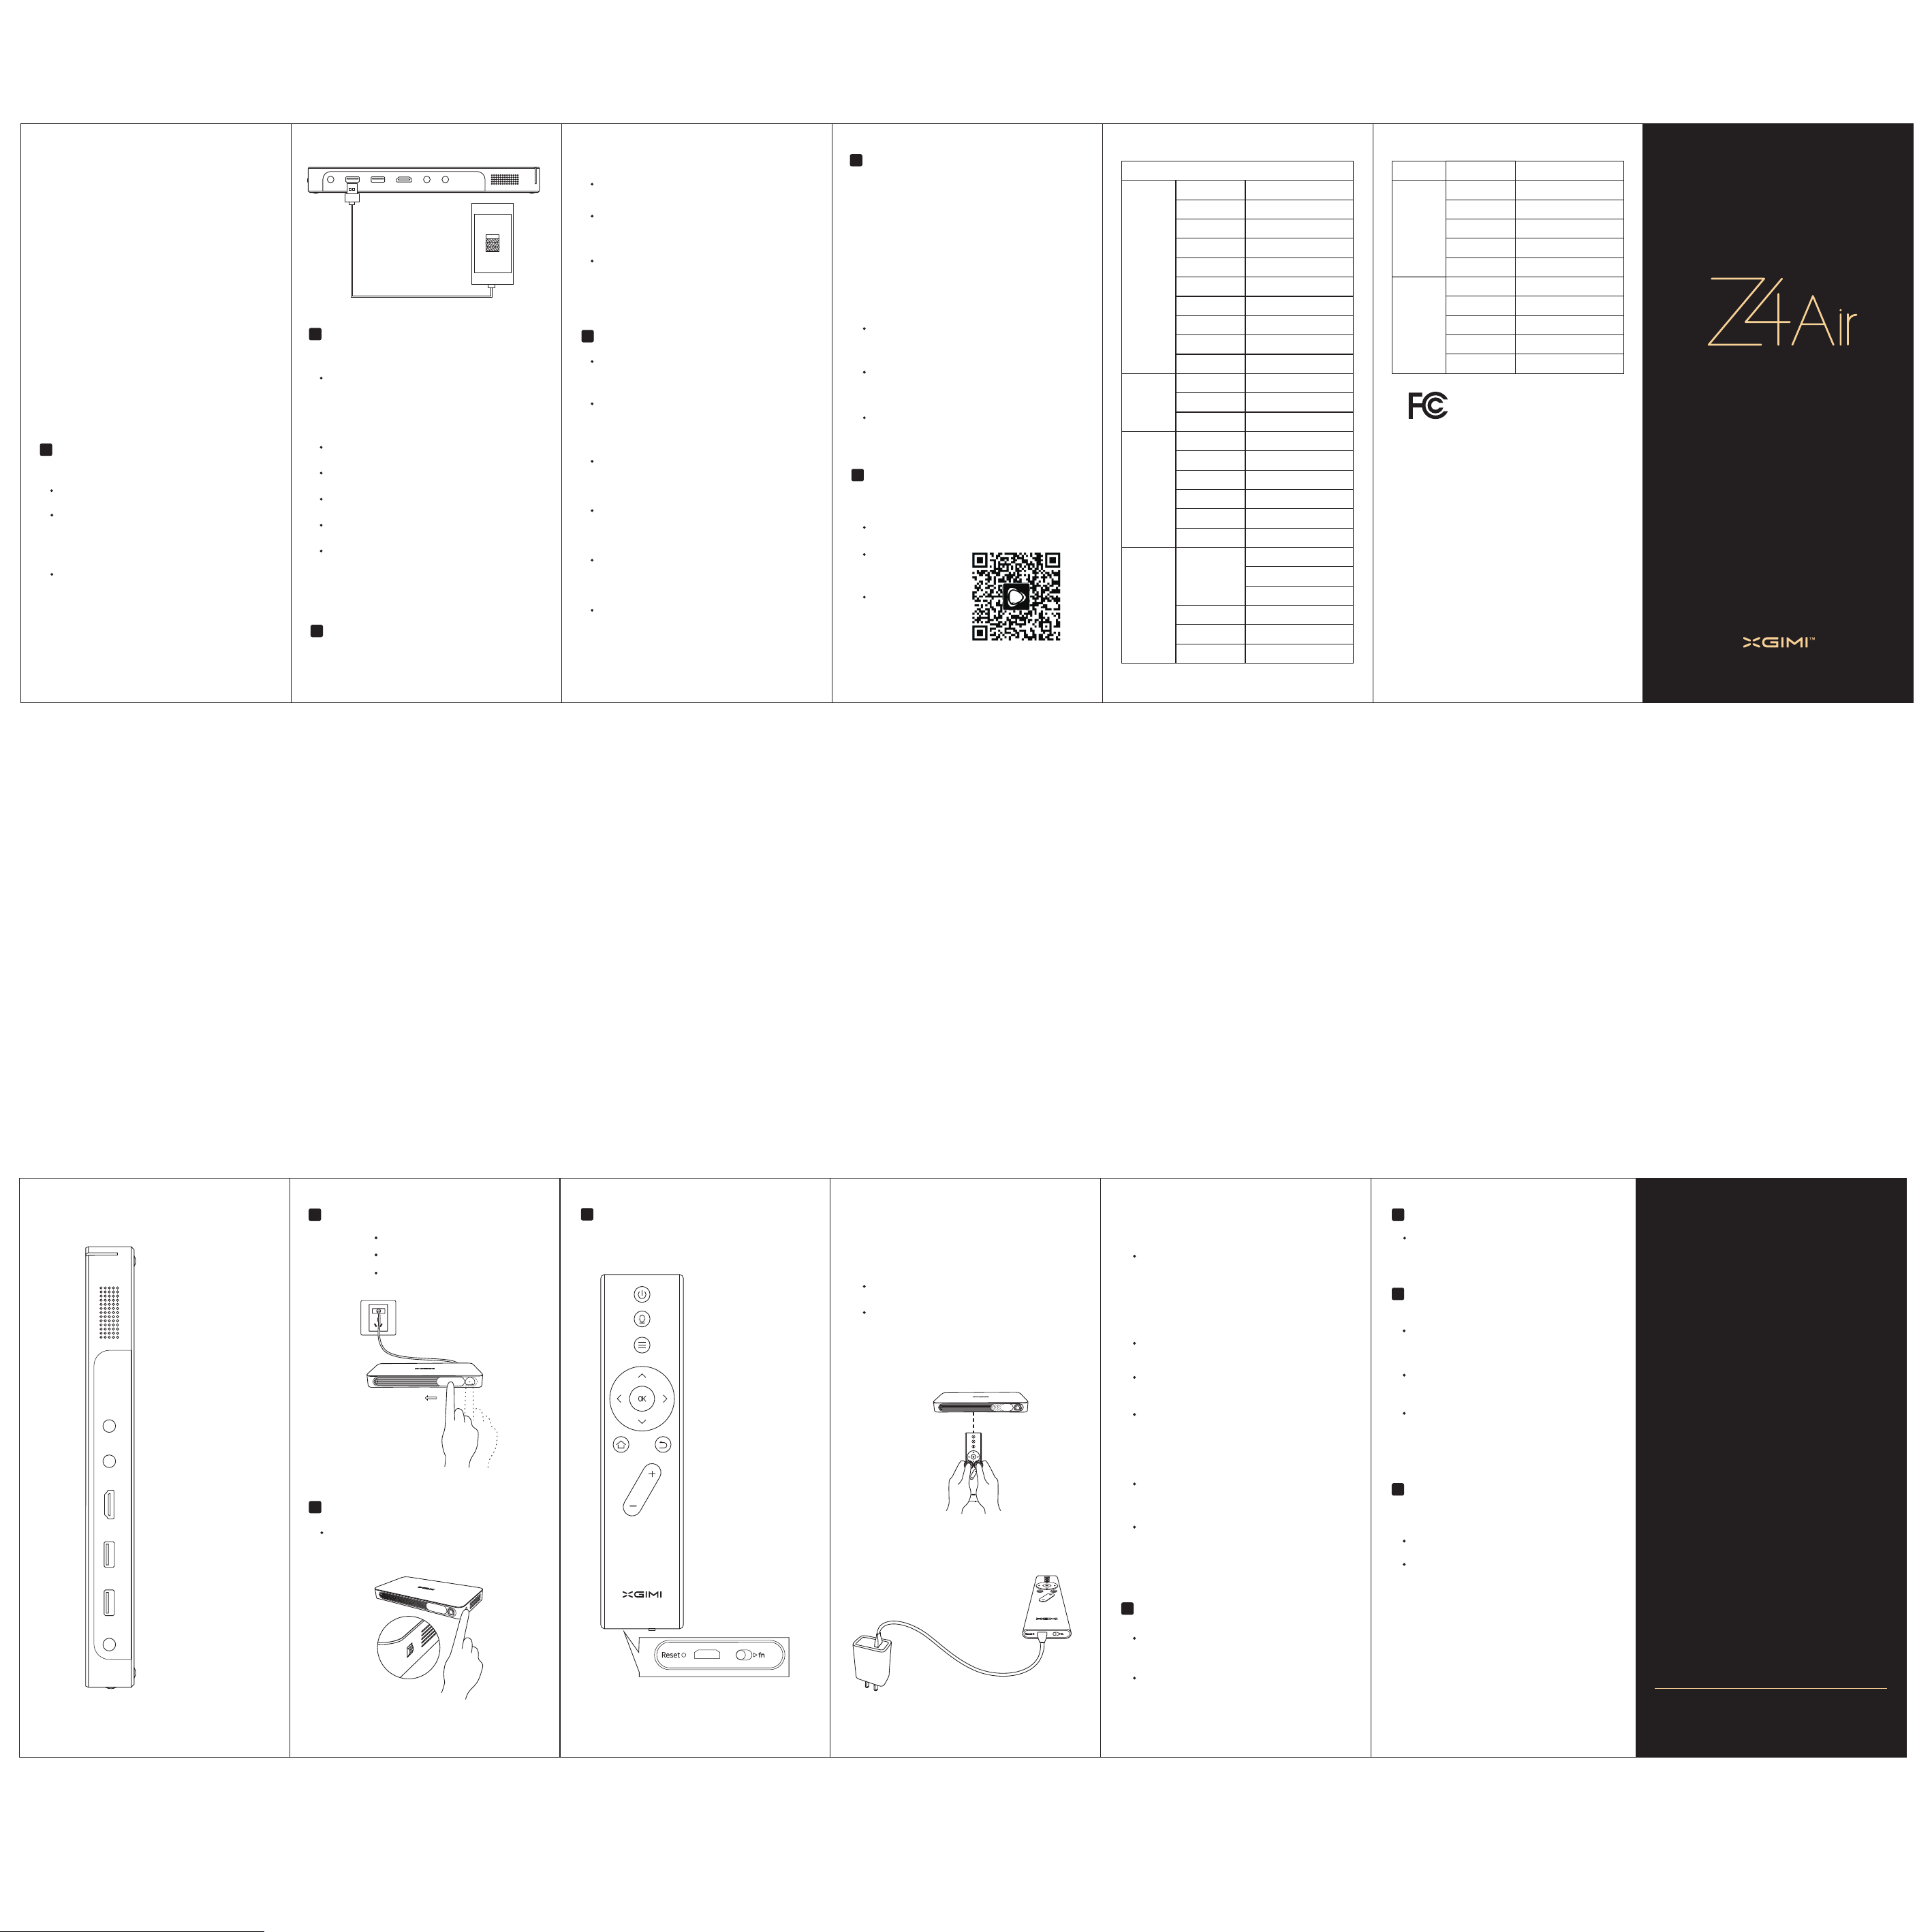
Xgimi Z4 AIR User Manual
Projection mode setup
Sys tem set up > proj ectio n setup > p rojec tion mo de setu p,
cho ose pro jecti on mode a ccord ing to de vice pl aced
con ditio n.
Stepless zooming
Sys tem set up > proj ectio n setup > Stepl ess zoo ming, t o
adj ust fra me size a nd aspe ct rati o.
Image adjustment
Lon g press men u ( ) ke y for 2 sec onds , re lease
'' ''
bot tom of sc ree, ad just im age acc ordin g to your
pre feren ce.
'' ≣ ' '
men u k ey, s hortc ut sett ing fun ction w ill pop up on the
Keyboard setting
Sys tem set up >gen eral >k eyboa rd, cho ose inp ut meth od.
14
Device name
Sys tem set up > abou t >devi ce name , to choo se or
cus tomiz e your de vice s na me.'
8
Power Bank
1. Turn on / off power bank
Kee p press on/ off bu tton of p ower ba nk for 2 se conds
to tu rn on / off c hargi ng func tion.
Whe n charg ing fun ction i s on, red L ED ligh t flash es
con tinuo usly. W hen cha rging f uncti on is off o r power i s
0%, r ed LED li ght ext ingui shes.
'' ' '
2.Checking battery status
'' ' '
Pre ss on/ off bu tton, i f batte ry powe r≥50%, LE D light
is gr een; if b atter y power < 5 0%, LED l ight is r ed; if
bat tery po wer is 0% , LED lig ht exti nguis hes;
Not e: this d evice o nly acc epts th e origi nal pow er adap ter
cha rging , it does n t suppo rt USB ch argin g.'
9
System update
1. Online update:
Sys tem set up > Abou t > Syste m updat e, devi ce will s end
upd ate not ifica tion wh en syst em dete cted cu rrent v ersio n
is no t the lat est ver sion, p ress o nline u pdate to u pda te
onl ine.
'' ''
2. USB update:
Go to X GIMI of ficia l websi te to dow nload U SB forc e
upd ate pat ch, dec ompre ss the fi le and se nd to USB .
Con nect th e devic e to powe r suppl y, then p lug USB i n
USB 2 .0 port o f the dev ice .
Sys tem set up > abou t > syste m updat e > USB upd ate,
wai t for for ce upda te comp lete.
Or pr ess and h old pow er bank b utton , simul taneo usly
ope n the len s cap.
Wai t until t he syst em ente rs upda te inte rface , loose n the
but ton and w ait for u pdate c omple te.
Not e: plea se do not r emove U SB or pow er supp ly duri ng
upd ating p roces s, plea se use FA T32 for m USB.
10
Video playing setup
Play progress adjustment
Use lef t a nd r ight k eys to ad just pl ay prog ress.'' '' '' ''
Subtitle setup
Whe n playi ng a vide o, pres s m enu ( ≣) key t o choos e
sub title m enu to se t subti tle.
'' ''
3D setup
Whe n playi ng a vide o, pres s m enu ( ≣) key t o choos e
3D se tup men u and set 3 D mode.
11
Device connection & mirroring display
'' ''
Network setup
Sys tem set up > netw ork set up>Wi Fi setu p,choos e a
net work an d conne ct with i t.
WiFi hotspot
Sys tem set up > netw ork set up>Wi Fi hots pot, tu rn on WiF i
hot spot to l et othe r devic es find t his WiF i hotsp ot in the ir
WiF i setti ng, ent er pass word of t his hot spot an d conne ct
to XG IMI dev ice.
Miracast
Sys tem set up > netw ork set up>Mi racas t, turn o n
Mir acast , handp hone or P C that su pport M iraca st can
con nect XG IMI and u se it as mi rrori ng disp lay.
AirPlay
Sys tem set up > netw ork set up>Ai rPlay , turn on A irPla y,
mob ileph one or PC t hat sup port Ai rPlay c an conn ect
XGI MI and us e it as mir rorin g displ ay.
Bluetooth & external device
Sys tem set up > Blue tooth & e xtern al devi ce, pai r and
con nect wi th exte rnal bl ue toot h devic es, e.g . speak er,
rem ote-c ontro l, and ga mepad .
Wired setup
Sys tem set up > netw ork set up> wir ed setu p, plug i ntern et
cab le into t he inte rnet po rt whic h is at the b ack of XG IMI.
12
Resource management
1. Add device
Fil eMana ger> ad d devic e, choo se the de vice to b e added
and a dd remo te shar ing fil e.
2. File management
Fil eMana ger> lo ng pres s O K ke y, sele ction b ox
app ears. P ress m enu ( ) k ey to cho ose cop y/ cut/
pas te/ del ate/ re name/ d etail .
'' ≣ ' '
'' ''
3. File viewing
Plu g in USB, p ress F ileMa nager , vi ew the fi les of US B
dev ice, pr ess me nu (≣) k ey to ope n more fu nctio ns.
'' ''
'' ''
4. Magic popup
Sta y on home p age, pr ess ''u p'' key t o open sh ortcu t
ent ry at the t op of scr eent, f uncti ons fro m left to r ight ar e
swi tchin g of desk top ver sions / WiFi se tup/ Bl uetoo th/
eje ct USB.
Sta y on home p age, pr ess ''d own'' k ey to ope n
col lecti on entr y at the bo ttom of s creen , users a re able t o
add f avori te Apps i n colle ction e ntry an d quick ly open t he
App s.
Sta y on home p age, pr ess ''l eft'' k ey unti l the end t o
ope n input s hortc ut entr y at the le ft side o f scree n, and
cho ose pre ferre d input s ource .
13
XGIMI Assistance
Scan the QR code to download XGIMI
assistant
mob ile
pho ne remo te: dev ice can b e easil y contr olled b y
mob ile pho ne
mob ile
pho ne reso urce:
sen d the res ource f rom
mob ile
pho ne to dev ice
to vi ew phot os or vid eos
mir rorin g displ ay cont rol:
mir rorin g to hand p hone,
sup port gr avity c ensor
gam es.
Opt ic al
par ameters
Pro jection
par ameters
Sys tem
par ameters
Por ts
Produc t specification
Pro duct cl assif icati on
Dis play te chniq ue
Len s
Spe cialt y
Lum inanc e 2 50ANS I lumen
Lum inanc e unifo rmity
Col orgam ut
Con trast
Sta ndard r esolu tion
Com patib le reso lutio n
Pro jecti on rati o
Key stone c orrec tion
Pro jecti on meth od
CPU
GPU
RAM
Sto rage
Sys tem
Mir rorin g displ ay Ai rplay /DLNA /Mira cast
Inp ut port s
Out put por t Hea dphon e/SPD IFx1
WiF i
Blu etoot h
Hom e Proje ctor
0.3 DMDRG B-LED''
Hig h light t ransm issio n coate d lens
3D
98%
>=1 20%NT SC
500 0:1
WXG A(128 0x720 )
108 0P/2K
1.2 :1(76 -inch @2M)
Ver tical :±40 de gree
For ward/ backw ard/ ha ng ceil ing
Qua d-cor e 1GHz
Mal i-450 MP2
1GB D DR3
16G B eMMC
And roid4 .4
HDM Ix1
USB 2.0x1
USB 3.0x1
Dua l-ban d2.4/ 5GHz, 802.1 1a/b/
g/n /ac2x 2doub leant ennas
Blu etoot h4.0/ BLE
Ele ctric al
par amete rs
Oth er
par amete rs
Pac king li st
Thi s devic e compl ies wit h part 15 o f the FCC R ules. O perat ion is
sub ject to t he foll owing t wo cond ition s:
1. Th is devi ce may no t cause h armfu l inter feren ce.
2. Th is devi ce must a ccept a ny inte rfere nce rec eived , inclu ding
int erfer ence th at may ca use und esire d opera tion.
Noi se
Pow er diss ipati on
Pow er
Bat tery
Siz e
Wei ght
Pow erplu g
Blu etoot h remot econ trol
Rem ote-c ontro l
cha rge cab le
Han dbook
HDM I cable
<30 dB
Batte ry mode: 17 -27W, with p ower
suppl y: 30-45W
AC1 00-24 0V,50 /60Hz
136 00mAh
113 .5 x214 x 2 3.5mm
0.6 5kg
x1
x1
x1
x1
x1
On/off
Voice key
HDMI
USB 3.0
USB 2.0
charging interface
1
Get Started/Shutting down Bluetooth Remote-control
Plu g into el ectri c power s upply .
Ope n the len s cover is tu rned on ., the d evice
Clo se the le ns cove r, the de vice is t urned o ff.
2
Focusing
Tog gle the f ocusi ng whee l,adj ust the i mage de finit ion.
3
1.Keys description
(no t acces sible fo r over seas pro ducts )'
cha rge
Res et
On/off
Voice key
Menu / shortcut
Directions
Home Return
Volume +
Volume -
fun ction k ey
2. Remote-control pairing
Not e: Plea se char ge the re mote- contr ol for 30 m inute s
bef ore the f irst ti me use.
Ple ase put t he remo te-co ntrol w ithin 1 0 cm from t he
dev ice.
Pre ss ret urn an d h ome at th e same ti me, gre en
'' '' '' ''
ind icato r light c hange t o blue. A fter th e blue in dicat or ligh t
qui ckly bl inks, r eleas e the but tons, r emote c ontro l is
pai ring. I f pairi ng is suc cessf ul, blu e indic ator li ght fla shes
con tinuo usly fo r 2 secon ds and th en exti nguis hes. If
pai ring is f ailed , exit pa iring m ode aft er 30-s econd s
tim eout, f ollow t he step s above t o pair ag ain.
10CM
3.Charge the remote-control
Whe n the red i ndica tor app ears an d blink s, plea se
cha rge the r emote -cont rol.
4. Introduction of remote-control functions
Gra vity se nsor fu nctio n
'' ''
Sli p fn k ey on the b ottom o f remot e-con trol to t he
rig ht side , gravi ty sens or func tion is t urned o n. Pair ing
wit h games t hat sup port gr avity s ensor a nd use re motecon trol ho rizon tally . Slip f n k ey on t he bott om of
rem ote-c ontro l to the le ft side , gravi ty sens or func tion is
tur ned off . When gr avity s ensor f uncti on is tur ned on,
mou se func tion ca nnot be u sed, an d blue in dicat or ligh t
fla shes co ntinu ously .
Mou se func tion
Qui ckly an d forci bly sha ke the re mote- contr ol to tur n
on/ off the m ouse fu nctio n.
Men u key fun ction
Sho rt pres s ''men u key (≣) ' ' to open m enu fun ction , long
pre ss ''me nu key (≣ ) '' to op en sh ortcu t funct ion.
Pow er stat us
Red i ndica tor lig ht flas hes con tinuo usly wh en remo tecon trol is c hargi ng; gre en indi cator l ight fl ashes
con tinuo usly wh en char ging is c omple ted; re d indic ator
lig ht quic kly bli nks for 4 t imes wh en powe r is low; r ed
ind icato r light q uickl y blink s for 10 ti mes whe n power i s
ver y low, re mote co ntrol h as to be ch arged i mmedi ately .
Sta nd-by a nd slee p condi tions
Und er work ing mod e, remo te-co ntrol w ill ent er slee p
con ditio n when it i s stand ing for m ore tha n 10 seco nds,
it ca n be awak ed by pre ssing a ny butt on.
Res et func tion
If re mote- contr ol's sy stem is c rashe d, pres s reset
but ton, th en rele ase res et butt on, red i ndica tor lig ht will
bli nk for 3 ti mes, re set is co mplet ed.
4
Switch Desktop Versions
'' ''
Pre ss up k ey of rem ote con trol on h ome pag e to
acc ess sho rtcut e ntry, t hen swi tchov er betw een sta ndard
ver sion an d busin ess ver sion.
Sys tem set up > Gene ral set up> Des ktop
Ver sion, switc hover b etwee n stand ard ver sion an d
bus iness v ersio n.
'' ''
5
Switch Languages
Sys tem set up >int ernat ional s ettin g, to cho ose
you r langu age and t ime zon e.
6
Application Management
Application Search
Apt oide Ap p marke t > Press s earch s ymbol > e nter
the a pplic ation n ame and d ownlo ad.
Application update
Apt oide> u pdate s, to upd ate you r insta lled ap plica tion.
Application move/delete
Cho ose the A pp you wa nt to cha nge, lo ng pres s
OK k ey to mov e/uni nstal l/col lect it .'' ''
7
Projection Setup
Keystone correction
Sys tem set up > proj ectio n setup ,Pres s g yro scope .
cor recti on''''
Sys tem set up > proj ectio n setup ,Turn o n a uto k eysto ne
cor recti on''''
Not e:
1. Pl ease ma nuall y adjus t the scr een fro m keyst one
cor recti on, if th e effec t of auto k eysto ne corr ectio n is not
per fect.
2. Th is devi ce only s uppor ts vert ical ke yston e corre ction .
Chengdu Xgimi Technology Co.,Ltd.
A7-5F, Tianfu Sofeware Park, High-Tech Zone, Chengdu, 610041, China.
803 en.xgimi.com service@xgmi.com+86-28-61993596 ext
 Loading...