

Page 1
Phaser® 7750 Color Laser Printer
Custom Size Paper
This topic includes:
■ "Guidelines" on page 2-69
■ "Printing Custom Size Paper in Tray 1 (MPT) or Tray 2" on page 2-70
Guidelines
Print custom size paper in Tray 1 (MPT) and Tray 2 only. Use custom size paper within the
following dimensions:
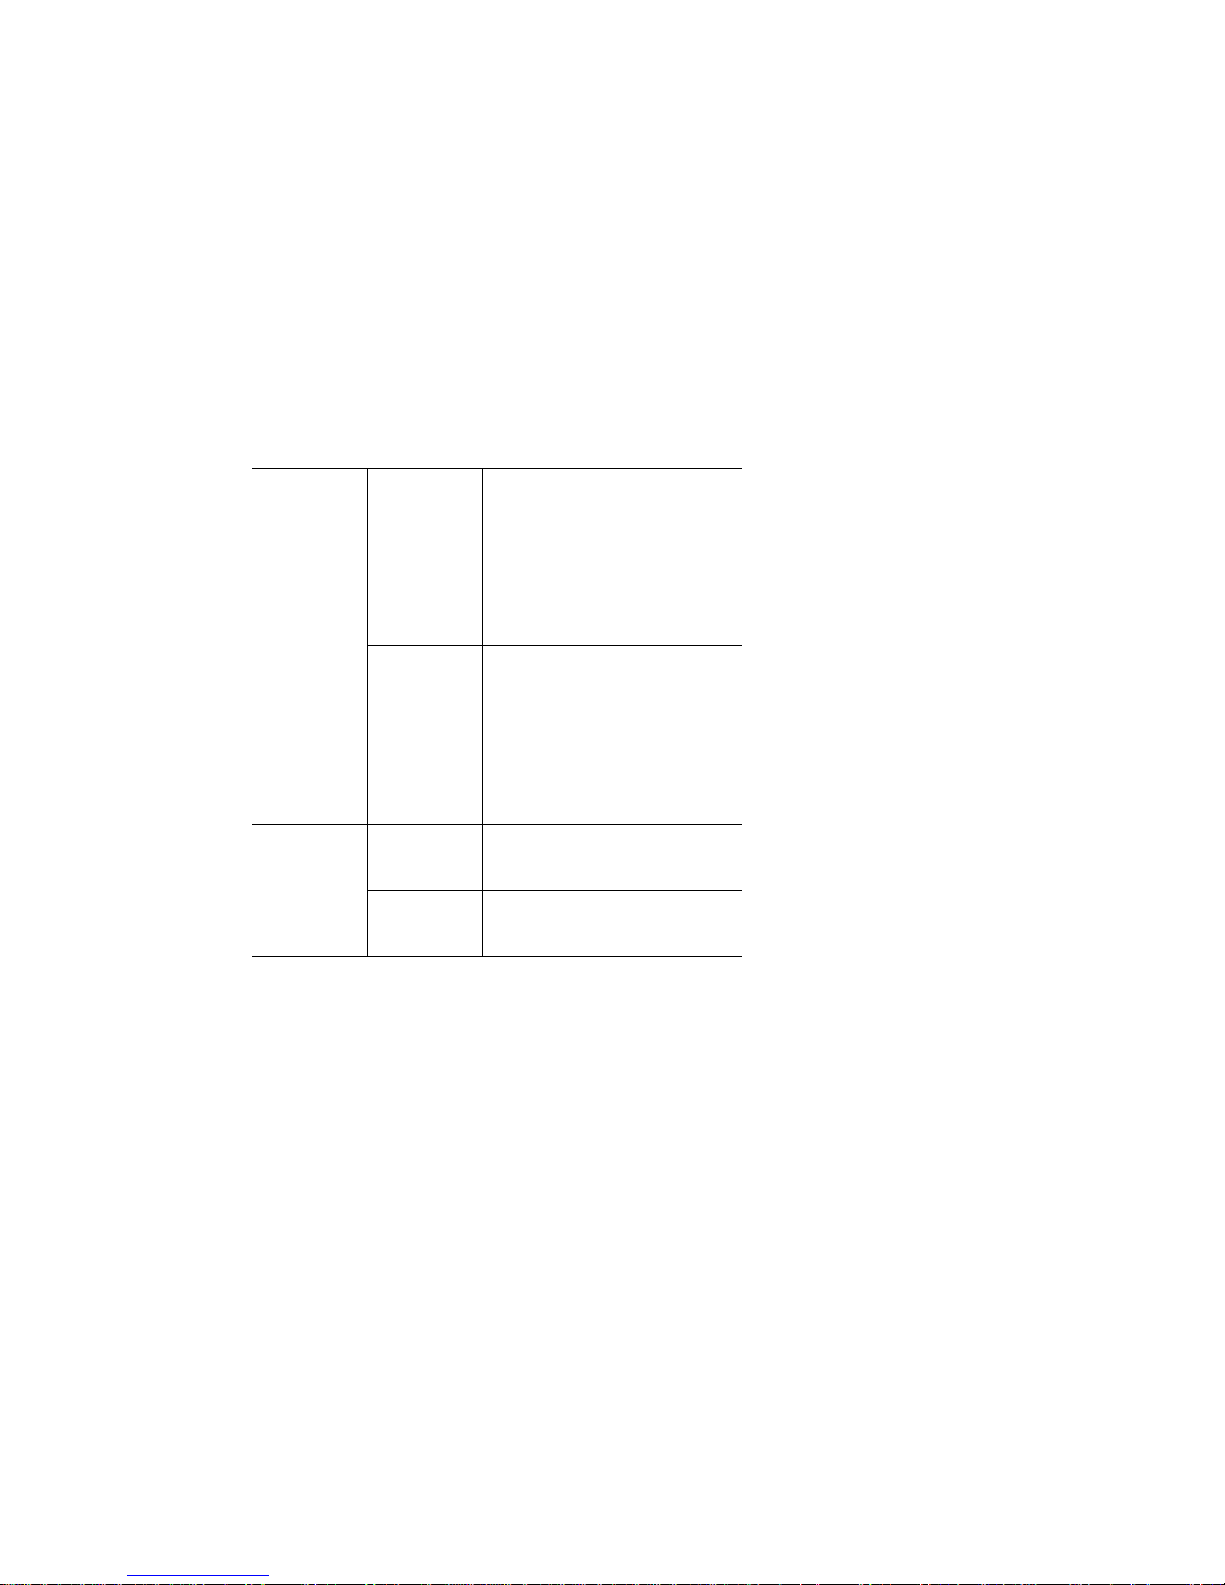
Tray 1
(MPT)
Tray 2 Width 140 mm - 297 mm
Width 7750B:
100 mm - 297 mm
(3.95 in. - 11.70 in.)
7750DN, 7750GX, 7750DXF:
100 mm - 320 mm
(3.95 in. - 12.00 in.)
Height 7750B:
140 mm - 432 mm
(5.5 in. - 17 in.)
7750DN, 7750GX, 7750DXF:
140 mm - 1200 mm
(5.5 in. - 47.25 in.)
(5.5 in. - 11.70 in.)
Height 182 mm - 432 mm
(7.15 in. - 17 in.)
To print custom size print jobs, Custom must be selected at the front panel and the paper size
and paper tray must be selected in the printer driver.
Copyright © 2004 Xerox Corporation. All Rights Reserved.
2-69
Page 2
Custom Size Paper
Printing Custom Size Paper in Tray 1 (MPT) or Tray 2
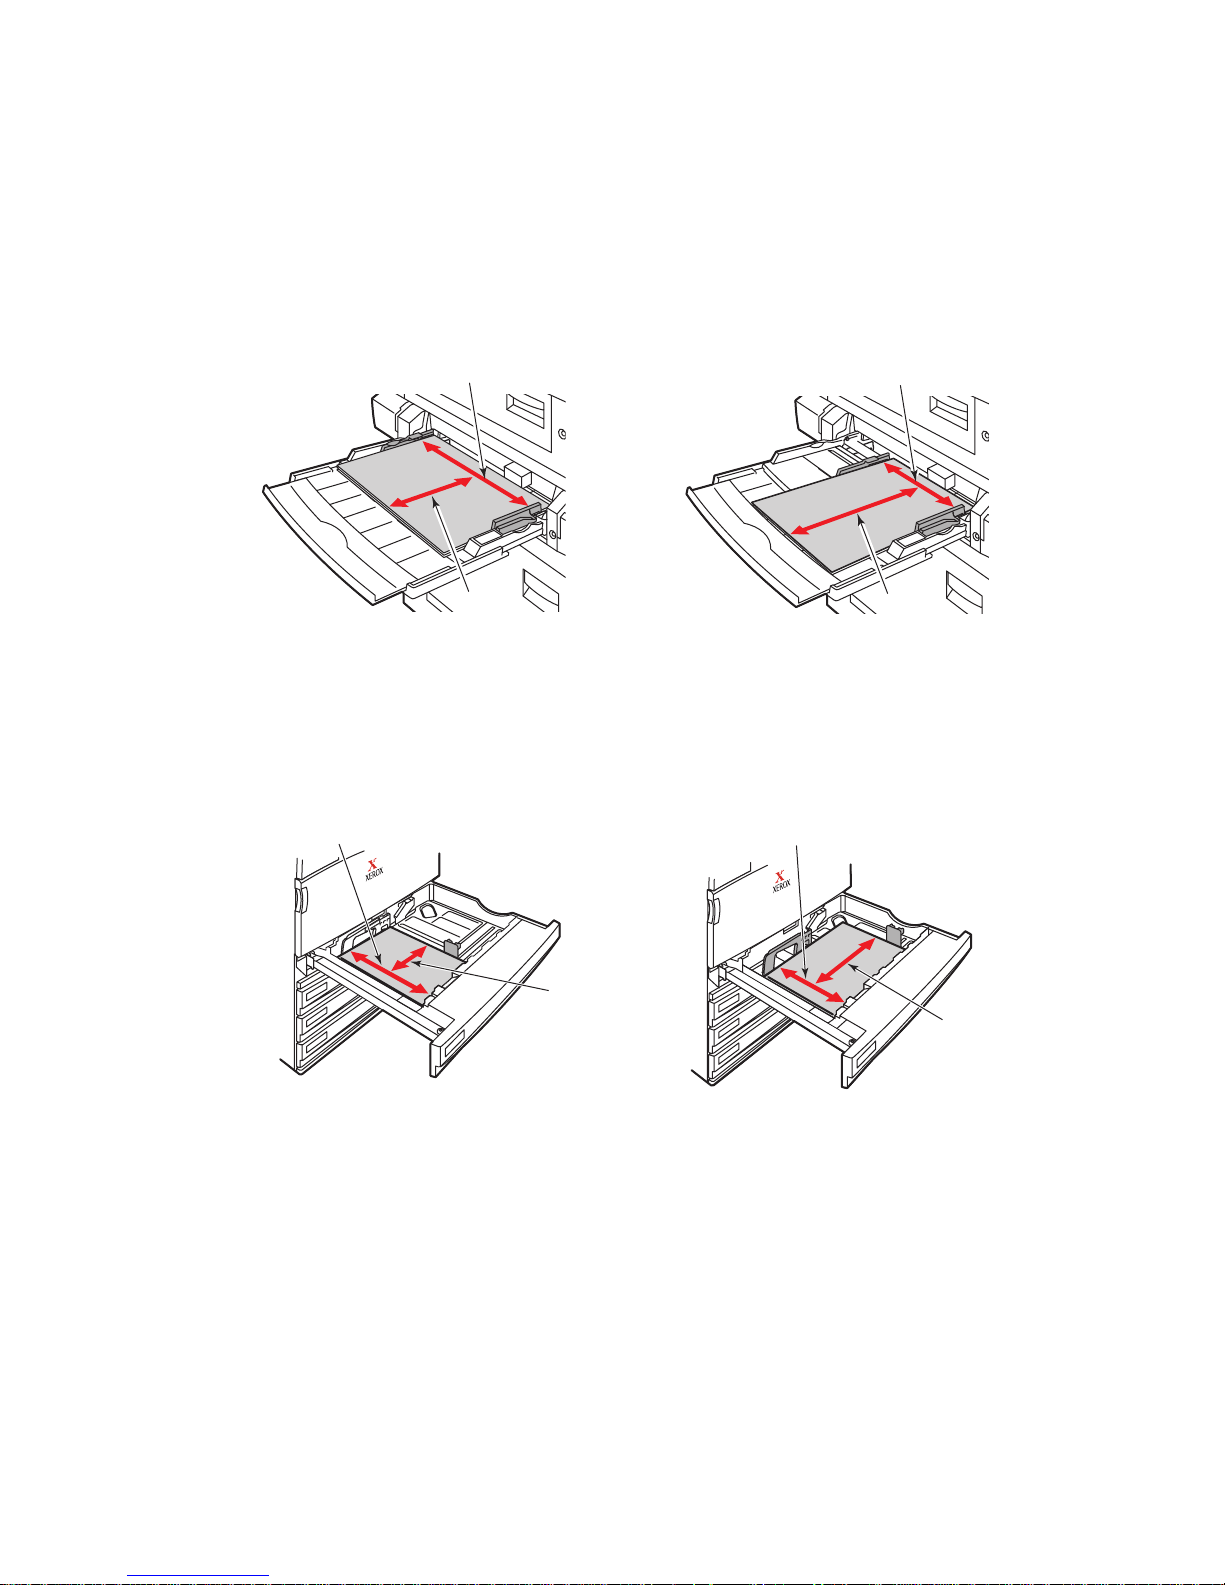
Loading the Paper Trays
1. Insert custom size paper in Tray 1 (MPT) or Tray 2.
Tray 1 (MPT)
Tray 2
W
H
7750-171
Long-Edge Feed Short-Edge Feed
W
W
W
H
7750-172
Long-Edge Feed Short-Edge Feed
2. Adjust the paper guides to the size of the paper.
H
7750-173
Phaser® 7750 Color Laser Printer
2-70
H
7750-174
Page 3

Custom Size Paper
Tray 1 (MPT)
The arrow on the width g uide, displayed in the follo wing grap hic, must line up with one of
three positions identified on the labeled area next to the width guide. Push firmly to move
the width guide so that the arrow points to the correct position for the paper size you are
using:
■ SRA3 (displayed in a black field): Do not use this setting for custom size printing.
■ 12” (displayed in a gray field): Use this setting for paper widths of 11.75 in.-12 in.
(298 mm-305 mm)
■ All other sizes (indicated by a black arrow)
7750-167
Tray 2
Adjust the paper guides according to the paper size and orientation (long-edge feed or
short-edge feed). Labels inside the paper tray provide additional information for loading
paper according to size and orientation.
7750-092
Phaser® 7750 Color Laser Printer
2-71
Page 4

Custom Size Paper
Push Tray 2 completely into the printer.
7750-014
Selecting Custom Size Options at the Front Panel
1. At the printer’s front panel, do one of the following:
■ Press the OK button if both the paper type and size selected are correct. Go to Step 7.
■ Select Change if the paper type or size selected is not correct, then press the OK
button. Go to step 2.
2. Select the paper type, then press the OK button.
3. Select Custom, then press the OK button. You are prompted to enter the custom width
and custom height.
Note
When the front panel prompts you to set Custom Width (W) and Custom Height
(H), verify that you are selecting the correct width and height values for the paper size
and orientation (long-edge feed or short-edge feed). See the following illustration to
determine how to select the correct width and height.
W
W
H
H
Long-Edge Feed Short-Edge Feed
7750-168
4. Select Custom Width (W), press the Up or Down Arrow button to select a value, then
press the OK button.
7750-169
Phaser® 7750 Color Laser Printer
2-72
Page 5

Custom Size Paper
5. Select Custom Height (H), press the Up or Down Arrow button to select a value, then
press the OK button.
6. Select Exit, then press the OK button.
7. Select the printer driver settings.
Selecting Printer Driver Settings
1. In printer Properties, select the Paper/Quality tab.
2. Select Force printing from a specific tray.
3. Select either Tray 1 (MPT) or Tray 2 as the paper source.
4. Click the OK button to print.
Note
When you have completed custom size printing, turn off Custom in the front panel and in
the printer driver.
Turning Off Custom Size Printing for Tray 1 (MPT) or Tray 2
Selecting Front Panel Settings
At the printer’s front panel:
1. Select Printer Setup, then press the OK button.
2. Select Paper Handling Setup, then press the OK button.
3. Select Tray 1 (MPT) Setup or Tray 2 Setup , then press the OK button.
4. Select Change, then press the OK button.
5. Select a paper type, then press the OK button.
6. Select one of the following options:
■ Tray 1 (MPT): Select a paper size from the list displayed, then press the OK button.
■ Tray 2: Select Auto-Sensed, then press the OK button. The paper size is set to
match the tray’s paper guides.
7. Select Exit, then press the OK button.
Phaser® 7750 Color Laser Printer
2-73
 Loading...