

Xantrex xPower 600 Owner's Manual
Owners Manual
All manuals and user guides at all-guides.com
all-guides.com

All manuals and user guides at all-guides.com
Contents
1.0 Introduction ........................................................................ 1
2.0 Safety First Before You Use xPower 600 ...................... 2
3.0 Quick Start Guide .............................................................. 3
3.1 Overview .................................................................................................. 3
3.2 An Explanation of Power Ratings and Battery Life ...................................... 4
3.3 Operating 115 Volt AC Products ................................................................ 4
3.4 Operating 12 Volt DC Accessories............................................................. 4
3.5 Recharging xPower 600............................................................................ 5
3.6 Using xPower 600 to Jump-Start Your Vehicle ........................................... 5
4.0 Indicators, Controls and Connection Points .................... 6
4.1 AC Power Panel ........................................................................................ 6
4.1.1 Battery Status Switch / Battery Level Indicator ............................... 6
4.1.2 AC Outlets Switch / POWER Light / AC Outlets ............................... 7
4.1.3 FAULT Light ................................................................................... 7
4.2 DC Power Panel ....................................................................................... 8
4.3 High Power 12 Volt DC Terminals.............................................................. 9
5.0 Powering 115 Volt AC Products ...................................... 10
5.1 General Information ................................................................................. 10
5.2 Connecting Your AC Products ..................................................................10
5.3 Automatic Protection: Overload, Overheating and Low Battery ..................11
5.4 Interference with Electronic Equipment.....................................................12
5.4.1 Buzzing Sound in Audio Systems .................................................. 12
5.4.2 Television Interference .................................................................. 12
5.5 Battery Operating Times ..........................................................................13
6.0 Powering 12 Volt DC Accessories ................................... 14
6.1 Connecting 12 Volt DC Accessories .........................................................14
6.3 Battery Operating Times ..........................................................................15
7.0 Vehicle or Boat Engine Starting Assistance .................. 16
7.1 Jump-Starting Direct to the Battery .......................................................... 16
7.2 Jump-Starting via a Vehicles Lighter Plug Socket .................................... 17
xPower600 is a trademark of Xantrex International. Xantrex is a registered trademark of Xantrex Technology Inc.
Copyright © 2000 Xantrex International. All rights reserved.
All manuals and user guides at all-guides.com

8.0 Recharging xPower 600 ................................................... 18
8.1 General Information on Batteries and Charging ......................................... 18
8.1.1 Charging Options .........................................................................18
8.1.2 Battery Self-Discharge and Shelf Life ............................................18
8.2 Recharging with the AC Charger .............................................................. 18
8.3 Recharging from Your Vehicle .................................................................. 19
8.4 Recharging with a Generators 12 Volt DC Power Outlet............................20
8.5 Recharging with a Solar Panel.................................................................. 20
9.0 Connecting to an External Battery ................................. 21
9.1 Extended Operating Time ......................................................................... 21
9.2 Connecting an External Battery ................................................................ 21
10.0 Battery Replacement ..................................................... 22
10.1 General Information About Battery Life ....................................................22
10.2 Replacing xPower 600s Internal Battery .................................................22
10.3 Obtaining a Replacement Battery ............................................................24
11.0 Troubleshooting ............................................................. 25
12.0 Specifications ................................................................ 26
13.0 Limited Warranty (USA and Canada only) .................... 27
14.0 Other Products from Xantrex ........................................ 29
All manuals and user guides at all-guides.com
1
xPower600 Owners Manual
1.0 Introduction
Thank you for purchasing xPower600
,
the 600-watt electronic generator thats portable
and rechargeable. Designed for both indoor and outdoor use, xPower600 can run a
wide range of electrical products from power tools to entertainment equipment, and
even small appliances. xPower600s rugged, cart-like design gives you go-anywhere
AC power and its plug-in-and-forget charging system keeps it fully charged and ready
for use any time the power goes out. With an optional set of jump-start cables,
xPower600 can even start a vehicle or boat.
Read this manual before using xPower600 and save it for future reference.
Be sure to charge xPower600 immediately after purchase (see Section 8.0).
xPower600s plug-in-and-forget charging system is intended to be left permanently
plugged into a wall outlet and will keep its battery fully charged and ready for use.
The following main topics are covered in this manual:
·
How to use xPower600 as a source of 115 Volts AC to run
household or workplace products.
·
How to use xPower600 as a source of 12 Volts DC to run typical
auto or marine accessories.
·
How to use xPower600 to jump-start a vehicle.
·
How to recharge xPower600s battery.
All manuals and user guides at all-guides.com
2
xPower600 Owners Manual
2.0 Safety First Before You Use
xPower600
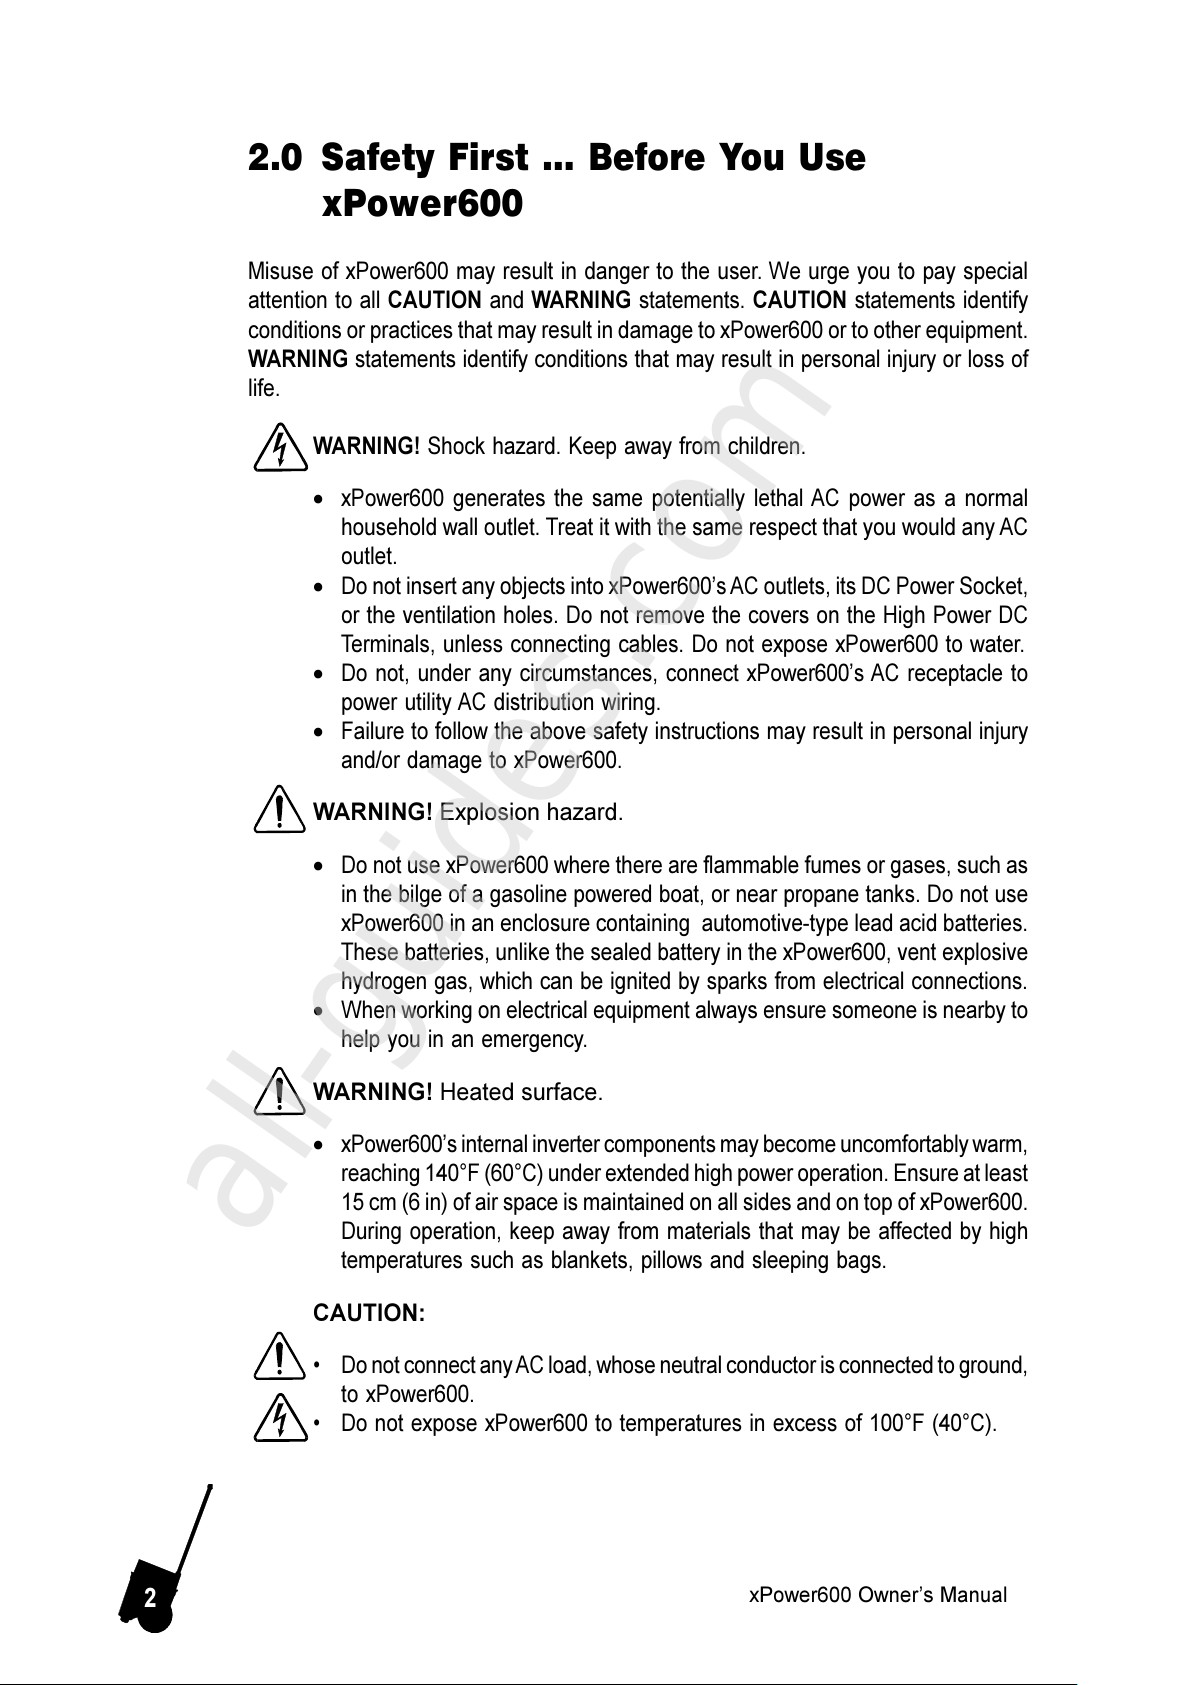
Misuse of xPower600 may result in danger to the user. We urge you to pay special
attention to all CAUTION and WARNING statements. CAUTION statements identify
conditions or practices that may result in damage to xPower600 or to other equipment.
WARNING statements identify conditions that may result in personal injury or loss of
life.
WARNING! Shock hazard. Keep away from children.
·
xPower600 generates the same potentially lethal AC power as a normal
household wall outlet. Treat it with the same respect that you would any AC
outlet.
·
Do not insert any objects into xPower600s AC outlets, its DC Power Socket,
or the ventilation holes. Do not remove the covers on the High Power DC
Terminals, unless connecting cables. Do not expose xPower600 to water.
·
Do not, under any circumstances, connect xPower600s AC receptacle to
power utility AC distribution wiring.
·
Failure to follow the above safety instructions may result in personal injury
and/or damage to xPower600.
WARNING! Explosion hazard.
·
Do not use xPower600 where there are flammable fumes or gases, such as
in the bilge of a gasoline powered boat, or near propane tanks. Do not use
xPower600 in an enclosure containing automotive-type lead acid batteries.
These batteries, unlike the sealed battery in the xPower600, vent explosive
hydrogen gas, which can be ignited by sparks from electrical connections.
·
When working on electrical equipment always ensure someone is nearby to
help you in an emergency.
WARNING! Heated surface.
·
xPower600s internal inverter components may become uncomfortably warm,
reaching 140°F (60°C) under extended high power operation. Ensure at least
15 cm (6 in) of air space is maintained on all sides and on top of xPower600.
During operation, keep away from materials that may be affected by high
temperatures such as blankets, pillows and sleeping bags.
CAUTION:
Do not connect any AC load, whose neutral conductor is connected to ground,
to xPower600.
Do not expose xPower600 to temperatures in excess of 100°F (40°C).
All manuals and user guides at all-guides.com
all-guides.com
3
xPower600 Owners Manual
3.0 Quick Start Guide
3.1 Overview
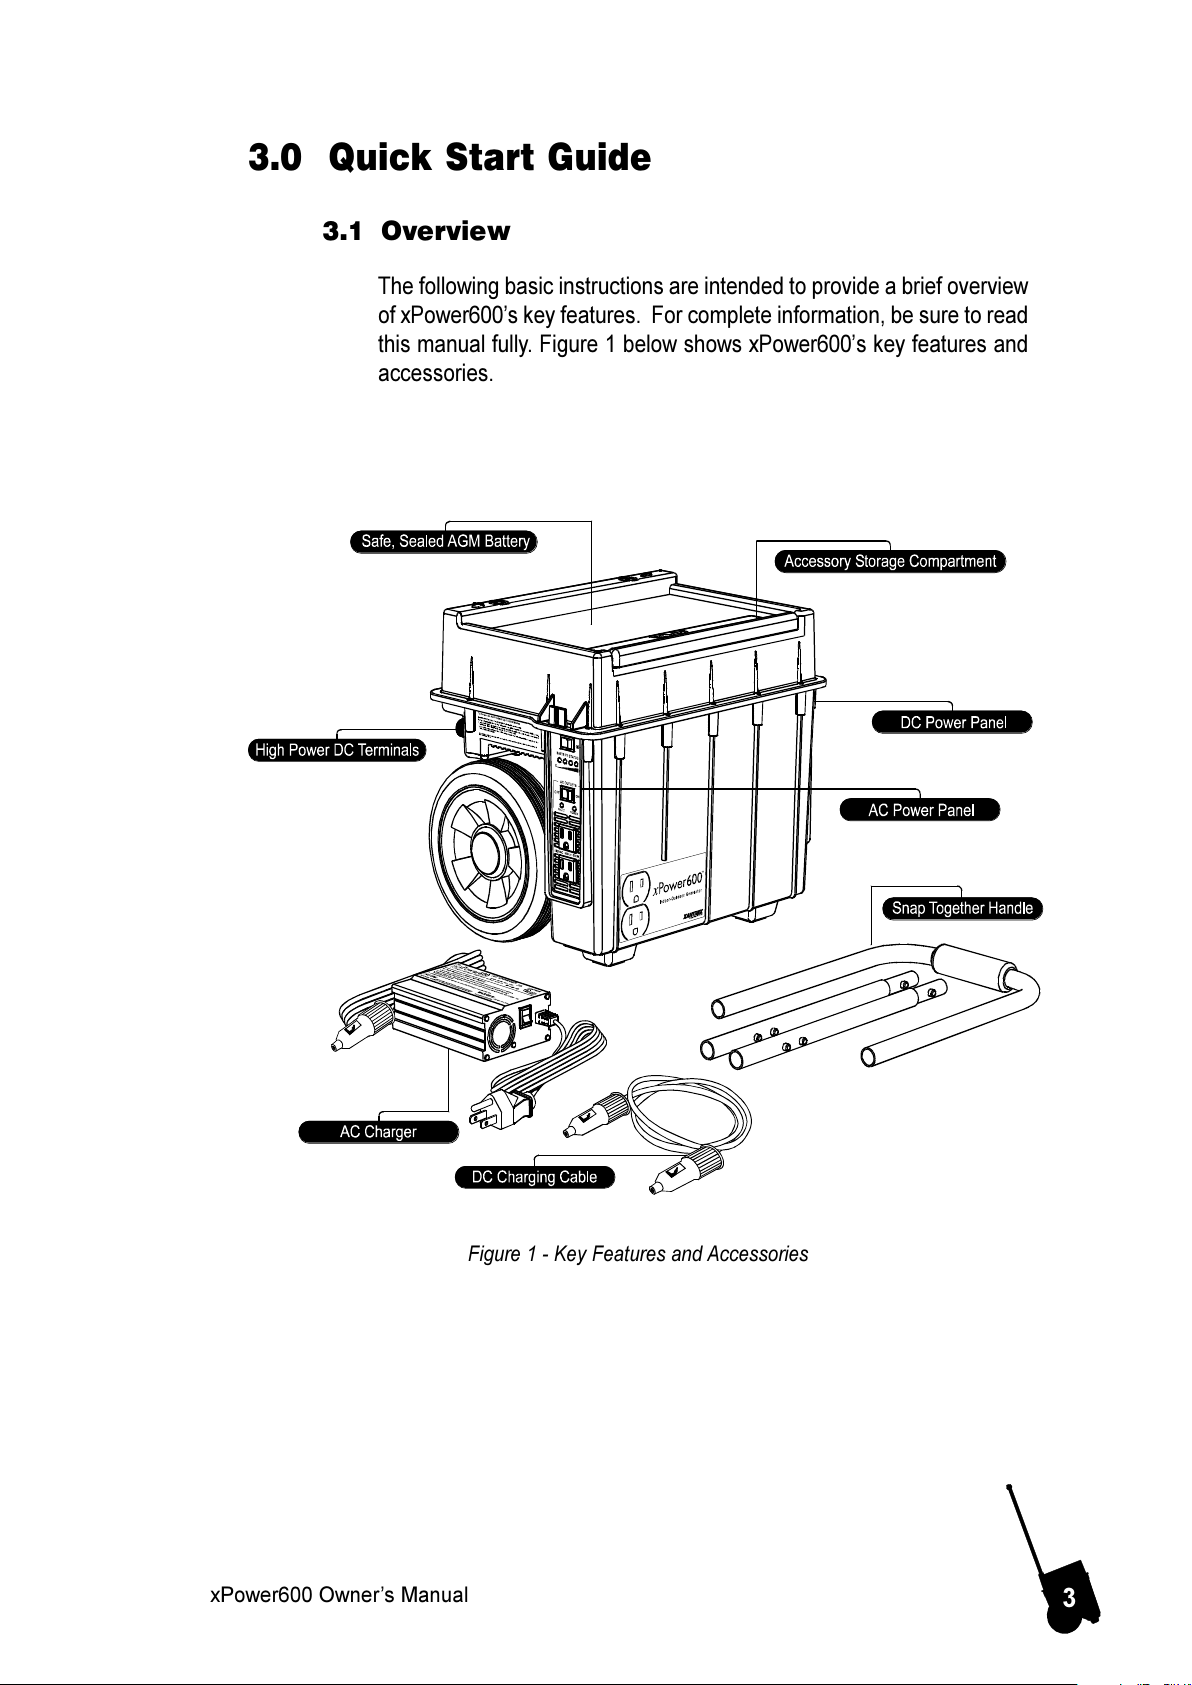
The following basic instructions are intended to provide a brief overview
of xPower600s key features. For complete information, be sure to read
this manual fully. Figure 1 below shows xPower600s key features and
accessories.
Figure 1 - Key Features and Accessories
All manuals and user guides at all-guides.com
4
xPower600 Owners Manual
3.2 An Explanation of Power Ratings and Battery
Life
AC powered products are rated by how much electrical power (in Watts)
they consume. xPower600 is capable of generating a maximum of 600
Watts (maximum continuous) to power AC products plugged into the AC
outlets. As an example, a lamp with a 40 Watt light bulb can be operated
from xPower600 for up to 6½ hours when xPower600s internal battery
is fully charged.
12 Volt DC auto and marine accessories are generally rated according
to how much electrical current (in amperes or Amps) they draw from
the battery. For example, a small 12 Volt fluorescent light draws less
than 0.7 Amps. When connected to xPower600s DC Power Socket, this
light could be expected to operate for about 50 hours before xPower600s
battery needs recharging. xPower600 is designed to supply up to 12
Amps from its DC Power Socket.
Remember: The fewer Watts an AC product uses, or the fewer Amps a
DC accessory draws, the longer xPower600 will operate before recharging
is required.
3.3 Operating 115 Volt AC Products
1. Ensure xPower600s battery is fully charged. See Section 8.0 for
details.
2. Turn the AC Outlets switch ON. The green POWER light indicates
AC power is available at the AC outlets.
3. Plug the AC product(s) you wish to operate into the AC outlet(s)
and switch the appliance(s) ON, one at a time. xPower600 will
operate most devices rated up to 600 Watts.
4. In the event of an overload, low battery voltage or overheating, the
AC outlets will automatically shut down and its red FAULT light will
illuminate. See Section 5.3 for details.
5. Fully recharge xPower600s battery as soon as possible after each
use.
3.4 Operating 12 Volt DC Accessories
1. Ensure xPower600s battery is fully charged. See Section 8.0 for
details.
2. Plug the accessory into xPower600s DC Power Socket, and switch
the accessory on (if required). xPower600 will operate any 12 Volt
DC auto or marine accessory that draws 12 Amps or less.
All manuals and user guides at all-guides.com
5
xPower600 Owners Manual
3. Because the DC Power Socket is internally wired direct to
xPower600s battery, extended operation of a 12 Volt accessory
may result in excessive battery discharge. Important: Care must
be taken to ensure the battery does not become totally discharged.
See Section 6.1 for details.
3.5 Recharging xPower600
1. The batterys charge level may be seen by pressing the Battery
Status switch on the AC Power Panel.
2. To recharge, plug the AC Charger into a standard 115 Volt AC
outlet and the DC plug into the DC Power Socket (located on the
DC Power Panel). The Recharge Indicator on the AC Charger will
change from amber to green when charging is complete (8 to 10
hours). It is safe (and recommended) to leave the AC Charger
connected indefinitely.
3. Charging may also be done from an automobile lighter socket.
See Section 8.3 for details.
3.6 Using xPower600 to Jump-Start Your Vehicle
Due to potential dangers, see Section 7.0 for a detailed explanation.
All manuals and user guides at all-guides.com

6
xPower600 Owners Manual
4.0 Indicators, Controls and Connection
Points
4.1 AC Power Panel
As shown in Figure 2 below, the AC Power Panel contains the Battery
Status Switch, Battery Level Indicator, AC Outlets Switch, AC Power
Light, Fault Light, and dual AC Outlets.
Figure 2 - View of AC Power Panel
All manuals and user guides at all-guides.com

7
xPower600 Owners Manual
4.1.1 Battery Status Switch / Battery Level Indicator
The Battery Level Indicator shows the state of charge of
xPower600s battery. Its function is similar to the fuel gauge in a
car. When pressing and holding the Battery Status Switch, one or
more of the four lights in the display will illuminate, showing the
approximate amount of charge remaining in the battery. The
following diagram shows the function of each light:
When the battery is fully charged, all four lights will illuminate.
When discharged (empty), only the red light will illuminate and the
battery must be recharged promptly. Figure 3 shows the battery
to be approximately ¾ full.
Battery condition is indicated most accurately when the battery
has been unused for 15 minutes. Pressing the Battery Status Switch
while supplying power to an AC product may result in a false battery
charge level reading.
4.1.2 AC Outlets Switch / POWER Light / AC Outlets
Turning this switch ON supplies power to both AC Outlets. An audio
tone sounds briefly when the AC Outlets are turned on. The
POWER light illuminates to confirm the AC Outlets are on. Turning
this switch OFF cuts power to the AC Outlets. The POWER Light
is off when the AC Outlets are off.
IMPORTANT: The vents around the AC Outlets allow the
xPower600s internal cooling fan to exhaust warm air created by
the circuitry that converts 12 Volts DC into 115 Volts AC. This
area should never be covered or blocked when xPower600 is used.
The internal cooling fan runs any time the AC Outlets Switch is on
and is essential for maintaining optimal performance.
4.1.3 FAULT Light
The FAULT Light illuminates when automatic shutdown occurs as
a result of low battery voltage, over load, or over temperature
conditions. See Section 5.3 for details.
Figure 3 - Battery
Shown at 3/4 Full
All manuals and user guides at all-guides.com
all-guides.com
 Loading...