

Page 1
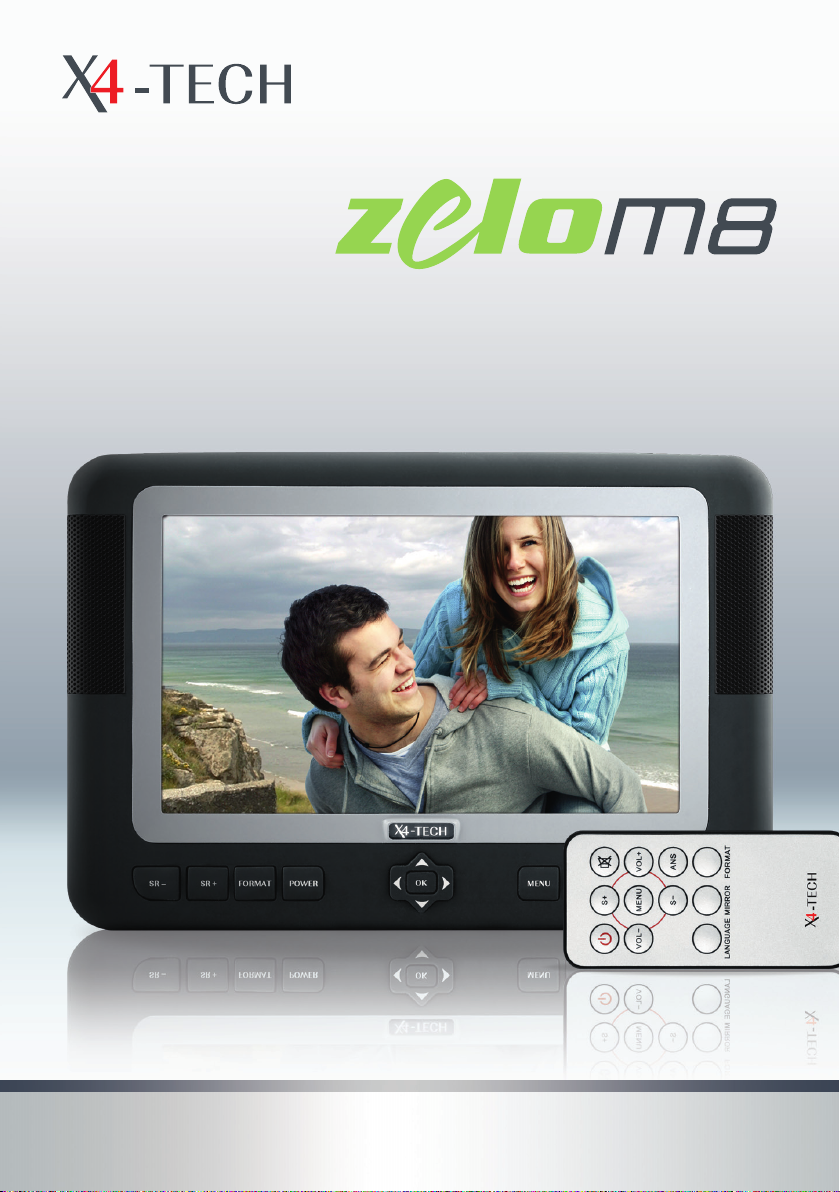
mobile LCD monitor
Instruction manual
Page 2

Content
5 Chapter 1 Safety instructions
7 Chapter 2 The monitor
7 The LCD monitor
9 Remote control
11 Power supply
11 Indicator lamp
12 Chapter 3 Basic operation
12 Sound volume
12 Mute sound
13 Adjusting the picture setting
13 Choosing an input mode
14 Chapter 4 Function selection
15 Chapter 5 VGA mode
16 Chapter 6 Further features
16 Sleep time
16 Listening with earphones
17 Connecting other devices
18 Chapter 7 Troubleshooting
20 Chapter 8 Specications
20 Technical data
20 Connections
21 Delivery contents
2 3
Page 3

Safety instructions
1
Dear Customer:
Congratulations on purchasing the ZELO M8 LCD monitor. To enjoy the features that
this monitor has to oer and to ensure safety and years of trouble-free operation,
please read and follow all operating and maintenance instructions found in the instruction manual thoroughly and retain this manual for future reference.
A declaration of CE conformity has been established for this product. Certication has
been documented and entrusted to the manufacturer.
1. Never attempt any maintenance or repairs yourself. If something appears strange,
please turn the monitor o and consult your dealer. The monitor is composed of many
delicate electronic components that can be damaged or broken if you open the monitor or attempt to modify it.
2. Do not expose the monitor to high humidity, dust, steam, oil or smoke. Avoid dropping the unit and strong impact.
3. Never use abrasive cleaning agents or cleaners containing solvents. Wipe the monitor o with a soft cloth if it gets dirty.
4. Do not leave the monitor in excessively hot or cold places.
Permissible storage temperatures are within the range of –25° C to +60° C.
Permissible operation temperatures are within the range of 0° C to +40° C.
5. Only use specied adapters/power sources recommended by the manufacturer.
6. Turn the unit o and remove the adapter when not in use.
For your safety, the driver should not watch TV or operate the controls while driving.
Please note that watching and operating the TV while driving are prohibited by law in
some countries.
Light or dark colored dots that appear during operation do not mean that the device is
broken or defect. These dots are common in TFT/LCD technology.
4 5
Chapter 1 Safety instructions
Page 4
The monitor
The LCD monitor
2
1
2
3
4
5
6
1. LCD panel
2. Logo and control light for ON/OFF
3. Source select buttons (AV, S-Video and VGA) and navigation p q
4. Power button: to turn on and o (3 seconds long press to turn on)
5. Format select buttons: 4:3 and 16:9
6. Source select buttons (AV, S-Video and VGA)
7. Stereo speakers
8. OK button: for menu conrmation
9. VOL–/ VOL+ button and navigation t u
10. MENU button
11. ANS button: to change volume, brightness, contrast, color and tint
12. VOL–/ VOL+ button
7
8
9
10
11
12
Chapter 1 Safety instructions Chapter 2 The monitor
6 7
Page 5

13
Remote control
14
15
16
17
18
13. VGA input
14. S-Video input
15. Input socket sound audio R/L (red/white connector)
16. AV input socket picture (yellow connector)
17. AV out
18. Earphone socket
19. Screw hole circle (for stand attachment)
20. Support stand
21. DC power input socket
22. Support stand locks
19
20
21
22
1
6
2
7
3
8
4
9
5
8 9Chapter 2 The monitor
Chapter 2 The monitor
Page 6

1. POWER button: to put the monitor o
2. VOL–/VOL+
3. SOURCE: to select AV1 or AV2
4. LANGUAGE: to select the OSD language
5. MIRROR: to mirror the picture
6. MUTE: used to enable or disable the audio
7. MENU: displays the Menu on the screen
8. ANS: to select brightness, contrast, color, tint adjusting mode
9. FORMAT: to turn the 16:9 or 4:3 picture
Power supply
For use at home:
Connect the included adapter to a wall outlet and then the DC output plug to your
monitor to supply your monitor with power. Press the POWER switch for approx. 3 seconds to turn the monitor on. Please make sure that the power adapter coincides with
the voltage specication of your wall outlet.
For use in the car (DC 12 V):
Connect the included car adapter to your cars cigarette lighter and then the DC output
plug to your monitor. Press the POWER switch approx. 3 seconds to turn the monitor
on.
Indicator lamp
The logo on the device illuminates white during operation.
10 11Chapter 2 The monitor
Chapter 2 The monitor
Page 7

Basic operation
3
Sound volume
1. Press the VOL+ button to increase the volume.
The indicator segment increases.
2. Press the VOL– button decrease the volume.
The indicator segment decreases.
To mute sound
1. Press the MUTE button to eliminate the sound.
The MUTE indicator will be displayed on screen.
Adjusting the picture setting
1. Press the ANS button to select a volume, brightness, contrast, color, or tint setting
(tint adjustments can only be performed in NTSC system).
2. Press VOL+/VOL– button to adjust the brightness, contrast, color and tint.
The following progress bar is an example of a brightness setting adjustment.
Color adjustments can only be made in the NTSC system. The PAL standard system
should be used in Europe.
2. Press the MUTE or VOL+/VOL– button to return to the previous sound level.
12 13Chapter 3 Basic operation
Choosing the input
Press the SOURCE (SR+/SR–) button respectively to choose between an AV, S-Video
and VGA mode.
Chapter 3 Basic operation
Page 8

Function selection
VGA mode
4
1. Press the MENU button to display the FUNCTION menu.
2. Navigate with the SOURCE p ,q button to select a function.
3. Press the VOL+/VOL– button for function setting adjustments.
The following menu is displayed on screen.
FUNCTION
1. Language
Navigate with the SOURCE p ,q button to LANGUAGE. Press the VOL+/VOL– button
on the device or the LANGUAGE button on the remote control to change the language.
2. Picture up MIRROR
Navigate with the SOURCE p ,q button to MIRROR. Press the VOL+/VOL– button on
the device or the MIRROR button on the remote control to select a normal or mirrored
picture.
5
Connect this monitor to a notebook or computer and use it as a computer monitor.
Use a VGA cable (not included in delivery) to connect your monitor to a notebook or
computer.
1. Press the SOURCE button on the remote control or the SR+, SR– button on the device
respectively until VGA is displayed on screen.
2. Turn on your computer.
3. Your computer‘s desktop picture will now appear on the monitor‘s screen.
Note: Please note that high resolutions are not supported. Dierent settings are
possible depending on the graphic card model. Try the lowest resolution rst and
then increase afterwards. Resolutions up to 960 x 600/70 Hz are supported. Higher
resolutions up to 1088 x 612/“70 Hz“ for advanced display settings.
Troubleshooting: Most times your VGA port has to be activated when connecting a
notebook. Please refer to the notebook instruction manual rst, before connecting. If a
monitor driver has been installed, select „standard monitor” and „70 Hz“ at the advanced display settings.
For centering the picture press the MENU button and change the values for „H position“ and „V position“ with the t, u, p, q buttons.
Note: At VGA mode no color setting possible.
3. Aspect mode
Navigate with the SOURCE p ,q button to ASPECT. Press the VOL+/VOL– button on
the device or the ASPECT button on the remote control to select a 16:9 or 4:3 viewing
format.
4. Picture up and down
Navigate with the SOURCE p ,q button to DOWN. Press the VOL+/VOL– button on
the device for up or down picture selection.
14 15Chapter 4 Function selection
Chapter 5 VGA mode
Page 9

Further features
6
Sleep time
Press the SLEEP TIME button to select the sleep time from 0 to 240 minutes.
Listening with earphones
Plug the earphones into the 3.5 mm jack located on the right side of the device (can be
identied by the symbol „earphones“).
Connecting other devices
Press the SOURCE buttons on the remote control or the SR+/SR– buttons on the device
respectively until AV, S-Video or VGA is displayed on screen.
You can connect this device to an external source, such as a DVD player, satellite receiver or video recorder as follows. Use the adapter cable for connecting the devices.
Picture and Sound:
Input terminals
Red/White: audio channels stereo, right/left
Yellow: video channel
Note: No sound can be heard from the main speakers, when the earphones are connected
to the device.
16 17Chapter 6 Further features
Please refer to your external devices instruction manual before connecting. The AV
mode allows you to make diverse setting adjustments, for example, Volume, Picture
and Sleep mode adjustments.
Chapter 6 Further features
Page 10

Troubleshooting
7
Problem Solution
There is no picture or
sound.
No picture Make sure that all cables have been connected to
No sound Check that the MUTE button has not been activa-
No color Check the color contrast setting and if the correct
Make sure the AC adapter is connected properly to
the power outlet/adapter terminal.
Make sure that all cables have been connected to
their respective jacks..
Make sure that the right input is selected.
their respective jacks..
ted or that the volume has not been adjusted to a
minimum.
Check that no earphones have been connected.
Make sure that all cables have been connected to
their respective jacks..
color system is chosen (standard system in Europe
is PAL).
Remote control is not
functioning properly.
Doubled picture Check that there are no electromagnetic waves
Spotted picture There may be interference from automobiles,
Check if the batteries have sucient power/replace batteries.
Make sure the remote sensor is not exposed to
strong light.
that could inuence the device.
trains, high voltage lines, etc.
Picture too bright or bad
colors
Picture is too dark. Check the contrast and brightness settings.
18 19Chapter 7 Troubleshooting
Check the color contrast setting and if the correct
color system is chosen (PAL / NTSC).
Check the contrast and brightness settings.
Chapter 7 Troubleshooting
Page 11

Specications
8
Technical data
› 8 inch LCD monitor (20,3 cm)
› Dimensions: 246 x 166 x 39 mm
› Weight: approx. 850 g
› 16:9 wide screen format
› Pixel: 800 x 3 x 480
› Video color system: PAL/NTSC
› Brightness: 200 cd/m
› Backlight: LED
› Viewing angle: horizontal: 130°, vertical: 110°
› Amplier for sound: 2 x 0.25 W
› Speakers: 2 x 4 cm (diameter)
› Power consumption: 8 W
› Power supply: 10 – 15 V DC (car adapter)
100 – 240 V adapter
2
Connections
Delivery contents
Please check contents thoroughly after purchasing.
› Mobiler 16:9 LCD monitor
› Adapter (100 – 240 V)
› Car adapter
› Car bag for headrest attachment
› Earphones
› A/V cable
› Stand
› Remote control
› Instruction manual
› AV
› AV out
› S-Video
› VGA
› Earphone jack
› 12 V input
Chapter 8 Specications
20 21
Chapter 8 Specications
Page 12

Service
Hotline: +49 (0) 53 02/8 06-450
Address: x-services.eu gmbh
Service department X4-TECH
Brackestraße 3
D-38159 Vechelde
Germany
Manufacturer information
x-peer.de GmbH
Brackestraße 3
38159 Vechelde
Germany
Telephone +49 (0) 53 02/8 06-400
Fax +49 (0) 53 02/8 06-499
Internet: www.x-peer.de
E-Mail: info@x-peer.de
22 23
Page 13

Version 2.2 – 1/2010
24
www.x4-tech.de
 Loading...