

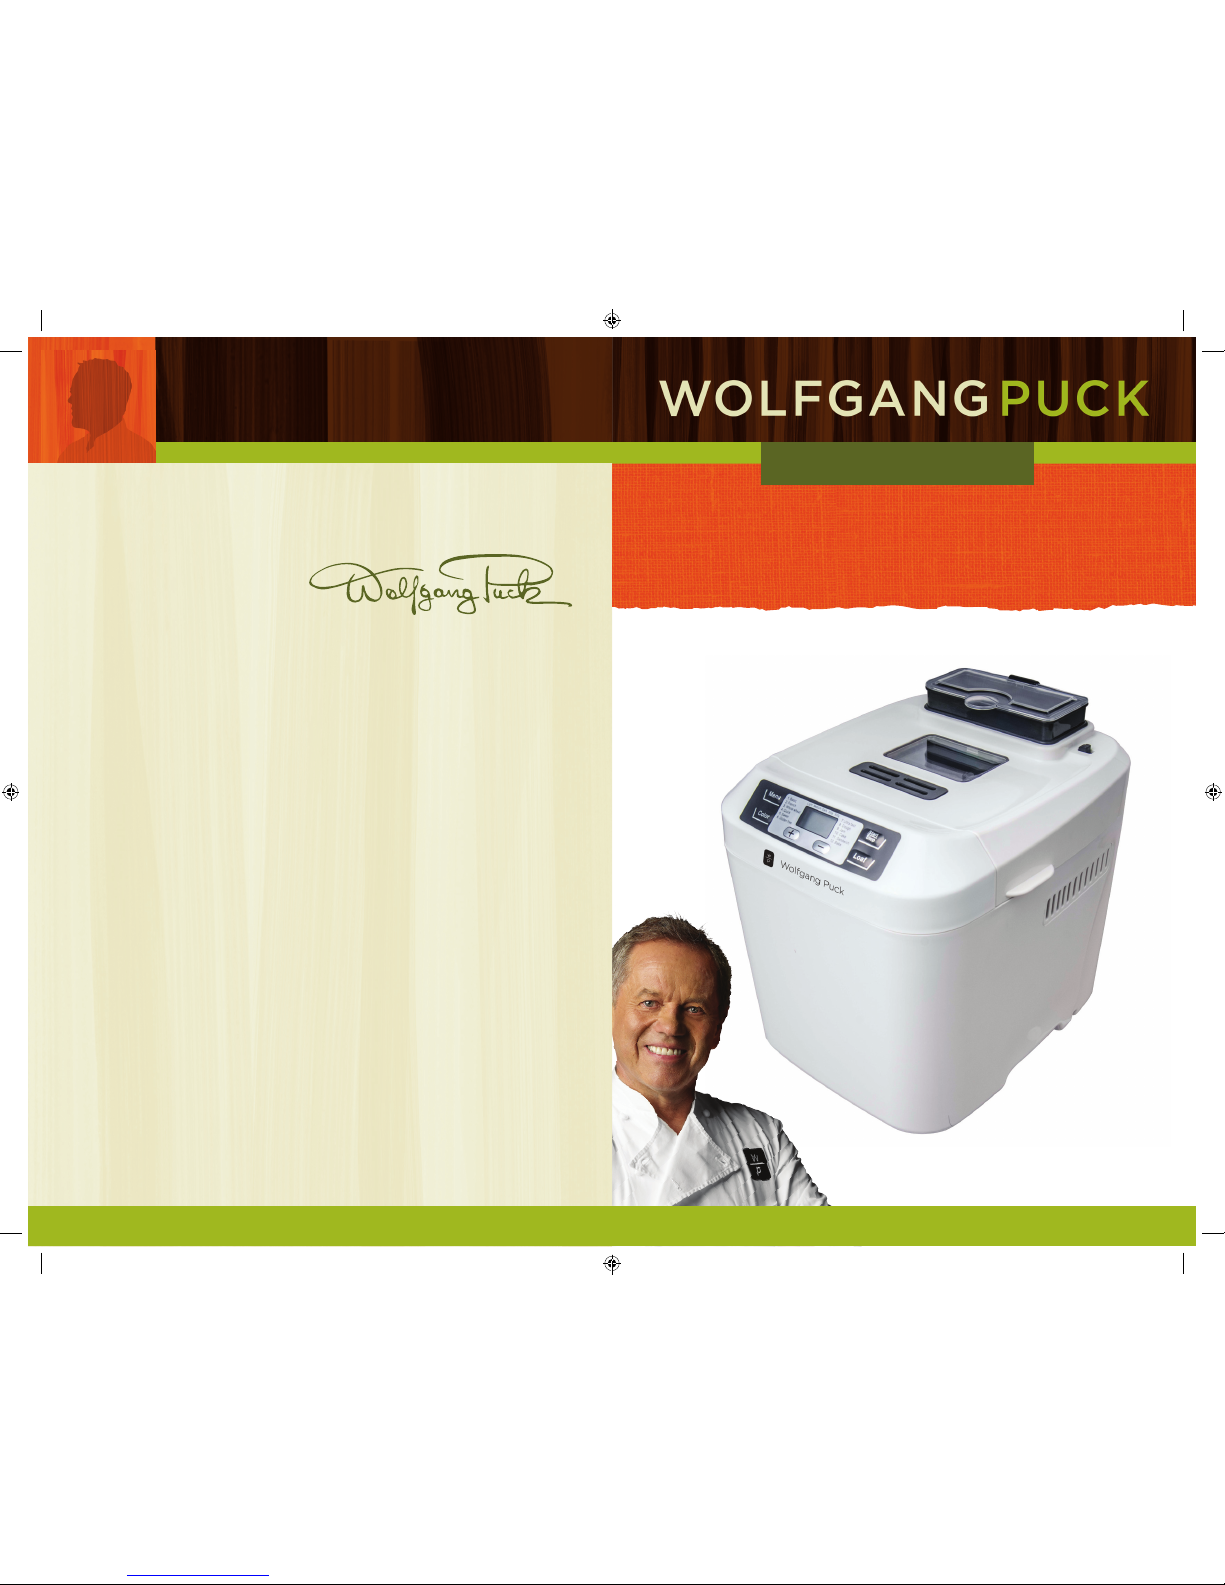
Wolfgang Puck BBME0070 Use And Care Manual
LIFE IS ABOUT BALANCE
AND EATING WELL
I M P O R T A N T N O T I C E
If you have any problems with this unit, contact
Consumer Relations for service PHONE: 1-800-275-8273
or visit our website at wphousewares.com
Please read operating instructions before using this
product. Please keep original box and packing materials
in the event that service is required.
W.P. APPLIANCES, INC. Toll Free (800) 275-8273
Model BBME0070 Printed In China REV 1.0
2.0lb. Programmable Breadmaker
USE AND CARE

2 3
IMPORTANT SAFEGUARDS
SAVE THESE INSTRUCTIONS
HOUSEHOLD USE ONLY
When using electrical appliances, basic precautions should always be
followed, including the following:
Read all instructions.
Do not touch hot surfaces. Use handles or knobs and a potholder.
To protect against electrical shock, do not immerse cord, plug, or
any other part of this breadmaker, in water or other liquid.
Close supervision is necessary when any appliance is used by or
near children.
Unplug from outlet when not in use and before cleaning. Allow to
cool before putting on or taking off parts.
Do not use or operate the appliance with a damaged cord or plug,
or after the appliance malfunctions or has been damaged in any
manner. Return appliance to the nearest authorized service facility
for examination, repair or adjustment.
The use of accessory attachments not recommended or sold by the
manufacturer may cause injuries.
Do not use outdoors.
Do not let the power supply cord hang over the edge of table or
counter, or touch hot surfaces.
Do not place the appliance on or near hot gas or electric burners, or
in a heated oven.
Extreme caution must be used when moving an appliance
containing hot oil or other hot liquids or content.
Always attach plug to the appliance first, then plug cord into
wall outlet. To disconnect, turn any control “off”, then remove plug
from wall outlet. Grip plug and pull from wall outlet. Never pull
on the cord.
Do not use the breadmaker for other than intended use.
Avoid contacting moving parts during operation.
To reduce risk of electric shock, cook only in removable container.
Use extreme caution when removing hot container with food.
Do not clean with scouring pads. Pieces can break off the pad an
touch electrical parts, creating a risk of electric shock.
1
2
3
4
5
6
7
8
9
10
11
12
13
14
15
16
17
Do not store in breadmaker any material, other than manufacturers
recommended accessories nor insert any utensils, as they may
create risk of fire or electric shock.
18
Additional Safety Information
This appliance has a polarized plug (one blade is wider than the other).
As a safety feature, this plug will fit in a polarized outlet only one way. If
the plug does not fit fully in the outlet, reverse the plug. If it still does not
fit, contact a qualified electrician. Do not attempt to defeat this safety
feature.
The marked rating of the extension cord must be equal to or greater then
the rating of this appliance. The electrical rating is listed on the bottom
of this unit.
NOTE: This appliance rated 550 watts and should be the only appliance
operating on the circuit. The plug must be plugged into an outlet which
is properly installed and grounded.
The appliance may emit a little smoke and slight odor when turning
it on for the first time. This is normal and will soon stop. Make sure the
appliance has sufficient ventilation.
Please check if all parts and accessories are “complete and free of
damage”.
Clean all the parts according to the section “Care & Cleaning”.
We recommend a trial run to remove any protective coatings used
for shipment. Set the breadmaker in BAKE mode and the TIME for 10
minutes.
Before Your First Use

Wolfgang Puck,
owner of the famous
Spago restaurants and
one of the most influential chefrestauranteurs in America, is credited
with reviving California’s rich culinary
heritage. His cooking innovations, a
result of blending fresh California
ingredients with his classical French
techniques, are enjoyed by world
leaders, stars and fellow chefs alike.
He established other trend-setting
restaurants like Postrio in San
Francisco, Chinois on Main in Santa Monica, Trattoria del Lupo, Cut, and
his latest creation, Jai, an Asian fusion restaurant in San Diego. Home
chefs can also share Mr. Puck’s talents through his cookbooks, cutlery,
cookware and, of course, through his appliances!
4 5
Table of Contents
Important Safeguards
Additional Safety Information
Before Your First Use
About Wolfgang Puck
Know Your Breadmaker
Know Your Control Panel
Setting Descriptions
Delay Function (Time)
Automatic Fruit & Nut Dispenser
Using Your Breadmaker
Using The Quick and Rapid Bake Cycles
Introduction of Bread Ingredients
Measuring Ingredients
Care & Cleaning
Troubleshooting Guide
Breadmaker Cycle Times
Recipes
Limited Warranty
Contact Information
2
3
3
4
6
8
9
11
11
12
14
14
16
17
18
24
26
39
Back
6 7
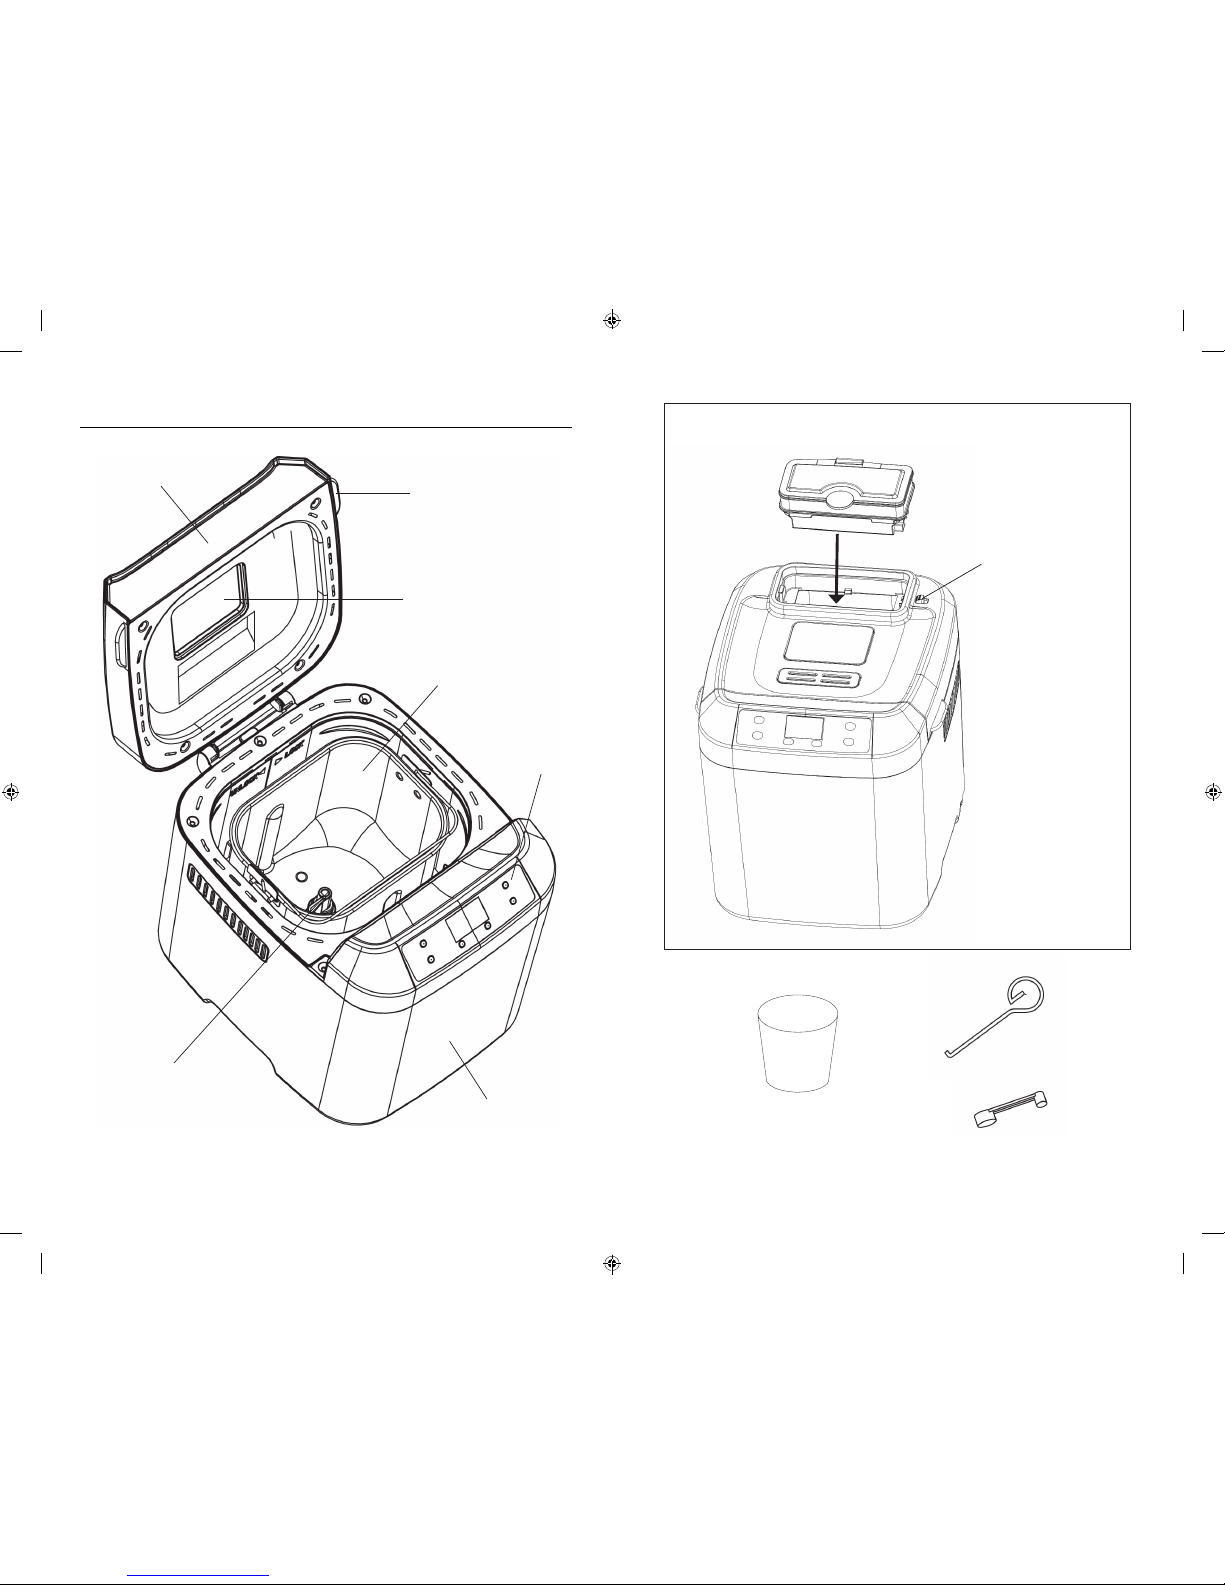
Know Your Breadmaker
Actual product may differ slightly from illustrations on this page
Lid
Handle
Viewing Window
Bread Pan
Control
Panel
Housing
Measuring
Spoon
Measuring Cup
Hook
Kneading
Blade
Ingredient Pan
Dispenser Release
Button
(Slide the button to
the right and hold
while inserting or removing
the Ingredient Pan)
8 9
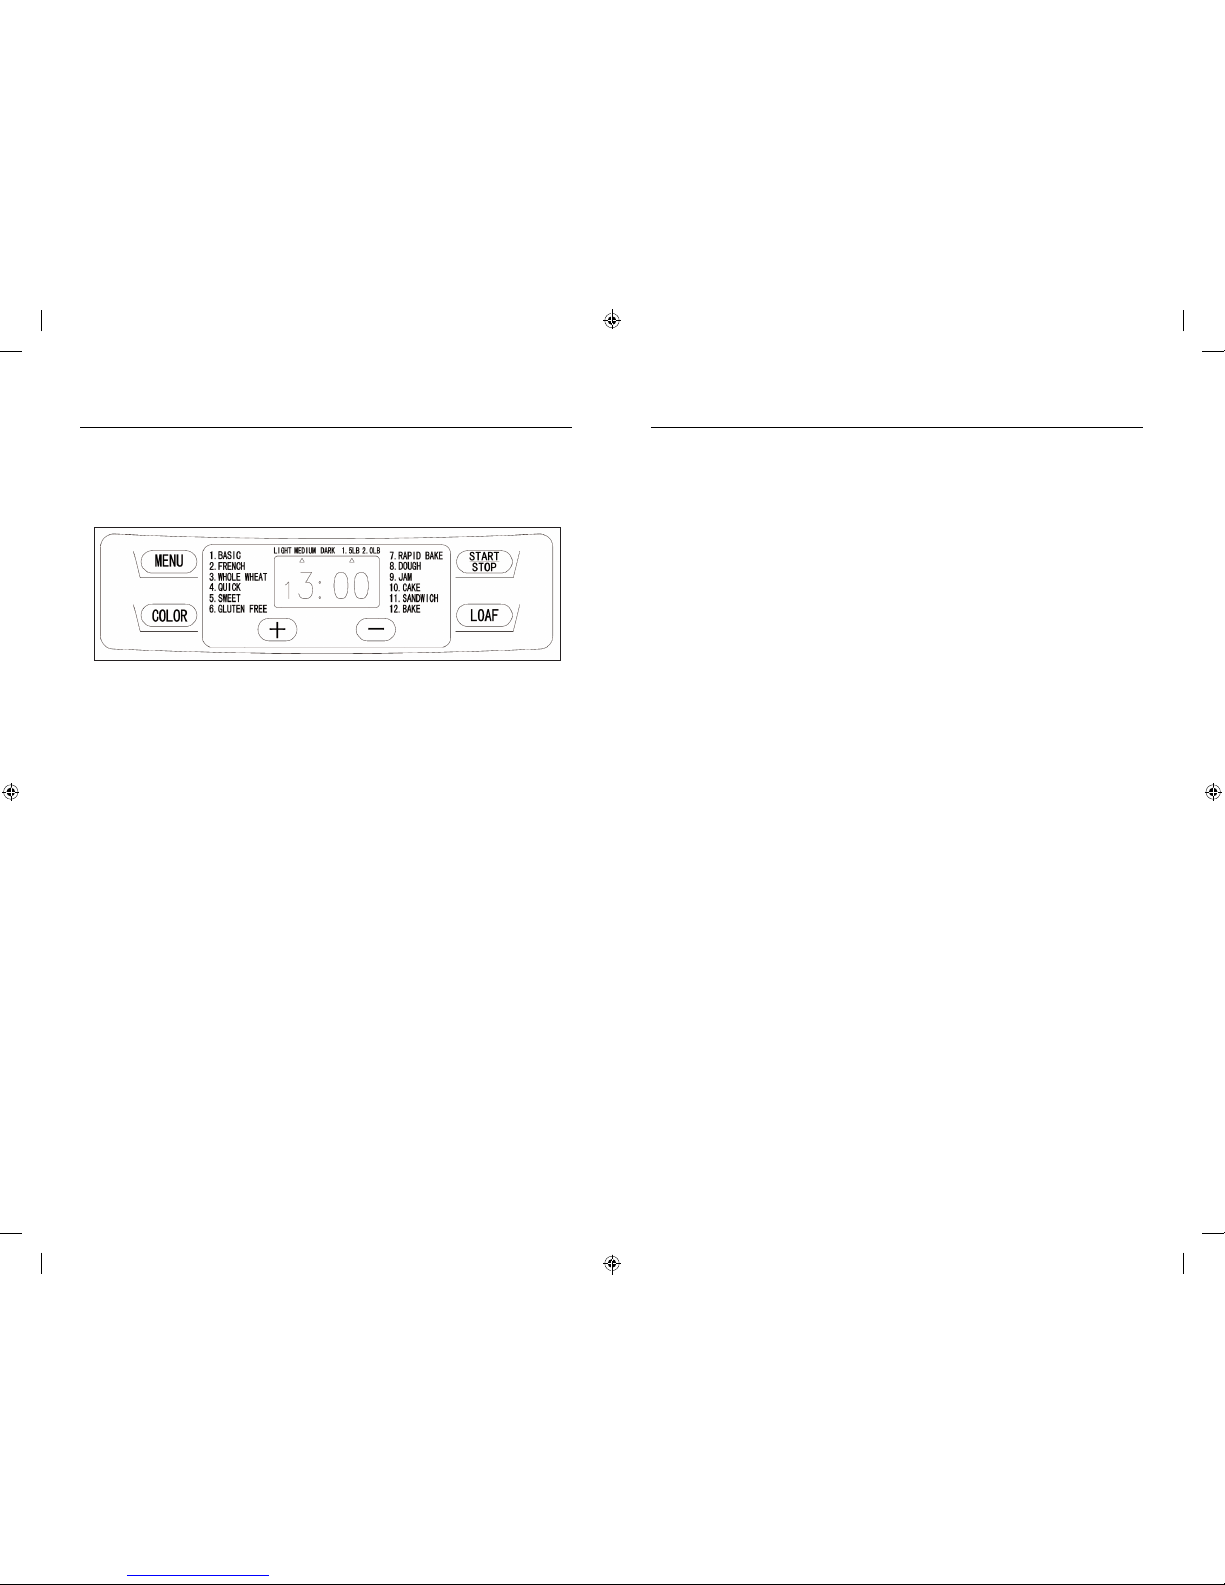
Know Your Control Panel Setting Descriptions
DISPLAY
Once your breadmaker is plugged in the LCD will illuminate and an
audible beep will sound. The default display will show “2.0LB, 1,
MEDIUM, 3:00” as shown in figure. 1).
START / STOP
The START /STOP button is used to start or stop the selected baking
program. To start a program, press the “START/STOP” button. A short
beep will be heard and the two dots in the time display will begin to
blink. This indicates that the selected program has begun. All other
buttons on the control panel will remain locked with the exception of the
START/STOP. To stop the currently selected program press the “START/
STOP” button until a beep confirms that the program has been switched
off.
PAUSE
After the program has started, it can be paused at anytime by pressing
the START/STOP button once. The program will be paused and
the breadmaker will maintain the selected settings at the time the
button was pressed. The elapsed time will be flashing on the display.
Press the START/STOP button again or within the 10 minutes without
reprogramming and the program will resume where it left off.
The MENU button allows you to scroll through each of the 12 programs
of your breadmaker. Each press of the MENU button will sound a short
beep and you will see the program cycle through each program. Press
the button continuously and the breadmaker will cycle continuously
through the 12 menus. Remove your finger from the MENU button once
the display shows your desired program.
Setting 1 BASIC BREADS
This setting is used for breads that primarily use white flour, although
some recipes may include small amounts of whole grain flour. This is the
best setting to use when experimenting with different bread recipes in
your Breadmaker.
Setting 2 FRENCH
Traditionally, French bread has a crispier crust and lighter texture than
basic breads. Recipes usually do not include butter, margarine, or milk.
Setting 4 QUICK
These breads have the shortest mixing time and are always leavened
with baking powder or baking soda. Use for banana breads, coffee cakes
and pound cakes.
Setting 3 WHOLE WHEAT (also MULTI-GRAIN)
This setting is used for recipes with significant amounts of whole wheat,
rye flour or bran. It begins with a rest period during which the flours or
grains absorb the liquid ingredients. Soaking causes the flour or grain to
soften and helps ingredients to combine well. The settings have an extra
rise cycle to allow heavy wheat and grains to expand. Generally, whole
wheat and multi-grain breads are shorter and denser than Basic, French,
or Sweet breads.
Setting 4 QUICK
These breads have the shortest mixing time and are always leavenedwith
baking powder or baking soda. Use for banana breads, coffee cakesand
pound cakes.
Setting 5 SWEET
Use this setting for recipes that use a high percentage of butter, eggs
and sugar, as well as fruit juice, or added sweet ingredients, such as
coconut flakes, raisins, dried fruit, or chocolate. Baking temperature is
reduced to prevent burning and the extra rise cycle gives the loaves a
light, airy texture.
Setting 6 GLUTEN FREE
This setting is used for kneading, rising, and baking gluten-free bread
using gluten-free flours in place of standard bread flour.
Setting 7 RAPID BAKE
This setting is designed to make bread in only 59 minutes. Only specially
designed recipes are appropriate for this setting. These recipes call for
very warm water and a large amount of Breadmaker or fast-rising yeast.
Heavy flours and other heavy ingredients are not suitable for this setting.
Figure 1

10 11
Setting Descriptions (Cont.)
Setting 8 DOUGH
This setting is ideal for making a variety of doughs. Use this setting to
knead, proof, punch and rise without utilizing the baking mode. Remove
the dough and shape it to make pizza, rolls, pretzels, doughnuts, and
round or braided breads. Then bake in a conventional oven or fry in a
deep fryer (i.e. doughnuts).
Setting 9 JAM
Use this setting for making jam from fresh fruits.
Setting 10 CAKE
This setting is used for recipes that contain baking powder or baking
soda rather than yeast to make cake rise. Cake recipes must be specially
designed for this setting.
Setting 11 SANDWICH
This setting is used for recipes that contain various flour, other
ingredients and yeast to make thin and light texture sandwich crust.
Setting 12 BAKE
This is a bake-only setting that does not mix. If you have baked a loaf of
bread in your machine and would prefer a darker crust, use the BAKE
setting to bake the loaf for a longer period of time. Set the machine to
the BAKE setting and press the START key. Watch your time and stop
the machine when desired. The bake cycle is preset for 60 minutes. This
setting is especially helpful for leftover breads, or when you need to
extend the baking time from any of the other cycles.
COLOR
With the button you can select the crust color between LIGHT,
MEDIUM or DARK. Press this button to select your desired color. This
setting is inactive in JAM and DOUGH programs.
LOAF SIZE
Press this button to select the loaf size of bread, either 2.0lb or
1.5lb. Please note the total operation time may vary with the different
loaf sizes. This setting is inactive in QUICK, DOUGH, JAM, CAKE and
BAKE programs.
You can set your breadmaker to delay the bread making process up to
13 hours. The Delay Function will not work for RAPID BAKE, JAM or
BAKE functions.Before setting the delay time you must determine at
what time you want your bread to be completed. The delay time should
include the baking time of selected program. Program your breadmaker
to the settings applicable to the bread you are making. Press the
+ or - button to increase the delay time at in increments of 10 minutes.
The maximum delay is 13 hours.
Example: Now it is 8:30p.m, if you would like your bread to be ready the
next morning at 7 o’clock, i.e. in 10 hours and 30 minutes, program your
desired bread settings. Press the + button to add the time until 10:30
appears on the LCD, then press the STOP/START button to activate this
delay program. The timer dot will begin flashing and the timer will
switch to countdown mode. The bread will be ready and fully baked at
7:00am the next morning. The breadmaker will automatically switch to
Keep Warm at the end of the cycle up to one hour.
Delay Function (Time)
Automatic Fruit & Nut Dispenser
This breadmaker is equipped with an automatic dispenser when adding
ingredients such as fruits and nuts to your bread. This feature will only
work for the programs of BASIC, WHOLE WHEAT, FRENCH, QUICK,
SWEET, CAKE, and GLUTEN FREE. Before starting your breadmaking
cycle placing your ingredients into the Ingredient Pan and secure the Pan
in place. During operation, the ingredients will be automatically poured
into the bread pan.
The base of the Fruit & Nut
Dispenser is open after each
use. To restore the stainless
steel base back to the close
position, lift open the lid and
push in the stainless steel base
until it clicks into place.
Stainless
Steel Base
 Loading...