

Wolf SO24TESTH Installation

24" E Series Oven Installation Guide

24" E SERIES OVEN
Contents
3 24" E Series Oven
4 Specications
8 Installation
10 Troubleshooting
Features and specications are subject to change at any
time without notice. Visit wolfappliance.com/specs for the
most up-to-date information.
Important Note
To ensure this product is installed and operated as safely
and efciently as possible, take note of the following types
of highlighted information throughout this guide:
IMPORTANT NOTE highlights information that is especially
important.
CAUTION indicates a situation where minor injury or product
damage may occur if instructions are not followed.
WARNING states a hazard that may cause serious injury or
death if precautions are not followed.
IMPORTANT NOTE: Throughout this guide, dimensions in
parentheses are millimeters unless otherwise specied.
IMPORTANT NOTE: Save these instructions for the local
electrical inspector.
2 | Wolf Customer Care 800.222.7820
24" E SERIES OVEN
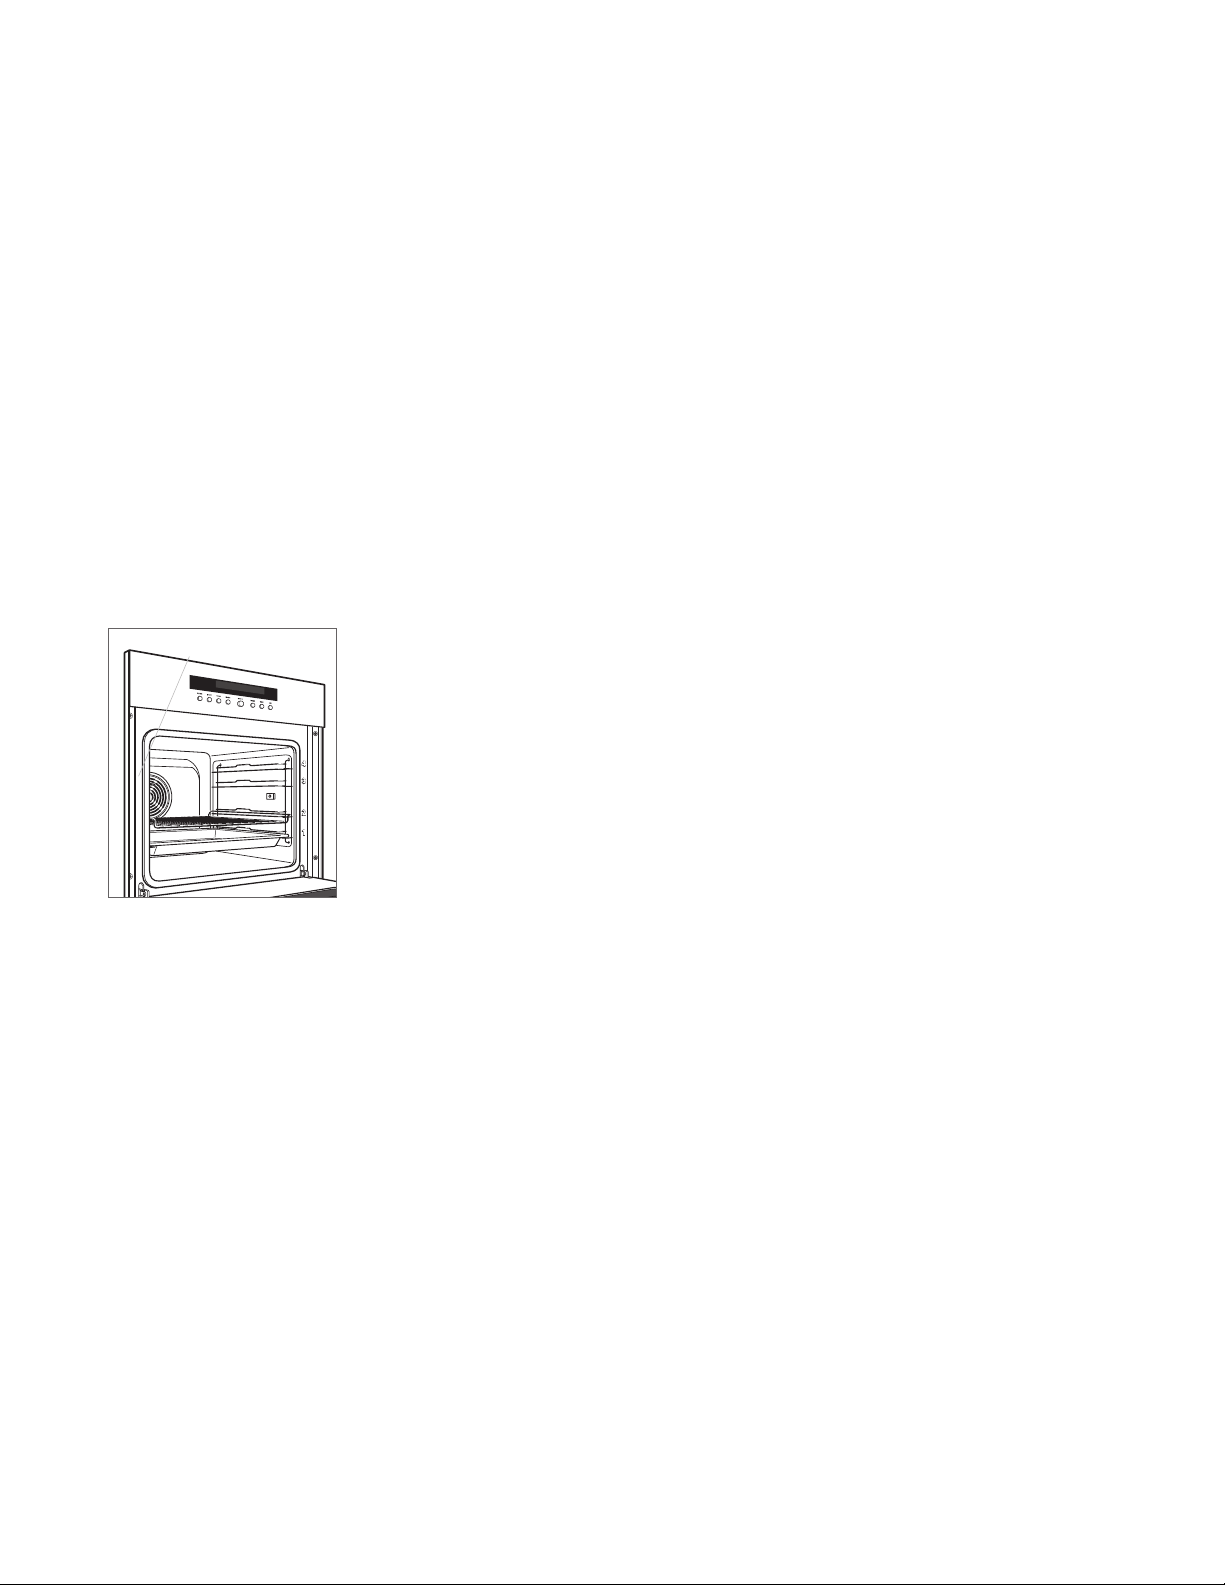
Product Information
Important product information including the model and
serial number are listed on the product rating plate. The
rating plate is located on the left side of the front face frame.
The oven door must be open to view the rating plate. Refer
to the illustration below.
If service is necessary, contact Wolf factory certied service
with the model and serial number. For the name of the
nearest Wolf factory certied service or for questions
regarding the installation, visit the contact & support section
of our website, wolfappliance.com or call Wolf customer
care at 800-222-7820.
RATING PLATE
Rating plate location.
wolfappliance.com | 3

SPECIFICATIONS
Installation Requirements
The oven can be installed in a standard or ush inset
application. If a cooktop is being installed above the oven,
1
a minimum of
/4" (6) is required between units. Location of
the electrical supply within the oven opening may require
additional cabinet depth.
Finish the edges of the opening. They may be visible when
the door is open.
For standard installations, face trim will overlap stiles and
rails. Refer to the chart.
1
For ush inset installations, a minimum
/8" (3) reveal is
required on all sides. To ensure consistent reveals, each
corner of the opening must be exactly 90°.
INSTALLATION REQUIREMENTS
BASE SUPPORT MIN
24" E Series Oven 150 lb (68 kg)
TRIM OVERLAP
Top
Bottom 0" (0)
Sides
1
11
/16" (17)
/4" (6)
4 | Wolf Customer Care 800.222.7820

SPECIFICATIONS
Electrical
Installation must comply with all applicable electrical codes.
Locate the electrical supply as shown in the illustrations
on the following pages. A separate circuit, servicing only
this appliance is required. A ground fault circuit interrupter
(GFCI) is not recommended and may cause interruption of
operation. Refer to the illustration below for minimum power
cord plug clearance.
Performance may be compromised if the electrical supply is
less than 240 volts.
ELECTRICAL REQUIREMENTS
Electrical Supply grounded, 240/208 VAC, 60 Hz
Service 20 amp dedicated circuit
Receptacle NEMA 6-20R grounding-type
Power Cord 6'
NEMA
PLUG
(1.8 m)
WARNING
ELECTRICAL SHOCK HAZARD: Plug into a grounded
3-prong outlet. Do not remove ground prong. Do not
use an adapter. Failure to follow these instructions can
result in electric shock, re or death.
RATING PLATE
Rating plate location.
GROUNDED
NEMA RECEPTACLE
NEMA 6-20R receptacle.
MINIMUM CORD
CLEARANCE
Power cord clearance.
3"
(76)
wolfappliance.com | 5

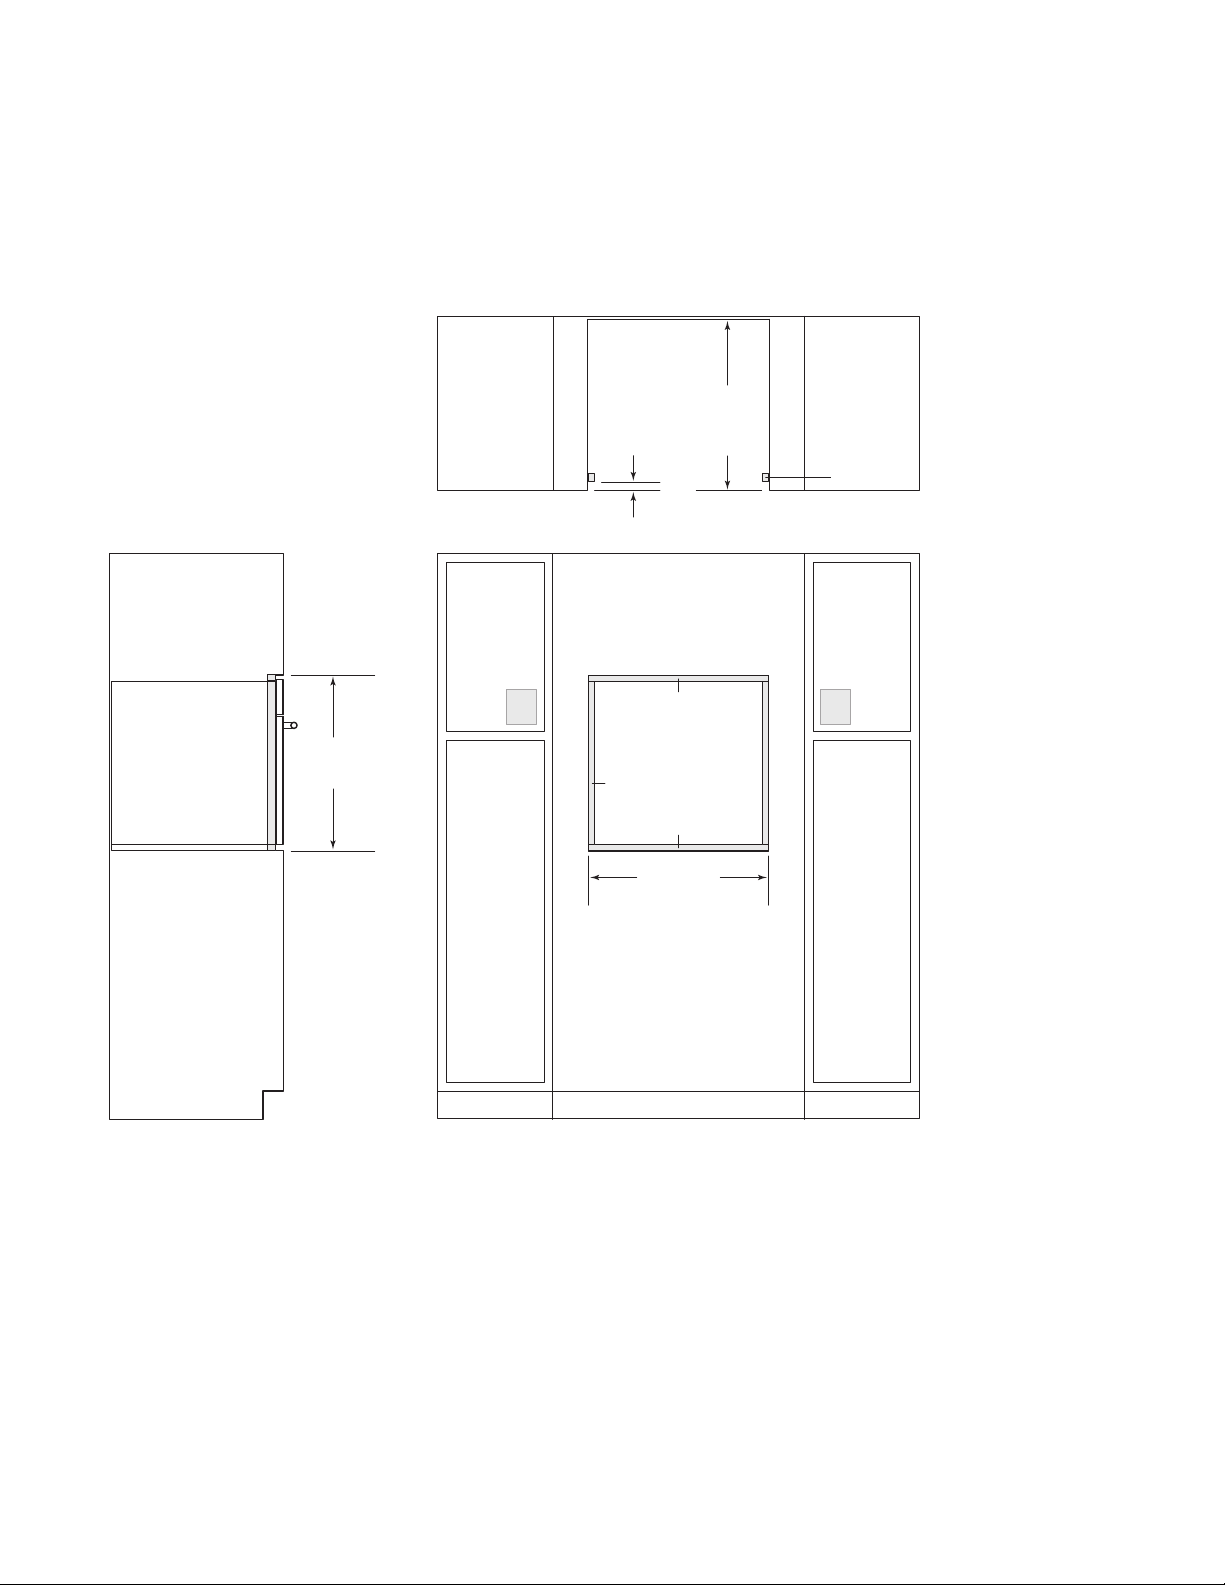
SPECIFICATIONS
SIDE
NOTE: Electrical supply must be located in adjacent cabinet within 3'
24" E Series Oven
STANDARD INSTALLATION
OPENING
TOP VIEW
221/2"
(572)
DEPTH
VIEW
231/4"
(591)
OPENING
HEIGHT
(.9 m) of opening.
(562)
221/8"
OPENING WIDTH
FRONT VIEW
EE
6 | Wolf Customer Care 800.222.7820
SPECIFICATIONS
SIDE
*W
**
NOTE: Electrical supply must be located in adjacent cabinet within 3'
24" E Series Oven
FLUSH INSET INSTALLATION
7
/8"
(22)
TOP VIEW
23" (584)
FLUSH
INSET
DEPTH
FINISHED
CLEATS*
233/4" (603)
FLUSH INSET
HEIGHT**
VIEW
ill be visible and should be finished to match cabinetry.
Dimension provides minimum reveals.
(.9 m) of opening.
3
/8" (10)
13
/16" (21)
1
/8" (3)
(603)
233/4"
FLUSH INSET WIDTH**
FRONT VIEW
EE
wolfappliance.com | 7

INSTALLATION
Preparation
Before moving the oven, protect any nished ooring and
secure the oven door(s) closed to prevent damage.
Use an appliance dolly to move the unit near the opening.
Remove and recycle packing materials. Do not lift or carry
the oven by the door handle.
CAUTION
Do not lift the oven by the door handle. This will
damage the oven door and hinges.
OVEN DOOR REMOVAL
To remove, open the oven door completely. Rotate both
hinge latches forward to the open position. Close door to
approximately 30° open, then lift up and out. Refer to the
illustrations below.
To reinstall, insert door hinges into the frame openings.
Open the oven door completely and rotate both hinge
latches back to the closed position.
OPEN
POSITION
CLOSED
POSITION
Oven door hinge latch.
Door open 30°.
8 | Wolf Customer Care 800.222.7820

INSTALLATION
Installation
Place the oven in the opening and slide back partially. Guide
the power cord through the opening of the adjacent cabinet
and slide oven back fully. Verify the power cord is not
trapped between the oven and cabinet wall.
Locate mounting holes on the oven side trim, two on each
1
side. Drill
/16" pilot holes. Use the mounting screws provided to secure the oven to cabinetry. Refer to the illustration below.
To avoid interference, a 90° door stop may be required for
any appliance or cabinet door installed next to the oven.
MOUNTING
HOLES
CAUTION
Failure to install the mounting screws may cause the
oven to tip forward during use.
Oven installation.
wolfappliance.com | 9

TROUBLESHOOTING
Troubleshooting
IMPORTANT NOTE: If the oven does not operate properly,
follow these troubleshooting steps:
• Verify electrical power is supplied to the oven.
• Verify proper electrical connections.
• If the oven does not operate properly, contact Wolf
factory certied service. Do not attempt to repair the
oven. Wolf is not responsible for service required to
correct a faulty installation.
10 | Wolf Customer Care 800.222.7820
 Loading...