

Whirlpool RB220PXY Use And Care Manual

A Note To You
2
Important&My
Instructions
3
Parts And Features
5
Using Your Oven
6
ELF For 8v en
15
If You Need Assistance
Or Sewice
22
Warranty
24
Cdl TOLL+REE Wrt)r Questions or
cofn-: 1-la1
STANDARD AND CONTINUOUS-CLEANING
ELECTRIC BUILT-IN OVENS
MODELS RB220PXY RB120PXY
RBl OOPXY RB1005XY
A NoteToYou
Thank you for buying a Whirlpool appliance.
You have purchased a quality, wotid4ass home appliance. Years of engineering experience have gone
into its manufacturing. To ensure that you will enjoy many years of trouble-free operation, we have
developed this Use and Care Guide. It is full of valuable information on how to operate and maintain
your appliance properly and safefy. Please read it carefully. Also, please complete and mail the Cwnership Registration Card provided with your appliance.
Your safety is important to us.
This guide contains safety symbols and statements. Please pay special attention to these symbols and
follow any instructions given. Here is a brief explanation of the use of each symbol.
This symbol will help alert you to such dangers as
personal injury. burns, fire and electrical shc&
This symbol will help you avoid actions which
could cause product damage (scratches, dents,
etc.) and damage to your personal property.
Our Consumer Assistance Center number, l-800-253-1301,
is TOLL-FREE, 24 hours a day.
lf you ever have a question concerning your appliance’s operation, or if you need service, feel free to
call our Consumer Assistance Center for help. When calling, you will need to know your appliance’s
complete model number and serial number. You can find this information on the model and serial
number plate (see diagram on page 5). For your convenience, we have included a handy place below
for you to record these numbers, the purchase date from the sales slip and your dealer’s name and
telephone number. Keep this book and the sales slip together in a safe place for future reference.
Model Number
Serial Number
Purchase Date
Dealer Name
Dealer Phone
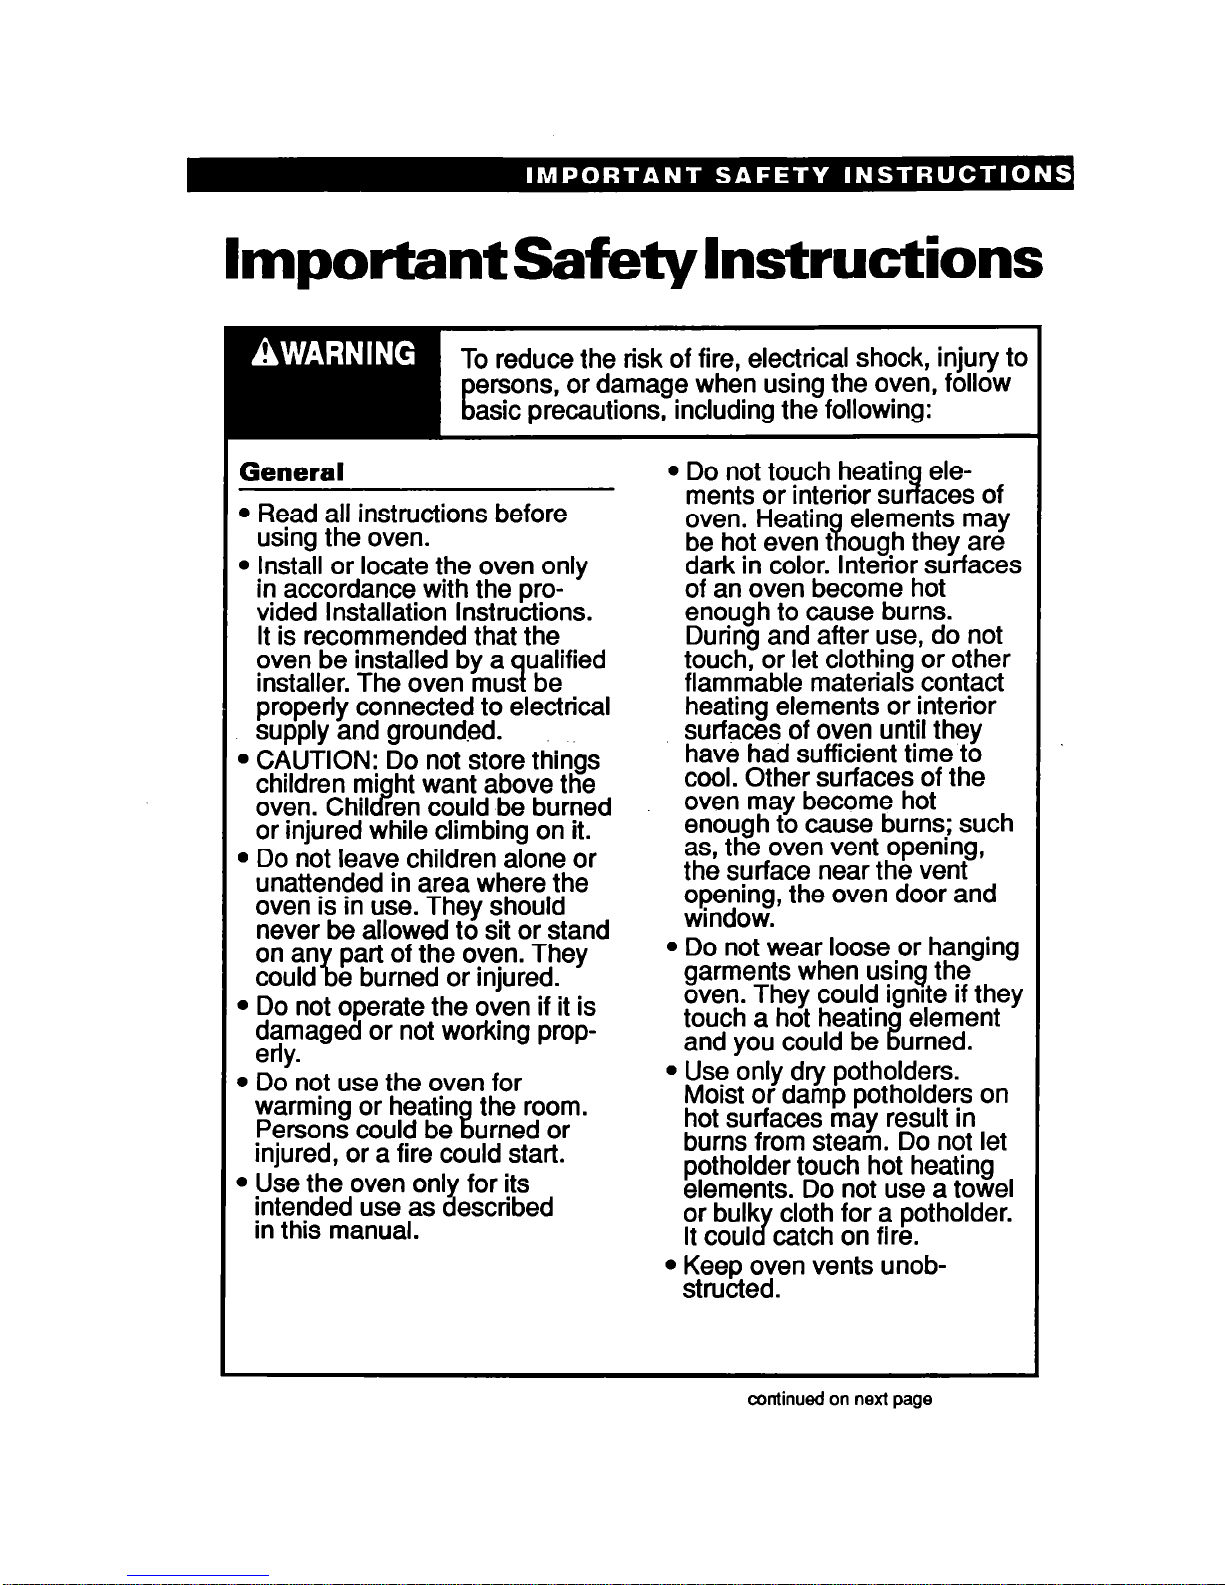
ImportantSafetylnstructions
To reduce the risk of fire, electrical shock, injury to
ii
ersons, or damage when using the oven, follow
asic precautions, including the following:
General
l
Read all instructions before
using the oven.
l
Install or locate the oven only
in accordance with the provided Installation Instructions.
It is recommended that the
oven be installed by a
ualified
installer. The oven mus be
9
l
Do not touch heatin elements or interior su 4 aces of
oven. Heatin
R
be hot even t
elements may
ough they are
dark in color. Interior surfaces
of an oven become hot
enough to cause burns.
During and after use, do not
touch, or let clothing or other
flammable materials contact
properly connected to electrical
supply and ground.ed.
heating elements or interior
surfaces of oven until they
l
CAUTION: Do not store things
have had sufficient time to
children mi ht want above the
oven. Chil cp
cool. Other surfaces of the
ren could be burned
oven may become hot
or injured while climbing on it.
enough to cause burns; such
l
Do not leave children alone or
as, the oven vent opening,
unattended in area where the
the surface near the vent
oven is in use. They should
never be allowed to sit or stand
;y;;rwg, the oven door and
.
on an L part of the oven. They
l
Do not wear loose or hanging
could e burned or injured.
garments when using the
l
Do not operate the oven if it is
oven. They could ignite if they
&-raged or not working prop-
touch a hot heatin
and you could be
%
element
urned.
.
l
Do not use the oven for
l
Use only dry potholders.
warming or heatin
%
the room.
Moist or damp potholders on
Persons could be
urned or
hot surfaces may result in
injured, or a fire could start.
burns from steam. Do not let
. Use the oven onl i for its
potholder touch hot heating
intended use as escribed
elements. Do not use a towel
in this manual.
or bulk cloth for a potholder.
It coul J catch on fire.
l
Keep oven vents unob-
structed.
continued on next page

l
Do not heat unopened contain-
Care and cleaning
ers. They could explode. The
hot contents could cause burns
and container particles could
cause injury.
@Do not store flammable materi-
als on or near the oven. The
fumes can create an explosion
and/or fire hazard.
l
Do not use oven cleaners in
continuous-cleaning oven
When using the oven
model. No commercial oven
cleaner or oven liner protective
@Always osition oven rack(s) in
desired ocation while oven IS f
coating of any kind should be
used in or around any part of
cool. If a rack must be removed
the oven.
while oven is hot, do not let
potholder contact hot heating
l
Do not clean door heat seal.
element in oven.
It is essential for a good seal.
Care should be taken not to rub,
@Use care when opening oven
door. Let hot air or steam
damage or move the seal. Clean
only parts recommended in-this
escape before removing or
Use and Care Guide.
replacing food.
l
Do not repair or replace any
Grease
part of the oven unless specifically recommended in this
aGrease is flammable and should
be handled carefully. Let fat cool
manual. All other servicing
before attempting to handle it.
should be referred to a qualified
technician.
@Do not use water on grease
fires. Never pick up a flaming
l
Disconnect the electrical supply
before servicing the oven.
covering with a well-~&??li?
pan. Smother flamin
cookie sheet or flat tray. Flaming
grease outside of an can be
extinguished with & aking soda
or, if avai!able, a multi urpose.
&yscllrmk2al or foam- pe extrn-
R
.
- SAVE THESE INSTRUCTIONS -
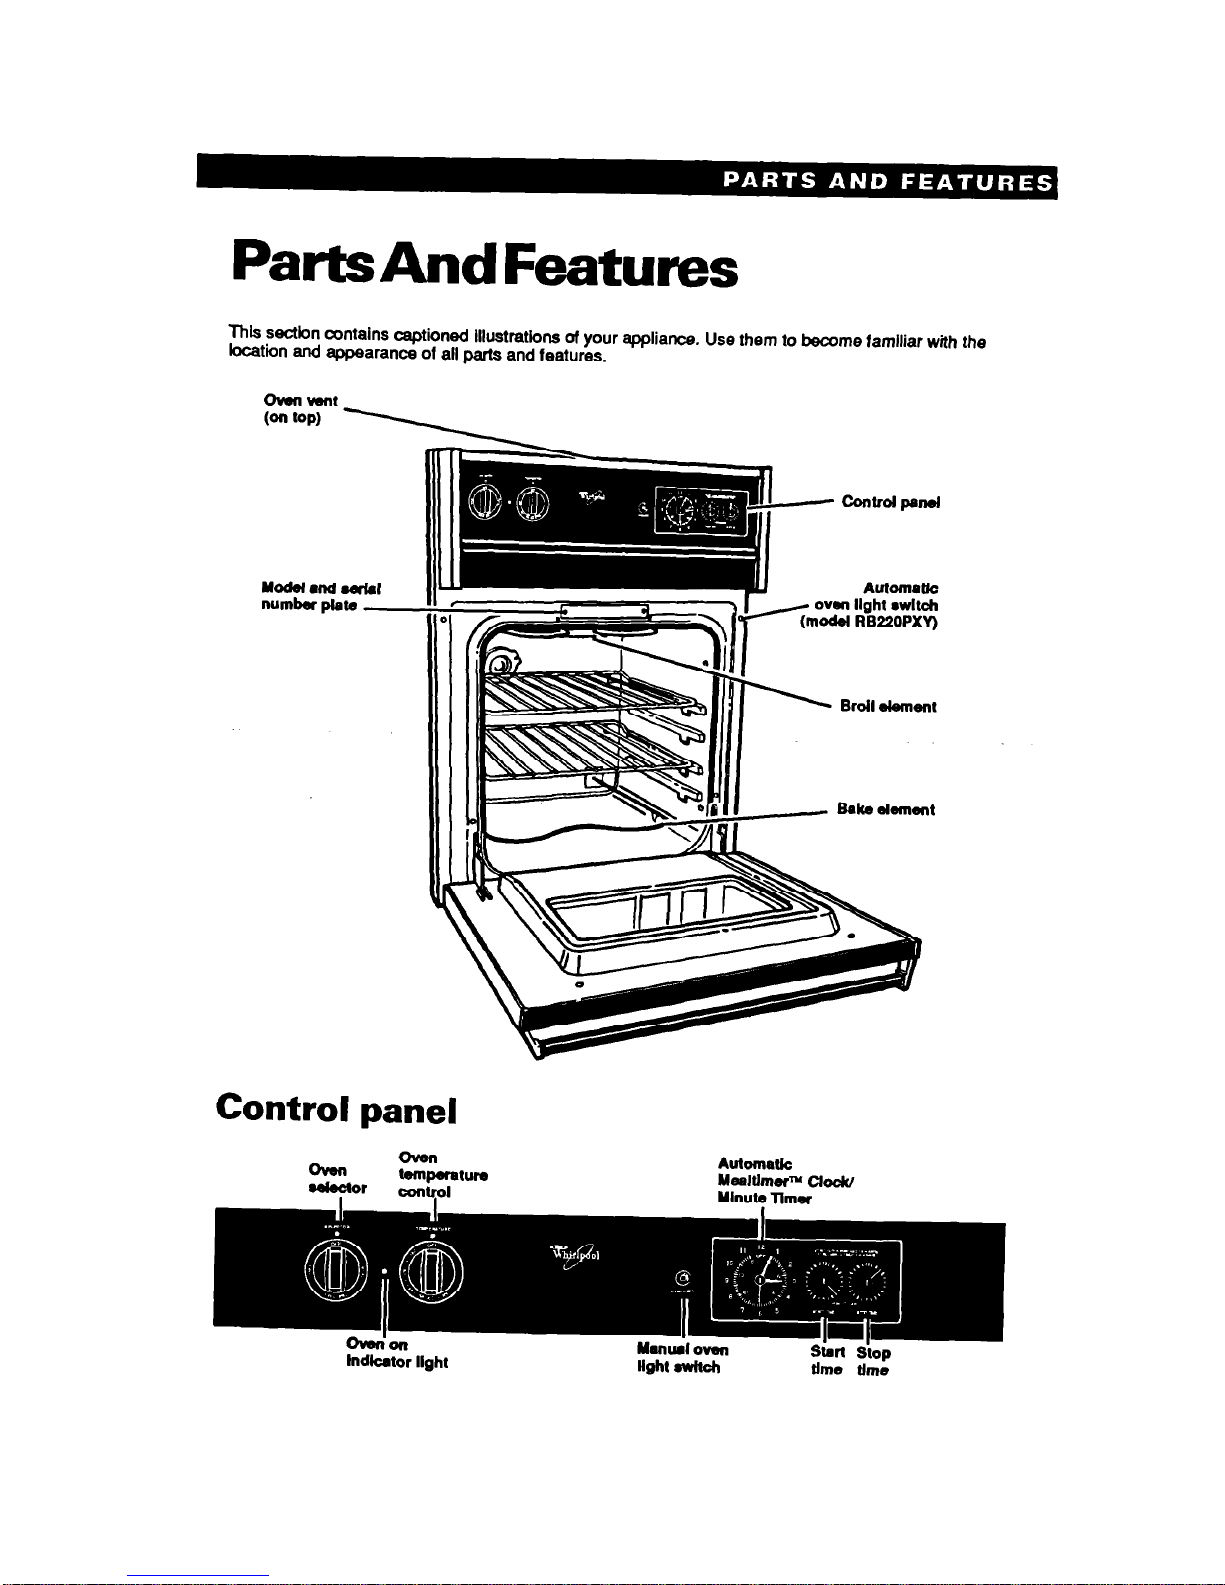
PartsAndFeatures
This sectbn contains captioned lllustratbns of your appliance. Use them to become familiar with
location and appearance of all parts and features.
the
Yodel and aatal
number plate -
control panel
Automatic
Control panel

UsingYourOven
In This Section
MP
Page
Po8ltloning r8ck8 and Pan8 . . ..-.. - .-....YI..U 6 Broiling
“I...........““““.,.............” . .
. . . 1..“.“..”
11
For best air drculation ..-.M.YIIII---I 7 Brolllng Upa,,- -.....-... --... .--- -.,.12
Udng alumlnum full for baklng I.--l~........ 7
m uwl tlpa
” .-.....-..- ““....““... . . . . . . . . ..- 12
Setting
the dock..- . . ..- -___--... -_II 8
Ualng tlw l utomattc YEALTlYERY clock ,,13
Uolng the Ylnuta Tlmar ...l.....IU....... -----8 The own wilt
-“,,,--------.-..14
Baklnglroaatlng
. . . . . . . . . . . . . . . . . . . . . . . . . . . . . . . . . . ..“..W.“..”
9
optla#lal door PanI Pat ,---,“..-.--.14
Adjuatlng tlw own temperstunm control ,,,lO
To obtain the best cooking results possible, you must operate your oven properly. This section gives
you important information for efficient and safe use of your oven.
Positioning racks and pans
For baking/roasting with one rack, the
rack
should be placed so the top of the food will be
centered in the oven.
Always leave at least 1
'k to
2 inches (4-5 cm) between the sides of the pan
and the oven walls and other pans.
For proper cooklng, follow these guldellnss
for speclf k foods:
l Angel and bundt cakes, yeast breads, frozen
pies, large roasts and turkeys-plaoe rack on
lowest level.
l Casseroles. muffins, most quick breads
and
meats-place rack on second or third level from
bottom.
l Cookies, biscuits, cakes and non-frozen pies-
place rack on second or third level from bottom.
When baking on two racks, arrange racks on
bottom and third level from bottom.
NOlE: For recommended rack placement when
broiling, see a reliable cookbook.
Psrsonsl ItlJllq liazsrd
l Always position oven rack(s) in desired
bcatiin before turning oven on. Be sure
the rack(s) is level.
l If rack(s) must be moved while oven is
hot, use potholders or oven mitts to
protect hands.
Failure to follow the above precautions may
resutl in personal injury.
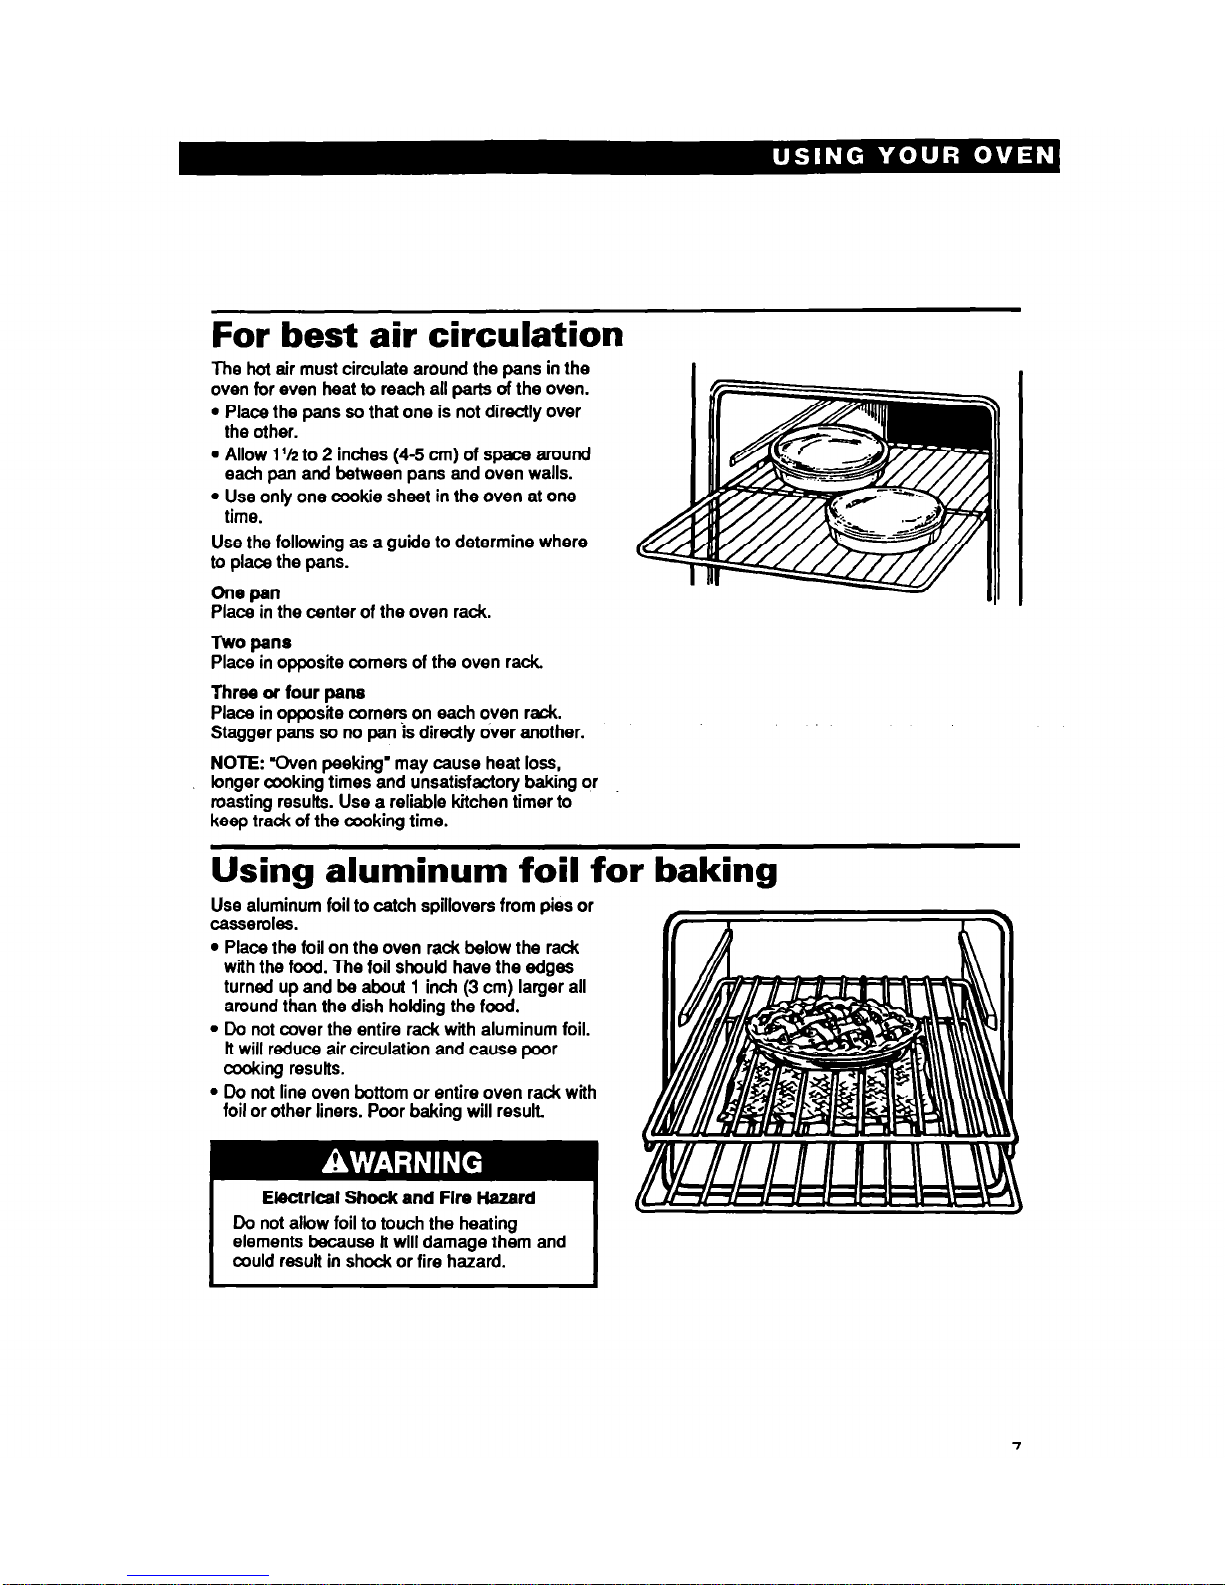
For best air circulation
The hot air must circulate around the pans in the
oven for even heat to reach all parts of the oven.
l Place the pans so that one is not directly over
the other.
l Allow 1 ‘k to 2 inches (4-5 cm) of space around
each pan and between pans and oven wails.
l Use only one cookie sheet in the oven at one
time.
Use the following as a guide to determine where
to place the pans.
One pan
Place in the center of the oven rack.
Two pans
Place in opposite comers of the oven rack.
Three or four pans
Place in opposite comers on each oven rack.
Stagger pans so no pan ‘is directly over another.
NOTE: “Oven peeking’ may cause heat loss,
longer cooking times and unsatisfactory baking or
toasting results. Use a reliable kitchen timer to
keep track of the cooking time.
Using aluminum foil for baking
Use aluminum foil to catch spiilovers from pies or
casseroles.
l Place the foil on the oven rack below the rack
with the food. The foil shoub have the edges
turned up and be about 1 inch (3 cm) larger ail
around than the dish holding the food.
l Do not cover the entire rack with aluminum foil.
It will reduce air circulation and cause poor
cooking resutts.
l Do not line oven bottom or entire oven rack with
foil or other liners. Poor baking will result
ElectrIcal Shock and Fire Hazard
Do not allow foil to touch the heating
elements because it will damage them and
could result in shock or fire hazard.
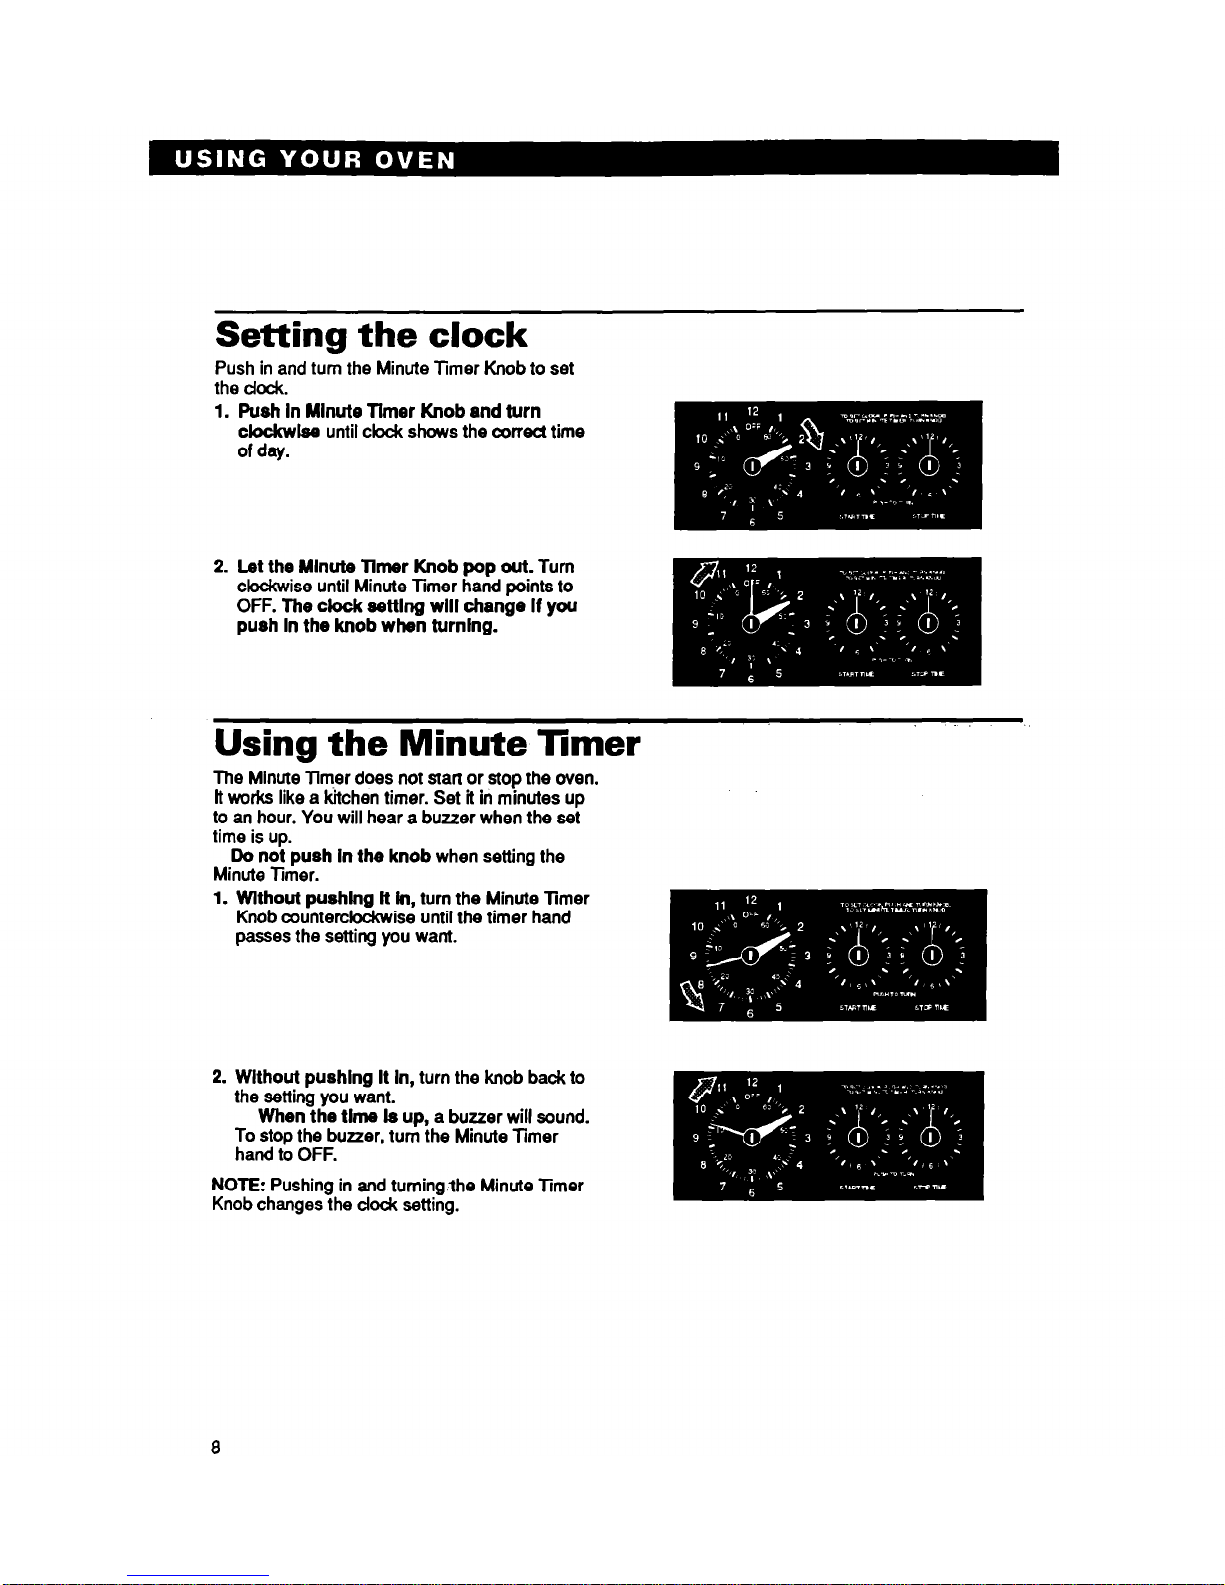
Setting the clock
Push in and turn the Minute Timer Knob to set
the dcnzk.
1. Push In Minute Timer Knob and turn
cfockwlee until do& shows the axrect time
of day.
2. Let the Mlnuts Timer Knob pop out. Turn
clockwise until Minute Timer hand points to
OFF. The clock setting will change If you
push In the knob when turnlng.
Using the Minute Timer
The Minute Timer does not start or stop the oven.
lt works like a kitchen timer. Set it in minutes up
to an hour. You will hear a buzzer when the set
time is up.
Do not push In the knob when setting the
Minute Timer.
1. Wlthoui pushlng ft in, turn the Minute Timer
Knob counterclockwise until the timer hand
passes the setting you want.
2. Wlthout pushlng It In, turn the knob back to
the setting you want.
When the tlms Is up, a buzzer will sound.
To stop the buzzer, turn the Minute Timer
hand to OFF.
NOTE: Pushing in and turningthe Minute Timer
Knob changes the dodc setting.
 Loading...