

Whirlpool KHPS 7510/I/01 INSTRUCTION FOR USE

KHPF 7520
KHPS 7520
Instructions for use
GB


Product description and symbols 4
Using the burners 4
Practical advice on using the hob 5
Positioning the pan supports and wok support 5
Hood and cabinetry clearances (mm) 6
Injectors table 6
Warnings and suggestions 7
Safeguarding the environment 8
Installation (Flush and Traditional fitting) 9
Gas connection 9
Electrical connection 10
Fixing the hob to the work top. Traditionally fitted model 10
Fixing the hob to the work top. Flush fitted model 11
Adaption to a different type of gas supply 12
Replacing the injectors 12
Fitting the wok burner 13
Regulating the minimum flow level of the gas taps 13
General cleaning & maintenance 14
Care and maintenance of the gas burners 14
Troubleshooting guide 15
After Sales Service 15

4
1. Removable pan supports
2. 1 kWh auxiliary burner
3. 1.65 kWh semi-rapid burner
4. 1.65 kWh semi-rapid burner
5. 1 kWh auxiliary burner
6. Professional wok burner
7. Auxiliary burner control knob
8. Semi-rapid burner control knob
9. Semi-rapid burner control knob
10. Auxiliary burner control knob
11. Professional wok burner control knob
Control Symbols
Off
Maximum flame
Minimum flame
Product description and symbols
Q)=
(/
To turn on one of the burners:
1. Turn the corresponding control knob
anticlockwise until the indicator
coincides with the maximum flame symbol .
2. Press the control knob to ignite the burner.
3. Once the burner has lit, keep the control knob
pressed for about 5 seconds to allow the safety
thermocouple fitted to each burner to engage.
The thermocouple will switch off the gas supply
to the burner should the flame be accidentally
lost ( A gust of air, momentary interruption of
gas supply or liquid spillage etc).
If the burner does not ignite within about 15
seconds, switch off the burner, check the
fitting of the burner cap and plate for correct
fitting. Wait at least 1 minute before trying
again.
If the burner goes out when the control knob
is released, the thermocouple did not engage.
wait al least 1 minute before repeating steps
1 to 3.
Sometimes, when switching on the WOK’s
burner when cold, the external crown may
take from 2 to 5 seconds to come on. This is a
normal behaviour, due to the time taken for
the gas to reach the crown itself.
Using the burners
!
$
§
&
%
"
5
Read the instructions to get the best out of your
hob.
• Use pans with a similar diameter to the burner
(see the table on this page).
• Use flat bottomed pans except with the wok
support.
• Do not use excessive water when cooking
foods and use the lid.
• Ensure that pans are fully supported by the pan
supports and do not protrude over the edges.
You should never use:
• two burners simultaneously with just one
container such as a fish kettle.
Important:
Do not rest or drag the pan supports upside down
on the hob as this could scratch it.
Failure to comply with these recommendations
could lead to the glass ceramic hob being damaged,
or broken and the safety of your appliance being
compromised.
Burner Pan diameter
WOK from 24 to 26 cm
semi rapid from 16 to 24 cm
auxiliary from 8 to 14 cm
Practical advice on using the hob
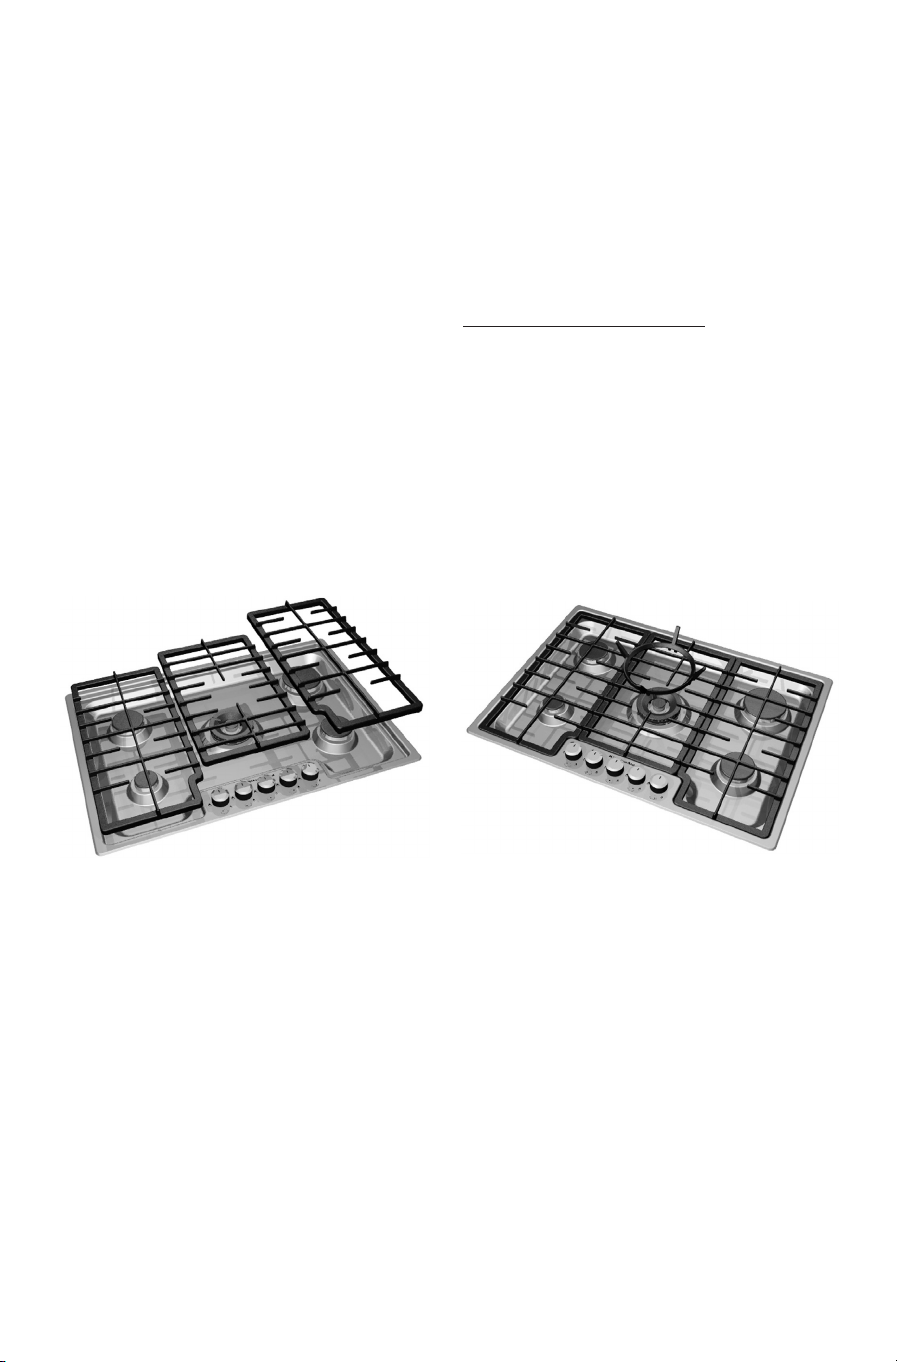
Position the pan supports and wok support as indicated in the figures.
Positioning the pan supports and wok support
 Loading...