

WHIRLPOOL HSCX 10443 Daily Reference Guide
DAILY REFERENCE
WWW
GUIDE
EN
THANK YOU FOR PURCHASING A WHIRLPOOL
PRODUCT
To receive more comprehensive help and support, please
register your product at www. whirlpool. eu / register
Before using the appliance carefully read the Health and Safety guide.
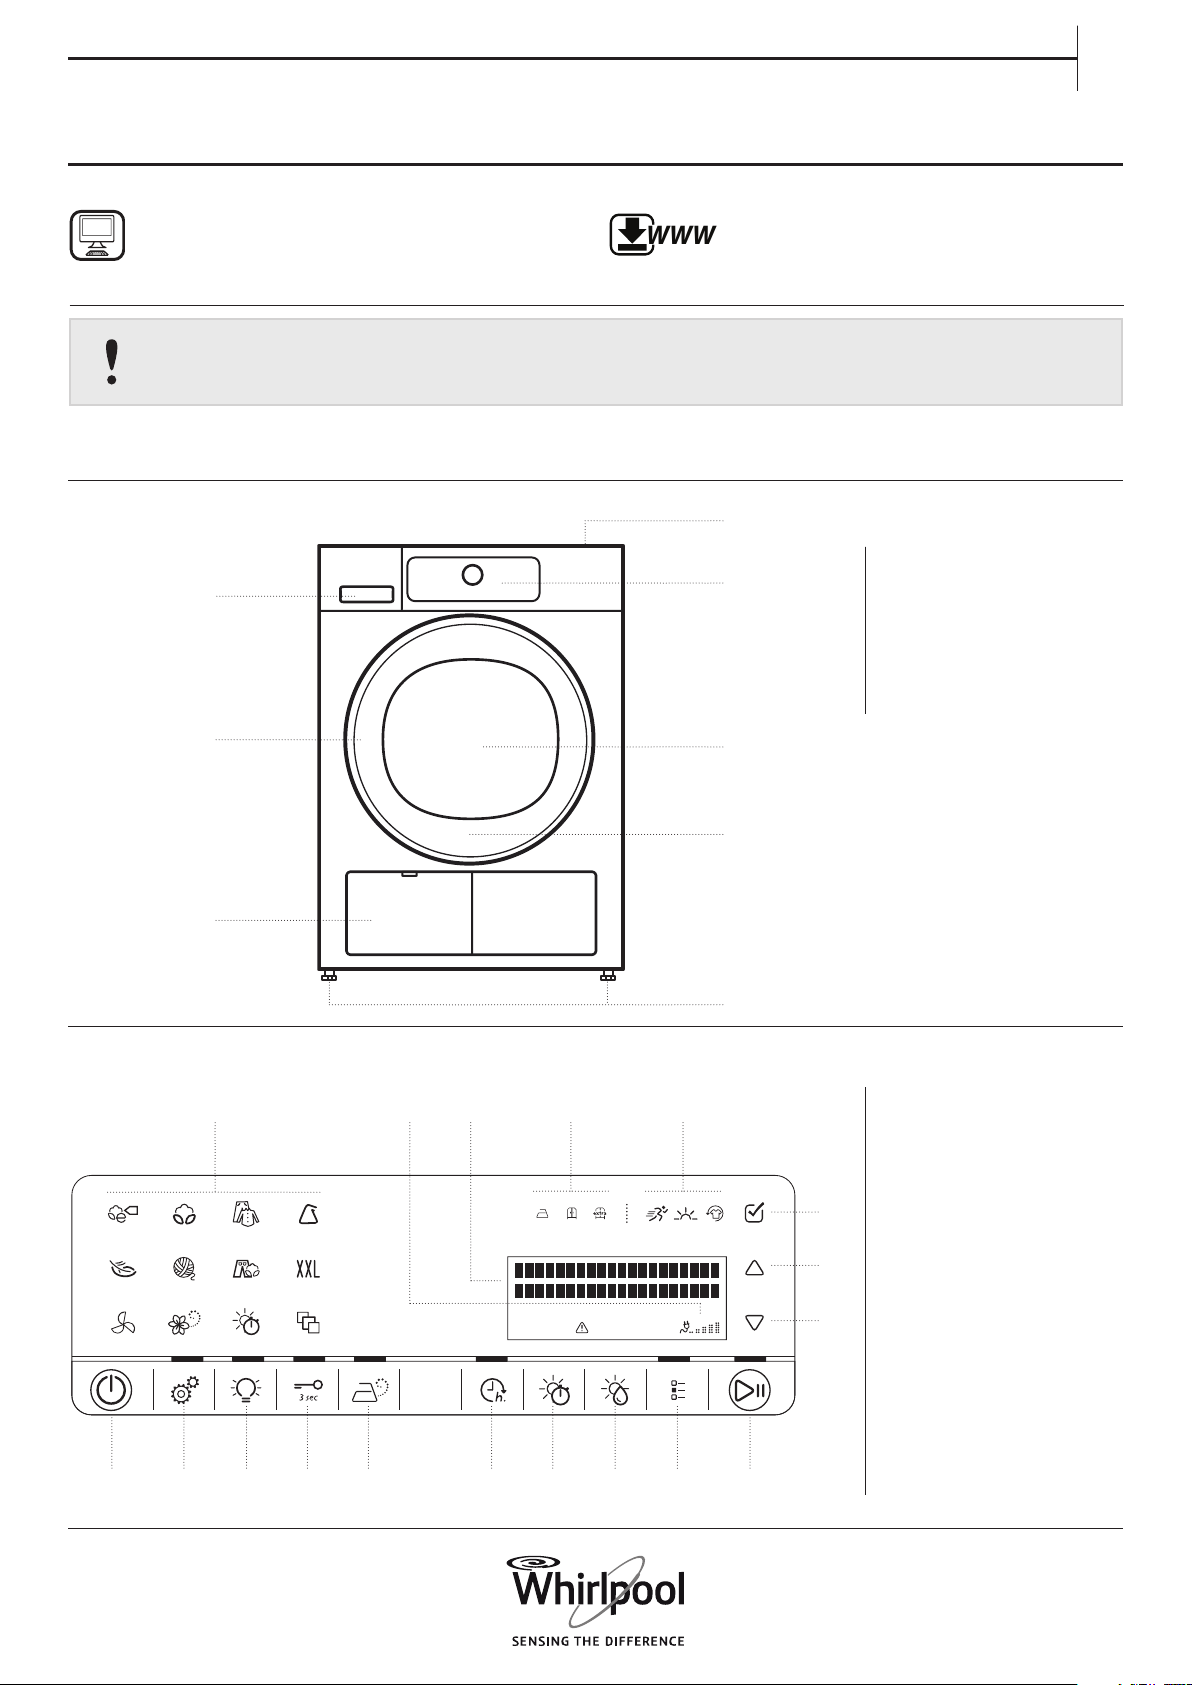
PRODUCT DESCRIPTION
APPLIANCE
3.
5.
You can download the Safety Instructions and
the Use and Care Guide by visiting our website
docs. whirlpool. eu and following the
instructions on the back of this booklet.
1.
1. Worktop
2.
4.
2. Control panel
3. Water tank
4. Door
5. Door handle
6. Door filter (behind door)
7. Bottom filter (behind flap)
8. Adjustable feet (4)
7.
CONTROL PANEL
18. 17. 16. 15. 14.
1. 7.2. 6. 8.4. 10.3. 9.5.
6.
8.
1. On/Off button (Reset if long
pressed)
2. Settings button
3. Drum light
4. Key lock
5. Steam option
6. Finish in
11.
7. Drying time
8. Dryness level
9. Options button
12.
10. Start/Pause button
13.
11. OK key (to confirm)
12. UP key
13. DOWN key
14. Options indicators
15. Dryness level indicators
16. Display
17. Eco monitor
18. Programmes area
1
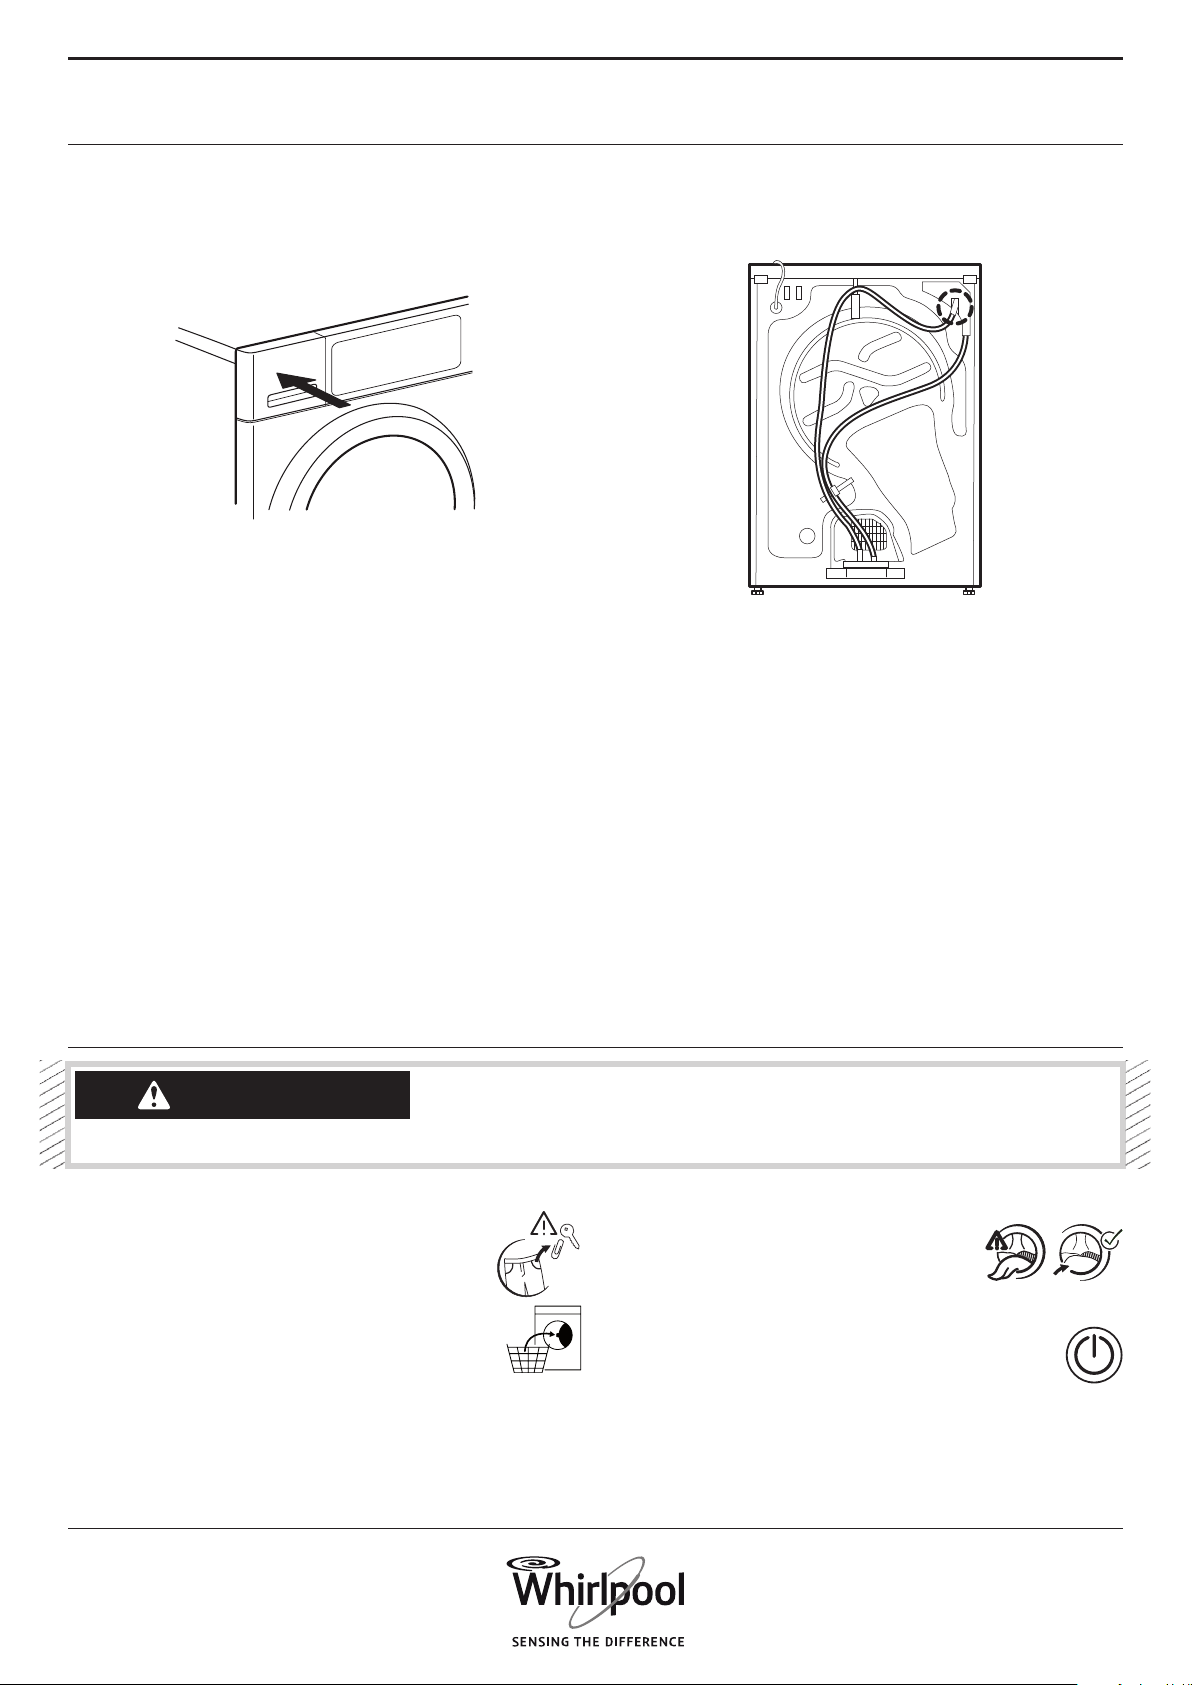
FIRST TIME USE
BEFORE USING THE DRYER
CHECK DRAIN HOSE AND WATER TANK
Make sure that the water tank is correctly inserted.
When switching on the dryer for the rst time, you will be asked to
• Set the desired language
• Adapt the value for your local water conductivity
• Set the dryer to recall the last used programme setting or not
when switching it on.
Refer to HINTS AND TIPS and OPTIONS, FUNCTIONS AND
INDICATORS / Settings.
Make sure that the drain hose on the back of the dryer is xed
correctly, either to the dryer’s water tank, or to your domestic
sewage system (see Installation guide).
DAILY USE
Make sure that no lighters or
WARNING
1. LOAD LAUNDRY
• Prepare your laundry according to the
recommendations in section “HINTS AND TIPS”.
Make sure that pockets are empty.
• Open the door and load the laundry. Observe the
maximum load sizes given in the PROGRAMME CHART.
2
matches remain in the laundry
See Use and Care Guide for more details on functions / see last page for
information on how to obtain the Use and Care Guide
Make sure that the laundry is
not soaked with flammable
liquids.
2. CLOSE THE DOOR
• Make sure that no laundry gets stuck between
door glass and door lter.
• Close the door so that you can hear it click shut.
3. SWITCH ON DRYER
• Press the On/O button. An animation appears on the
control panel, and there is a sound. Afterwards the dryer is
ready to be operated.
EN
4. SET THE DESIRED PROGRAMME
• Select programme:
Press the programme symbol on the control panel. Programme
name, default dryness level and default programme duration
appear on the display.
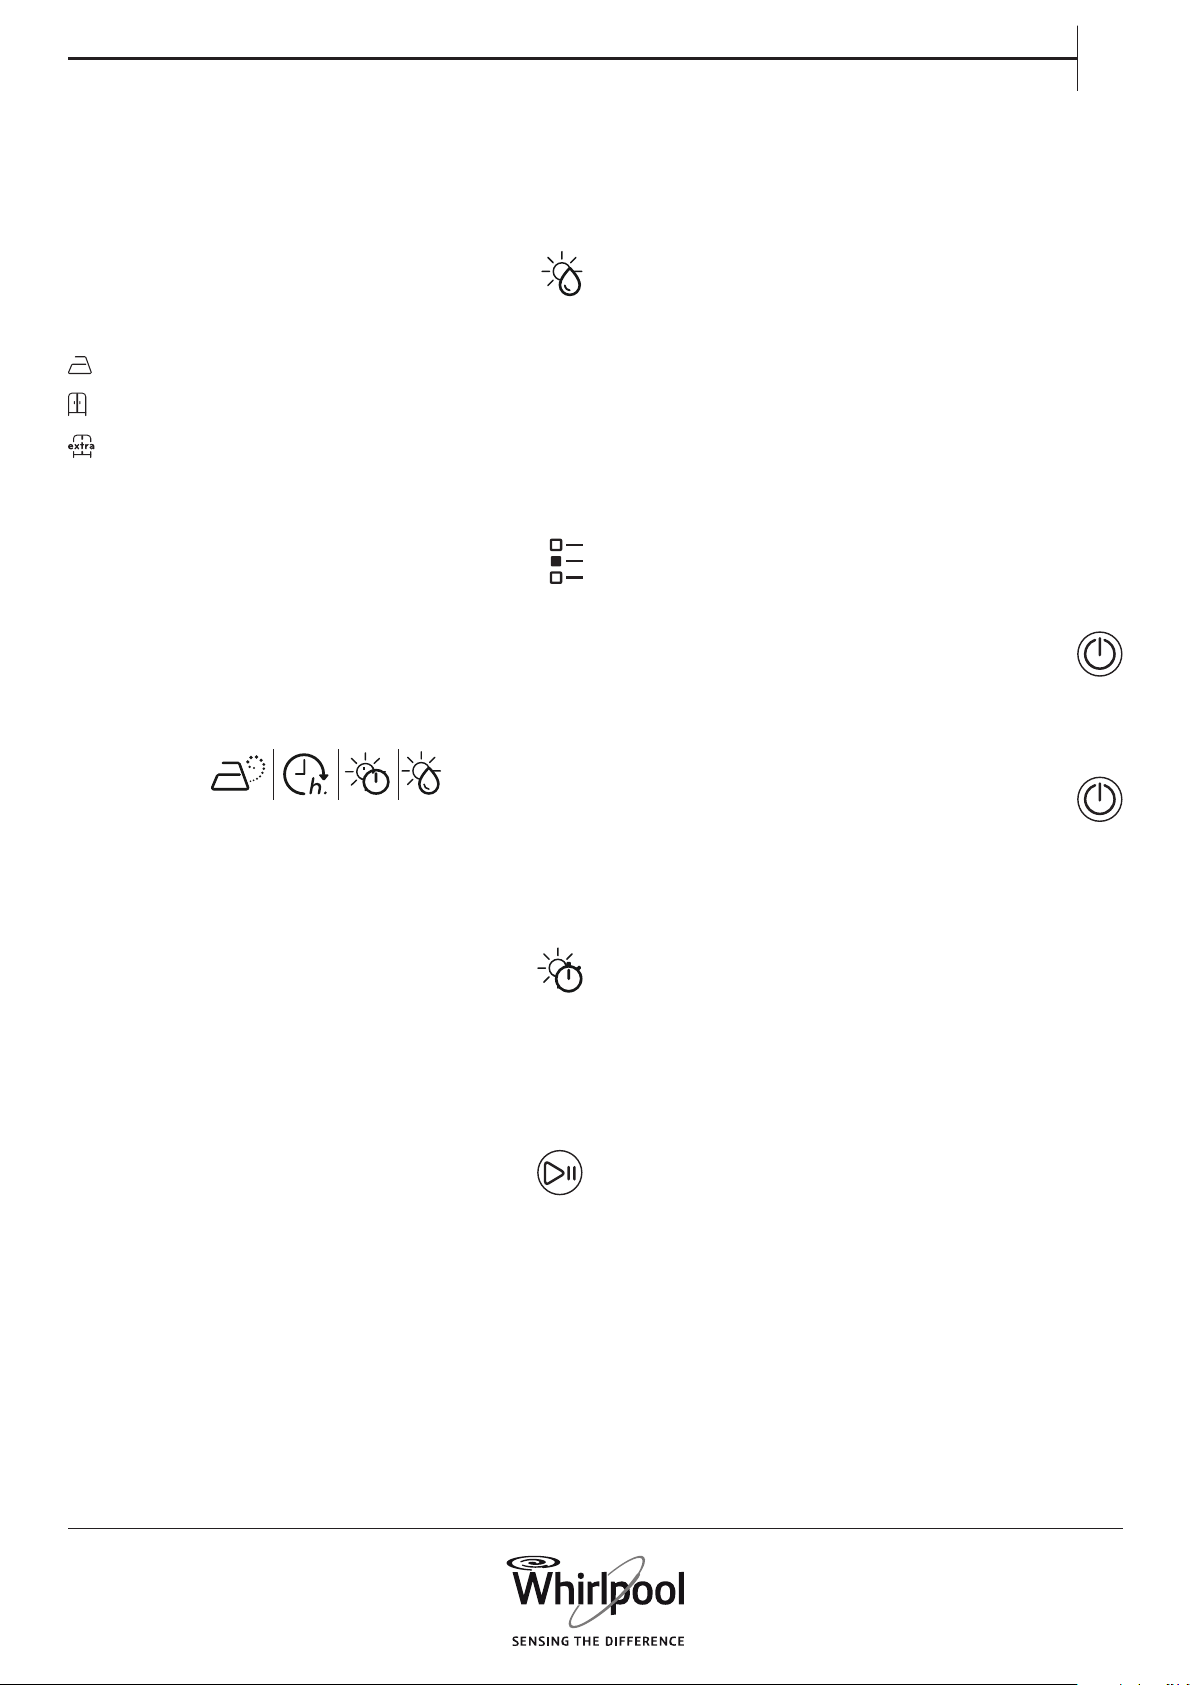
• Change the dryness level, if needed
Press the Dryness level button to select the desired dryness
level:
iron dry
cupboard dry
extra dry
The symbol on the control panel lights up.
• Select options, if needed
Press the options button; the list of available options appears on the
display. Press the UP or DOWN key to navigate through the list. Press
the OK key to select the desired option; a checkmark appears on the
display next to the option name, and the option symbol lights up.
Some options / functions can be selected by directly pressing the
button:
6. CHANGE THE SETTINGS OF A RUNNING PROGRAMME, IF
NEEDED
You can still change some settings after a programme was started:
Adjust drying time (only if programme Drying time or Airing is
selected).
Adjust or cancel “Finish in”, if a delay was selected and started.
Add or cancel an option, provided the progress of the programme
still allows it.
• Press the relevant button. The selected setting will blink for a few
seconds.
• While blinking, you can adjust the setting by pressing the UP or
DOWN key. If the value or setting stopped blinking, press the
button again.
• Press the OK key to conrm the modication. If you do not
conrm, the modication will be conrmed automatically – the
modied setting will stop blinking after a while.
The programme will continue automatically.
To change the settings of a running programme or delay, you can
also:
• Press Start/Pause to put the running programme on pause
• Change your settings
• Press Start/Pause again to continue the programme.
7. RESET A RUNNING PROGRAMME, IF NEEDED
• Press and hold the On/O button until the display indicates
that the programme is cancelled.
• Immediately open the door and unload the laundry, so that
eventual heat in the laundry can dissipate.
If an option is not selectable for the programme, it shortly blinks
and switches o again when the button is pressed , and there is a
sound.
Refer to section OPTIONS, FUNCTIONS AND INDICATORS for more
information.
• If “Drying time” or “Airing” programme was selected:
To adapt the drying or airing time,
- press the Drying time button
- adjust the desired drying or airing time by pressing the drying time
button repeatedly, or alternatively by pressing the UP or DOWN key.
Conrm the selected duration by pressing the OK key.
5. START PROGRAMME
• Press and hold Start/Pause until the button lights up solidly.
After a short load sensing phase, the drying process starts.
• The display indicates the remaining programme duration
and the current programme phase.
• The duration can be recalculated and adapted in the course of the
programme. During such phases, the display indicates the sensing
phase, and an animation is shown on the control panel.
8. SWITCH OFF THE DRYER AFTER PROGRAMME END
• The display indicates that the cycle has nished. Press On/
O to switch o the dryer. Open the door and take out the
laundry.
• The dryer will switch o automatically in about a quarter of an
hour after programme end, to save energy.
• If not switched o right after programme end, the dryer will
tumble the laundry for about 10 minutes, to avoid creasing.
The display alternately indicates the programme end and the
anti-crease phase. This phase can be ended by either switching of
the dryer as mentioned above, or by opening the dryer door.
9. EMPTY WATER TANK / CLEAN DOOR FILTER / CLEAN
BO T TOM F ILTER
• Refer to section CARE AND MAINTENANCE.
3
 Loading...