

Whirlpool GLA7900XK User Manual
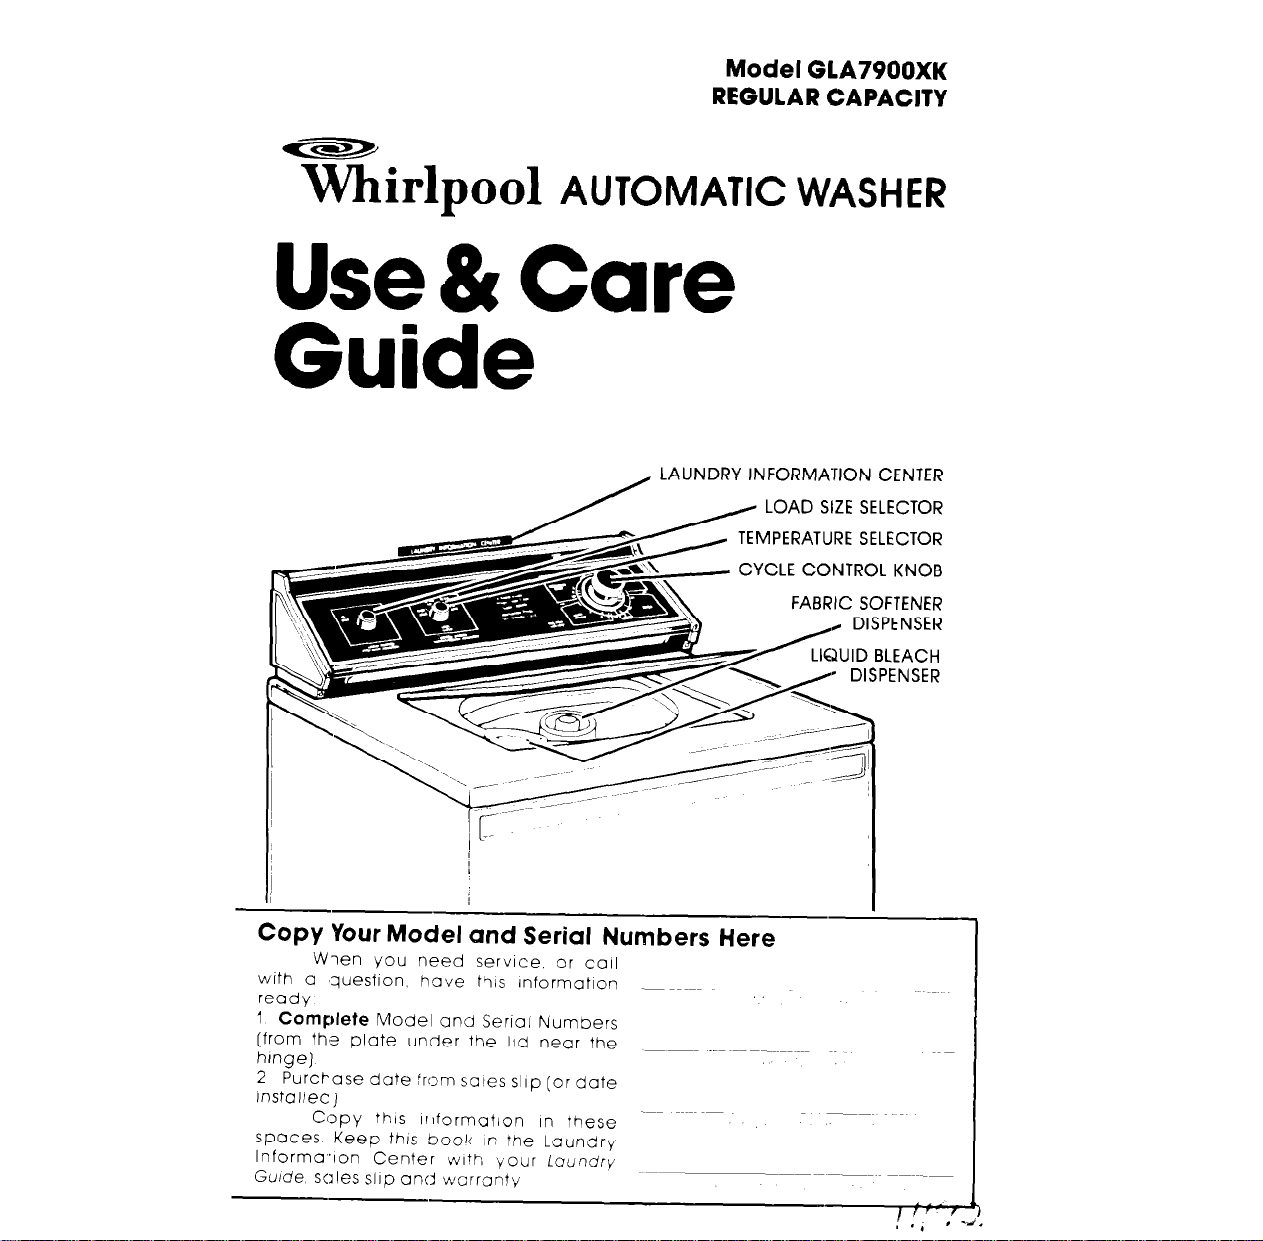
Model GLA7900XK
REGULAR CAPACITY
Whirlpool
Use &
Care
Guide
AUTOMATIC WASHER
LAUNDRY INFORMATION CENTER
LOAD SIZE SELECTOR
TEMPERATURE SELECTOR
CYCLE CONTROL KNOB
FABRIC SOFTENER
Copy Your Model and Serial Numbers Here
Wien you need service. or call
with a ‘question. have ttils lnformatlorl -~~-~~
ready
1
Complete
(from thms plate under the lid near the
hinge)
2 Purcf-use date from sales slop [or date
mstallec)
Copy this lrlformatlon In these
spaces Keep this book IP the Laundry
Informa~~lon Center w~?h your
Guide sales
Model and Serial Numbers
Laundry
slop and warranty
Before using
your Washer
Please read this booklet to be
sure your washer is Installed and used
properly It will help you get the best
results and longest life your washer was
designed to give.
You are personally retponsi-
bie for making sure that Your
washer...
l
Is installed by a qualtfied installer
l
Is properly installed and leveled on a
floor that can support the weight:
l
Is connected to the right kind of outlet,
electric supply, water supply and drain.”
l
Is properly electrically grounded I
l
Is used only for jobs normally
expected of home automatic washers
l
Is properly matntarned
l
Is protected from the weather.
l
Is not run by chrldren or anyone
unable to operate it properly
Remove the Consumer Buy
Guide label. It
before the washer
You may want to wipe out the
basket with a damp cloth before using
to remove dust from storing or shipptng
SPECIAL INSTRUCTIONS: See the
Laundry Guide for tips on deter-
gents, other laundry aids and
instructions for washing special
items.
“See the Installation Instructtons for
complete information
CAUTION: Store laundry detergent and additives in a cool, dry
place where children can’t
reach them.
will
be easier to remove
IS
used.
Contents
Before Using Your Washer
Loading Your Washer
Understanding Your Washer
Lint Filter
Using Your Washer
Water Levels and Load Sizes,
Important Detergent Information
Liquid Bleach Dispenser
Fabric Softener Dispenser
For Rinsing Only
For Spinning Only.
Cycle Operation
SHORT
PERMANENT PRESS
REGULAR HEAVY
SOAK CYCLE
PRE-WASH
it You Need Service or Help
Before Calling for Service
If You Have a Problem
,2
.3
i
4
,5
'.' 6"
7
:.
8
8
8
.8
10
IO
10
10
12
loading your
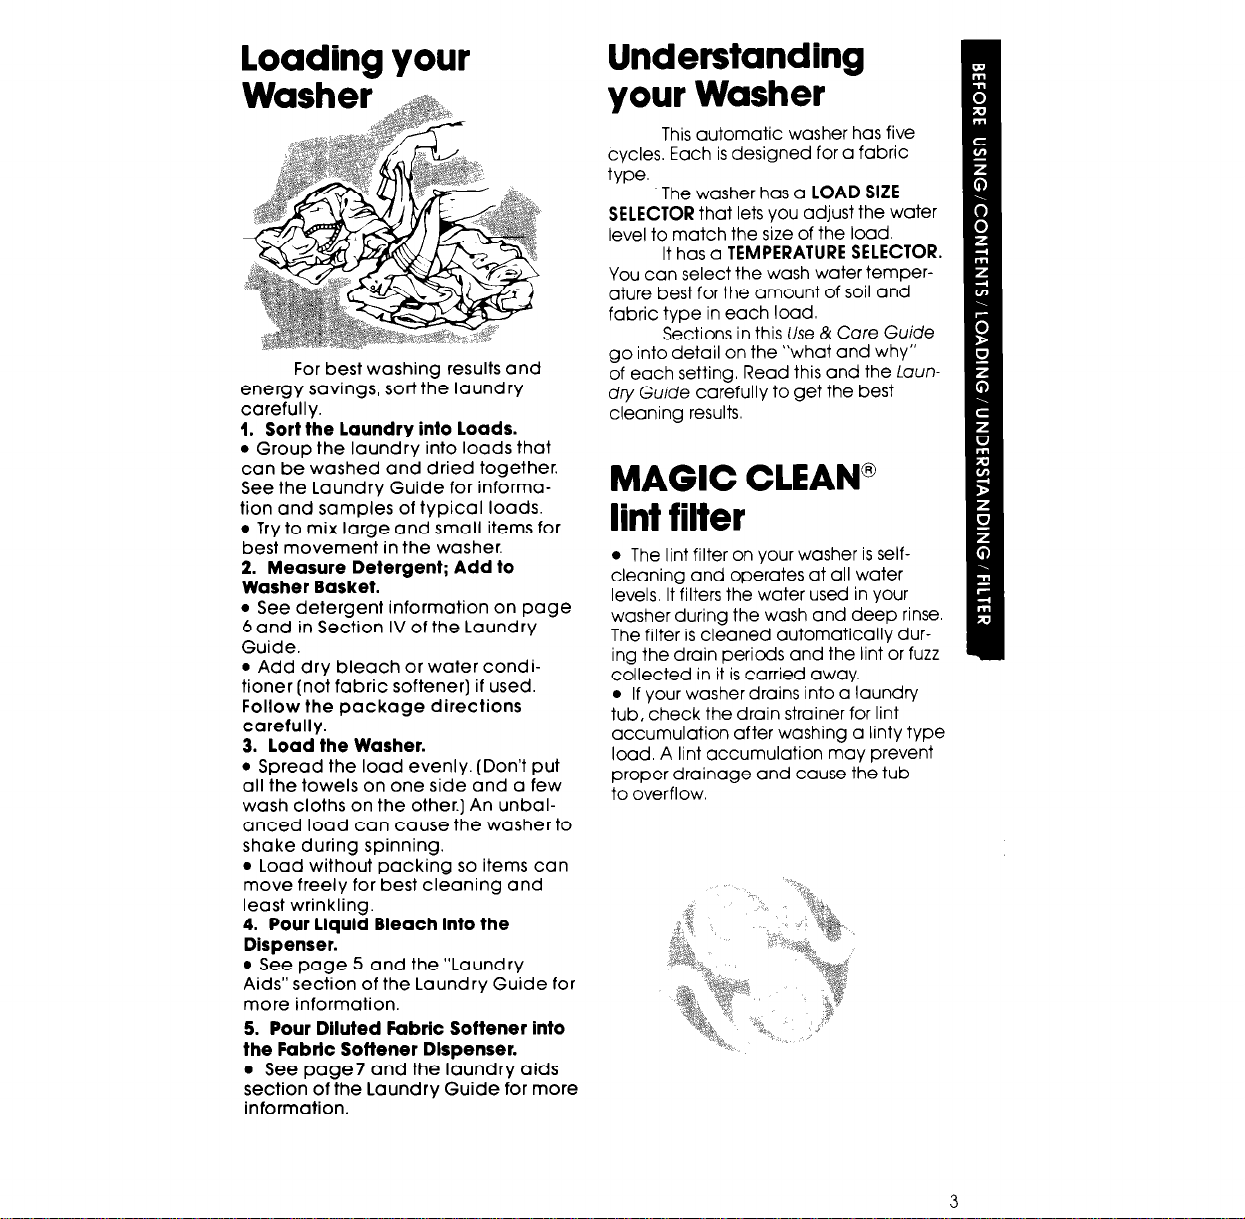
For best washing results and
energy savings, sortthe laundry
carefully.
1. Sort the laundry into loads.
l
Group the laundry into loads that
can be washed and dried together.
See the Laundry Guide for informa-
tion and samples of typical loads.
l
Try to mix large and small items for
best movement in the washer.
2. Measure Detergent; Add to
Washer Basket.
l
See detergent information on page
6 and in Section IV of the Laundry
Guide.
l
Add dry bleach or water conditioner (not fabric softener] if used.
Follow the package directions
carefully.
3. load the Washer.
l
Spread the load evenly. (Don’t put
all the towels on one side and a few
wash cloths on the other.] An unbal-
anced load can cause the washer to
shake during spinning.
l
Load without packing so items can
move freely for best cleaning and
least wrinkling.
4. Pour liquid Bleach into the
Dispenser.
l
See page 5 and the “Laundry
Aids” section of the Laundry Guide for
more information.
5. Pour Diluted Fabric Sottener into
the Fabric Sottener Dlspenser.
a See page7 and the laundry aids
section of the Laundry Guide for more
information.
Understanding your Washer
This automatic washer has five
cycles. Each is designed for a fabric
type.
The washer has a LOAD SIZE
SELECTOR that lets you adjust the water
level to match the size of the load.
It has a TEMPERATURE SELECTOR.
You can select the wash water temperature best for the amount of soil and
fabric type in each load.
Sections in this Use & Core Guide
go into detail on the “what and why”
of each setting, Read this and the Loundry Guide carefully to get the best
cleaning results.
MAGIC CLEAN@
lint filter
l
The lint filter on your washer is selfcleaning and operates at all water
levels It filters the water used in your
washer during the wash and deep rinse.
The filter is cleaned automatically dur-
ing the drain periods and the lint or fuzz
collected in it is carried away.
l
If your washer drains into a laundry
tub, check the drain strainer for lint
accumulation after washing a linty type
load. A lint accumulation may prevent
proper drainage and cause the tub
to overflow.
Using your Washer
Your automatic washer is easy to
use. To make it even easier, read the
following steps before starting your first
load.
Start your washer after you put in
detergent, the load, and any other
laundry aids according to Information
on page 3 and page 6
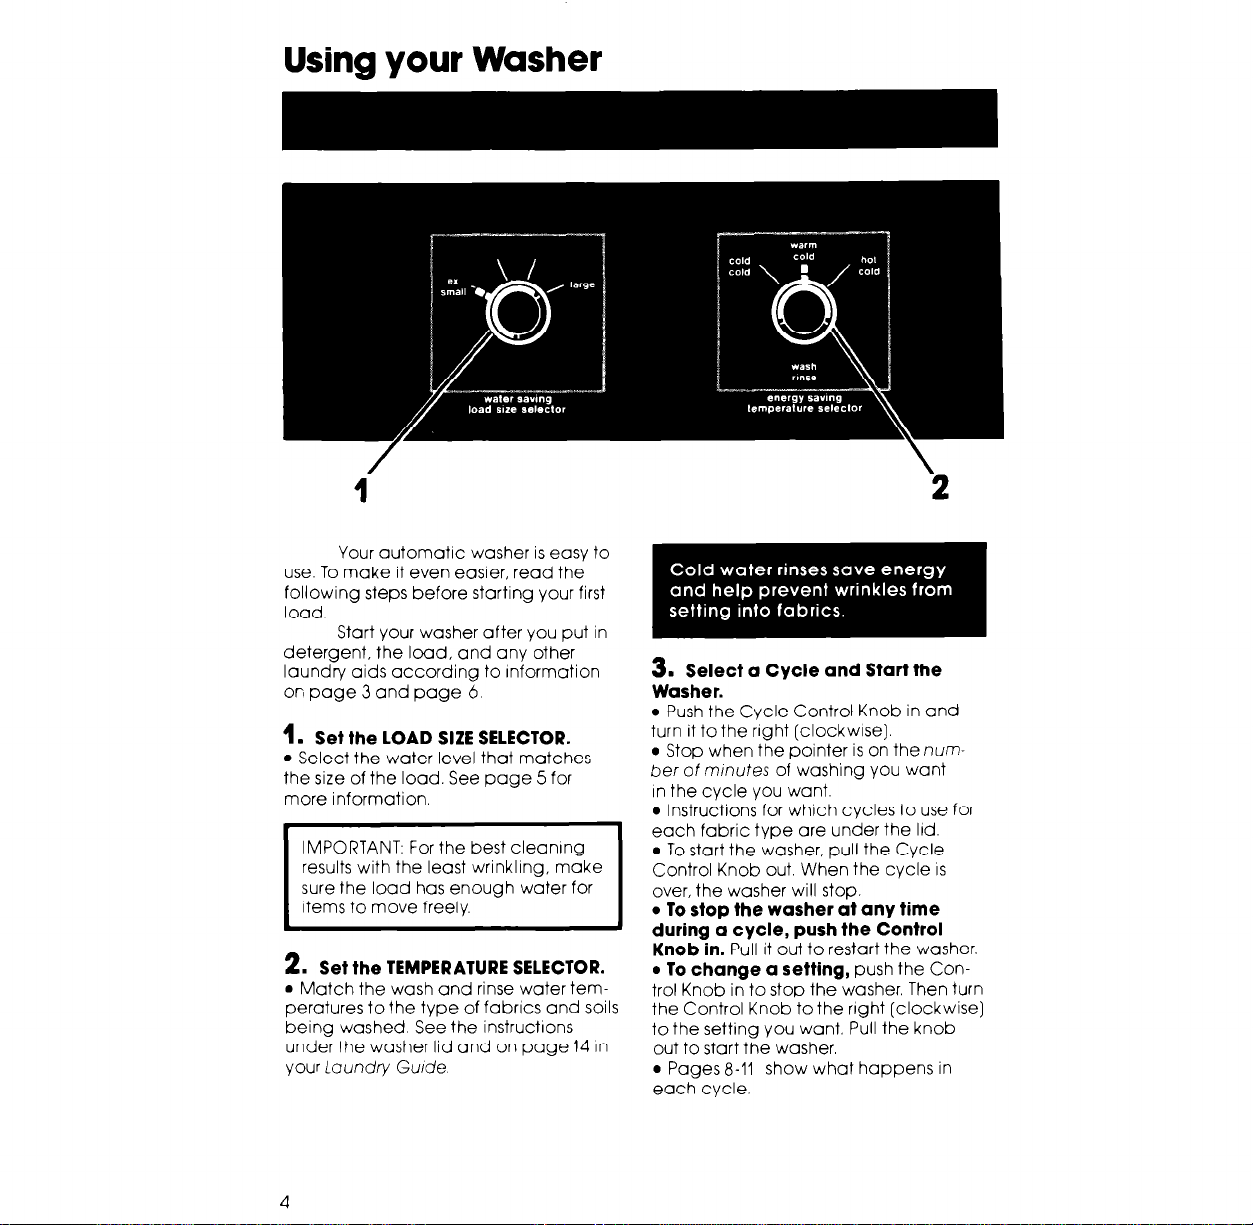
1. Set the LOAD StZE SELECTOR.
l
Select the water level that matches
the size of the load. See page 5 for
more information.
IMPORTANT: For the best cleaning
results with the least wrinkling, make
sure the load has enough water for
items to move freely.
2. Set the TEMPERATURE SELECTOR.
l
Match the wash and rinse water temperatures to the type of fabrics and soils
being washed See the instructlons
under the washer lid and on page 14 In
your ioundry Gude
3. Select a Cycle and Start the
Washer.
l
Push the Cycle Control Knob in and
turn it to the right (clockwlse).
l
Stop when the pointer is on the num-
ber of minutes of washing you want
In the cycle you want.
l
Instructions for which cycles to use for
each fabric type are under the lid.
l
To start the washer, pull the Cycle
Control Knob out. When the cycle
IS
over, the washer will stop.
l
To stop the washer at any time
during a cycle, push the Control
Knob in. Pull it out to restart the washer.
l
To change a setting, push the Control Knob in to stop the washer. Then turn
the Control Knob to the right [clockwise]
to the setting you want. Pull the knob
out to start the washer.
l
Pages 8-11 show what happens in
each cycle.
4
 Loading...