

Whirlpool EH230F User Manual
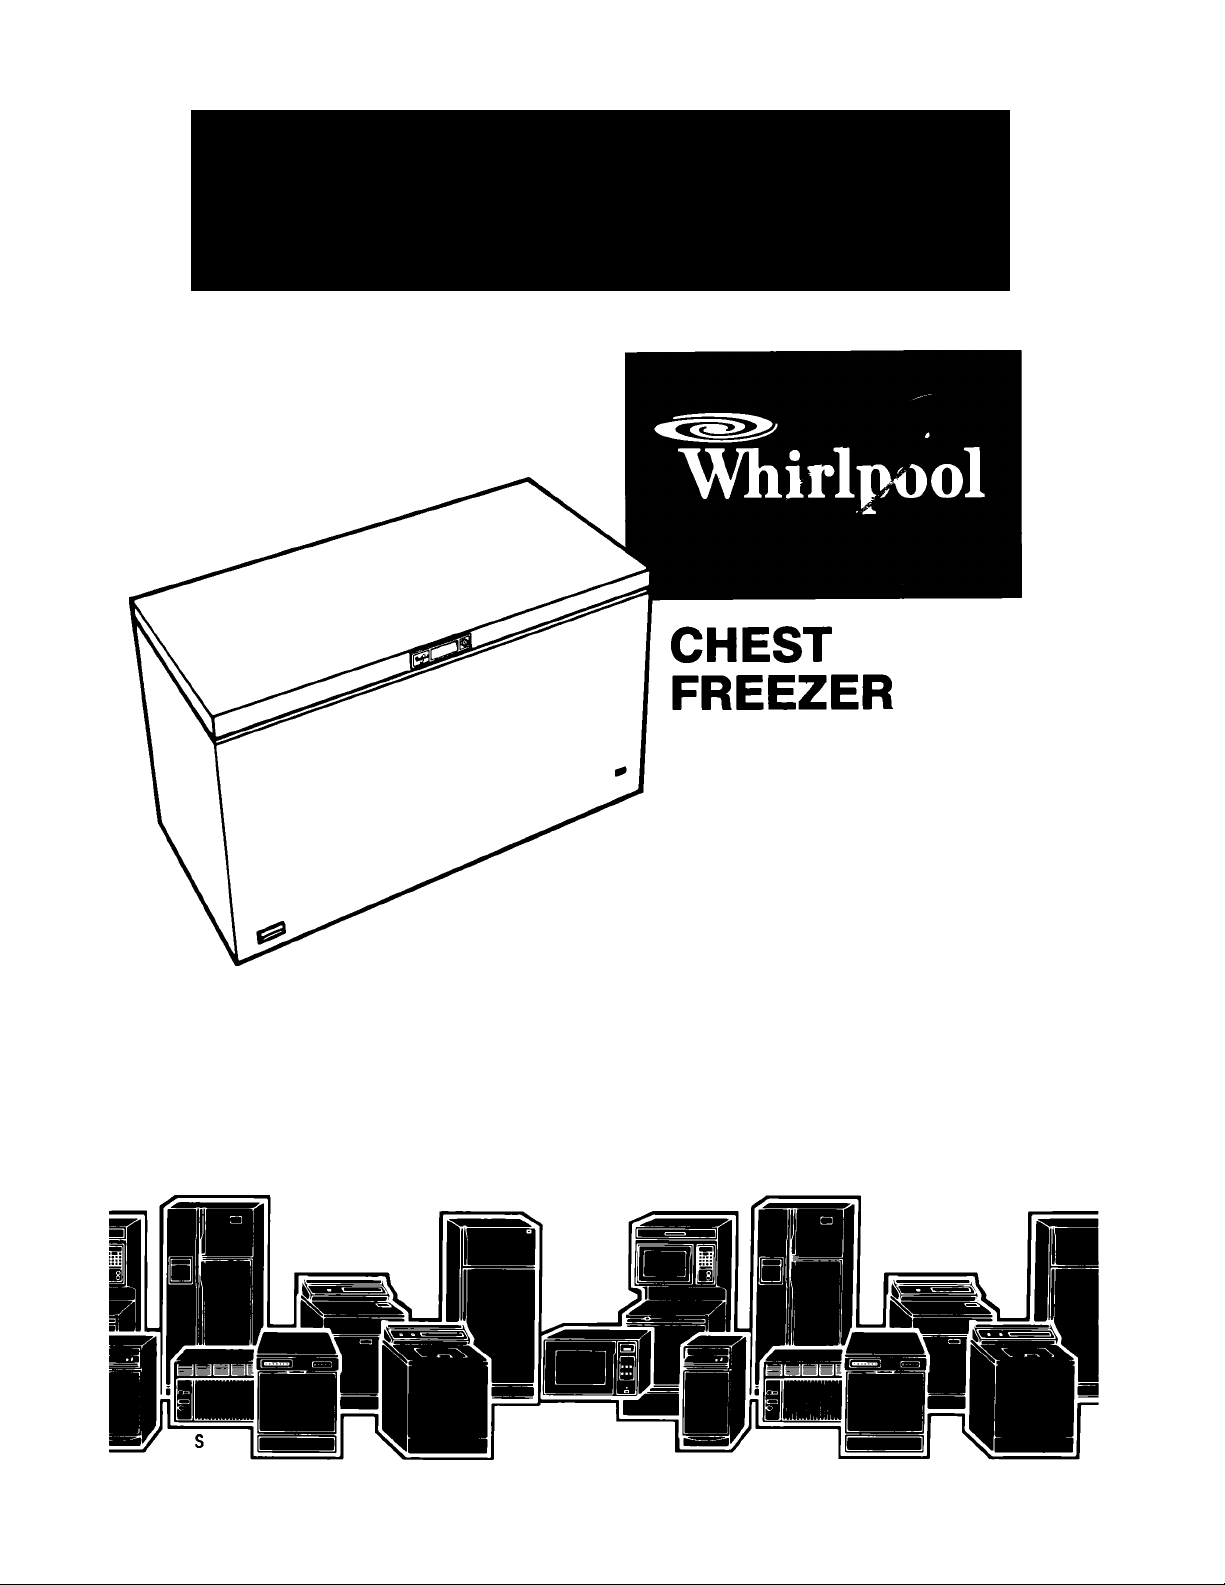
use&care guide
Model EH230F
•Freezers. Ice Makers. Dishwashers. Built-In Ovens and Surtace Units. Ranges. Microwave Ovens. Trash Compactors. Room Air Conditioners. Dehumidiliers. Automatic Washers. Clothes Dryers, Freeze
Please read this
Use and Care Guide
before you do anything else...
This booklet tells you how to start your freezer,
defrost it, Cleon it and adjust controls.
Treat your new freezer with care. Use it only to
do what home freezers are designed to do.
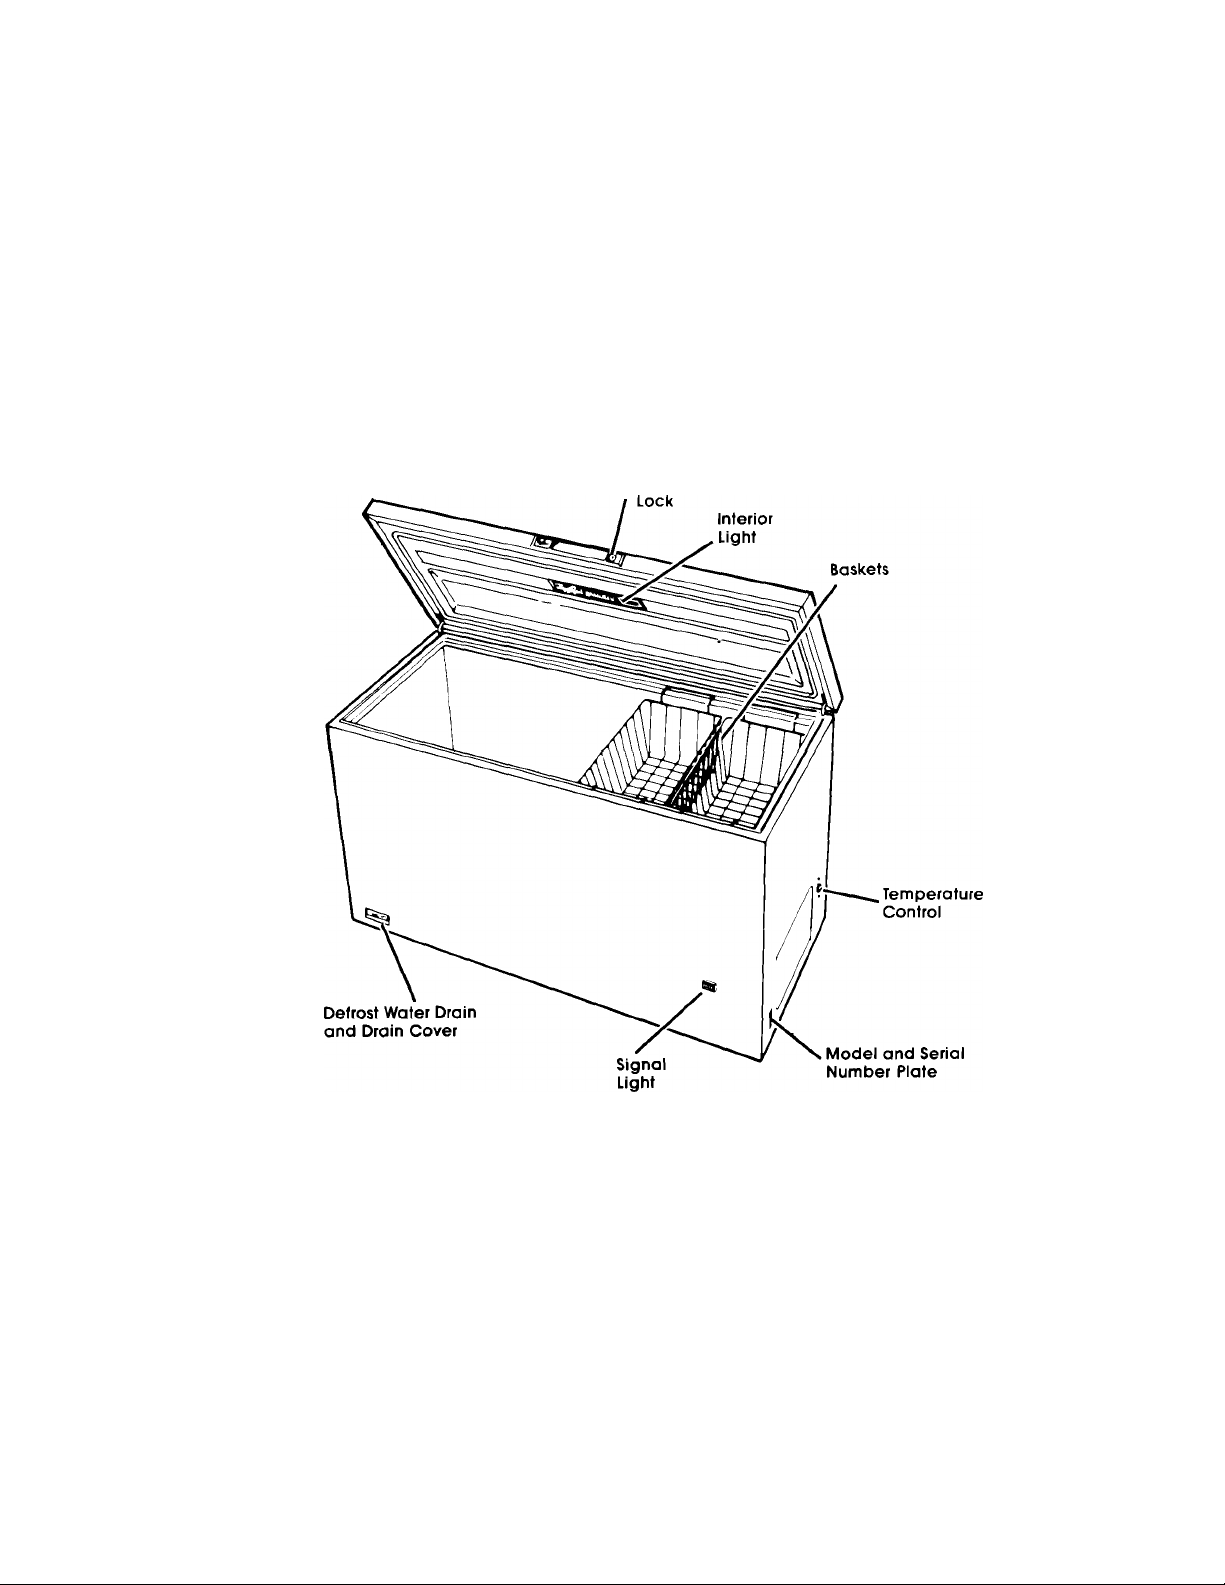
Parts and features
Key Eject
Copy your Model and Serial Numbers here...
When you need service, or call with a question,
have this information ready:
1. Complete Model and Serial Numbers from the
plate located as shown),
2. Purchase date from sales slip.
Copy this information in these spaces. Keep this
book, your warranty and sales slip together in a
handy place.
Please complete and mail the Owner Regis
tration Card furnished with this product.
Model Number
Serial Number
Purchase Date
Service Company and Telephone Number
Contents
SAFETY FIRST............................................. 3
BEFORE YOU PLUG IT IN........................... 3
Install Properly
Level Chest Freezer
Remove Sales Labels
Install Defrost Drain Cover ........................ 4
Clean It ...................................................... 4
Plug It In..................................................... 4
USING YOUR FREEZER
Setting the Temperature Control
Adjusting the Temperature Control .... 5
Cooling Freezer First
The Sliding Baskets
The Key Eject Lock
The Interior Light........................................ 6
........................................
..................................
...............................
..............................
............
................................
..................................
....................................
©1987 Whirlpool Corporafion
Safety first
Child entrapment and suffocation
are not problems of the past. Junked
or abandoned freezers are still dan
gerous...even if they will "just sit in
the garage for a few days.”
If you are getting rid of your old
freezer, do it safely. Please read the
enclosed safety booklet from the
Association of Home Appliance Manu
facturers. Help prevent accidents.
4
5
The Signal Light
Energy Saving Tips.................................... 6
CLEANING YOUR FREEZER
4
4
5
5
5
5
Cleaning Chart .......................................... 7
FREEZING FOOD IN YOUR FREEZER
Packaging and Sealing Eood
To Wrap Foods
Loading...................................................... 9
Storing Frozen Food
VACATION AND MOVING CARE............. 9
Vacations ......................................: ... . 9
Shutting Off and Moving
IF YOU NEED SERVICE OR ASSISTANCE tO
FREEZER WARRANTY
REIMBURSEMENT FOR FOOD LOSSES 12
........................................
......................
...................
..........................................
..................................
...........................
...............................
....
Page
6
6
8
8
8
9
9
12
Before you plug it in
IMPORTANT
Before using your freezer, you are personaiiy re-
sponsibie for making sure that it,,
• is installed and levelled on a floor that will hold the
weight, and in an area suitable for its size and use.
• is connected only to the right kind of outlet, with the
right electrical supply and grounding. (Refer to
your “Electrical Requirements and Grounding
Instructions."]
• is used only for jobs expected of home freezers
• is not near an oven, radiator or other heat source
is properly maintained,
is out of the weather,
is used in on area where the room temperature
will not exceed 110“F (43,3’C)
is not run where there are explosive fumes,
is not used by those who may not understand
how it should be used
is not loaded with food before it has time to get
properly cold.
Install properly...
Allow room to open lid
Install defrost drain cover...
1, Remove cover from literature package,
2, Check drawing on page 2 for placement.
3, Install cover.
2 Inches at bock
SS
3 inches
1. Check the strength of the floor. It should hold the
weight of a fully loaded freezer,
2 Pick a safe place, indoors, away from in
flammables such as gasoline.
3, Allow at least 3 inches (7,5 cm) air space on all
sides of freezer and 2 inches (5 cm) at back. Leave
room at top for lid to open all the way,
A. It should not be necessary to remove the lid during
installation. If, for'any reason, the hinges need ad
justment, see your authorized WHIRLPOOL dealer,
5 Do nof cover the freezer with items such as
blankets, sheets, tablecloths, etc.
3 inches I
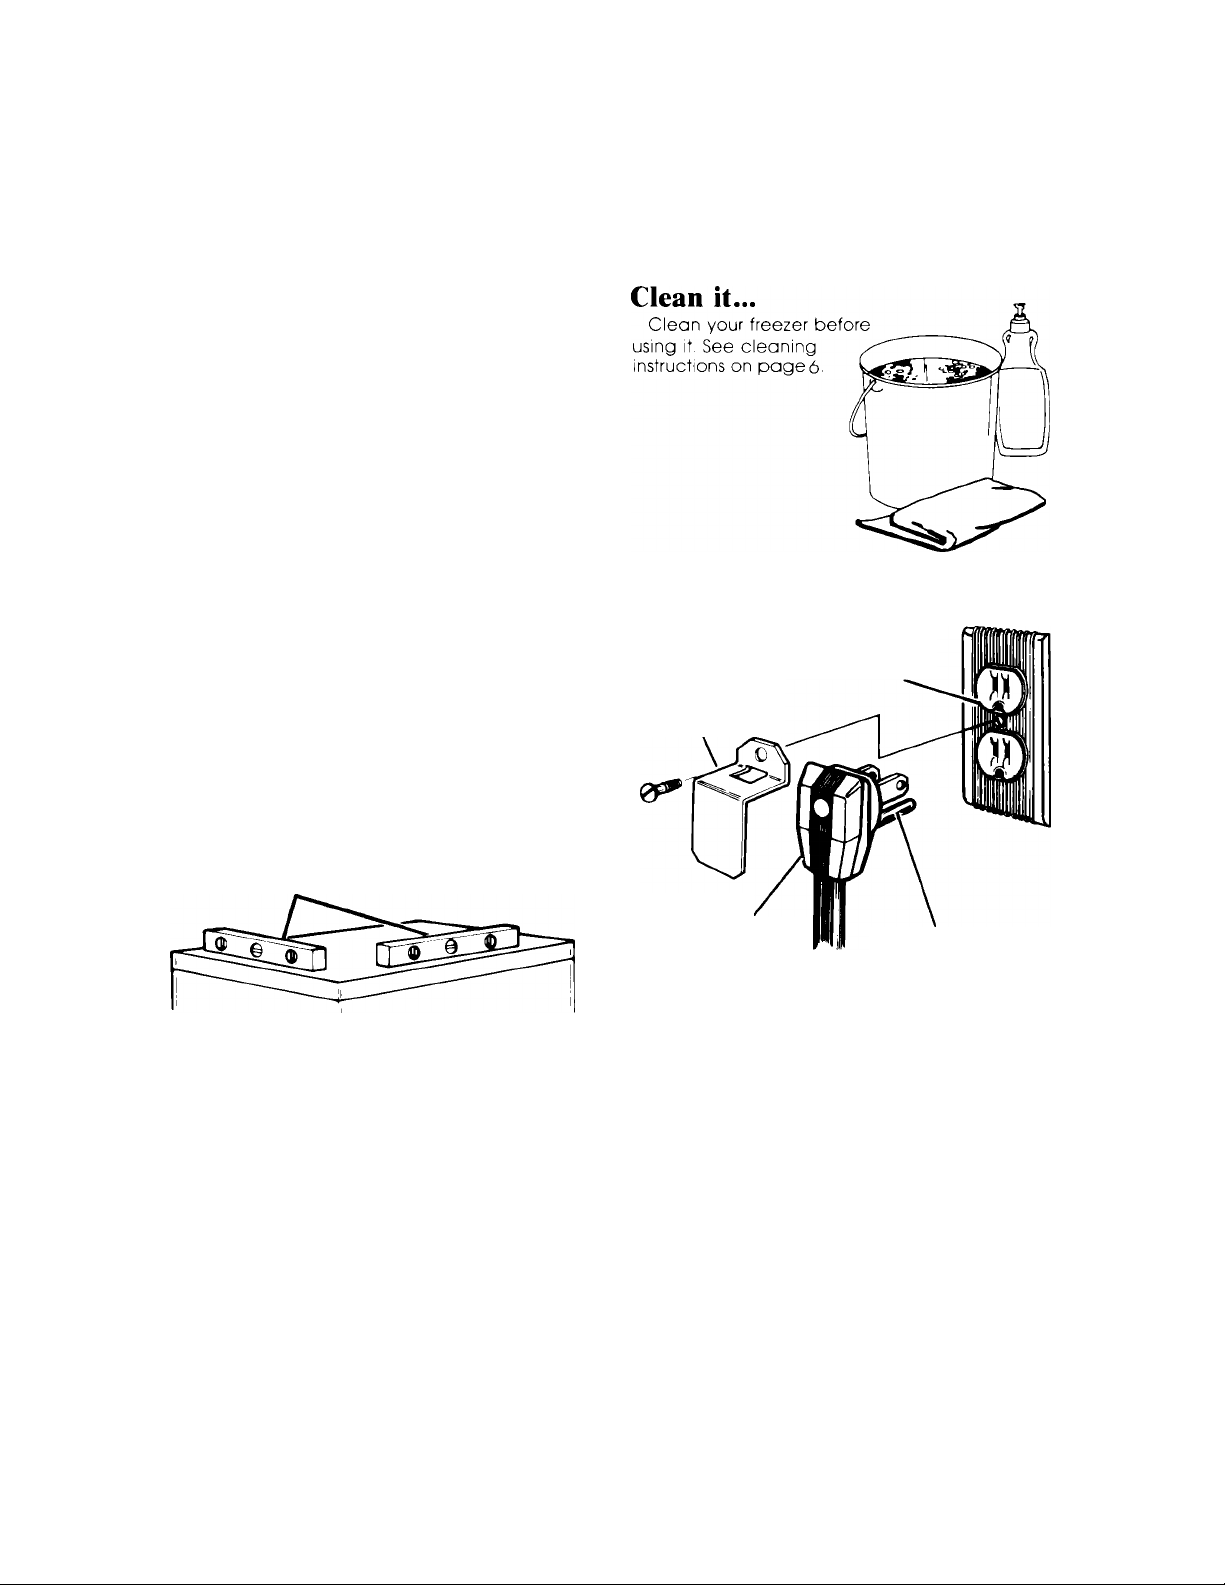
Level chest freezer...
from end to end and front to back so that the lid will
seal properly.
Check with levei
Plug it in...
Retaining Clip
Freezer
Power Plug
3-prong grounding
type woli receptacle
3-prong
grounding plug
Remove sales labels...
Remove any labels before using the freezer.
To remove any remaining glue:
1, Rub briskly with thumb to make a ball, then remove,
OR
2, Soak area with dishwashing detergent solution (1
teaspoon detergent in 1 quart warm water) before
removing glue as described in step 1.
DO NOT USE rubbing alcohol or flammable or
foxic solvents, such as acetone, gasoline, car
bon tetrachloride, etc. These can damage the
material.
NOTE: DO NOT REMOVE the Tech Sheet on inside
of compressor compartment door.
Recommended Grounding Method
A115 Volt,60 Hz,, AC only 15 or 20 ampere fused and
properly grounded electrical supply is required. It is
recommended that a separate circuit serving only
this appliance be provided. Use a receptacle
which cannot be turned off with a switch or pull
chain. Do not use an extension cord.
Attach retaining clip over power cord plug from
literature package inside the freezer.
See individual electrical requirements and ground
ing instruction sheet in your literature package.
 Loading...