

Whirlpool BMZ 5900 WS, BMZ 5009 SW, ELZE 5163 IN, BMZ 5009 IN INSTALLATION

ELZE 5163
GB DE
PRODUCT DESCRIPTION SHEET
Control panel
1.
Cooling fan (not visible)
2.
Fan operation switches on only when the oven has
reached a certain temperature, and may continue
even after the appliance has been turned off, for a
To p
shelf
Bottom
shelf
few minutes.
Upper heating element
3.
Rear oven lamp
4.
Circular heating element (not visible)
5.
Rear catalytic panels
6.
Oven fan
7.
Lower heating element (hidden)
8.
Oven cool door
9.
ACCESSORIES
Baking tray:
Drip tray:
Wire Shelf:
CONTROL PANEL
1. ON/OFF - Function Selector Knob.
2. Button to select and confirm programmes.
3. Pre-set values modification knob
(temperature, time, levels)
*) The cooktop control knobs are not interchangeable. After cleaning or maintenance, they must be fitted in their
original positions.
Retractable knobs
• To use this type of knob, press it in the middle.
• The knob comes out.
• Turn it to the required position.
Once cooking is over, turn the knob to 0 and press it again to restore it to its original position.
4. Control knob for front left cooking zone*
0 1 ...10
5. Control knob for rear left cooking zone*
0 1 ...10
6. Control knob for rear right cooking zone*
0 1 ...10
>>
7. Control knob for front right cooking zone*
0 1 ...10
>>
8. Alphanumeric display
Function
-
OVEN OFF
LAMP
MLTF (Heat
Maintenance)
STATIC
PASTRY/FAN
TURBOFAN 160°C
FAN/
THERMOVENTILATED
GRILL
TURBO GRILL
PIZZA/BREAD
BOOSTER
Oven function chart
Preset
temperature
- - -
- - To switch on the oven light
35°C - 60°C -
200°C 50°C - 250°C
175°C 50°C - 250°C
160°C 50°C - 250°C
3 -
3 -
-
200°C 50°C - 250°C
Te m p e r a t u r e
range
50°C - 250°C
P1- 300°C
P2- 220°C
• To maintain a constant temperature inside the oven.
• 35°C: to raise pasta, bread and pizza.
• 60°C: to keep cooked food warm.
• Ideally the first shelf level should be used.
• To cook meat, fish and chicken on the same level.
• Preheat the oven to the required cooking temperature
and place food in the oven as soon as all the thermostat
indicators are on.
• Ideally, the second or third shelf level should be used.
• To cook on up to two different shelf levels.
• If necessary, switch the positions of the dishes to cook
food more evenly.
• To cook on one level (e.g.: fruit, cakes, timbales,
vegetables, pizza, poultry).
• To cook (without preheating) foods that require the same
cooking temperature on one or more levels
(e.g.: fish, vegetables, sweets), without transferring odours
from one foodstuff to the other.
• To grill steak, kebabs and sausages, to cook vegetables au
gratin and to toast bread.
• This function can be set to different power levels (min. 1max. 5).
• Preheat the oven for 3 - 5 min.
• The oven door must be kept closed during the cooking
cycle.
• When cooking meat, pour a little water into the drip tray
(on the bottom level) to reduce smoke and fat spatters.
• Ideally the meat should be turned during cooking.
• To grill large joints of meat (roast beef and other roast
meats).
• This function can be set to different power levels (min. 1max. 5).
• Preheat the oven for 3 - 5 min.
• The oven door must be kept closed during the cooking
cycle.
• When cooking meat, pour a little water into the drip tray
(on the bottom level) to reduce smoke and fat spatters.
• Ideally the meat should be turned during cooking.
• To bake pizza, bread, focaccia.
• You will find a recipe for each programme in the recipe
book provided.
• To preheat the oven rapidly.
• As the temperature increases, the thermostat
• The booster function cuts out automatically when the
programmed temperature is reached. The acoustic signal
will sound and the appliance switches to the STATIC
cooking function.
Description of function
indicators will light up in sequence.
5019 410 56232
COOKING TABLES
FOOD Function
MEAT
Lamb, Kid,
Mutton
Roast
(Veal, Pork, Beef)
(kg 1)
Chicken, Rabbit,
Duck
Tu r k e y ( k g 4 - 6 ) +
3 browning
level
Goose (kg 2)
FISH
(WHOLE)
(1-2 kg)
Gilt-head, Bass,
Tuna,
Salmon, Cod
FISH
(CUTLETS)
(1 kg
Sword Fish, Tuna
VEGETABLES
Stuffed peppers
and tomatoes
Roast potatoes
SWEETS,
PASTRI ES, ETC.
Leavened cakes
Filled pies
(with cheese)
Tar t s
Apple strudel
Biscuits
Choux buns
Pre-heating
(10 minutes)
3 X 2 2 200 95 - 110
5 X 3 2 200 100 - 110
4 X 2 - 200 100 - 110
3 X 2 2 200 95 - 110
5 X 3 3 200 100 - 110
4 X 2 - 200 90 - 100
3 X 2 3 200 80 - 90
5 X 2 3 190 80 - 90
4 X 2 - 200 85 - 95
3 X 1 3 200 160 - 180
5 X 1 3 200 160 - 180
4 X 1 - 210 180 - 190
3 X 2 3 210 100 - 130
5 X 1 3 200 100 - 130
4 X 2 - 200 100 - 130
3 X 2 1 200 45 - 55
5 X 3 1 190 45 - 55
4 X 2 - 200 50 - 60
3 X 2 2 200 40 - 50
5 X 3 2 190 40 - 50
4 X 3 - 200 40 - 50
3 X 2 - 220 50 - 60
5 X 2 - 200 50 - 60
4 X 2 - 200 50 - 60
3 X 2 3 220 50 - 60
5 X 2 3 200 50 - 60
3 X 2 - 190 40 - 50
5 X 1 - 180 40 - 50
4 X 2 - 180 40 - 50
3 X 2 - 190 80 - 90
5 X 2 - 180 70 - 80
4 X 2 - 180 80 - 90
3 X 2 - 190 40 - 50
5 X 2 - 180 40 - 50
4 X 2 - 180 40 - 50
3 X 2 - 200 50 - 55
5 X 1 - 3 - 200 50 - 55
4 X 2 - 200 50 - 55
3 X 2 - 170 20 - 30
5 X 1 - 3 - 200 20 - 30
4 X 2 - 200 20 - 30
3 X 2 - 180 35 - 45
5 X 1 - 3 - 180 35 - 45
4 X 2 - 180 40 - 50
Level
(from
the
bottom
)
Level
Extra
brownin
g
Te m p e r
ature
(°C)
Cooking
time
(minutes)
FOOD Function
Savoury pies
Lasagna
Filled fruit pies
e.g. Pineapple,
Peach
Meringues
Vol- au- vent s
Soufflés
Level
Level
Pre-heating
(10 minutes)
3 X 2 - 200 40 - 50
5 X 2 - 190 40 - 50
4 X 2 - 190 40 - 50
3 X 2 1 200 45 - 60
5 X 2 1 200 45 - 60
6 X 2 - 200 45 - 60
3 X 2 - 190 50 - 60
5 X 2 - 190 40 - 50
4 X 2 - 190 40 - 50
3 X 2 - 120 120 - 150
5 - 1 - 3 - 120 120 - 150
4 - 2 - 120 120 - 150
3 X 2 - 200 35 - 45
5 X 1 - 3 - 190 35 - 45
4 X 2 - 190 35 - 45
3 X 2 - 200 40 - 50
5 X 2 - 190 45 - 55
4 X 2 - 190 45 - 55
(from
the
bottom)
Extra
browning
Te m p e ra
ture
(°C)
Cooking
(minutes
COOKING TABLE FOR GRILL
FUNCTION
FOOD Function
Steak 7 X 4 5 35 - 45
Cutlets 7 X 4 5 30 - 40
Sausages 7 X 3 - 4 5 30 - 40
Chops 7 X 4 5 35 - 45
Fish (steaks) 7 X 3 - 4 5 35 - 45
Chicken legs 7 X 3 - 4 5 40 - 50
Kebabs 7 X 3 - 4 5 40 - 50
Spare ribs 7 X 3 - 4 5 35 - 45
1/2 chicken 7 X 3 5 45 - 55
1/2 chicken 8 X 3 5 45 - 55
Whole
chicken
Roast
(pork, beef)
Duck 8 X 2 5 70 - 80
Leg of lamb 8 X 3 5 70 - 80
Roast beef 8 X 3 5 50 - 60
Roast
potatoes
Fish (gilthead,
trout)
NB.:
When cooking meat with Fan or Static functions, it is advisable
Preheating
(5 minutes)
8 X 3 5 60 - 70
8 X 2 5 60 - 70
8 X 3 5 50 - 60
8 X 3 5 50 - 60
Level
(from the
bottom)
Power
to add the Extra browning function, using shelf 1 to 3.
Cooking times and temperatures are for guidance only.
level
Cooking
time
(minutes)
time
)
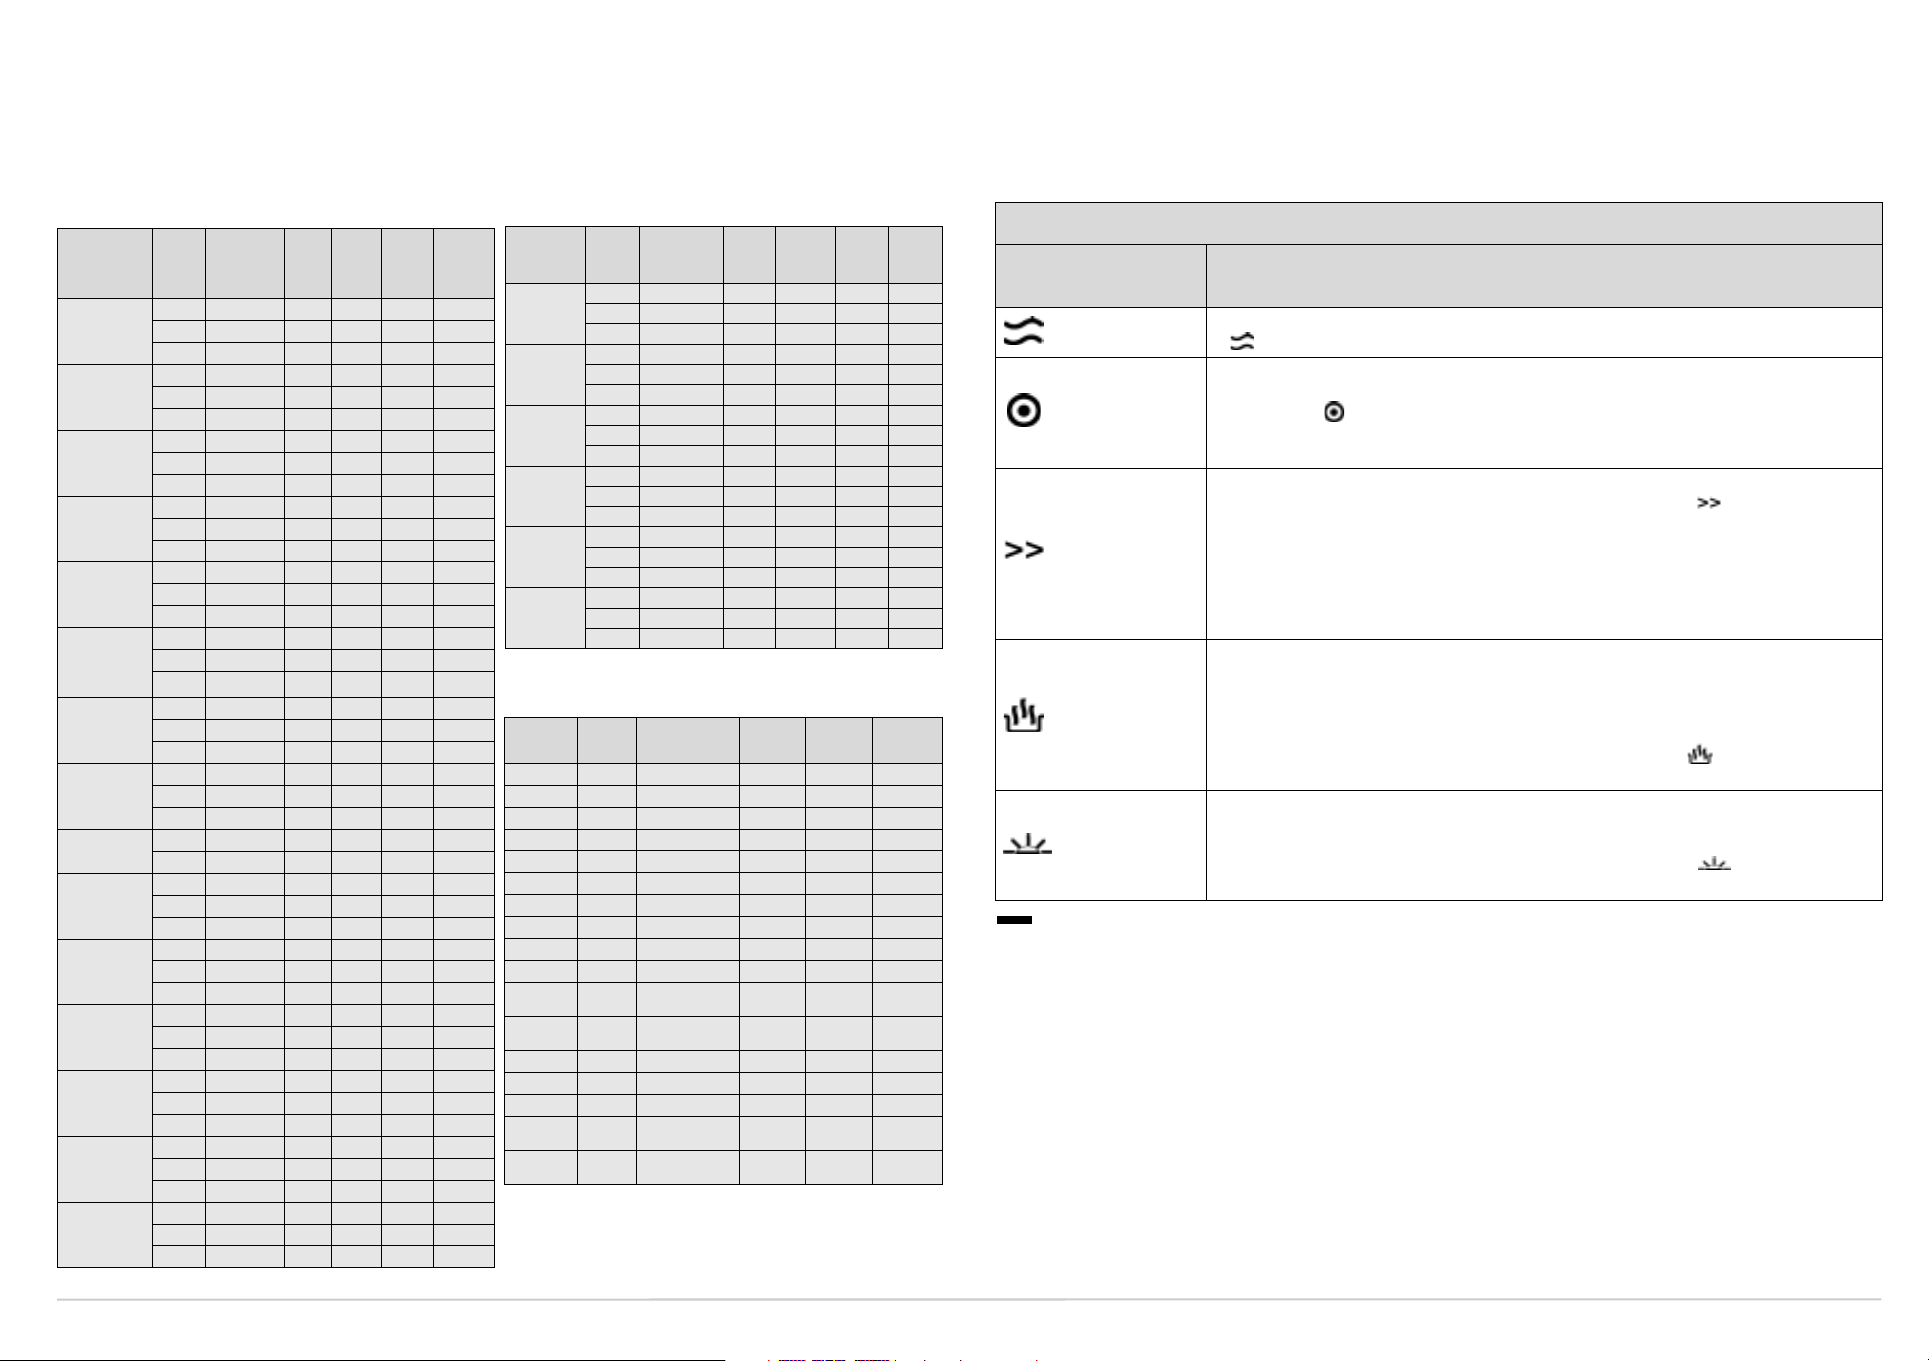
Cooktop Functions Table (depending on model)
Function Description of function
HEAT
MAINTENANCE
DUAL ZONE
ICP (initial cooking
function)
FAST BOIL
GENTLE HEAT
This symbol does not correspond to any cooktop function; the heating element is off.
HOW TO OPERATE THE COOKTOP
The oven control panel features 4 adjustable knobs for cooktop operation. The cooktop control knobs are
marked with a numerical scale corresponding to different power settings, and a series of function symbols.
• Turn the control knob of the relevant cooking zone clockwise to the desired power setting (see the
instructions supplied with the cooktop).
The yellow led lights up, indicating operation.
To maintain a constant temperature of 60° until the end of cooking. To select this function, turn the knob
.
to
This is available on the front left and rear left cooking zones. This extends the heating area of the cooktop
in order to allow the use of large, oval or rectangular pots or cooking receptacles. To select this function:
turn the knob to and wait until the residual heat indicator for the cooking zone begins to flash. Select
the power setting required by turning the knob anti-clockwise. The residual heat indicator remains on to
indicate that the cooktop is in use. To deselect, turn the knob to
"0"
.
This function accelerates the heating of the selected cooking zone for a specified length of time during
the first part of the cooking cycle. To select this function, turn the knob to
.
Wait until the residual
heat indicator for the cooking zone begins to flash, then turn the knob anti-clockwise to the desired
power setting. E.g.: if level
which it will continue on power setting
the power setting. if level
which it will continue on power setting
“1”
is selected, the cooking zone will work on full power for
“1”
until the end of cooking, unless the knob is turned to adjust
“6”
is selected, the cooking zone will work on full power for
“6”
until the end of cooking, unless the knob is turned to adjust
the power setting. This function can be used with all power settings,
except for power setting “10”
1 minute
6 minutes,
, after
after
This function is used to bring water to the boil rapidly and remains on for a preset time. At the end of
the preset time, the cooktop automatically returns to the maximum power setting. This function can be
selected even during cooking. Important: Before selecting this function, make sure the pot is positioned
on the selected cooking zone in order to avoid any damage to the cooktop surface. The stated
performance values for this function are those guaranteed for all glass ceramic cooktops. For this
function, place the pot on the selected cooking zone and turn the knob to . To deselect, change the
position of the knob.
To allow dough to rise, to soften butter taken from the fridge, to keep baby bottles or food warm, also
for making yoghurt, melting chocolate, etc.
This function is only available when the residual heat indicator is on. For this function, make sure the
residual heat indicator of the desired cooking zone is on. Turn the knob to . To deselect the
function, change the position of the knob.
.
 Loading...