


CONTENTS
BEFORE USING THE DRYER/CONNECTIONS
PRECAUTIONS AND GENERAL RECOMMENDATIONS
DESCRIPTION OF THE DRYER
VENT CONNECTION
DOOR REVERSIBILITY
9
BEFORE USING THE DRYER/CONNECTIONS
1. Removing the packaging and check
After unpacking, make sure that the dryer is
undamaged. If in doubt, do not use the dryer.
Contact After-Sales Service or your local retailer.
Keep the packaging materials (plastic bags,
polystyrene parts, etc.) out of reach of children, as
they are potentially dangerous.
2. Electrical Connections
Electrical connections must be carried out by a
qualified technician in compliance with the
manufacturer's instructions and current standard
safety regulations.
Electrical connection must comply with local
Electricity Board regulations.
Voltage information, power consumption and the
required fuse protection is shown on the rating
plate mounted at the rear of the dryer.
The manufacturer cannot accept any liability for
personal injury or damage to property resulting from
failure to adhere to these instructions.
The dryer must be earthed as prescribed by law.
Do not use extension leads or multiple adaptors.
Before any maintenance on the dryer disconnect it
from the mains supply.
Do not operate the dryer if it has been damaged
during transport. Contact one of our After-Sales
Service technicians.
Mains cable replacement is only to be carried out
by After-Sales Service.
Minimum housing dimensions:
Width: 600 mm
Height: 850 mm
Depth: 560 mm
3. Installation
Do not install your dryer where it can be subject
to extreme conditions, such as: poor ventilation,
temperatures around freezing (or above 35°C).
Remove the protective foil from the control
panel.
Level the dryer by adjusting the two front feet.
Take care not to trap the mains cable between
the dryer and the wall.
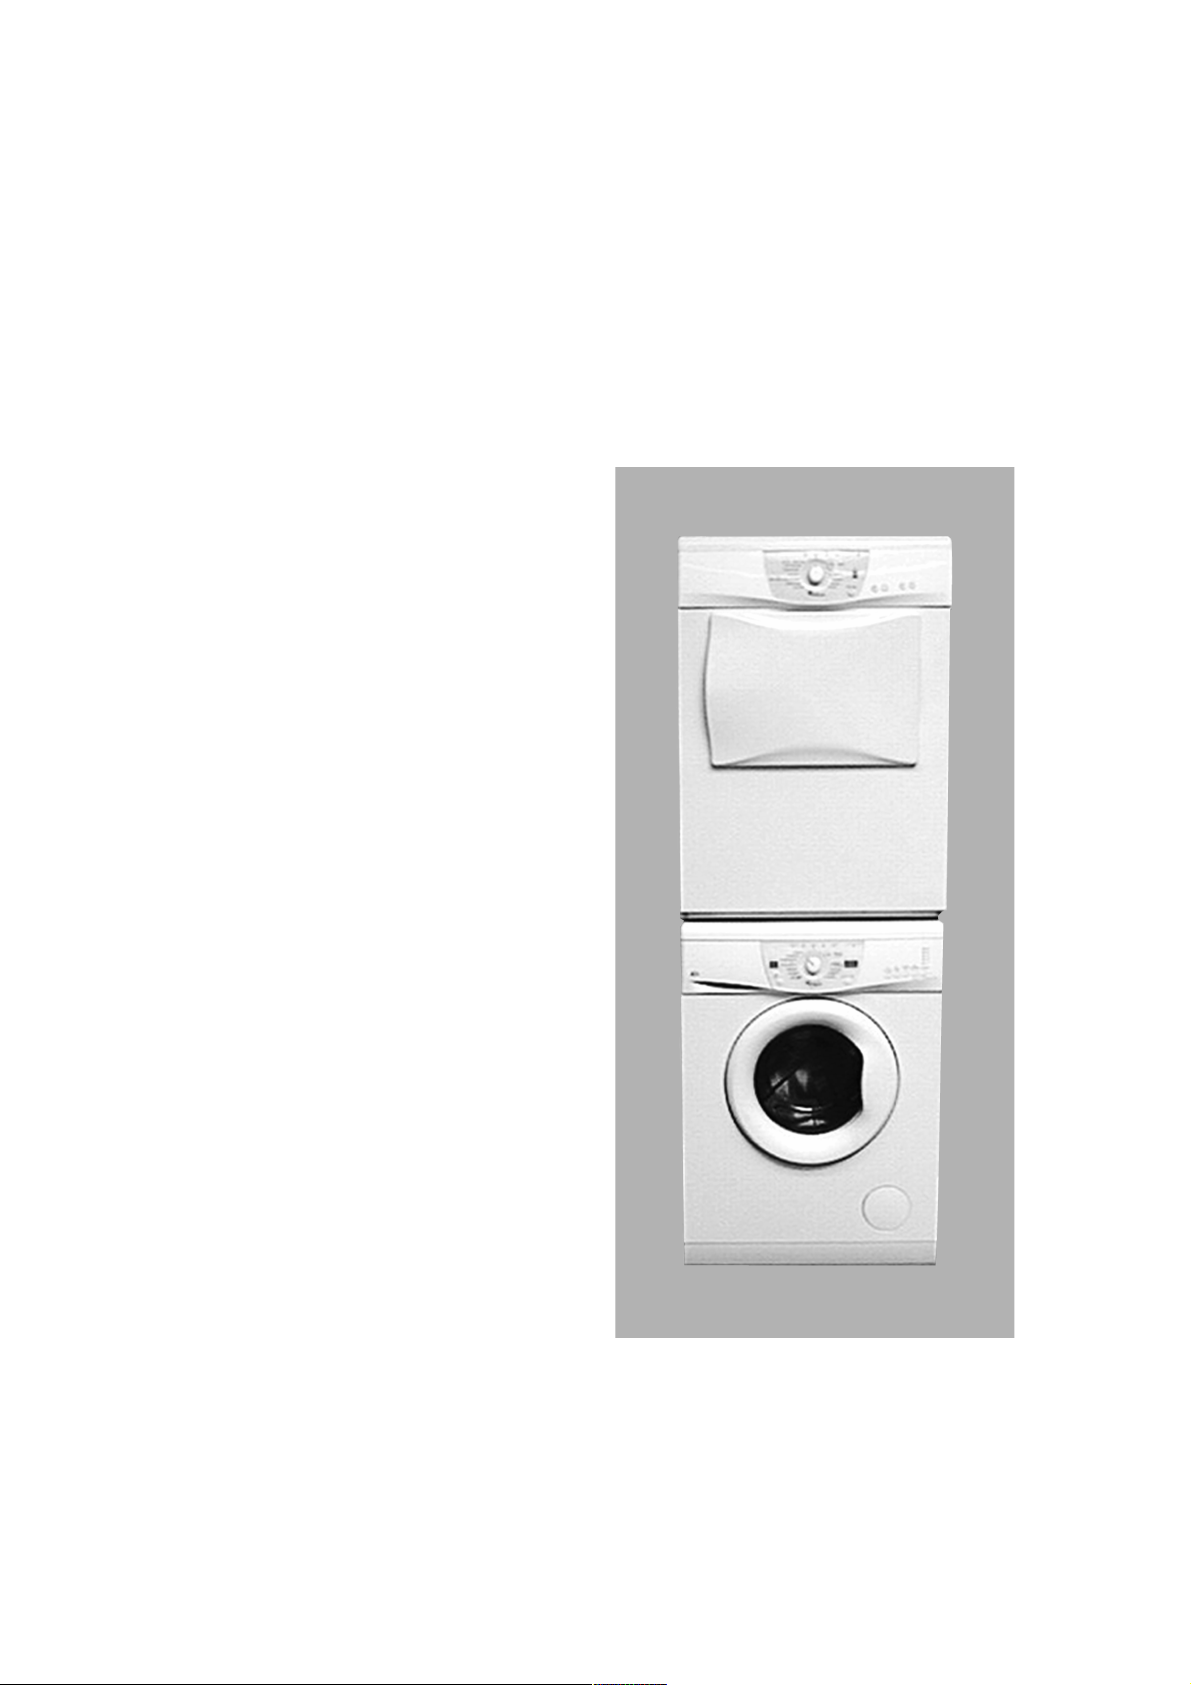
Stacking kit
Your dryer can be stacked on top of your front
loading washing machine. To do this, use stacking
kit AMH 542, available from your dealer.
10

PRECAUTIONS AND GENERAL RECOMMENDATIONS
1. Packing
The packing box may be fully recycled as confirmed
by the recycling symbol.
2. Energy saving tips
Always dry a full load: depending on the type of
laundry and the programme/drying time.
Always use the maximum allowed spin speed of
your washing machine. You will save time and
energy when running your drying cycle.
Do not overdry the laundry.
Clean the lint filter after
Place your dryer in a room with a temperature
between 15° C and 20° C. In case of higher
temperature ventilate the room.
Always select the correct programme/drying time
for the load in order to obtain the desired drying
results.
Select the gentle option only with small loads.
When drying cotton, for example: dry iron dry and
cupboard dry load s toge t her. S tart w ith th e iron dry
programme/drying time setting, remove the
laundry to be ironed at the end of that cycle and
dry the remainder of the load on the cupboard dry
setting.
3. Disposing of packaging and old appliances.
The dryer is built from reusable materials. The
dryer must be disposed of in compliance with local
waste disposal regulations.
Before scrapping, cut off the power cable so that
the dryer cannot be connected to the mains.
every
drying cycle.
If necessary, the power cable may be replaced with
an identical one obtained from our After-Sales
Service. The power cable must only be replaced by
a qualified technician.
EC Declaration of Conformity
This dryer has been designed, constructed and
distributed in compliance with the safety
requirements of EC Directives:
93/68/EC.
The dryer must only be used in the household for
the prescribed uses.
4. Child safety:
Children must not be allowed to play with the
dryer.
5. General recommendations:
Always set the programme/time selector knob to
the 0 position after use. This prevents the dryer
from being switched on accidentally.
Before cleaning or carrying out maintenance,
switch off the dryer and disconnect it from the
mains supply.
To clean the outside of the dryer, use a neutral
detergent and a damp cloth.
Do not use abrasive detergents.
Wipe away lint from the door seal and the door
using a damp cloth.
If the lint filter mesh is clogged, clean it with
water and a soft brush.
11

DESCRIPTION OF THE DRYER
1.
Work top
2.
Contact pin
3.
Door
To open the door: pull the handle
To close the door: push gently until closed.
4.
Filter
VENT CONNECTION
On delivery from the factory, the outlet vent hose, together with an
adaptor, is located in the drum.
Note:
If the vent hose is not supplied, the AMH 577 kit, available from
your dealer, should be used.
Installing the vent hose
1.
Place a towel or the packing material on the right-hand si de next
to the dryer.
2.
Place the dryer on its right-hand side (seen from the front) on the
towel or the packing material.
3.
Push the adapter into the hose (see illustration). Attach the
adapter with the vent hose to the connection in the dryer base
and lock it into place.
1
2
3
4
Venting outside
Without kinking it, lead the vent hose outside (inside diameter
10 cm, maximum length with two bends 3 m).
Ensure that the vent hose does not sag when stacking the dryer on a
washing machine. It should only be placed horizontally or upwards.
Do not connec t to vent ilati on syst ems protected by fly nets. These ca n
become clogged and cause malfunctioning of the dryer.
Do not connect the vent hose to a chimney system.
Do n o t co n n e c t th e ve n t h o s e to th e he a t i n g sy stem. Only connec t
the hose to ventilation systems insulated against humidity.
Dryer operation without vent hose
Only use the dryer in a large, well-ventilated room.
Keep the room free of dust.
A minimum distance of 10 cm between rear of appliance and the wall
must be observed.
12

DOOR REVERSIBILITY
Door Reversibility
1. Unplug the dryer.
2.
Open the door.
3.
Using a spanner, turn the contact pin on the inside of the door
(top) through 90° and remove it.
4.
Remove the 2 door hinge screws, followed by the door.
5.
Unscrew the 2 screws above and below the door lock system.
6.
Removing the door lock:
Using a screwdriver, press down on the small rib in the upper
opening and extract the door lock by pulling it towards you.
7.
Reverse the door:
Fasten the door on the desired side using the 2 screws.
Insert the door lock system on the opposite side and lock it
securely.
Fix the 2 screws above and below the door lock system.
8.
Replace the contact pin in the inside of the door (top).
3
4
6
13
 Loading...