

Page 1
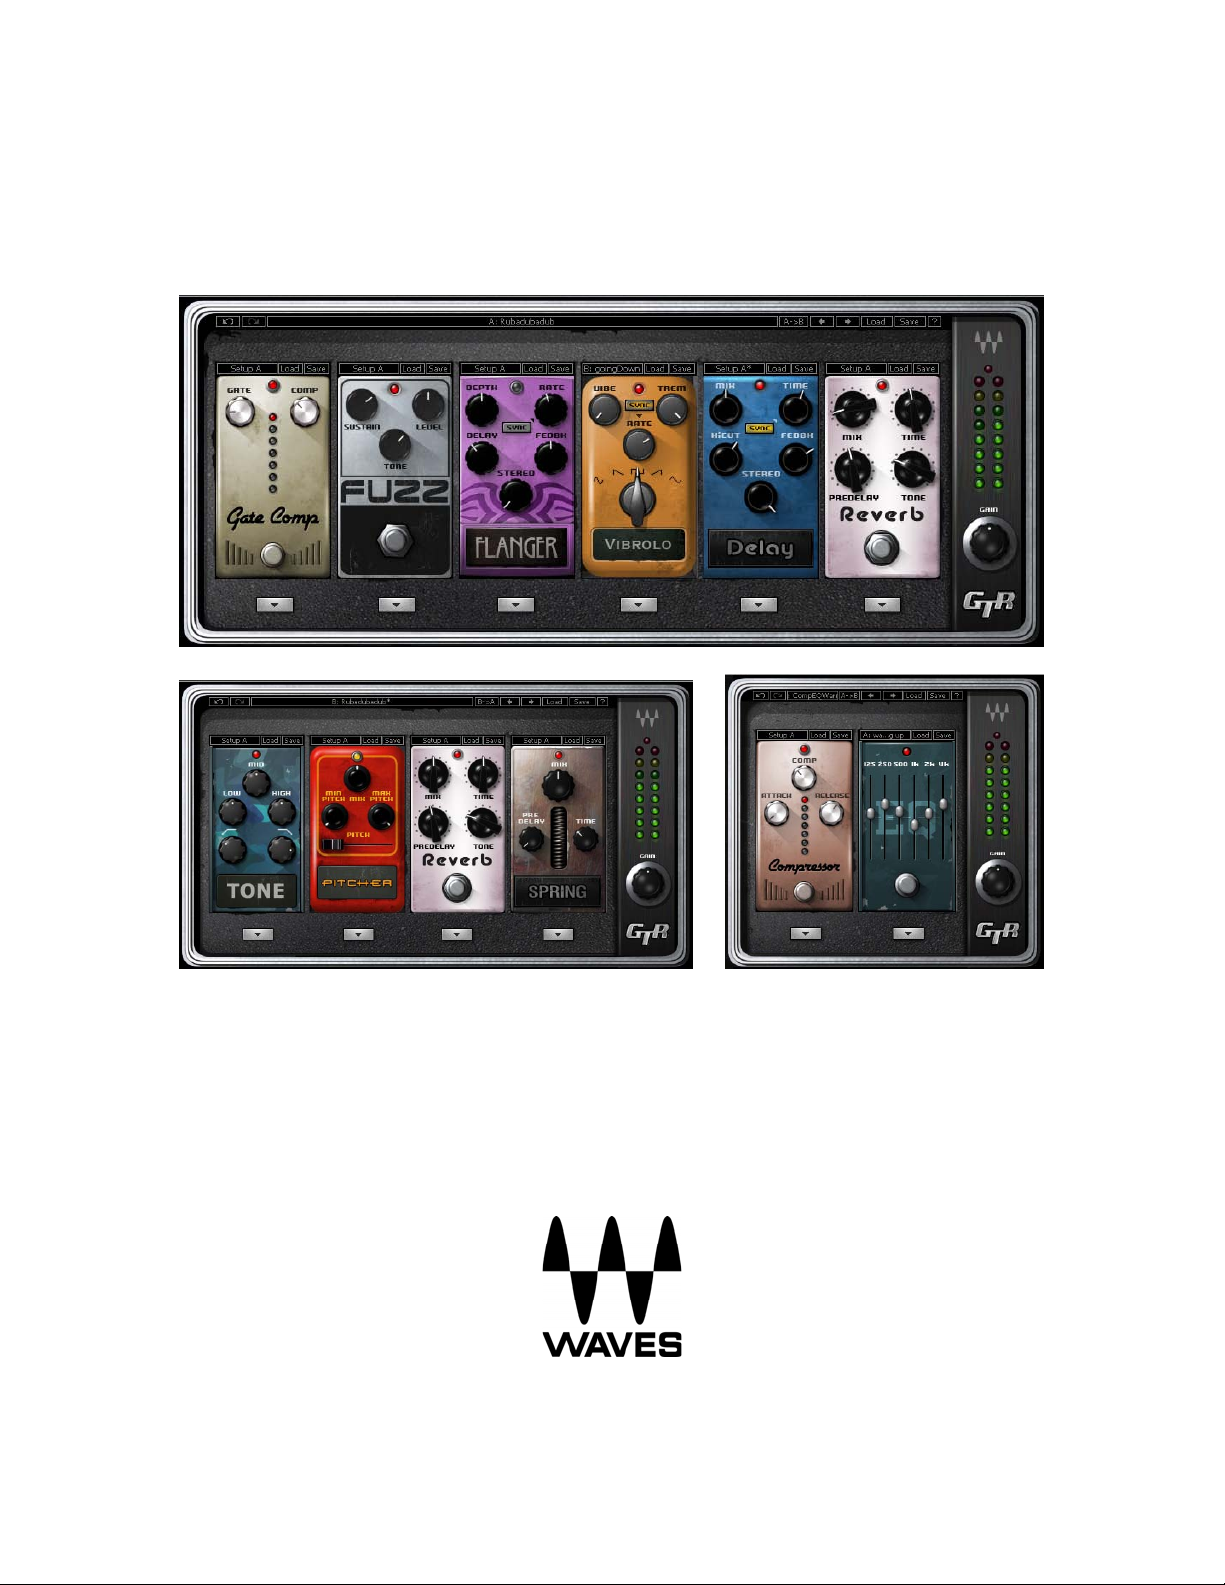
Waves GTR
Stomp User Guide
Waves GTR Stomp User Guide
1
Page 2

TABLE OF CONTENTS
CHAPTER 1 – INTRODUCTION..................................................................................................... 3
1.1 WELCOME ............................................................................................................................... 3
1.2 PRODUCT OVERVIEW............................................................................................................... 3
1.3 COMPONENTS ......................................................................................................................... 3
1.4 WAVESYSTEM TOOLBAR............................................................................................................ 3
1.5 CONCEPTS AND TERMINOLOGY ................................................................................................ 4
GTR Stomp Controls............................................................................................................... 4
Automation.............................................................................................................................. 5
MIDI Support........................................................................................................................... 5
MIDI Assignment Interface...................................................................................................... 6
Sync Effects ............................................................................................................................ 7
Tips ......................................................................................................................................... 8
CHAPTER 2 – CONTROLS AND INTERFACE ............................................................................. 9
2.1 DISTORTION EFFECTS.............................................................................................................. 9
OverDrive................................................................................................................................ 9
Distortion................................................................................................................................. 9
Fuzz ...................................................................................................................................... 10
Buzz ...................................................................................................................................... 10
Metal ..................................................................................................................................... 11
2.2 MODULATION EFFECTS .......................................................................................................... 12
Flanger.................................................................................................................................. 13
Vibrolo................................................................................................................................... 13
Panner................................................................................................................................... 14
Phaser................................................................................................................................... 14
Octaver.................................................................................................................................. 15
WahWah ............................................................................................................................... 16
Chorus................................................................................................................................... 16
Doubler.................................................................................................................................. 17
Pitcher................................................................................................................................... 18
Bass Pitcher.......................................................................................................................... 18
2.3 SPACE AND AMBIENCE EFFECTS............................................................................................. 19
Delay..................................................................................................................................... 19
Lay-D..................................................................................................................................... 20
Reverb................................................................................................................................... 21
Spring.................................................................................................................................... 21
2.4 BASIC EFFECTS ..................................................................................................................... 22
Compressor .......................................................................................................................... 22
AxxPress............................................................................................................................... 22
Gate ...................................................................................................................................... 23
Gate/Comp............................................................................................................................ 23
Tone...................................................................................................................................... 24
EQ......................................................................................................................................... 24
Volume.................................................................................................................................. 25
Waves GTR Stomp User Guide
2
Page 3

Chapter 1 – Introduction
1.1 Welcome
Thank you for choosing Waves! In order to get the most out of your new Waves
plugin, please take a moment to read this user guide.
To install software and manage your licenses, you need to have a free Waves
account. Sign up at www.waves.com. With a Waves account you can keep track of
your products, renew your Waves Update Plan, participate in bonus programs, and
keep up to date with important information.
We suggest that you become familiar with the Waves Support pages:
www.waves.com/support. There are technical articles about installation,
troubleshooting, specifications, and more. Plus, you’ll find company contact
information and Waves Support news.
1.2 Product Overview
Waves GTR Stomp is a virtual pedalboard plug-in that hosts multiple Stomp
effects. Stomp effects are chosen by clicking on the space assignment button
below the slot, or by right-clicking in an empty slot. Once loaded, Stomps may
be rearranged by dragging-and-dropping them into place.
1.3 Components
WaveShell technology enables us to split Waves processors into smaller plugins, which we call components. Having a choice of components for a particular
processor gives you the flexibility to choose the configuration best suited to your
material.
Waves GTR Stomp includes Mono, Mono-to-Stereo (m>s), and Stereo
components, in 2, 4, and 6 Stomp configurations.
1.4 WaveSystem Toolbar
Use the bar at the top of the plugin to save and load presets, compare settings,
undo and redo steps, and resize the plugin. To learn more, click the icon at the
upper-right corner of the window and open the WaveSystem Guide.
Waves GTR Stomp User Guide
3
Page 4

1.5 Concepts and Terminology
Waves GTR Stomp appears in host application plug-in menus as follows:
• Stomp 2: Stomp 2 Mono, Stomp 2 m>s, and Stomp 2 Stereo.
• Stomp 4: Stomp 4 Mono, Stomp 4 m>s, and Stomp 4 Stereo.
• Stomp 6: Stomp 6 Mono, Stomp 6 m>s, and Stomp 6 Stereo.
Stomps may be placed in any order, and multiple instances of the same Stomp
may be chained together.
Stomps, chains, and their settings can be saved as presets, and are saved with
your session files. They can also be saved as PedalBoard setup files, which
contain two presets, “A” and “B”.
GTR STOMP CONTROLS
In addition to the standard WaveSystem controls, GTR Stomp has input gain,
output meters and an output clip indicator.
The Stomp selection menu will display all available Stomps.
Each GTR Stomp configuration launches fully loaded with its default setup. Each
setup has two presets (“A” and “B”) which consist of the same chain of Stomps,
in the same order, but with different settings.
Waves GTR Stomp User Guide
4
Page 5

AUTOMATION
The Input Gain, Setup A/B, Previous Setup, and Next Setup controls are not
automatable but they can be controlled or automated by MIDI controller.
Additionally, the PedalBoard features a bypass and 7 Expression elements per
Stomp Space for a total of 48 automatable elements. The Expression elements
automate the controls of any assigned Stomp. The Expression elements are
expressed as control numbers within Stomp spaces (e.g. Stomp 1 Bypass,
Stomp 1 Control 1, Stomp 1 Control 2, etc.)
After the bypass, the next expression element will be assigned to the upper left
hand control of the stomp. Additional elements will be assigned in order to the
right of that control and then lower than the control.
For example, on the Flanger Stomp, the automation control order would be:
1 – Depth 2 – Manual Rate, 3 – Sync Rate, 4 – Sync On/Off , 5 – Delay, 6 –
Feedback, 7 – Stereo.
MIDI SUPPORT
Stomp controls may be assigned to external MIDI controllers.
• Continuous control scales are mapped to the full MIDI controller resolution
0 = min and 127 = max.
• Toggle action buttons (such as the sync rate button or bypass activate
pedal) can receive a note-on command or get linear mapping to MIDI
resolution over a 128 value range. A 2-state control will toggle when it
receives the value 127 from its attached controller.
The Input Gain, Setup A/B, Previous Setup, and Next Setup controls are all
automatable by assigning them to a MIDI note or controller.
All MIDI assignments are saved with presets.
Waves GTR Stomp User Guide
5
Page 6
MIDI ASSIGNMENT INTERFACE
Each Stomp control can be assigned to a single MIDI controller at a time.
However, a single MIDI controller can be assigned to multiple Stomp controls.
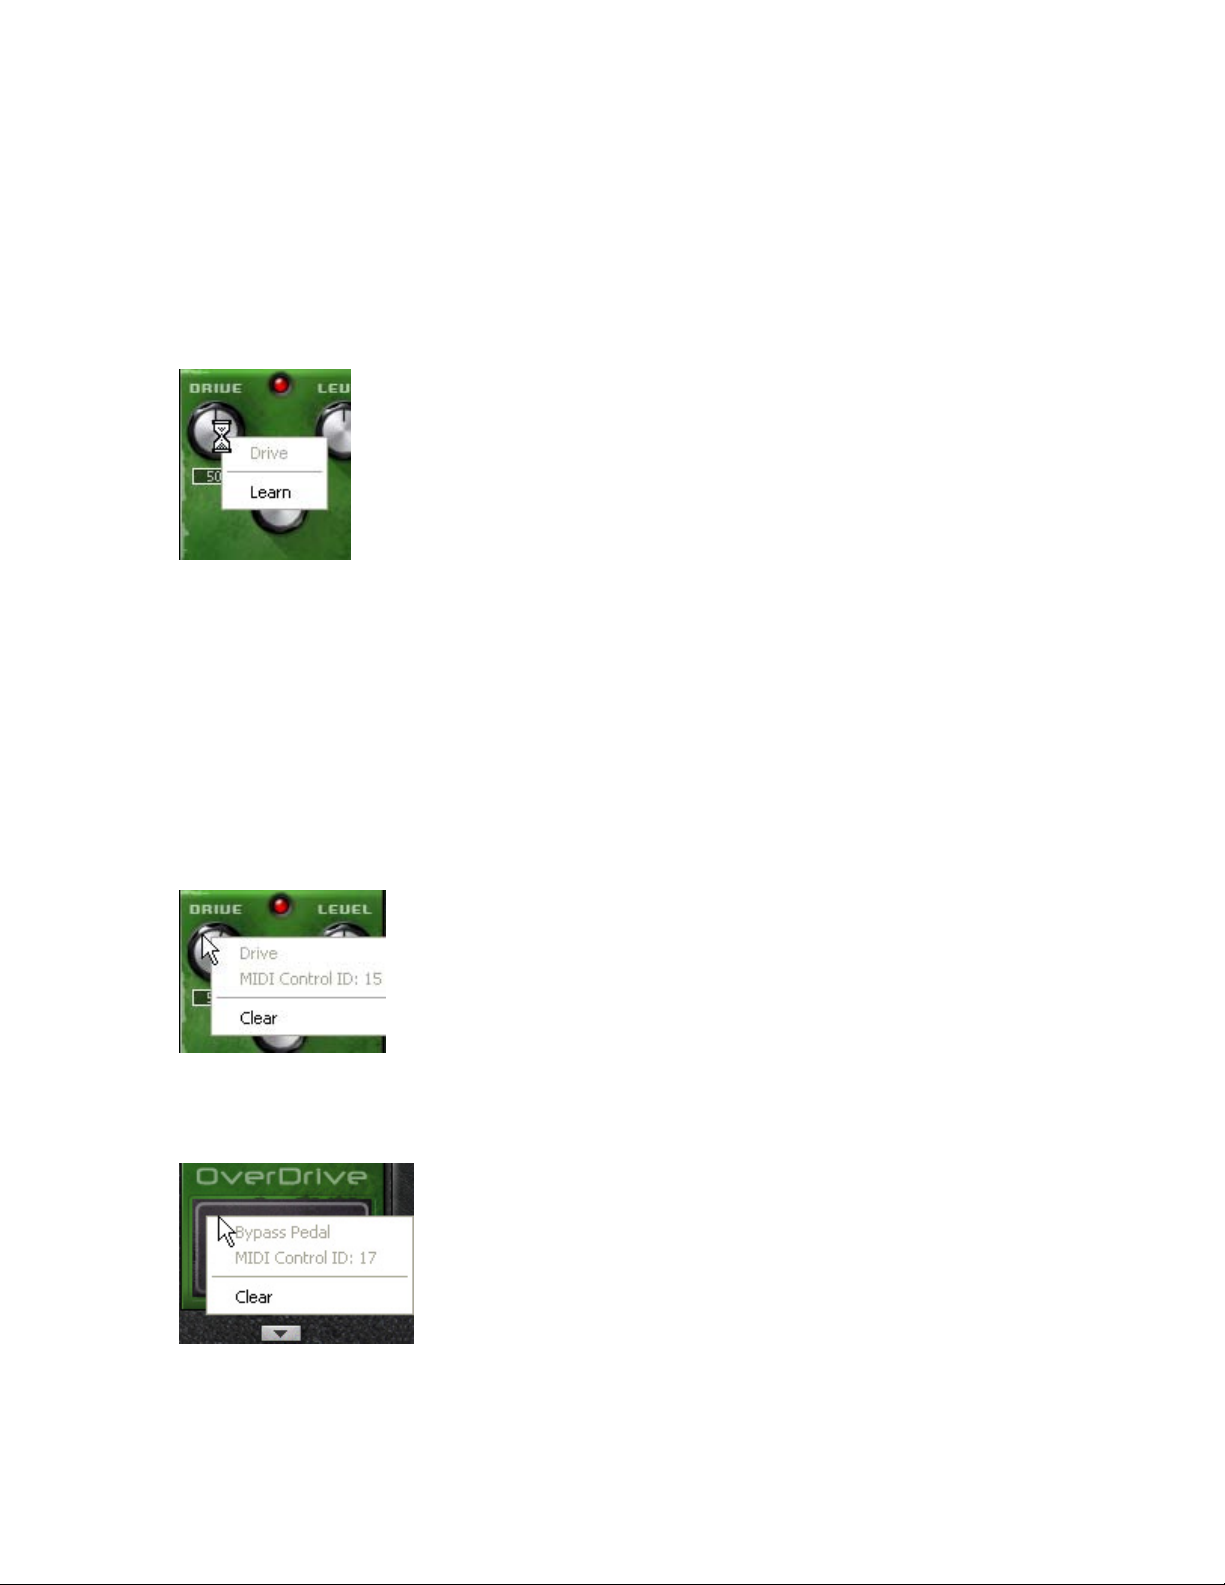
The easiest way to link a MIDI event to a Stomp control is the Learn command.
Right-clicking on any of the Stomp controls will display a MIDI assignment menu:
The first line in the menu will display the Stomp control name, e.g. “Drive”. The
second line displays the currently assigned MIDI controller.
When no control is assigned, it will display “Learn”. When Learn is selected, the
menu will disappear and the control will wait for the first MIDI event that it
detects. Once a change is made to any control on your MIDI controller, this
control will be assigned to the corresponding Stomp control.
Once the control is assigned, right-clicking on the control will display the linked
MIDI control ID below the control name:
Similarly, Toggle controls may be assigned to MIDI controllers or notes and
displayed as follows:
Selecting Clear will clear any current assignment and sets the control’s assigned
MIDI controller to “None”.
Waves GTR Stomp User Guide
6
Page 7
Waves GTR Stomp User Guide
7
SYNC EFFECTS
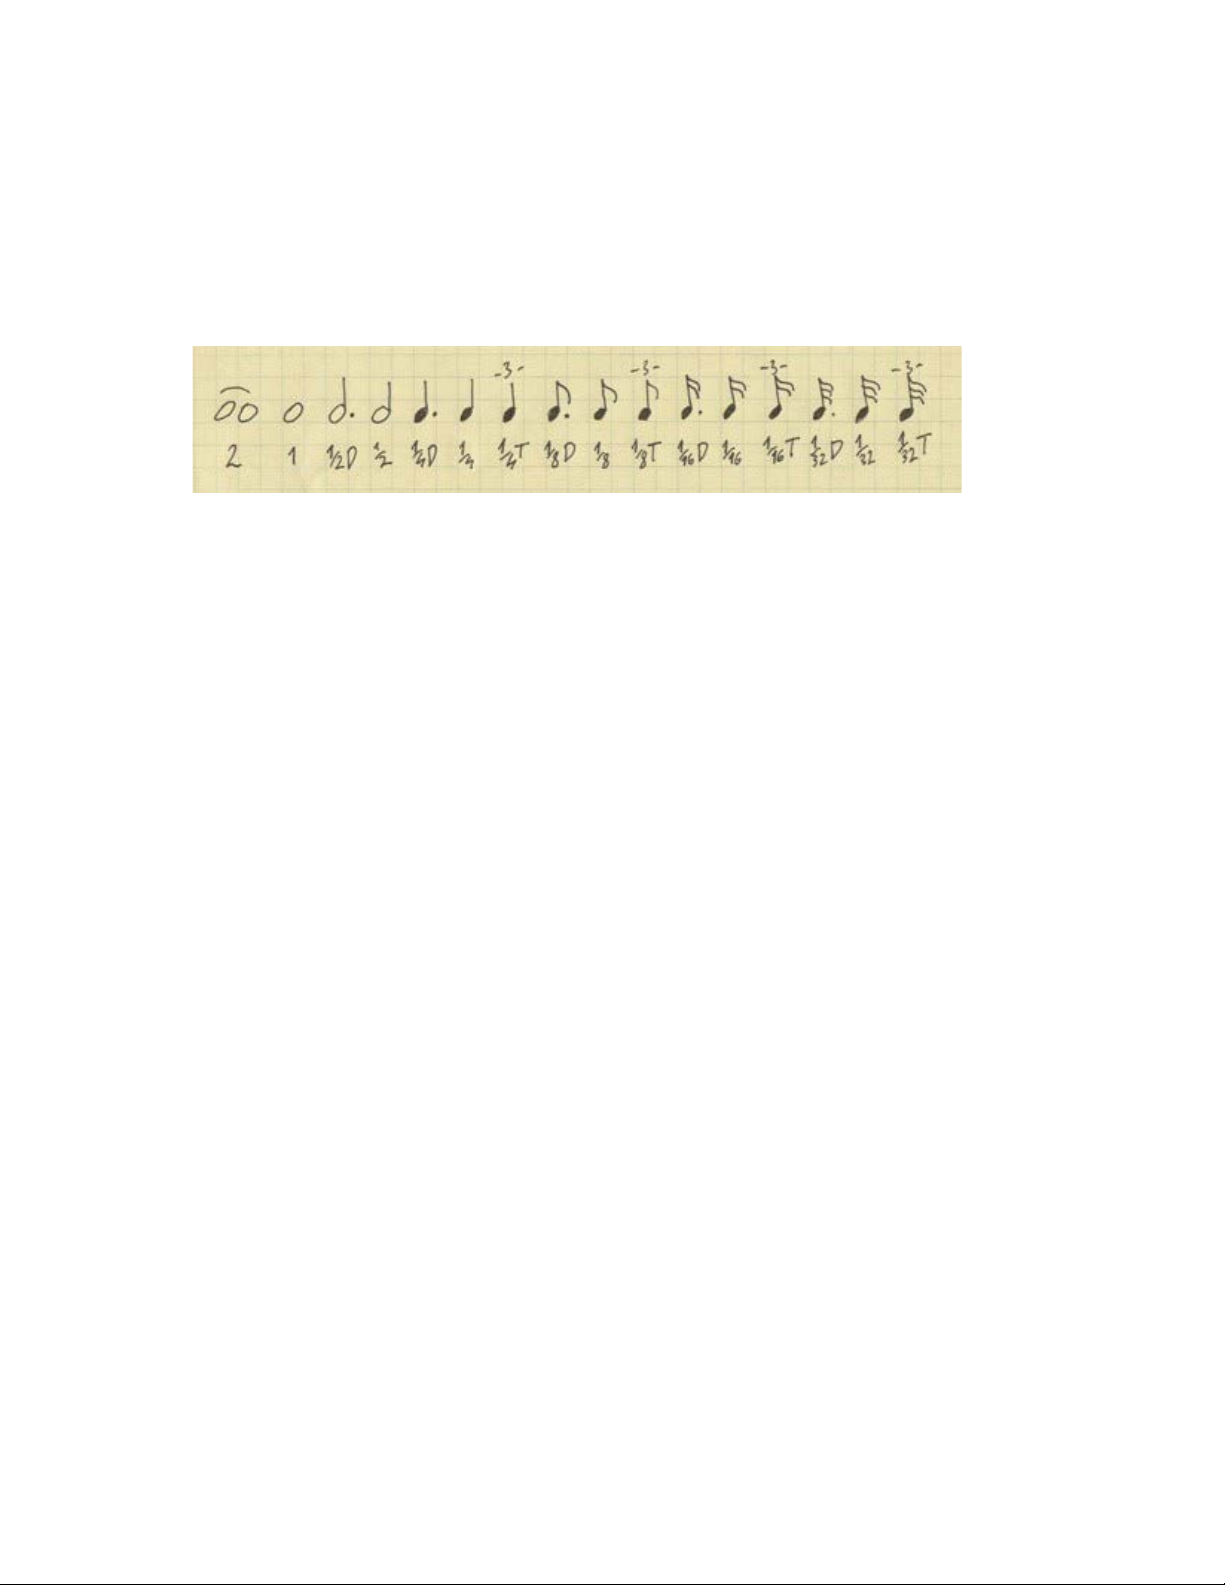
Certain Stomps have parameters which can synchronize to your host BPM.
When in Sync mode, musical note durations (ranging from 2 whole notes to
1/32nd note triplets) are used to represent the rate or time of the
parameter.
Page 8

TIPS
• To eliminate pickup buzz, signal noise, etc., place a Gate or Gate/Comp
Stomp first in your chain. This is especially useful when using distortion
setups or when going into a driven or high gain amp.
• To save DSP power, use Mono Stomps at the beginning of a chain, using
Mono-to-Stereo later on in the chain as needed. Then feed the Stereo
output to a Stereo Amp.
• In general, Distortion Stomps sound good early in the chain, while Delay
and Reverb Stomps sound better later.
• Try opening a Stereo PedalBoard after your amp for delays, reverbs,
vibrato, panning, and/or corrective EQ.
• Since switching between Setups A and B is instantaneous, you can switch
between them for different sections within the same song.
• While Waves GTR Stomps are designed especially for electric guitar, they
can sound great on other tracks as well!
Waves GTR Stomp User Guide
8
Page 9
Chapter 2 – Controls and Interface
Stomps are divided into four categories: Distortion, Modulation, Space &
Ambience, and Basics.
2.1 Distortion Effects
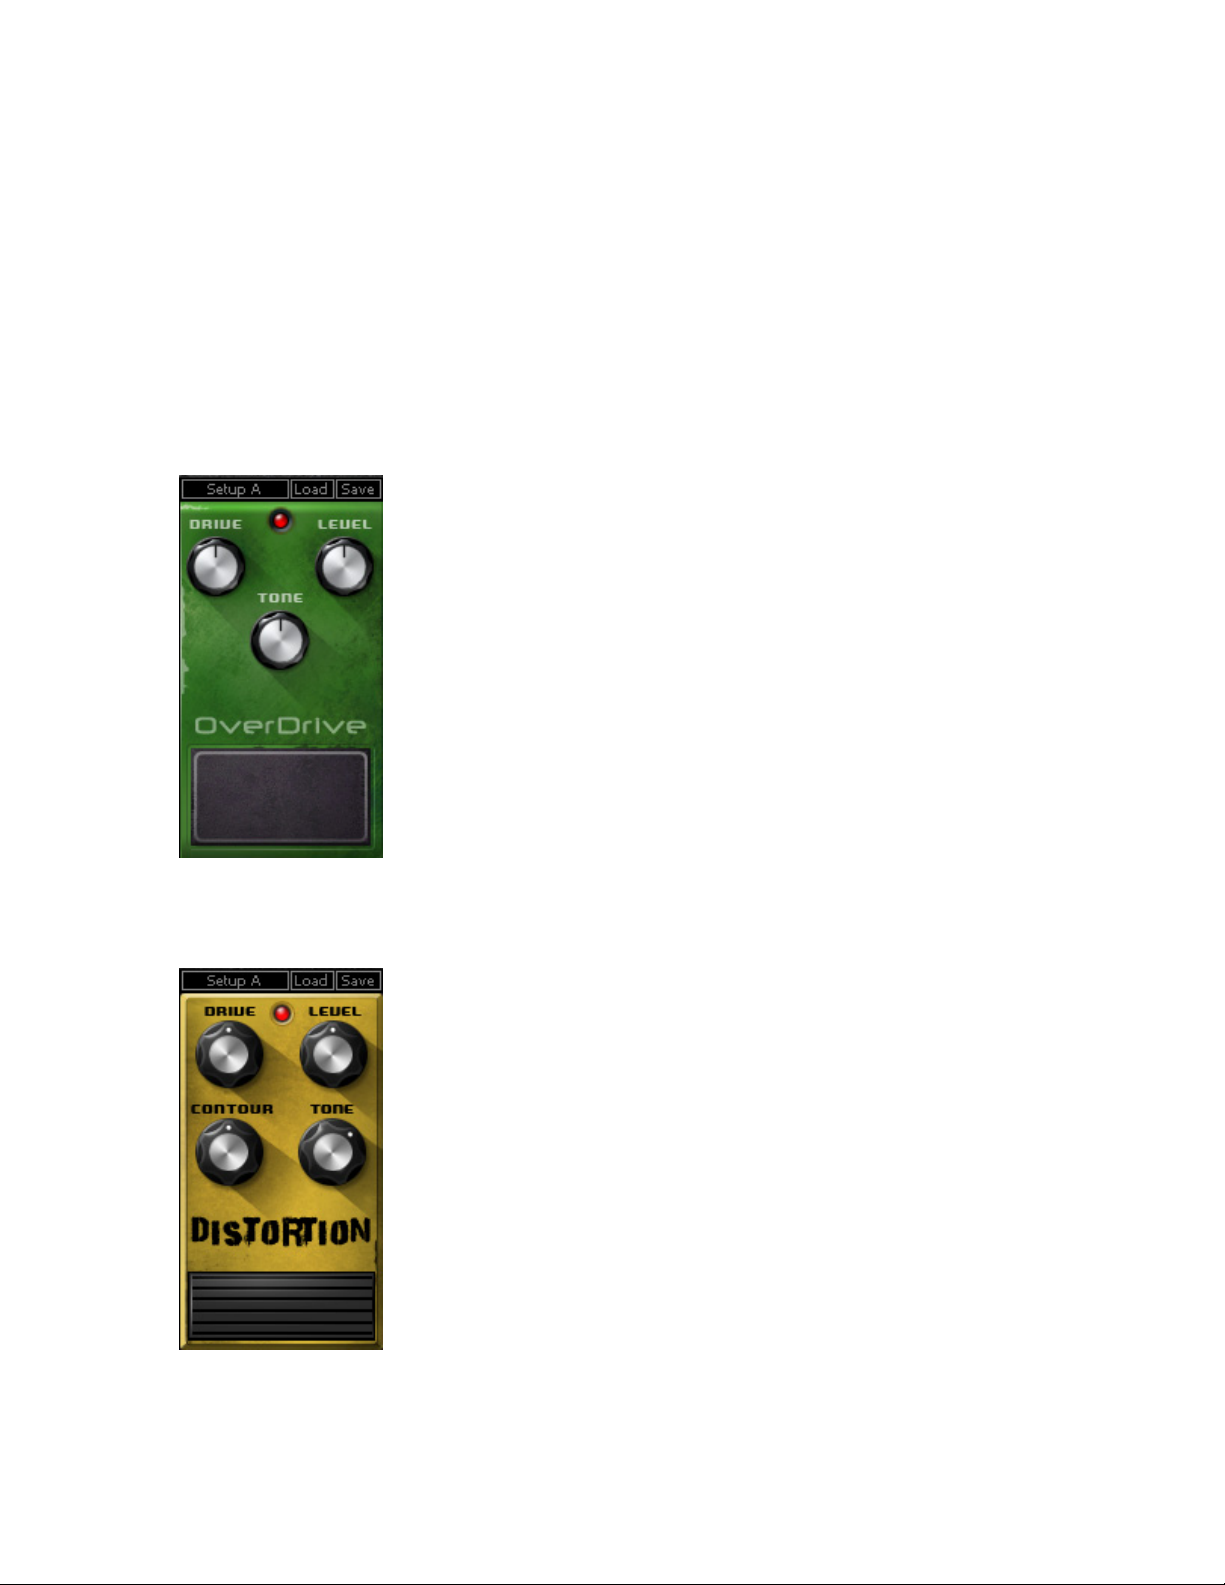
OVERDRIVE
DRIVE controls the amount of effect applied to the signal.
Range: 0 – 100
Default: 50
LEVEL controls the output level.
Range: 0 – 100
Default: 50
TONE controls the output timbre.
Range: 0 –100
Default: 50
D
ISTORTION
RIVE controls the amount of distortion applied to the signal.
D
Range: 0 – 100
Default: 50
LEVEL controls the output level.
Range: 0 – 100
Default: 50
CONTOUR controls the output character.
Range: 0 – 100
Default: 50
T
ONE controls the output filter cutoff.
Range: 700Hz – 10 kHz.
Default: 3.9 kHz
Waves GTR Stomp User Guide
9
Page 10
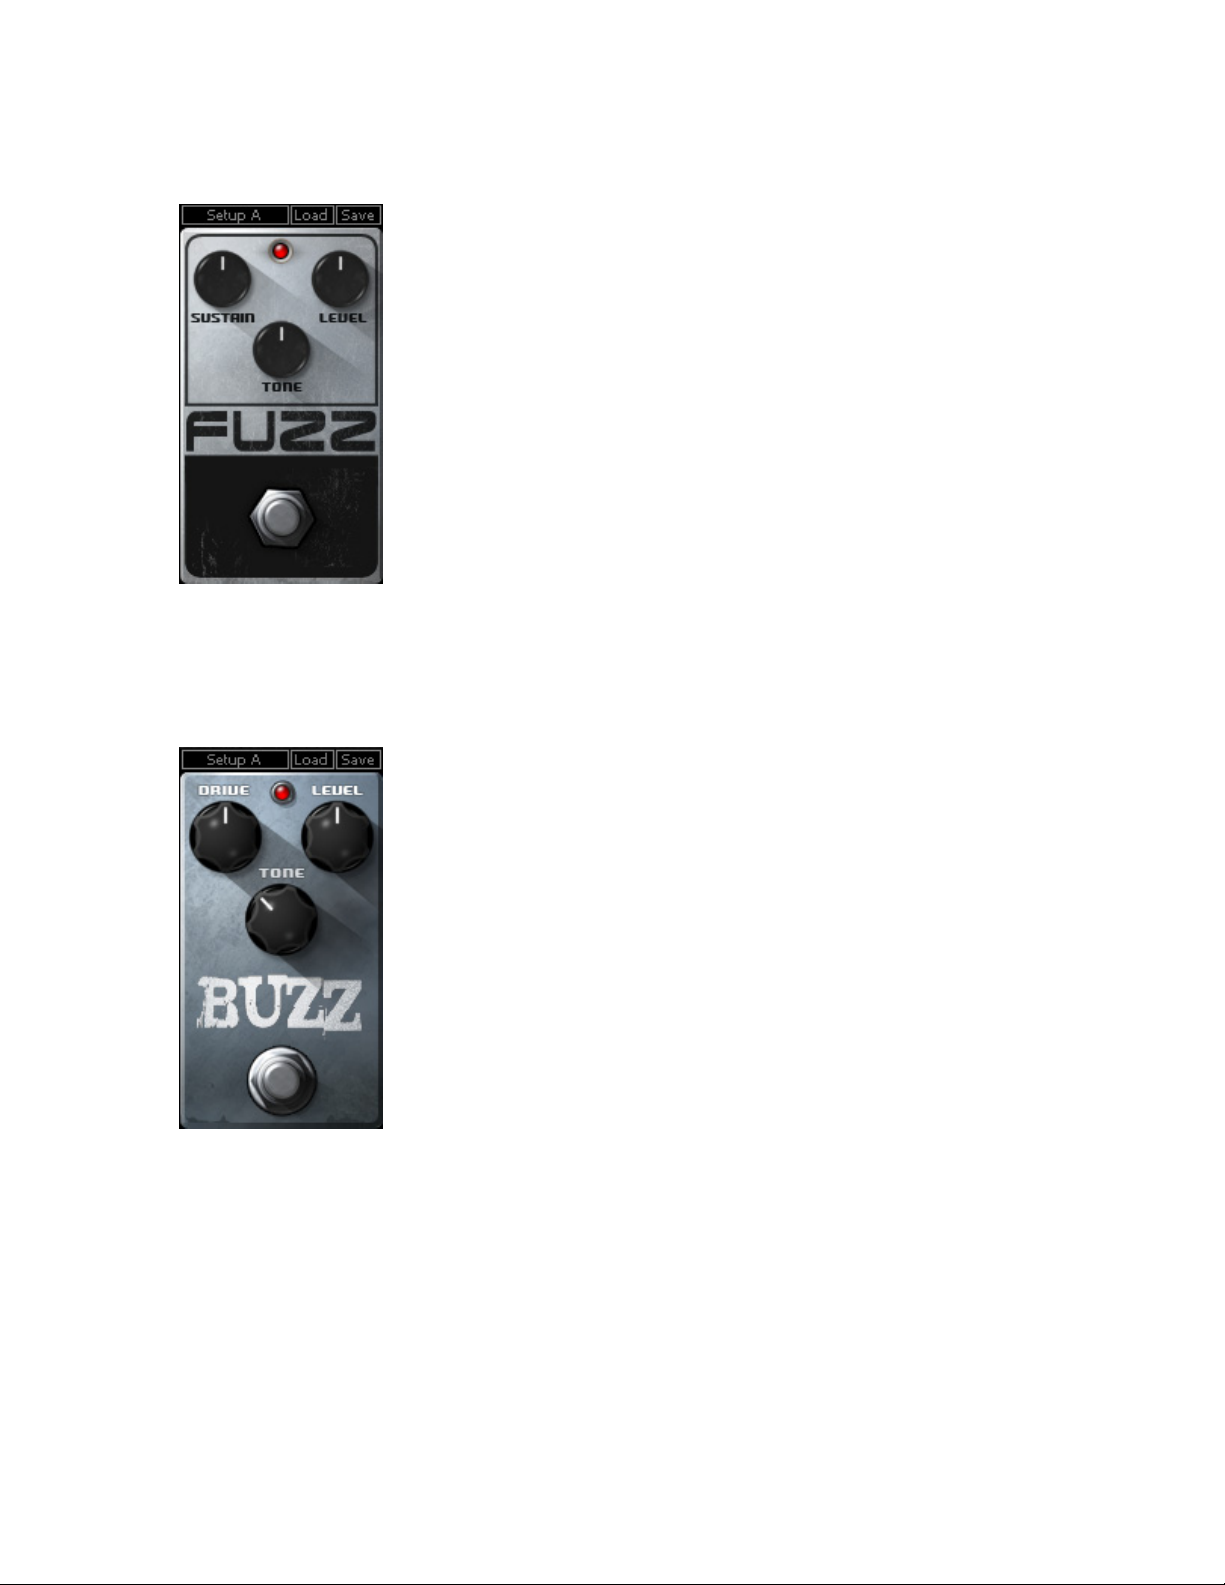
FUZZ
BUZZ
SUSTAIN controls the duration of the effect.
Range: 0 – 100
Default: 50
LEVEL controls output level.
Range: 0 – 100
Default: 50
TONE controls the output timbre.
Range: 0 – 100
Default: 50
DRIVE controls the amount of distortion applied to the signal.
Range: 0 – 100
Default 50
TONE controls the resonant low pass filter cutoff.
Range: 0 – 100
Default: 34
EVEL controls the output level.
L
Range: 0 – 100
Default 50
Hint: Using an expression pedal to control the Tone
transforms Buzz into a Distortion / Wah-Wah hybrid.
Waves GTR Stomp User Guide
10
Page 11
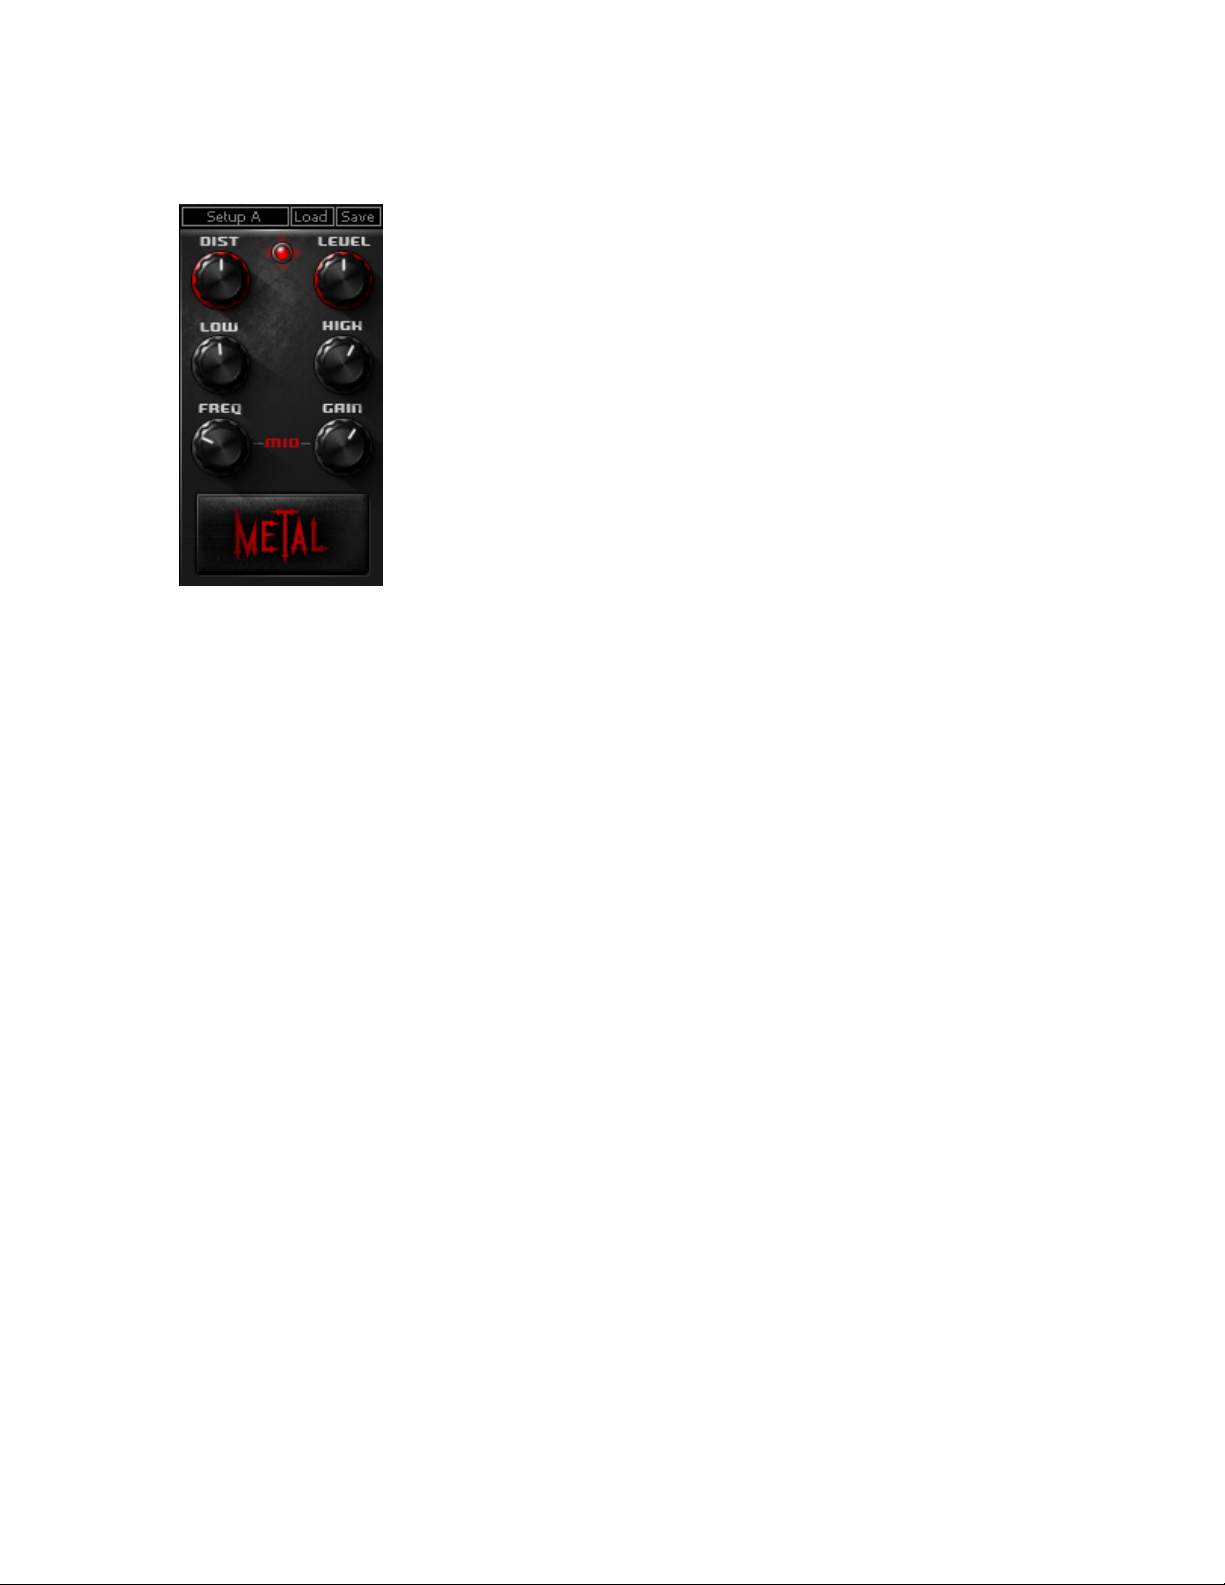
METAL
DIST controls the amount of distortion applied to the signal.
Range: 0 – 100
Default 50
LEVEL controls the output level.
Range: 0 – 100
Default 50
LOW controls the low frequencies.
Range: -12 to +18dB (Bell)
Default +2.4dB
HIGH controls the high frequencies
Range: -30dB to 0dB (High Shelf)
Default -12dB
FREQ controls the midrange bell filter cutoff frequency.
Range: 250Hz to 1500Hz
Default: 400Hz
GAIN controls the midrange bell filter gain.
Range: -36 to +12
Default: -6
Waves GTR Stomp User Guide
11
Page 12
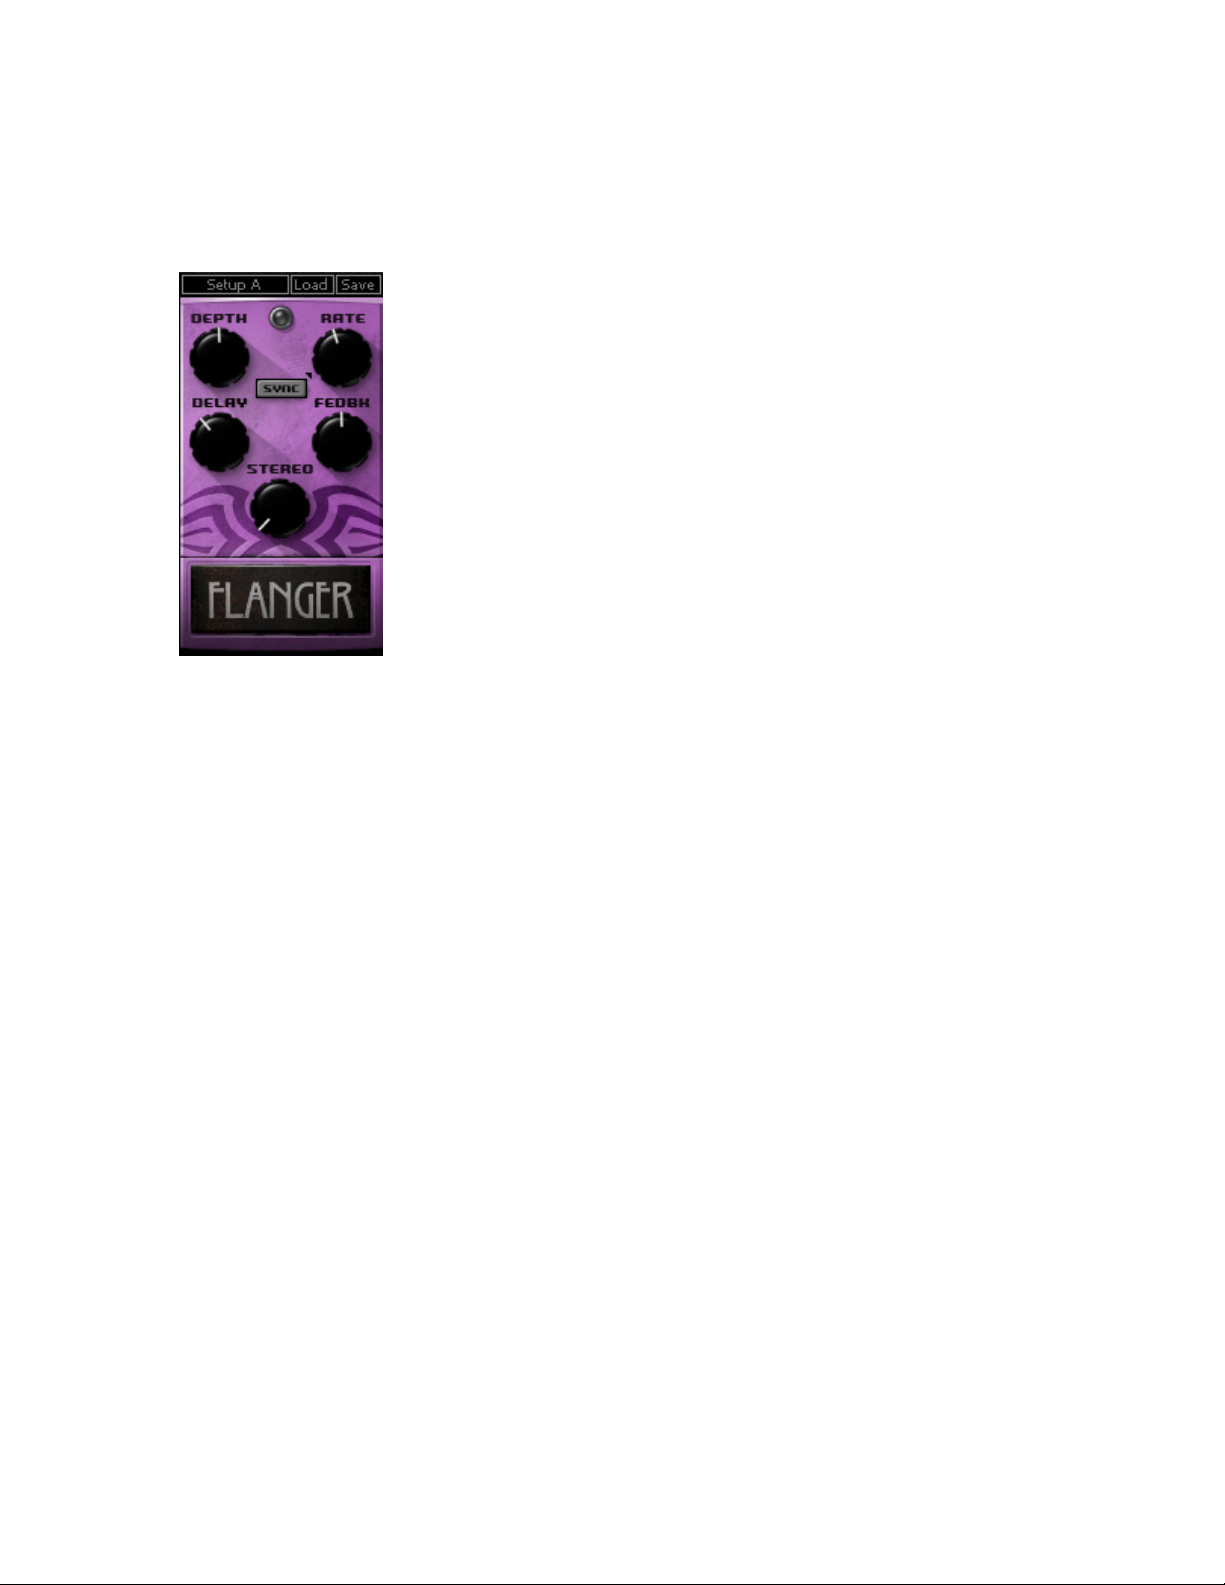
2.2 Modulation Effects
FLANGER
DEPTH controls the depth or amount of flanging.
Range: 0 to 100
Default: 50
SYNC controls synchronization to host tempo.
Range: On/Off
Default: Off
YNC RATE controls the speed of the synchronized effect.
S
Range: 2 to 1/32t
Default: 1/4t
M
ANUAL RATE controls the speed of the effect when not
synchronized to host tempo.
Range: 0 to 20Hz
Default: 0.20
DELAY controls the length of the delay added to the signal.
Range: 1.5 to 10ms
Default: 3.0
FEEDBACK controls the amount of resonance.
Range: 0 to 100
Default: 50
TEREO controls the LFO (Low Frequency Oscillator) phase
S
difference between the left and right channels.
Range: 0 to 100
Default: 50
Waves GTR Stomp User Guide
12
Page 13
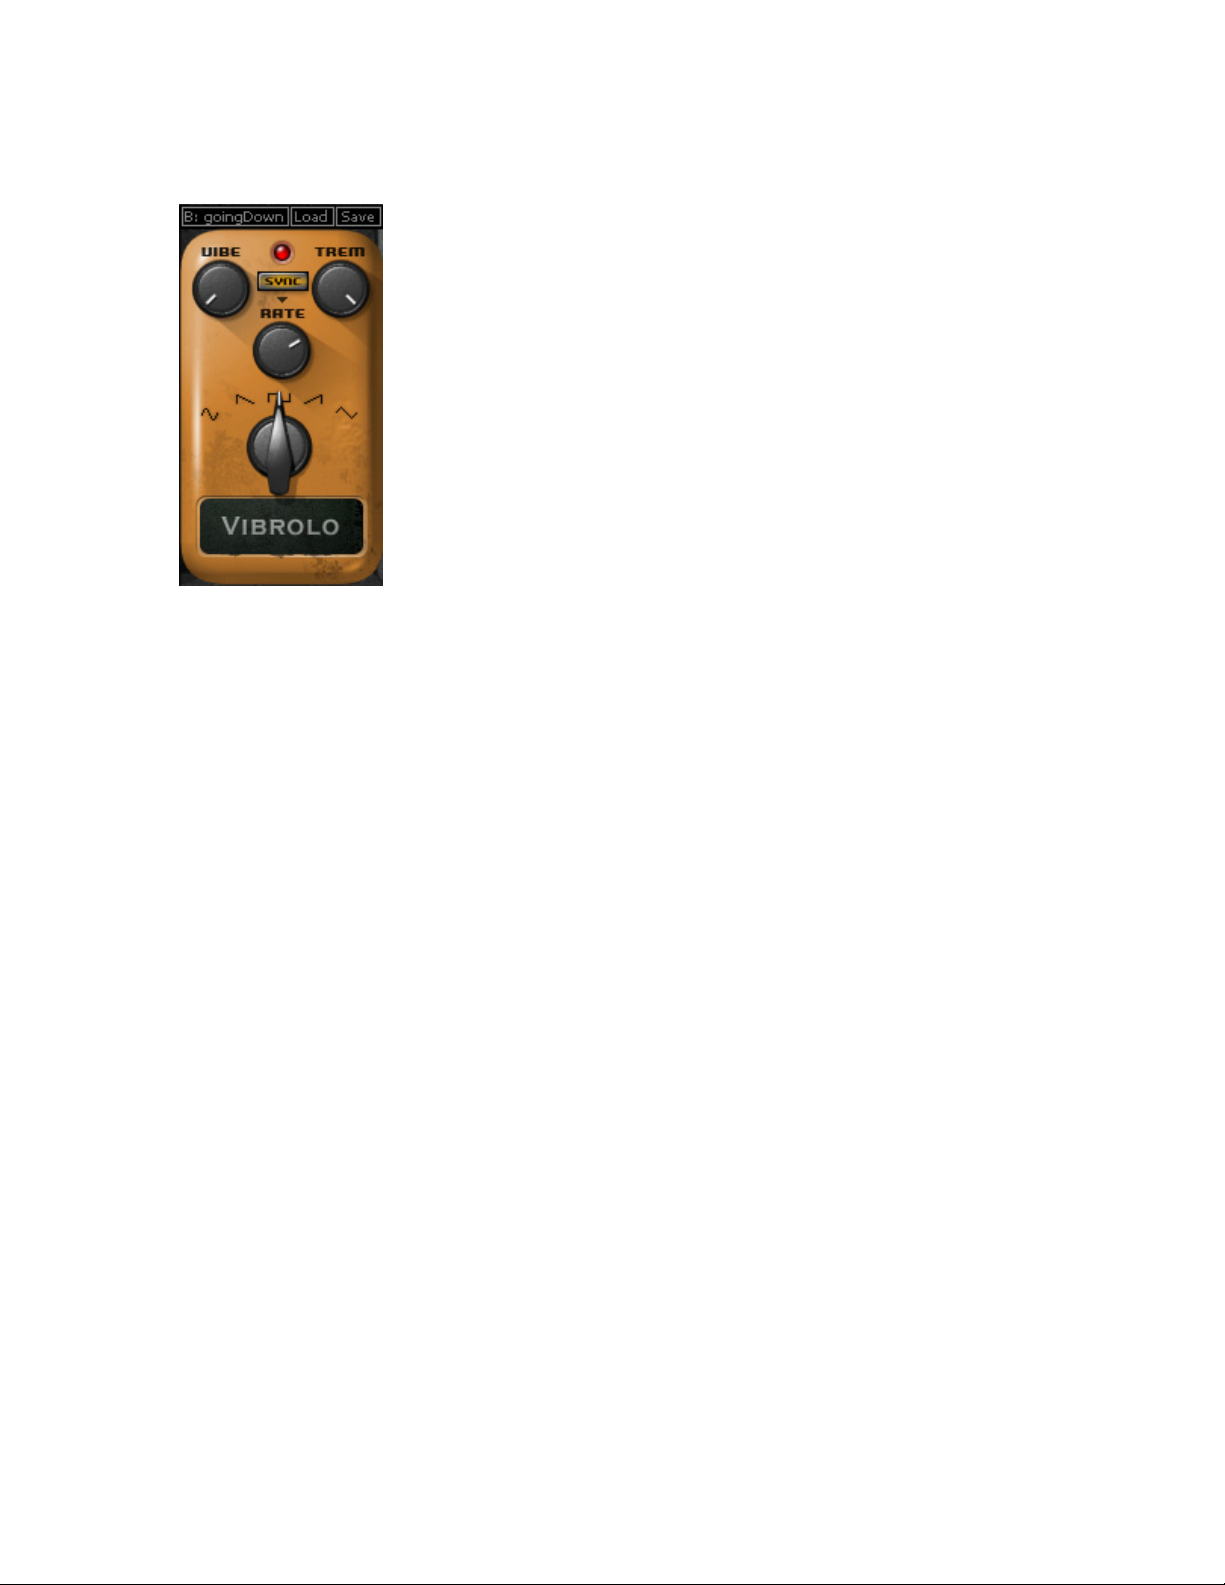
VIBROLO
WAVEFORM
Range: Sine, Triangle, SawUp, SawDown, Square
Default: Sine
SYNC controls synchronization to host tempo.
Range: On/Off
Default Off
SYNC RATE controls the speed of the synchronized effect.
Range: 2 to 1/32t
Default: 1/4t
MANUAL RATE controls the speed of the effect when not
synchronized to host tempo.
Range: 1 to 20Hz
Default: 8Hz
VIBE controls Frequency Modulation depth.
Range: 1 to 100
Default: 0
TREM controls Amplitude Modulation depth.
Range: 1 to 100
Default: 50
Waves GTR Stomp User Guide
13
Page 14
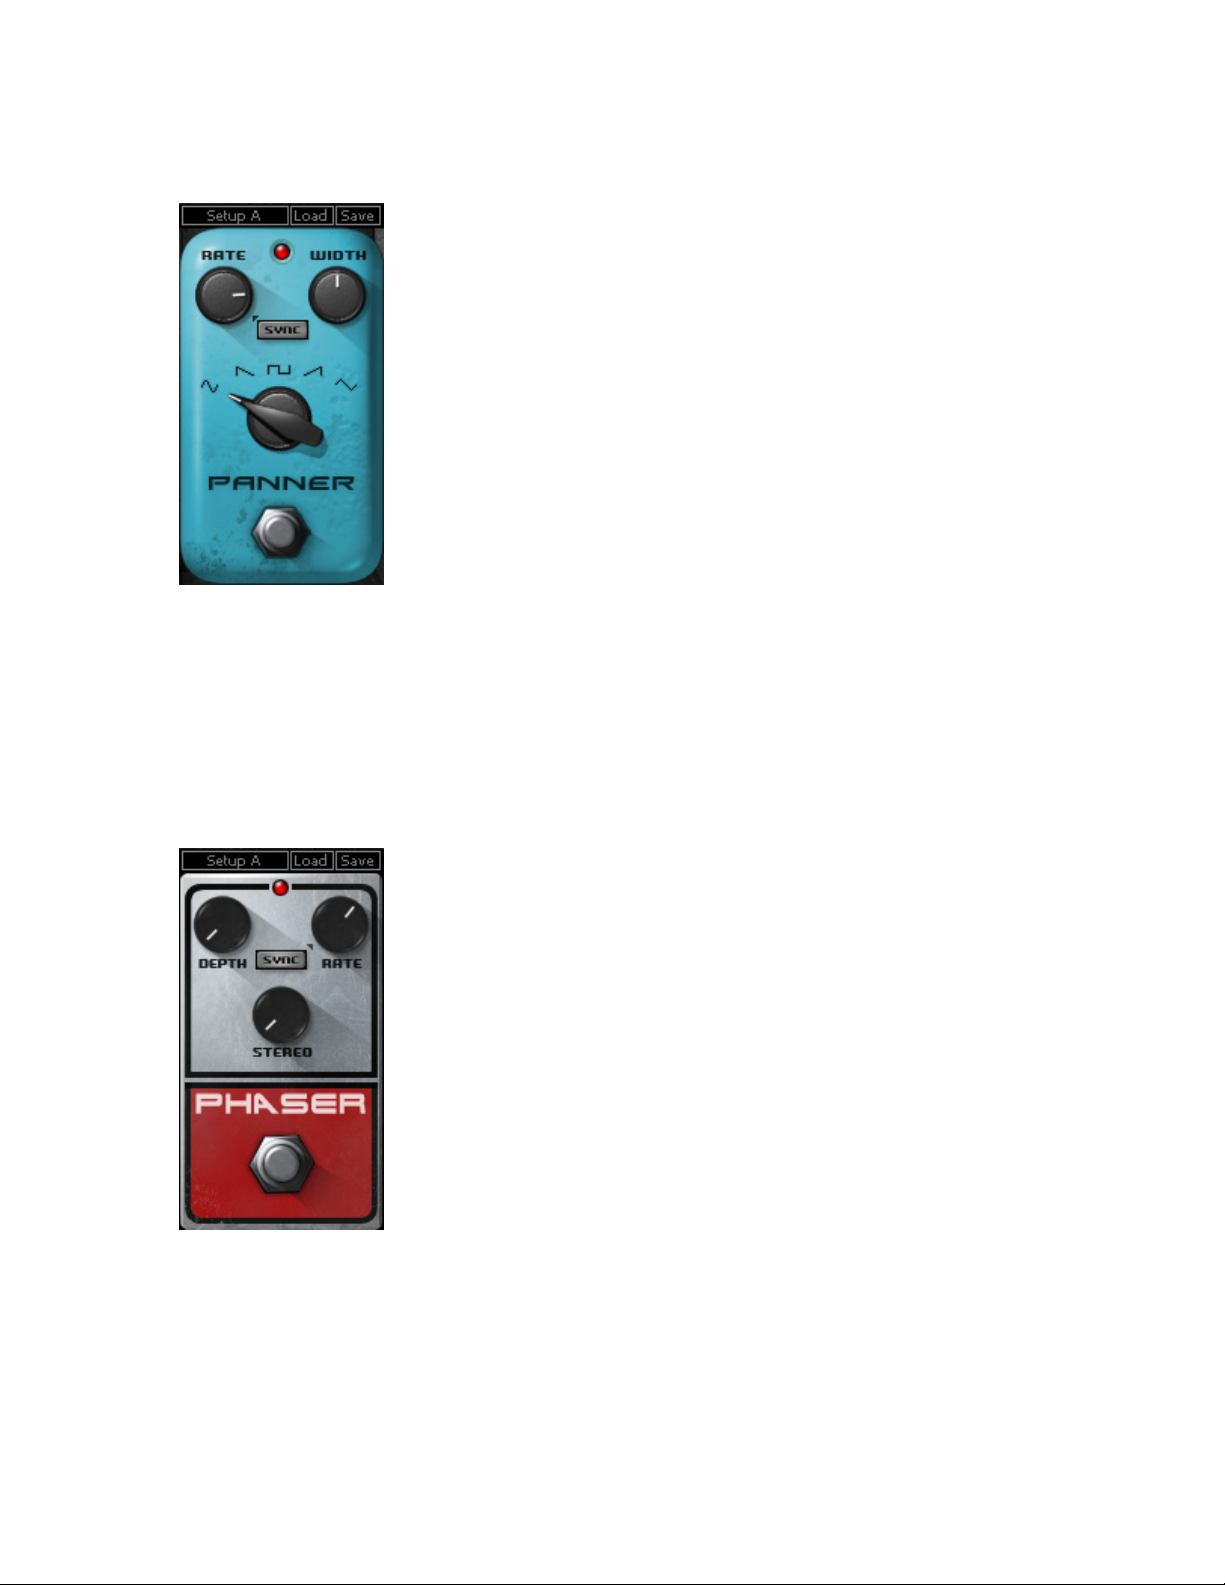
PANNER
WAVEFORM
Range: Sine, Triangle, SawUp, SawDown, Square
Default: Sine
SYNC controls synchronization to host tempo.
Range: On/Off
Default: Off
SYNC RATE controls the speed of the synchronized effect.
Range: 2 to 1/32t
Default: 1/4 t
MANUAL RATE controls the speed of the effect when not
synchronized to host tempo.
Range: 0.1 to 20Hz
Default: 8Hz
WIDTH controls the width of the panning effect, in degrees.
Range: 0 to 100
Default: 50
P
HASER
DEPTH controls the amount of effect applied to the signal.
Range: 0 to 0.80
Default: 0
SYNC controls synchronization to host tempo.
Range: On/Off
Default: Off
SYNC RATE controls the speed of the synchronized effect.
Range: 2 to 1/32t
Default: 1/4t
ANUAL RATE controls the speed of the effect when not
M
synchronized to host tempo.
Range: 0 to 20
Default: 1
STEREO varies the LFO (Low Frequency Oscillator) phase
for the left and right channels.
Range: 0 to 100
Default: 0
Waves GTR Stomp User Guide
14
Page 15
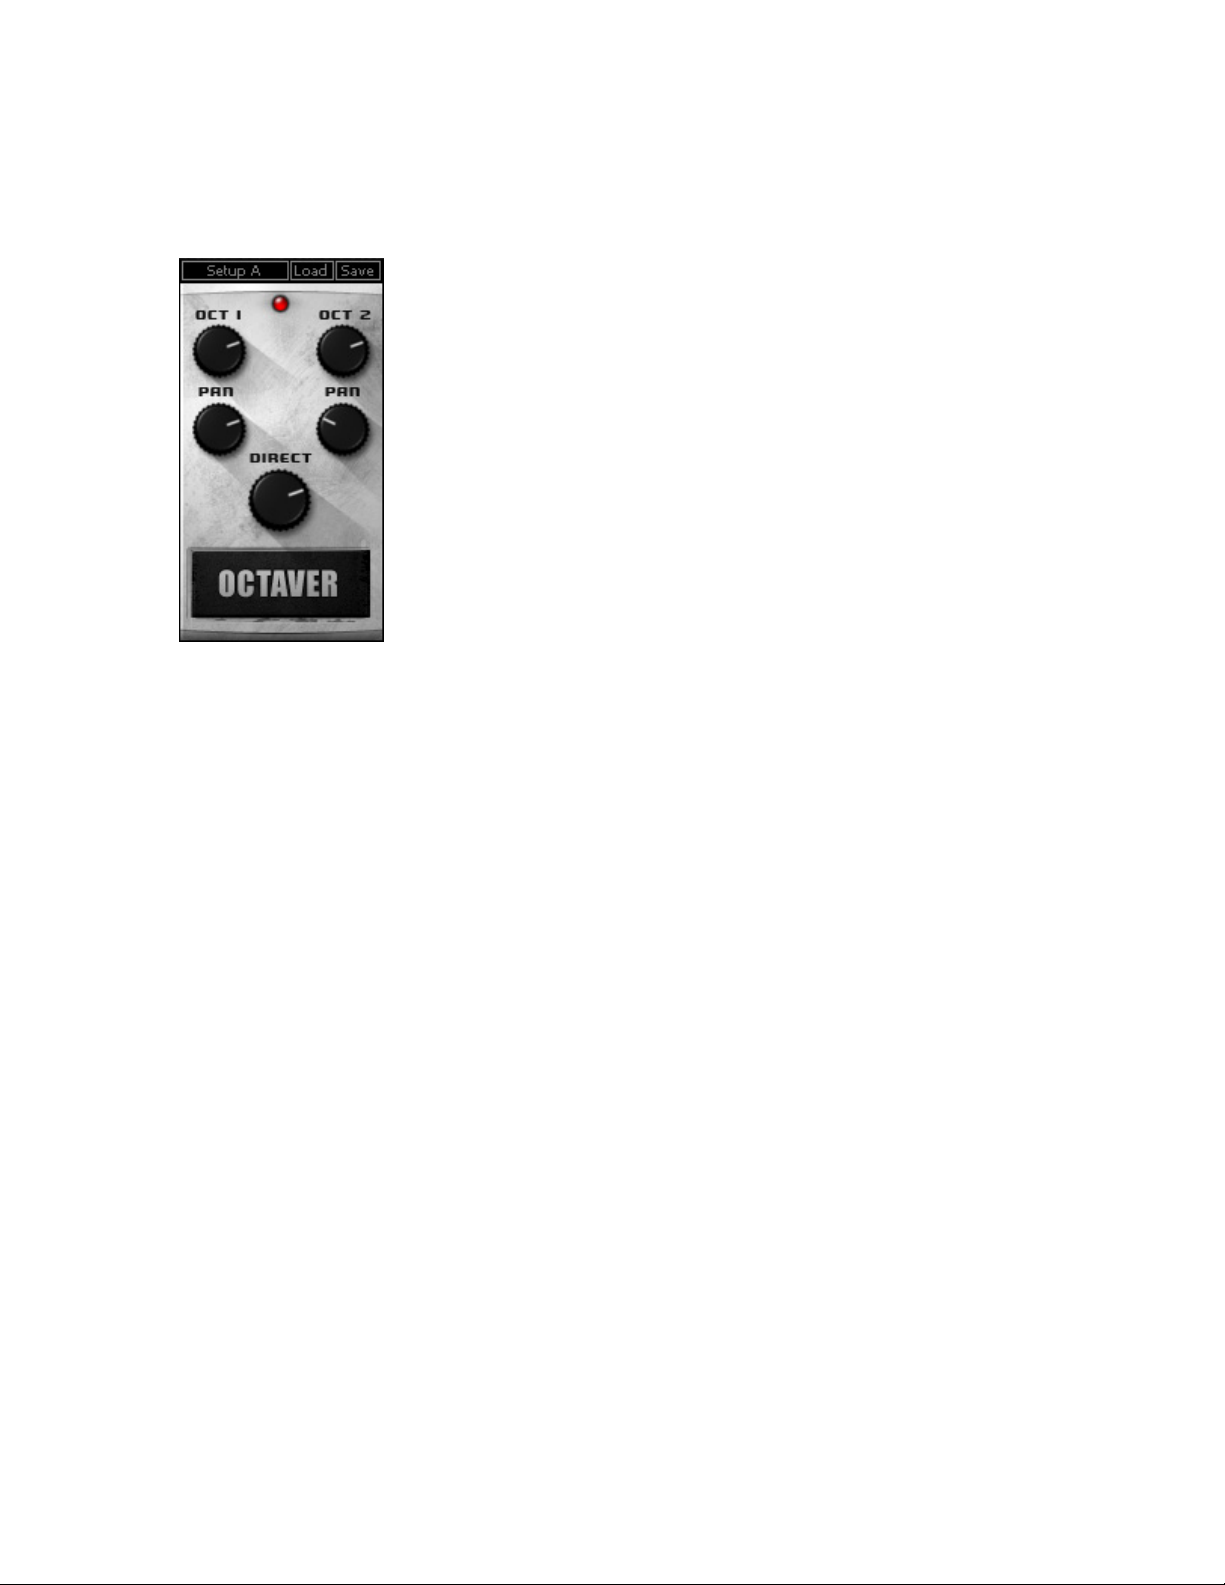
OCTAVER
DIRECT controls the volume of the direct signal.
Range: 0 -100
Default: 75
OCT1 controls the gain of the tone one octave below the
direct signal.
Range: 0 - 100
Default: 75
OCT1 PAN controls the position of the tone one octave below
the direct signal.
Range: +/-45 degrees
Default: 22.5
OCT2 controls the gain of the tone two octaves below the
direct signal.
Range: 0 - 100
Default: 75
OCT2 PAN controls the position of the tone two octaves
below the direct signal.
Range: +/-45 degrees
Default: -22.5
Please note: Octaver works best with a monophonic input.
Waves GTR Stomp User Guide
15
Page 16
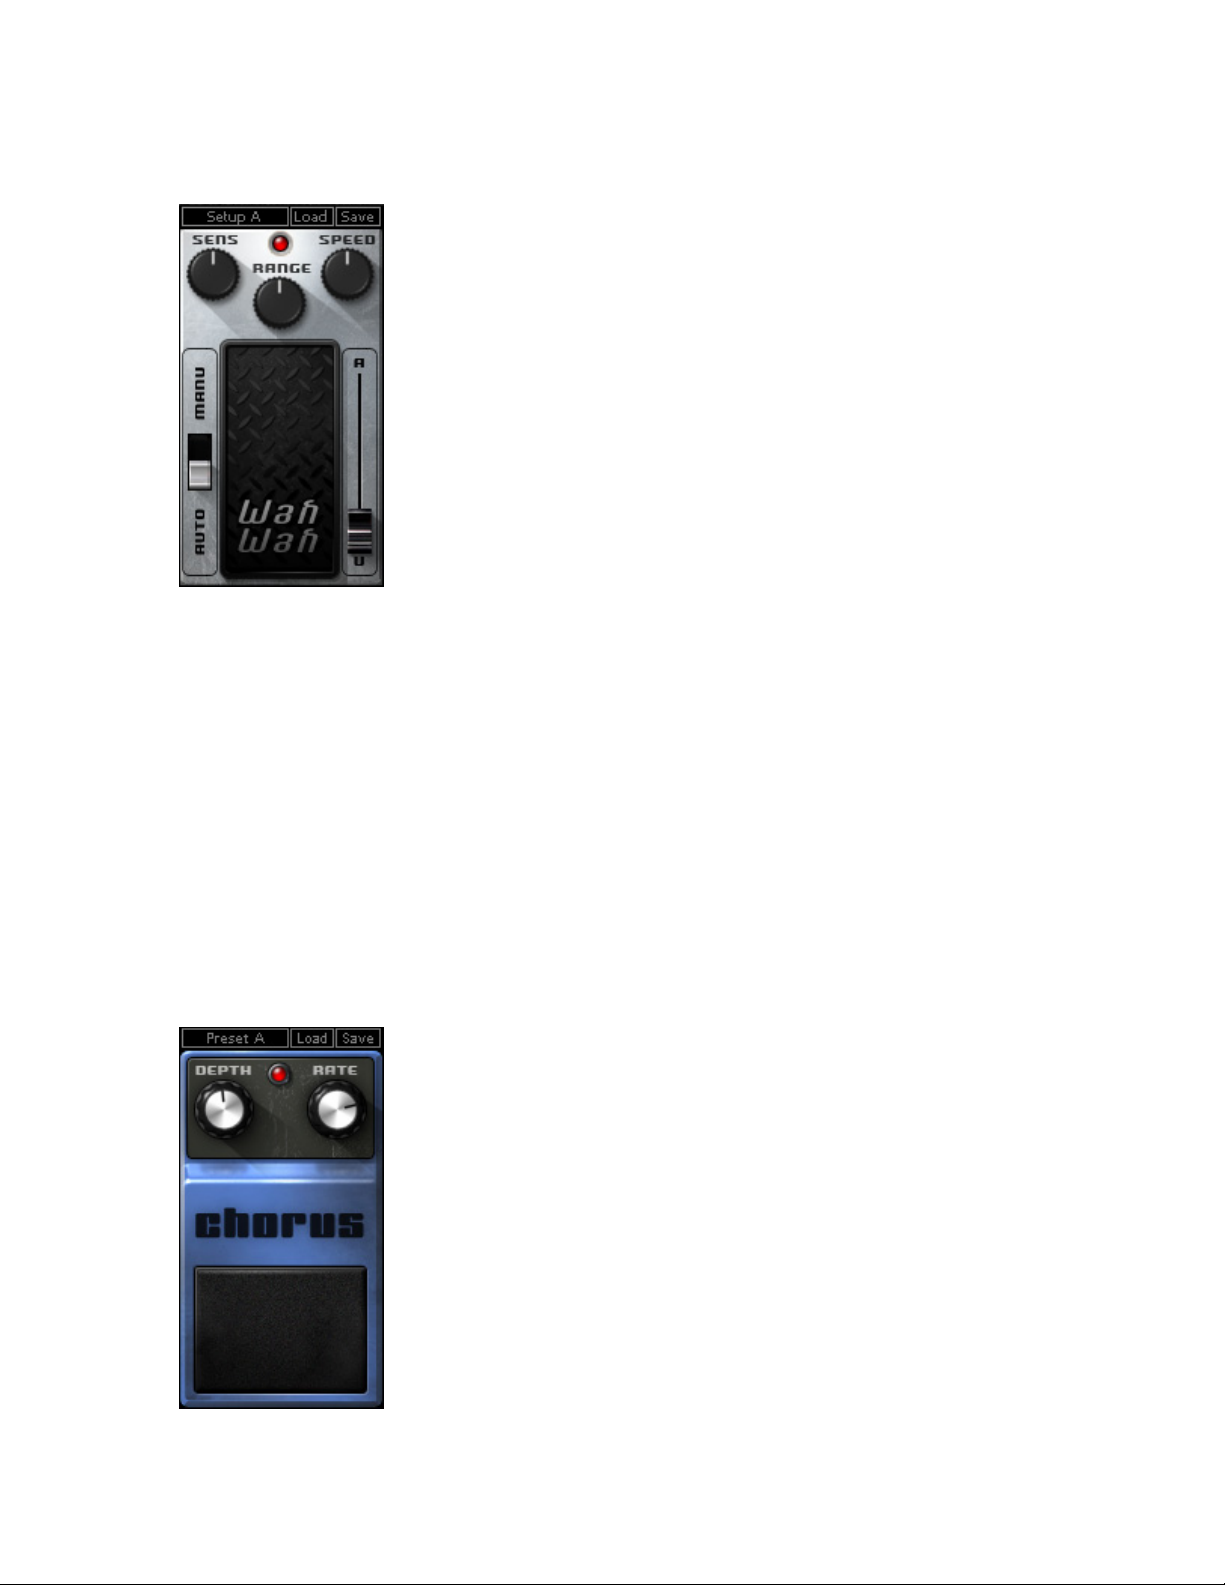
WAHWAH
SENSITIVITY controls the sensitivity of the envelope follower
Range: 0 to 100
Default 50
SPEED controls both the Attack and Release controls of filter
modulation.
Range: 0 to 100
Default 50
RANGE controls the frequency around which the Wah works.
Range: 0 to 100
Default 50
MODE Auto turns the effect into an Auto Wah. Manual
enables MIDI or mouse control of the effect.
Range: Auto/Manual
Default: Auto
WAH controls the frequency of the Wah filter in Manual
mode.
Range: 0 to 1
Default: 0.5
C
HORUS
DEPTH controls the amount of detune effect applied to the
signal.
Range: 1 to100
Default: 10
RATE controls the speed of the detune effect’s modulation
time.
Range: 0.10 to 10
Default 0.77
Waves GTR Stomp User Guide
16
Page 17
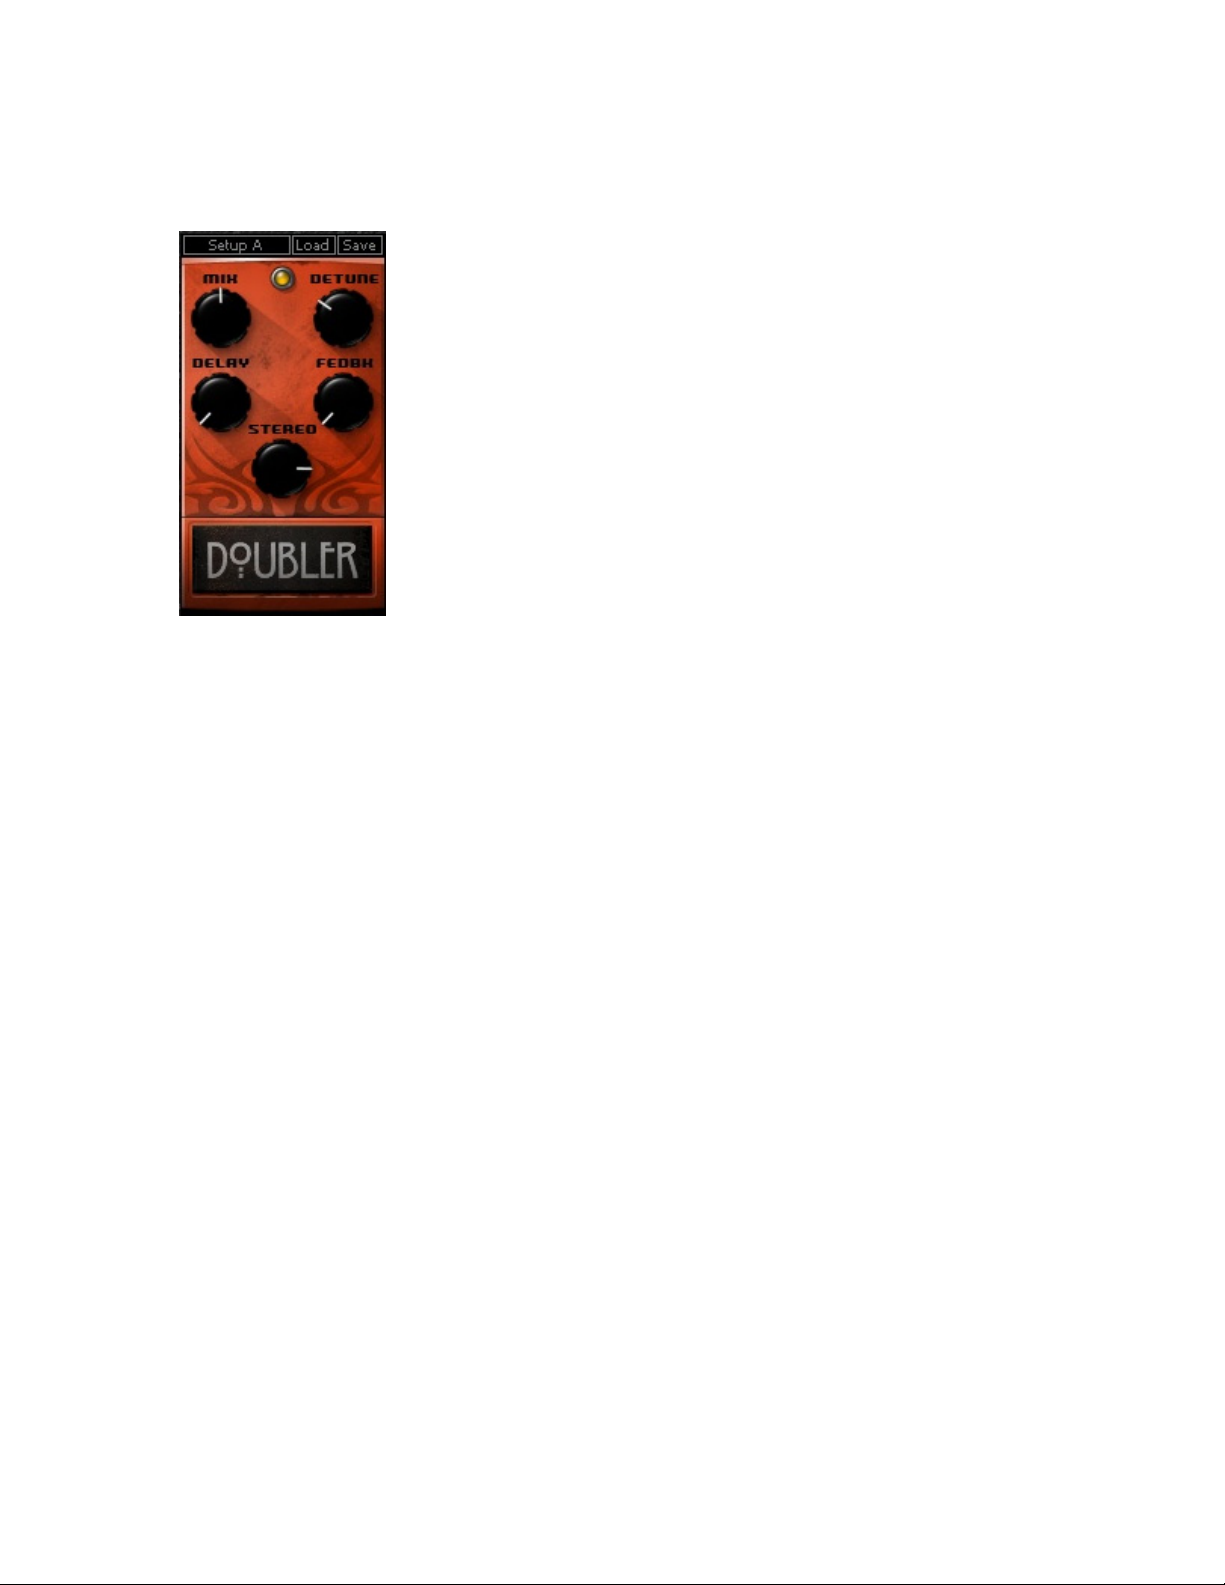
DOUBLER
MIX controls the balance between Wet and Dry signal.
Range: 0 to 100
Default 50
DETUNE controls the amount of detuned chorus effect, in
cents.
Range: 1 to 25 Cents
Default: 8
DELAY controls the length of the Delay effect added to the
signal.
Range: 12 to 100ms
Default: 12ms
FEEDBACK controls the amount of energy fed back from the
output back to the input.
Range: 0 to 100
Range: Default: 0
STEREO controls the position of the doubled sounds. At 100,
the doubled signals are fully panned to left and right; at 0
they are panned to center.
Range: 0 to100
Default: 50
Waves GTR Stomp User Guide
17
Page 18
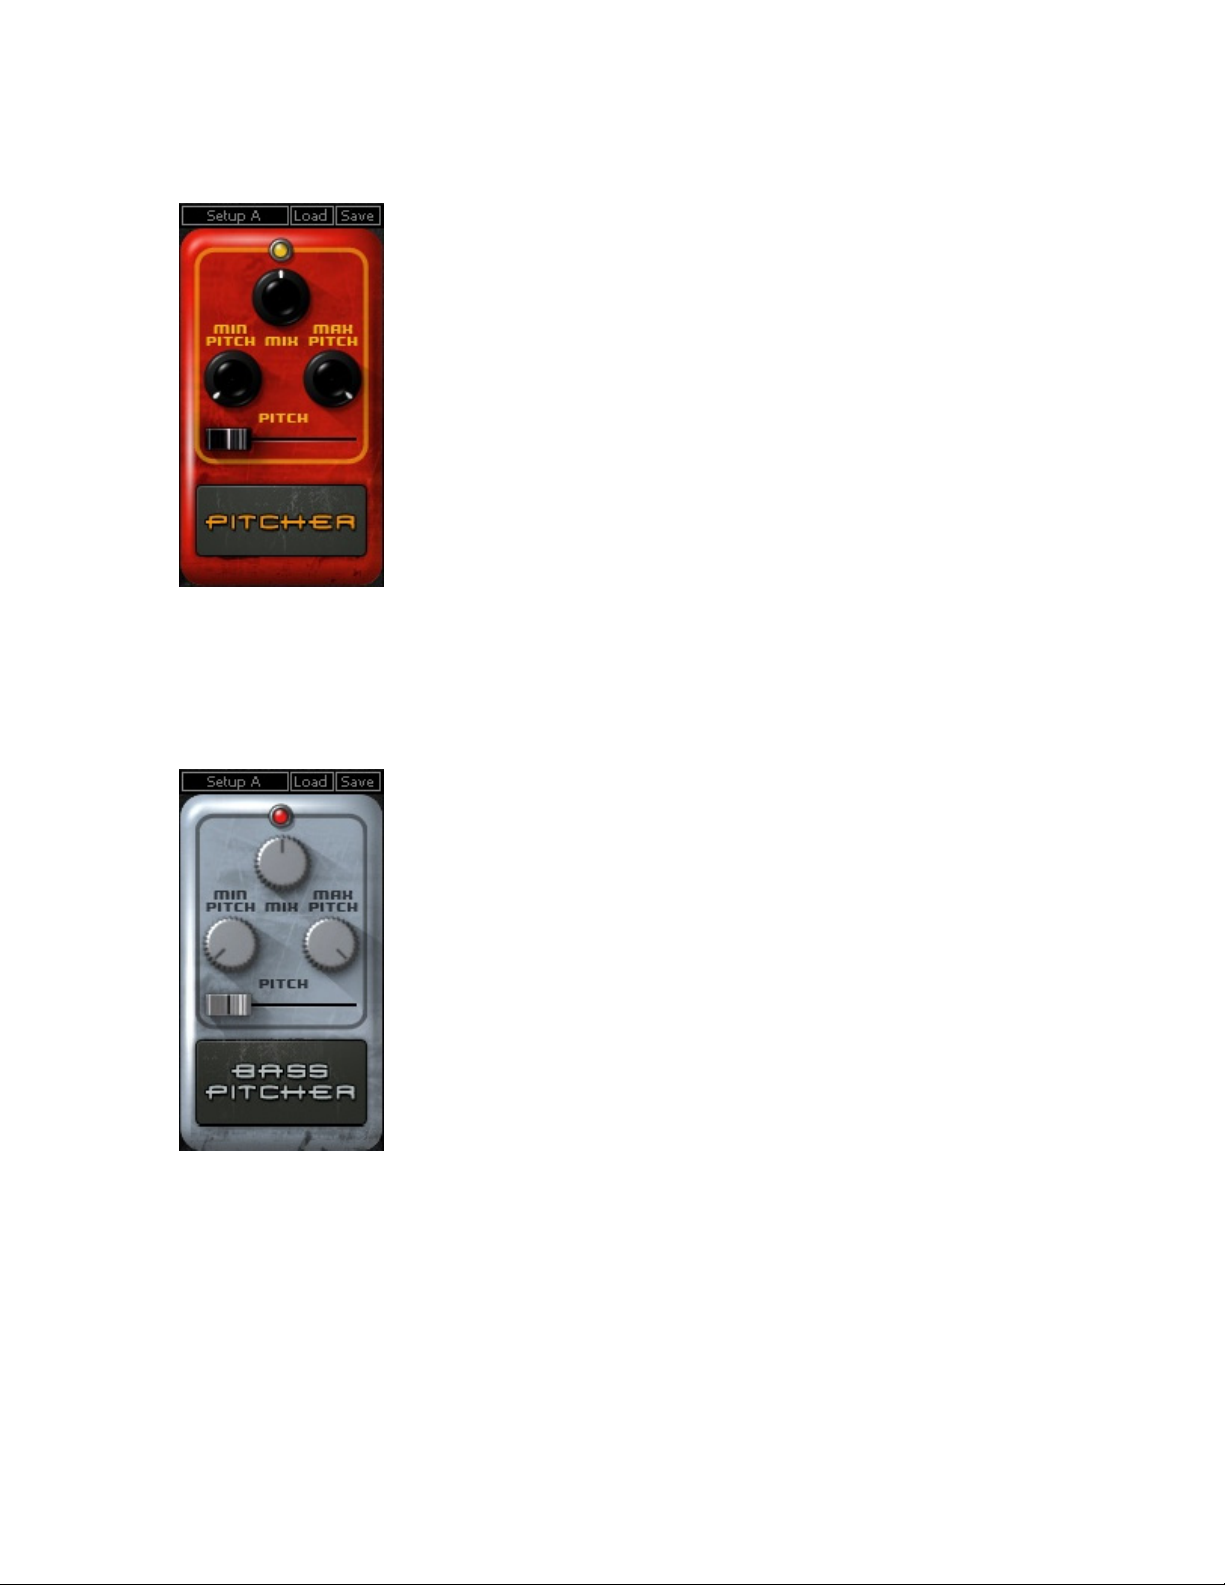
PITCHER
ASS PITCHER
B
MIX controls the balance between Wet and Dry signal.
Range: 0 to 100
Default: 50
MIN (Shift)
Range: -12.00 to +12.00 semitones
Default: -12.00
MAX (Shift)
Range: -12.00 to +12.00 semitones
Default: +12.00
PITCH controls the range of pitch shift.
MIX controls the balance between Wet and Dry
signal. Range: 0 to 100
Default: 50
MIN (Shift)
Range: -12.00 to +12.00 semitones
Default: -12.00
MAX (Shift)
Range: -12.00 to +12.00 semitones
Default: +12.00
PITCH controls the range of pitch shift.
Waves GTR Stomp User Guide
18
Page 19
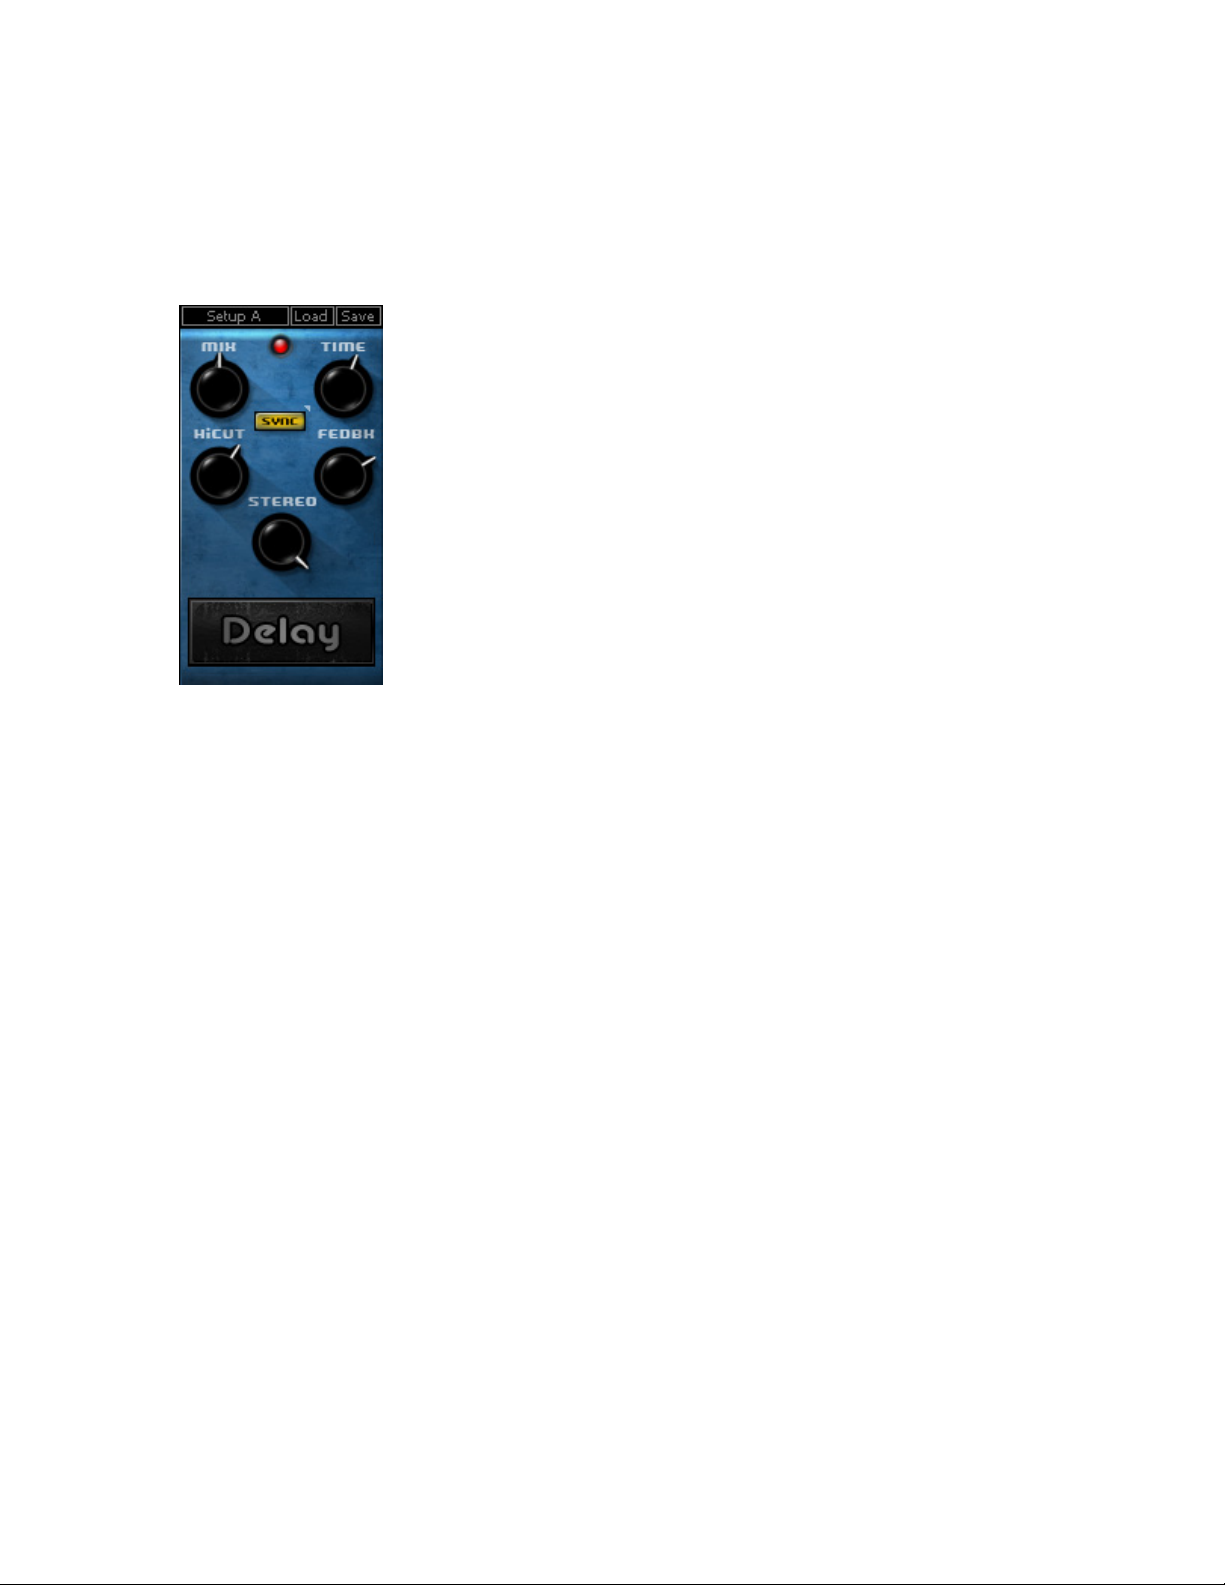
2.3 Space and Ambience Effects
D
ELAY
M
IX controls the balance between Wet and Dry signal. At 50,
the Wet and Dry paths mixed are mixed evenly at -3dB.
Range: 0 to 100
Default 50
SYNC controls synchronization to host tempo.
Range: On/Off
Default Off
YNC TIME controls the speed of the synchronized effect.
S
Range: 2 to 1/32t
Default: 1/16
M
ANUAL TIME controls the speed of the effect when not
synchronized to host tempo.
Range: 0.01 to 2.0
Default: 0.5
FEEDBACK controls the amount of energy fed back from the
output back to the input. Please note: Feedback levels
above 8.7 may result in clipping or feedback.
Range: 0 to 10
Default: 5
I CUT rolls off high frequencies.
H
Range: 0.1 to 7
Default: 7
STEREO controls the position of the delay regenerations
within the stereo field. (0 = Mono, 100 = Full Stereo “ping
pong” effect)
Range: 0 to 10
Default: 10
Waves GTR Stomp User Guide
19
Page 20
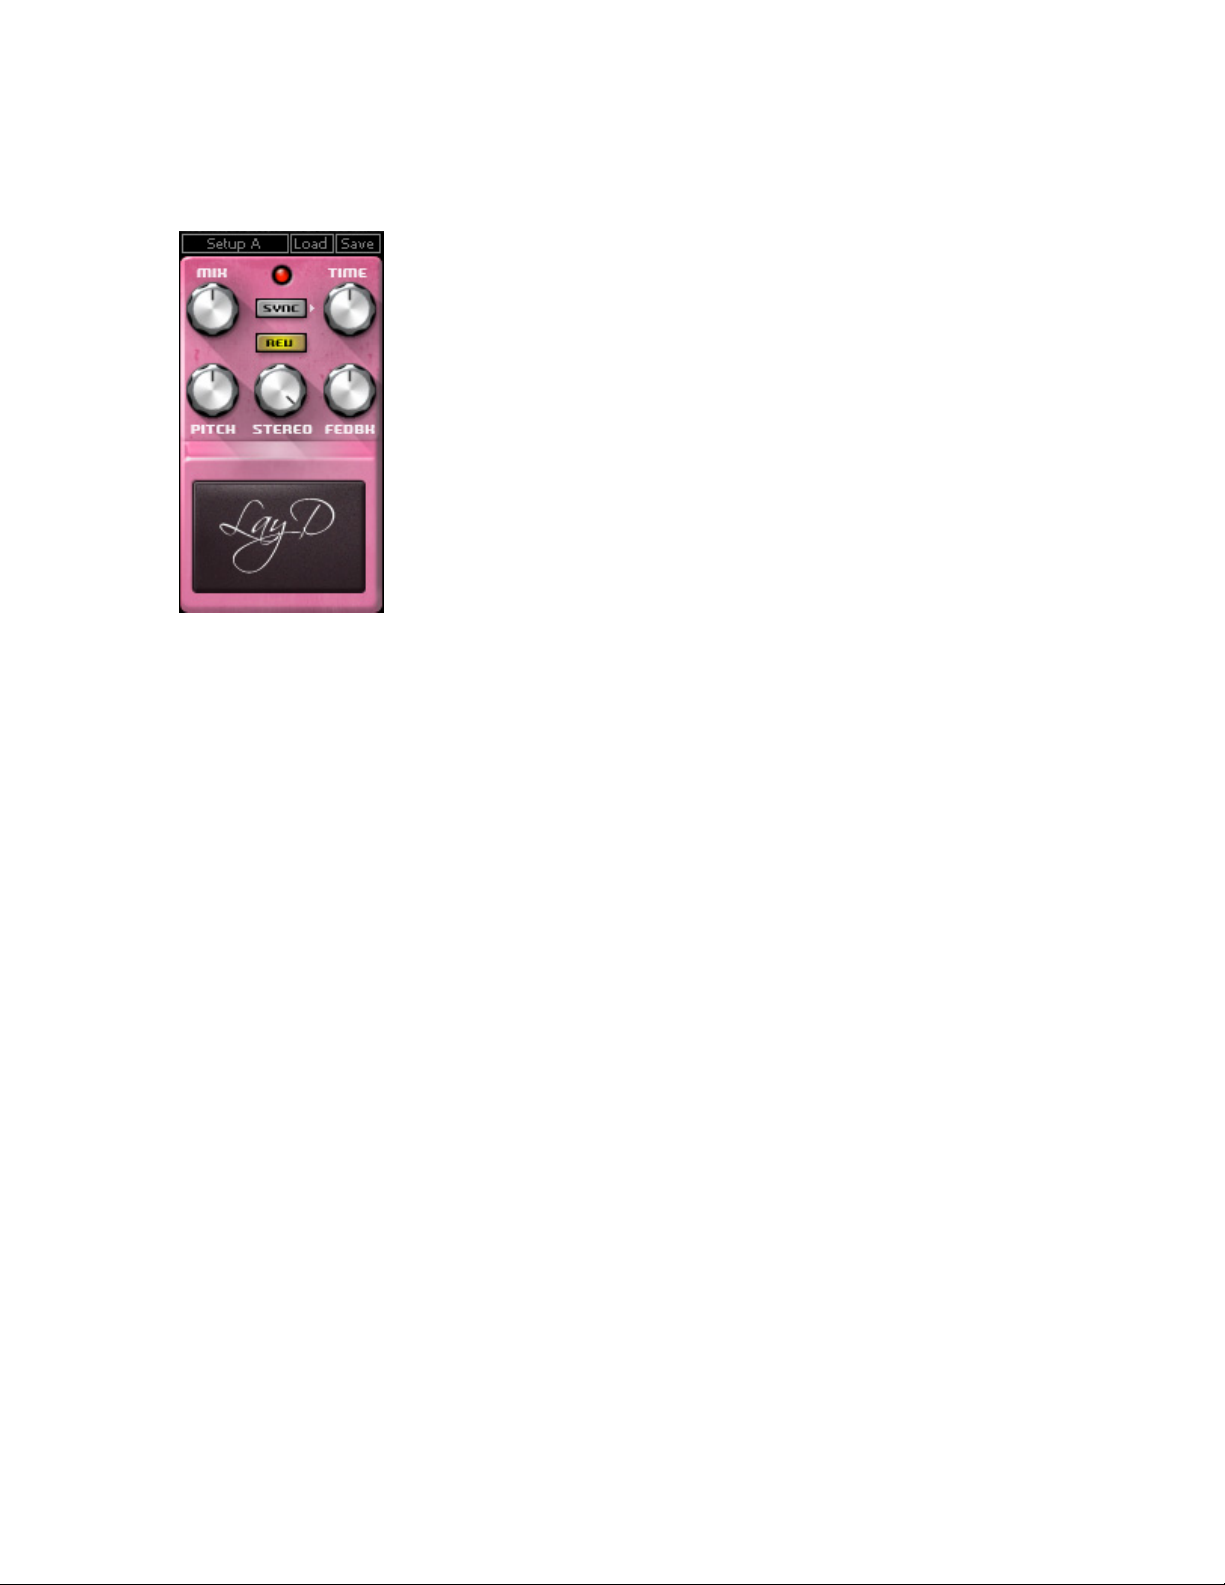
LAY-D
MIX controls the balance between Wet and Dry signal.
Range: 0 to 100
Default 50
SYNC controls synchronization to host tempo.
Range: On/Off
Default: Off
SYNC TIME controls the speed of the synchronized effect.
Range: 1/32 to 1/2
Default: 1/16
MANUAL TIME controls the speed of the effect when not
synchronized to host tempo.
Range: 0.01 to 1 (seconds)
Default 0.5
PITCH controls the amount of pitch shifting that will take place
on the first regeneration of the delay; consecutive
regenerations will shift by the same amount
Range: -1200 to +1200
Default: 0
FEEDBACK controls the amount of energy fed back from the
output back to the input.
Range: 0 to 100
Default: 50
TEREO controls the position of the delay regenerations
S
within the stereo field.
Range: 0 to 100
Default: 100
REVERSE controls the reversed regenerations that create a
backward effect.
Range: On/Off
Default: On
Waves GTR Stomp User Guide
20
Page 21
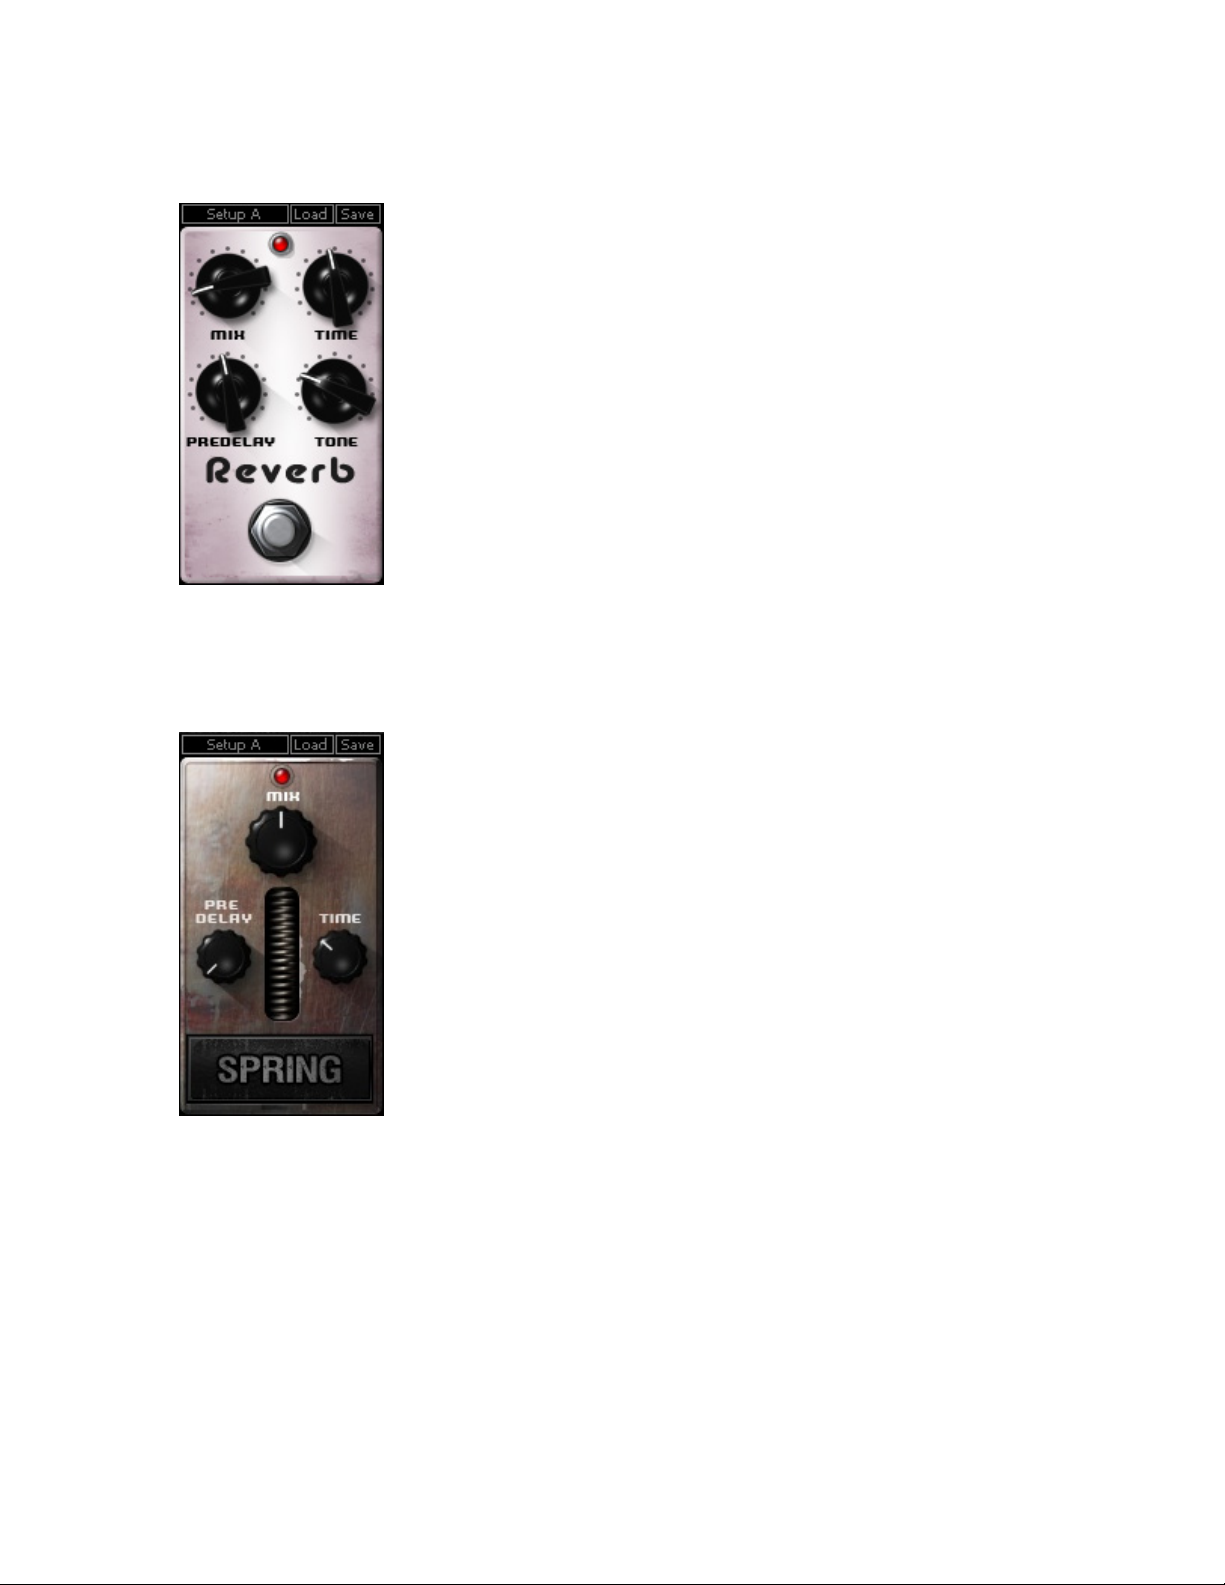
REVERB
SPRING
MIX controls the balance between Wet and Dry signal.
Range: 0 to 100
Default: 50
PREDELAY controls the delay between the start of the direct
signal and the reverb.
Range: 11 to 160ms
Default: 80
TIME controls the reverb’s decay time.
Range: 0.2 to 10 (seconds)
Default: 1.4
TONE controls the reverb’s high frequency damping ratio.
Range: 0.1 to 2
Default: 0.60
MIX controls the balance between Wet and Dry signal.
Range: 0 to 100
Default: 50
TIME controls the reverb decay time.
Range: 0.5 to 10 seconds
Default: 3.6
PREDELAY controls the delay between the start of the direct
signal and the reverb.
Range: 20 to 170ms
Default: 20ms
Waves GTR Stomp User Guide
21
Page 22
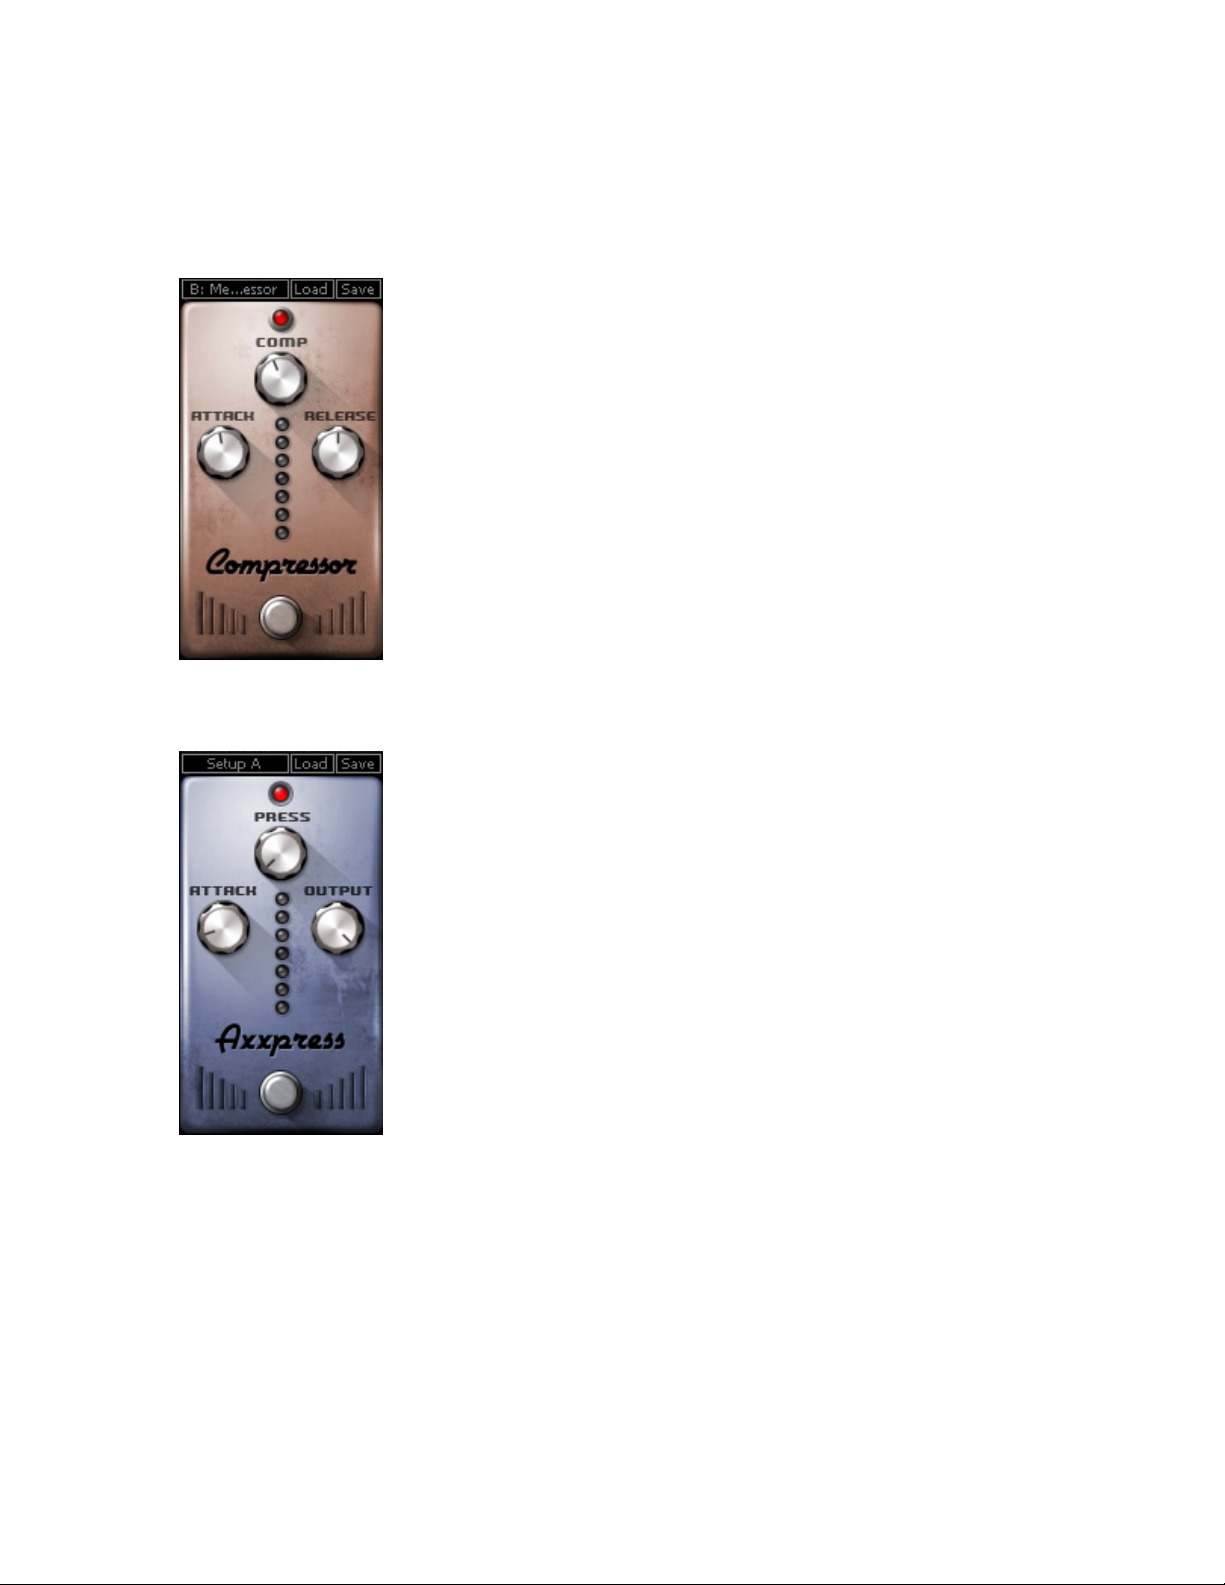
2.4 Basic Effects
C
OMPRESSOR
OMP controls the amount of compression applied to the
C
signal.
Range: 0 to 100
Default: 0
A
TTACK controls the speed at which compression begins.
Range: 1 to 50
Default: 4.99
RELEASE controls the speed at which compression stops.
Range: 50 to 2000ms
Default: 752ms
AXXPRESS
PRESS controls threshold and makeup gain simultaneously.
Higher settings result in increase loudness.
Range: 0 - 100
Default: 0
ATTACK controls the speed at which compression begins
once the input exceeds the press threshold.
Range: 0ms – 50ms
Default: 5ms.
OUTPUT controls the output volume of the compressor.
Range: -30 – 0dBfs
Default: 0dBfs
Waves GTR Stomp User Guide
22
Page 23
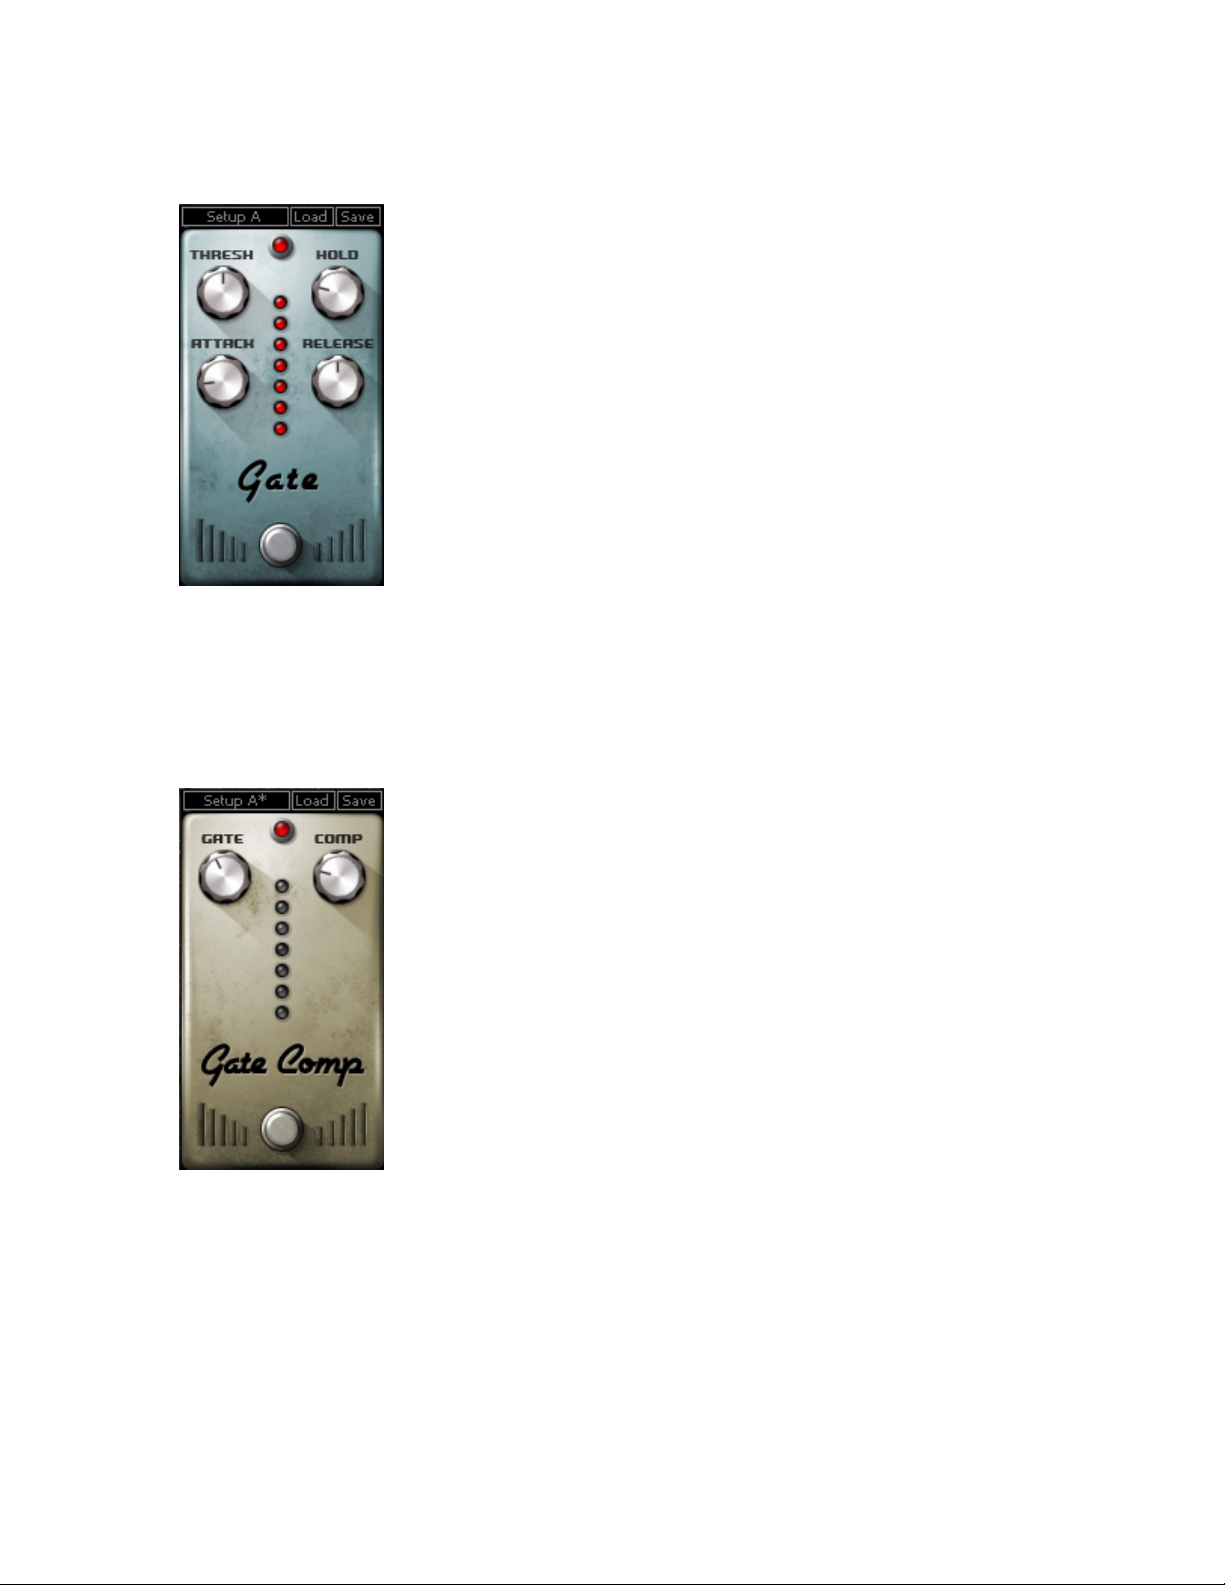
GATE
THRESHOLD controls the sensitivity of the gate.
Range: inf to 0dB (FS)
Default: -50
ATTACK controls the speed at which the gate opens when
the level exceeds the threshold.
Range: 0.01 to 1000
Default: 0.05
RELEASE controls the speed at which the gate closes when
the level falls below the threshold
Range: 1 to 10,000ms
Default: 100
HOLD controls the amount of time the gate remains open
after the last attack.
Range: 0.01 to 5000ms
Default: 0.20
GATE/COMP
GATE controls the sensitivity of the gate.
Range: inf to 0dB (FS)
Default: -60
COMP controls the amount of compression applied to the
signal.
Range: 0 to 100
Default: 50
Waves GTR Stomp User Guide
23
Page 24
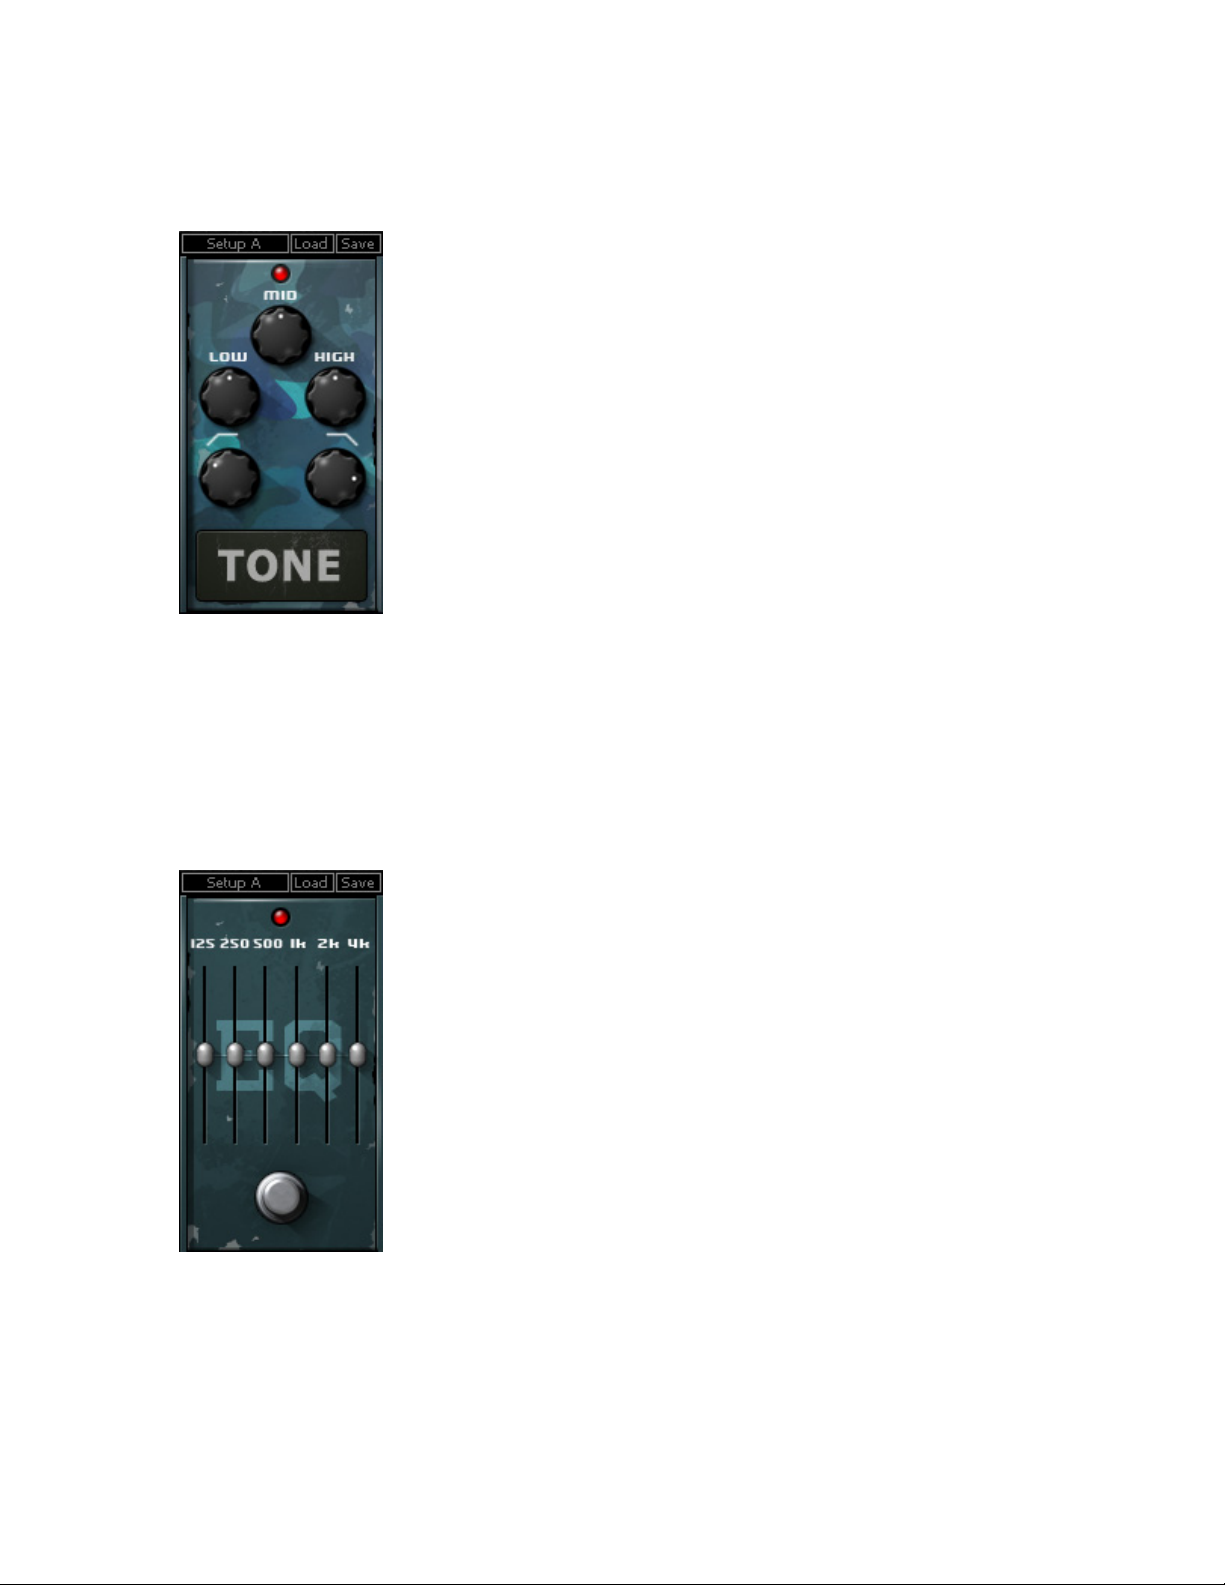
TONE
LOW controls the low frequencies.
Range: -/+18dB Low Shelf @ 310Hz
Default: 0dB
MID controls the midrange frequencies.
Range: -/+18dB Mid Bell @ 1kHz
Default: 0dB
HIGH controls the high frequencies.
Range: -/+18dB Hi Shelf @ 4kHz
Default: 0dB
LOWCUT controls the high pass filter cutoff frequency.
Range: 16 to 310Hz
Default: 40Hz
HICUT controls the low pass filter cutoff frequency.
Range: 4kHz to 18kHz
Default: 14kHz
EQ
Frequencies: 125Hz, 250Hz, 500Hz, 1kHz, 2kHz, 4kHz
Range: +/- 12dB (Q=10)
Please note: EQ’s hidden low frequency attenuator reduces
unwanted rumble.
Waves GTR Stomp User Guide
24
Page 25
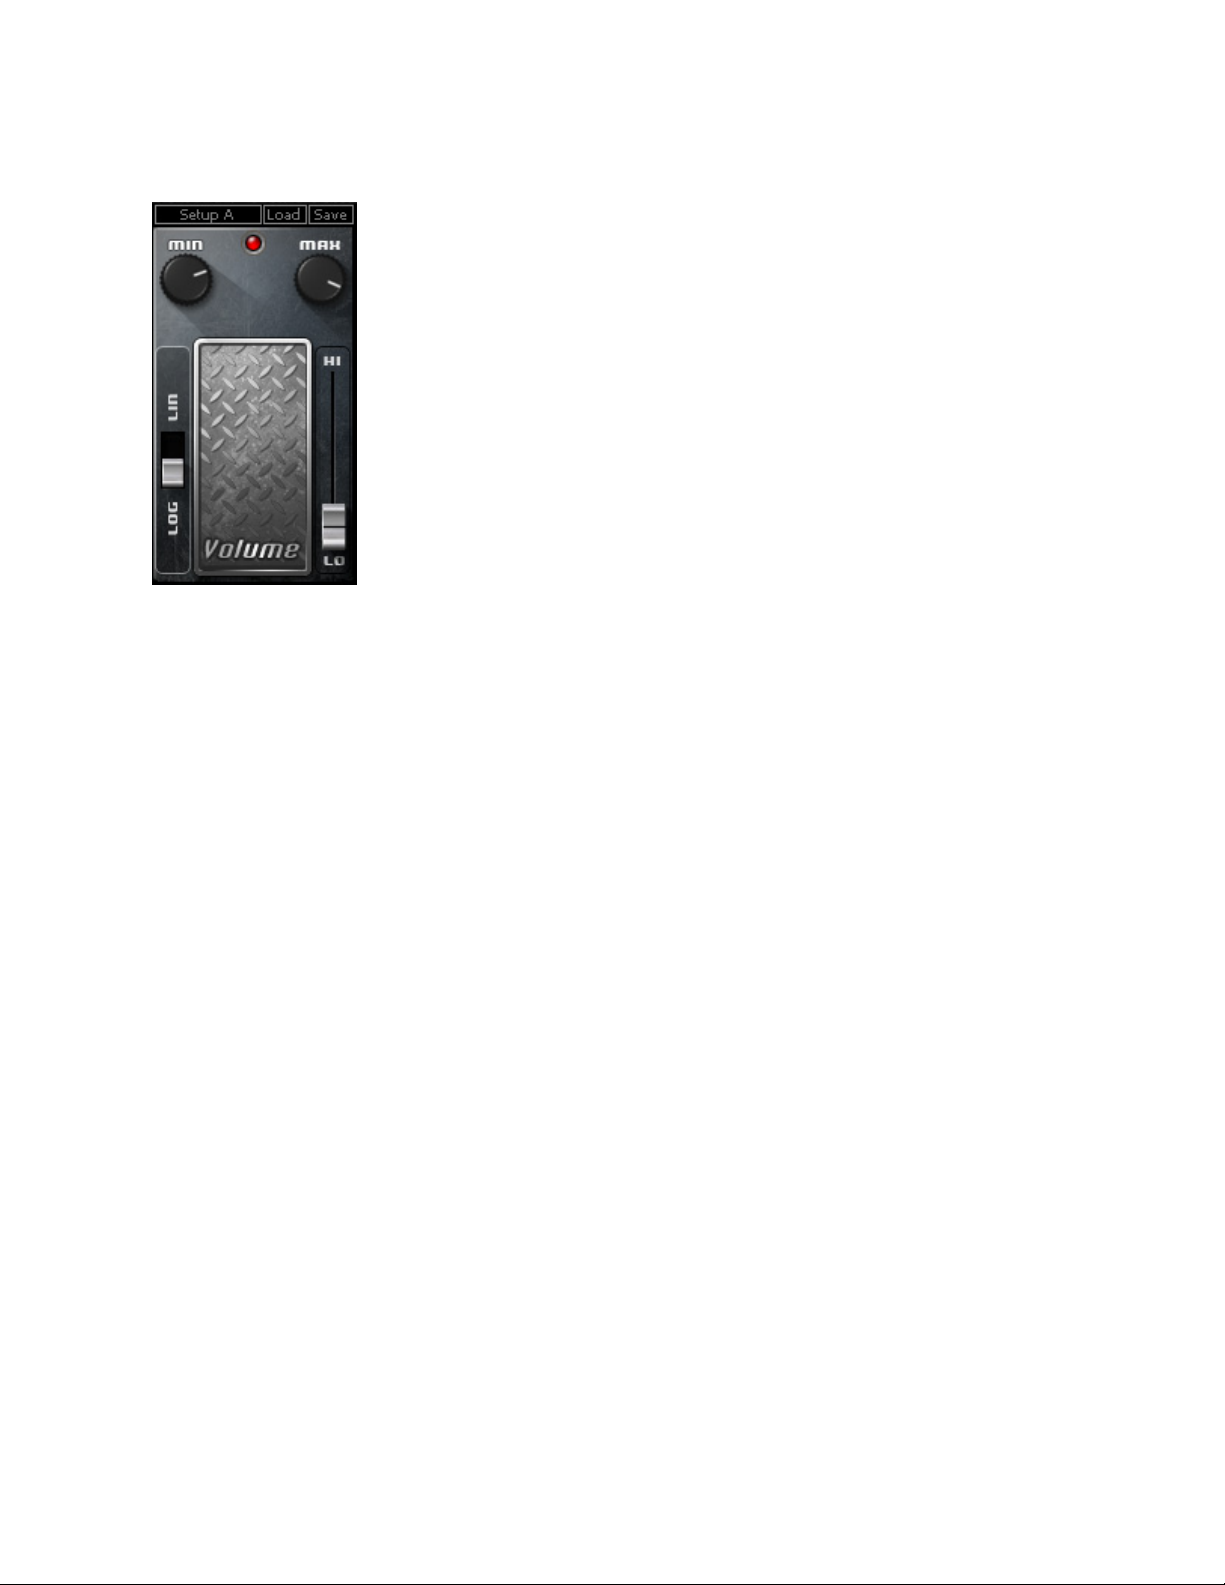
VOLUME
VOLUME BAR (HI > LO) controls output level. The position
between Hi and Lo determines output volume according to the
selected scaling.
SCALE controls the way the volume range is distributed by the
Volume bar fader.
Settings: Log or Lin
Default: Lin
MIN controls the Lo volume setting, or the volume that is set
when the Volume bar is in Lo position.
Range: -144dBfs – 0dBfs.
Default: -24dBfs.
MAX controls the Hi volume setting, or the volume that is set
when the Volume bar is in the Hi position.
Range: -144dBfs – +12dBfs.
Default: 0dBfs.
Please note: Since Max control limits the Min control, Min
value may not exceed Max value.
Waves GTR Stomp User Guide
25
 Loading...