

WaterFurnace TP32U03, TP32U04, TP32U05 User Manual
997-060180-6
96P684-01
User’s Manual
TP32U03 Programmable / Non-Programmable
TP32U04 Programmable/ Non-Programmable with Humidity Control
TP32U05 Programmable with Daughter Board (4-Wire)
Menu Driven Display
997-060180-6
Heat Pump Thermostat
User Information
I. THERMOSTAT OPERATION
ADJUSTING TEMPERATURE (Temporary Override in Programmable
models)
1. Before you can adjust the temperature, a MODE must be selected. If
you are already in a Heating or Cooling mode, then skip to step 5.
2. To select a MODE, use the keypad arrows to scroll to MODE, and then
press the center button on the key pad to
enter the operating mode menu.
3. Select the desired mode by scrolling up or
down, with the arrows, and then press the
center button on the keypad to enter into
that mode.
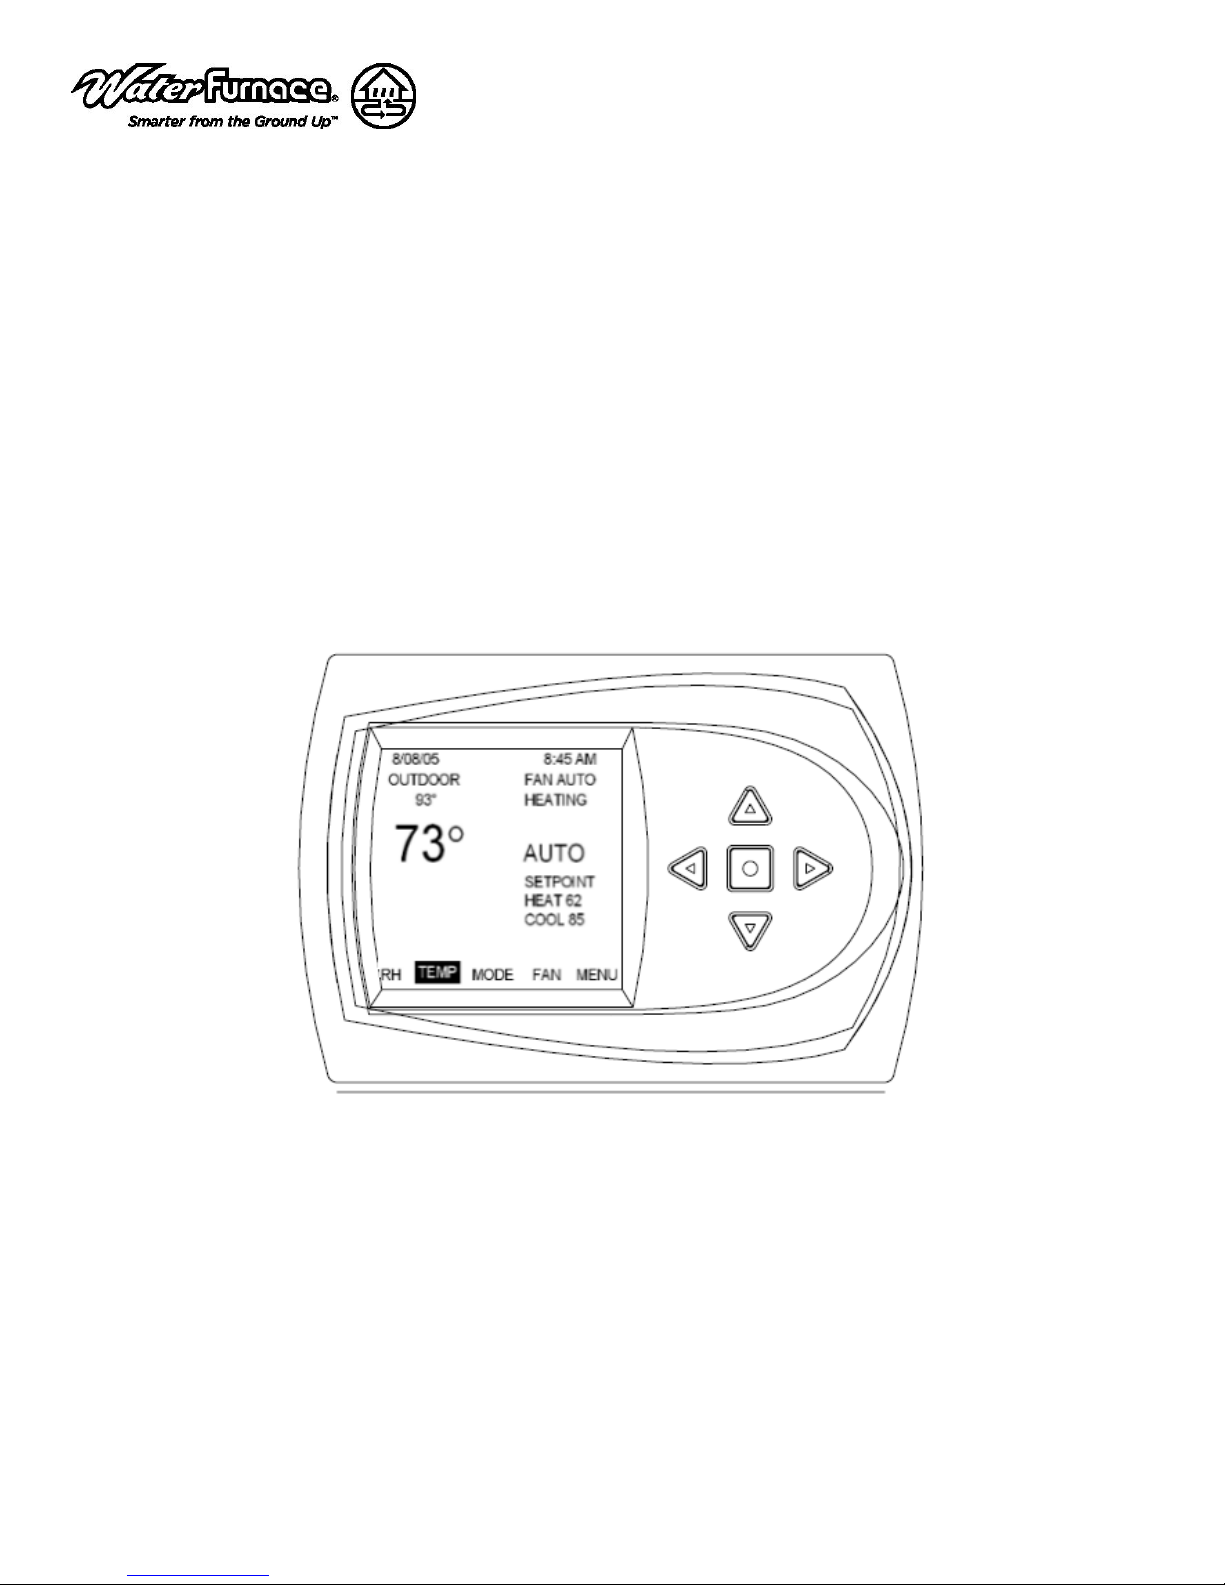
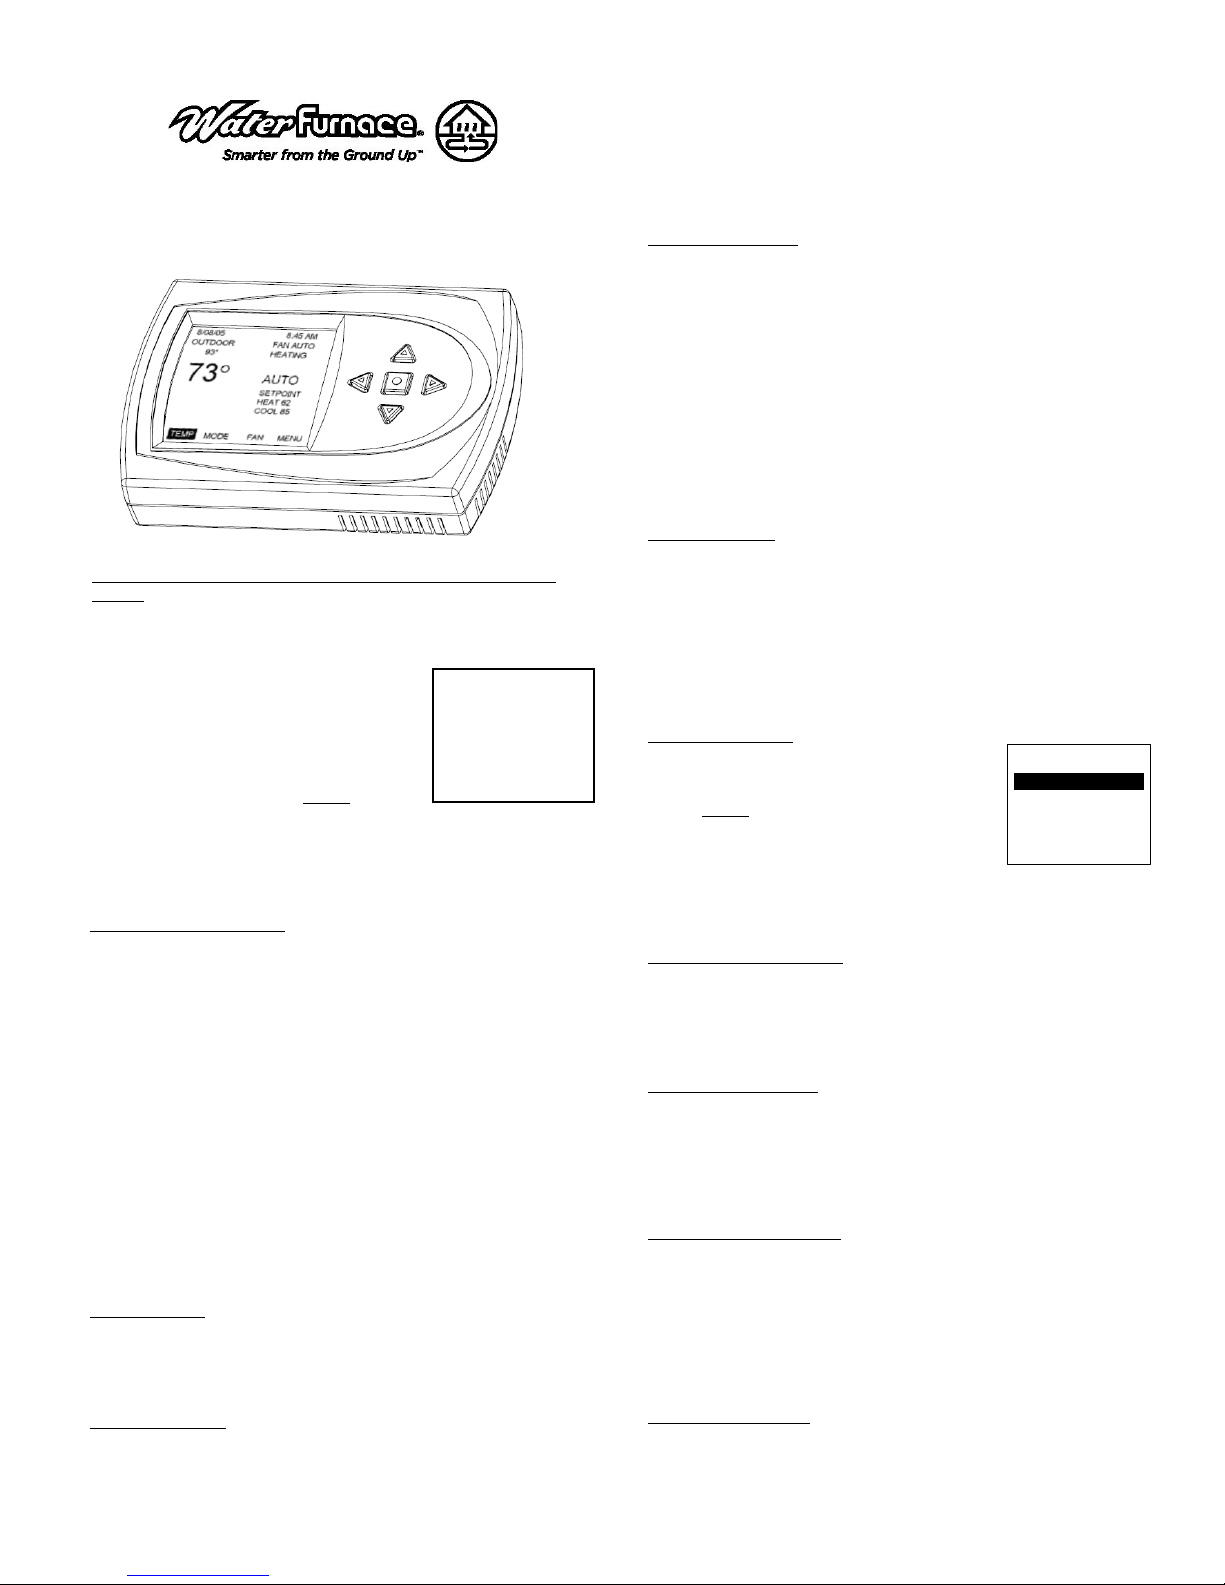
4. You are now returned to the Main Menu and
Figure 1 is a similar view.
temperature is only displayed if an outdoor sensor
is installed.
5. To increase the temperature set point, use the arrow up button. To
decrease the set point, use the arrow down button. Press the center
button on the key pad for the new set point to be effective
SETTING DATE AND TIME
1. From the Main Menu, scroll to MENU and press the center button ■ on
the keypad.
2. Select SET DATE AND TIME
3. If your area observes daylight savings time, select AUTO DAYLIGHT
SAVING, scroll to ON, then press the center button ■ to save. You will
be returned to the select SET DATE AND TIME menu. Scroll to SET
DATE AND TIME and press the center button ■ on the keypad.
4. SET MONTH by using the up and down arrows ▲▼, and then press the
center button on the keypad to save the month.
5. SET DAY by using the up and down arrows ▲▼, and then press the
center button on the keypad to save the day.
6. SET YEAR by using the up and down arrows ▲▼, and then press the
center button on the keypad to save the year.
7. SET HOUR by using the up and down arrows ▲▼, and then press the
center button on the keypad to save the hour.
8. SET MINUTE by using the up and down arrows ▲▼, and then press
the center button ■ on the keypad to save the minute.
9. Date and Time are now set. You can return to the Main Menu by
pressing the left arrow key to return to the previous menu.
HOLD SETTING -- Vacation & Permanent (Programmable models only)
This section describes the HOLD functions. You can program the
thermostat to hold the temperature for a period of time. If you want to hold
the temperature for a few hours or a few weeks, your thermostat can
accommodate your schedule.
VACATION HOLD (Programmable models only)
1. From the Main Menu, scroll to MENU and press the center button ■ on
the keypad.
2. Select HOLD → VACATION
3. First, the thermostat prompts you for a temperature to hold. If you are in
AUTO MODE you will be prompted for both a heat setting and a cool
NOTE: Outdoor
2/08/05 8:45 AM
OUTDOOR FAN AUTO
33° HEAT STG 1
73°
HUMIDITY SETPOINT
43% HEAT 62
REL HUM MODE FAN MENU
AUTO
COOL 85
Figure1
setting. Use the up and down arrows keys ▲▼ to select the desired
temperature and press the center button on the keypad.
4. Next it will prompt you for a date and time that you wish to return to
programmed operation. Returning to the Main Screen, you will notice
that in the upper part of the screen is alternating HOLD TIL *date and
time you specified* and the actual date and time.
5. To cancel this hold, scroll to CANCEL HOLD from the Main Menu and
press the center button ■.
PERMANENT HOLD (Programmable models only)
1. From the Main Menu, scroll to MENU and press the center button ■ on
the keypad.
2. Select HOLD → PERMANENT
3. First, the thermostat prompts you for a temperature to hold. If you are in
AUTO MODE you will be prompted for both a heat setting and a cool
setting. Use the up and down arrows keys ▲▼ to select the desired
temperature and press the center button on the keypad.
4. Returning to the Main Screen, you will notice that in the upper part of
the screen is alternating PERMANENT HOLD and the actual date and
time.
5. You can adjust to permanent hold temperature at will, and the
temperature you select will remain until the permanent hold is canceled.
6. To cancel this hold, scroll to CANCEL HOLD from the Main Menu and
press the center button ■. This will revert to the programmed settings.
FAN OPERATION
The thermostat can operate the fan in four ways:
AUTO (on only during heating and cooling calls)
ON (always on)
INTERMITTENT (cycles fan) Pg. 3
PROGRAMMED FAN (fan follows the program set in the program
menu screen) (programmable models only) Pg. 3
1. From the Main Menu, scroll to (FAN) and press the center button on the
keypad ■.
2. Select the operation you desire as described above.
CHANGING MODES
1. From the main screen select MODE.
2. Select the operating mode you need and press
the center button ■.
NOTE: If selecting EMERGENCY HEAT,
the backlight color will change from blue to red
indicating that auxiliary heat is operating instead of
the heat pump compressor. Auxiliary/emergency
OPERATING MODE MENU
OFF
AUTO
COOL
HEAT
EMERGENCY HEAT
CHANGE MODE ∇∆
⊲ PREVIOUS
heat is significantly more expensive to operate than the heat pump
compressor, and should not be selected unless the heat pump compressor is
not operational.
FAHRENHEIT OR CELSIUS
1. From the Main Menu, scroll to MENU and press the center button ■ on
the keypad.
2. Select SETINGS → SCREEN SETTINGS → FAHRENHEIT OR
CELSIUS
3. Select which scale you prefer.
12 OR 24 HOUR CLOCK
Within this menu option, you can change the time displayed by your
thermostat to 24 Hour time (Military Time).
1. From the Main Menu, scroll to MENU and press the center button ■ on
the keypad.
2. Select SETINGS → SCREEN SETTINGS → 12 OR 24 HOUR CLOCK
3. Select which time base you prefer.
CONTRAST ADJUSTMENT
You can change the contrast level of your thermostat screen to be displayed
to your preference.
1. From the Main Menu, scroll to MENU and press the center button on the
keypad.
2. Select SETINGS → SCREEN SETTINGS →CONTRAST
3. Use the up and down arrows ▲▼ to increase or decrease the contrast
level.
4. Press the center button to accept the new setting.
BACKLIGHT ON TIME
This thermostat has a two color backlight feature. Anytime a button is
pressed, the blue backlight stays on for a certain amount of time. A red
backlight is visible if you are selecting Emergency Heat mode. You can
adjust the amount of time the backlight stays on in the menu options.
2
 Loading...