

Page 1
Installation Guide
HAZARD OF ELECTRIC SHOCK, EXPLOSION, OR ARC FLASH
• Follow safe electrical work practices.
See NFPA 70E in the USA, or applicable local codes.
• This equipment must only be installed and serviced by qualified electrical personnel.
• Read, understand and follow the instructions before installing this product.
• Turn off all power supplying equipment before working on or inside the equipment.
• Use a properly rated voltage sensing device to confirm power is off.
DO NOT DEPEND ON THIS PRODUCT FOR VOLTAGE INDICATION
• Only install this product on insulated conductors.
Failure to follow these instructions will result in death or serious injury.
A qualied person is one who has skills and knowledge related to the construction and
operation of this electrical equipment and the installation, and has received safety
training to recognize and avoid the hazards involved. NEC2009 Article 100
No responsibility is assumed by Veris Industries for any consequences arising out of the
use of this material.
DANGER
Current Sensors
RoHS
Compliant
NOTICE
• This product is not intended for life or safety applications.
• Do not install this product in hazardous or classified locations.
• The installer is responsible for conformance to all applicable codes.
• Mount this product inside a suitable fire and electrical enclosure.
TM
TM
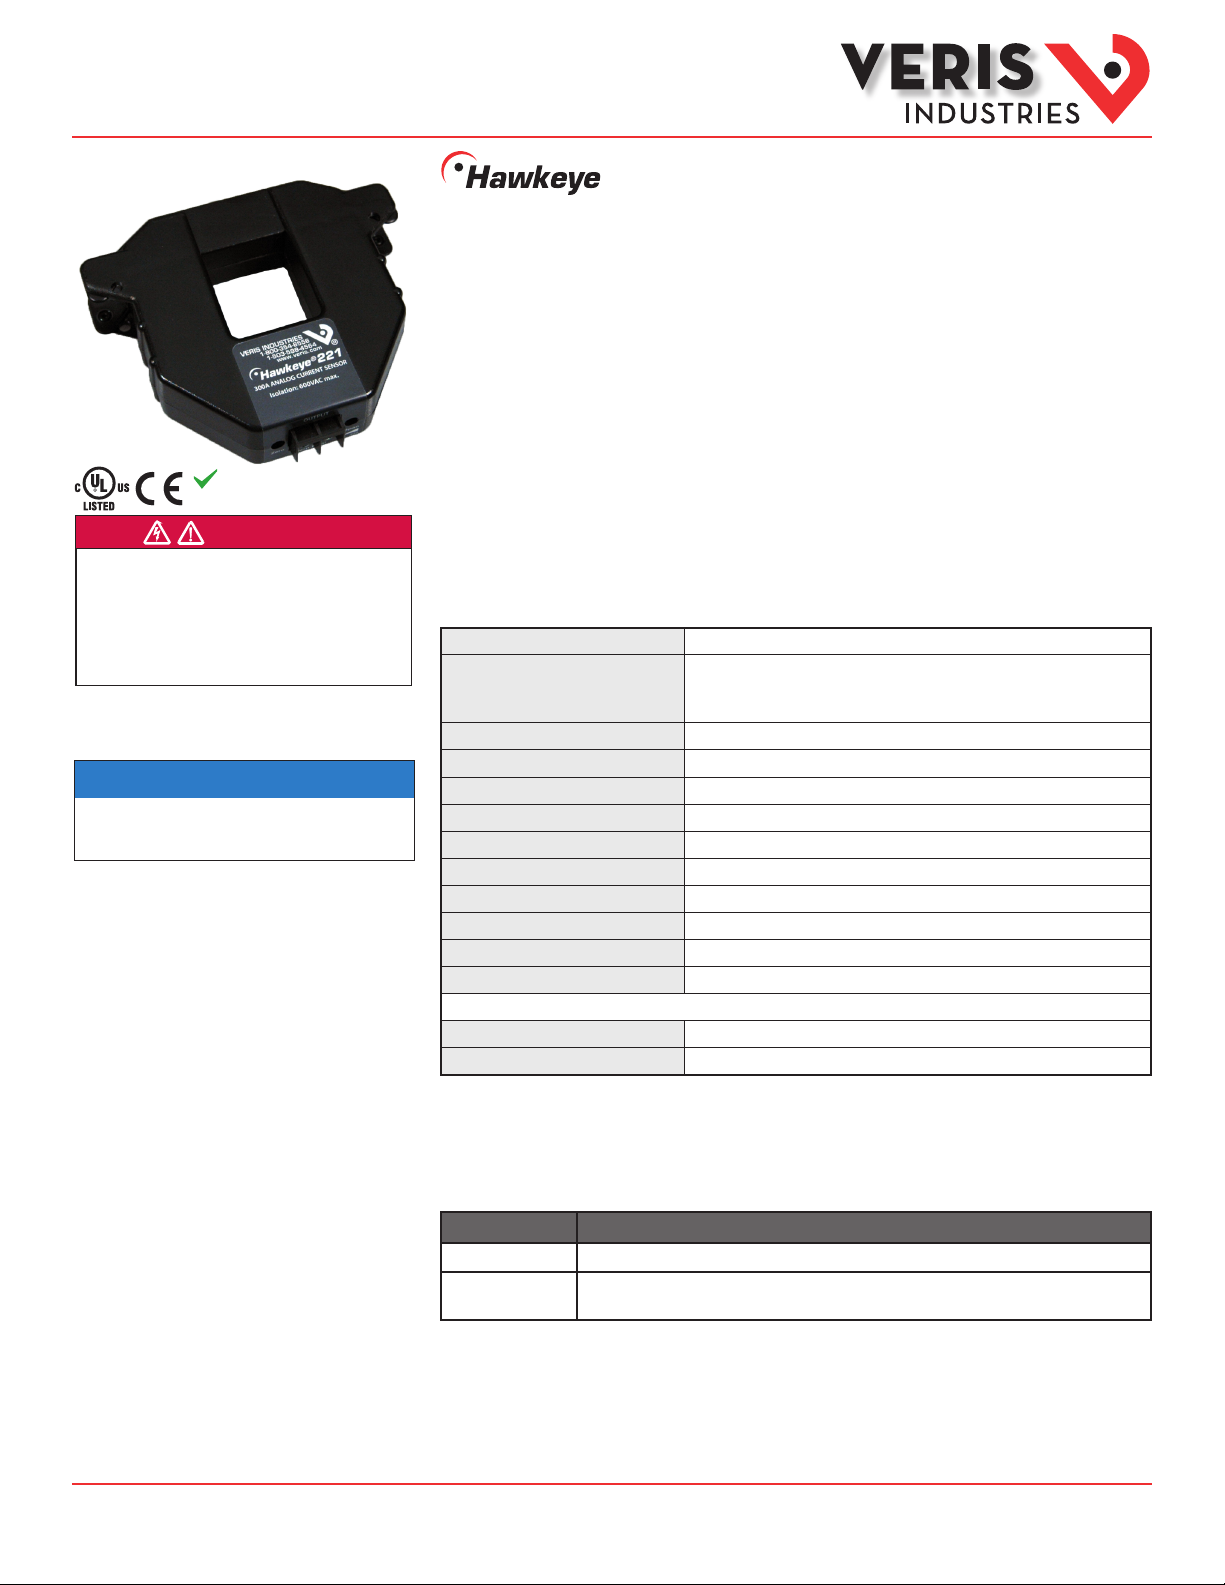
H221/H221SP
Split-Core Current Transducer,
High Current, 4-20mA Output
Product Overview
The H221 and the H221SP are current transducers that sense current (amperage) in the monitored conductor. The
H221 amperage range is eld-adjustable, with ranges of 0-100A thru 0-300A possible. The H221SP is factory-set at
a range with an upper limit specied by the customer upon ordering (100A, 150A, 200A, 250A, and 300A options
available for the upper limit). Both devices transform the monitored current into 4-20 mA DC output, suitable for
connection to building controllers or other appropriate data acquisition equipment. The H221 and H221SP require
12-30 VDC external power supply to generate their output.
Specifications
Sensor Power
Amperage Range
Sensor Output
Response Time
Insulation Class
Frequency
Temperature Range
Humidity Range
Accuracy
Zero Adjustment
Terminal Block Wire Size
Terminal Block Torque
Approvals
Installation Category
30mA (max.) @12-30VDC
H221: 0 -100A thru 0-300A ( scalable)
H221SP: Factory -set at a customer- specified upper limit (100, 150, 200,
250, and 300A available)
4-20mA
2 sec.
600VAC RMS, insulated conductors only
50 /60 Hz
-15° to 60°C ( 5° to 140°F)
10-9 0% RH non-condensing
±2% F.S. from 10% to 10 0% of selected current range
nominal output@0A: 4mA ± 0.5
12 to 22 AWG (3.3 to 0. 3 mm2)
3.5 to 4.4 in-lb (0.4 to 0.5 N- m)
AGENCY APPROVALS
UL508, CE
Cat. III, pollution degree 2
Z201198-0F Page 1 of 4 ©2013 Veris Industries USA 800.354.8556 or +1.503.598.4564 / support@veris.com 06131
Alta Labs, E nercept, Ensp ector, Hawkeye, Trus tat, Aerospo nd, Veris, and th e Veris ‘V’ log o are tradema rks or registe red tradema rks of Veris Ind ustries, L. L.C. in the USA and /or other countri es.
This product provides basic insulation only.
Listed for use on 75°C insulated conductors.
Product Identification
Part Number Description
H221 High current monitoring, 4-20 mA analog output, scalable amperage range (100 to 300 A upper limit)
H221SP High current monitoring, 4-20 mA analog output, amperage range set at factory (100, 150, 200, 250,
or 300 A upper limit, specied by customer at ordering)
Other companies’ trademarks are hereby acknowledged to belong to their respective owners.
Page 2

Installation Guide
Current Sensors
H221/H221SP
TM
Dimensions
Installation
4.75”
(121 mm)
1.51”
(38 mm)
1.25”
(32 mm)
1.13”
(29 mm)
3.75”
(96 mm)
4.20”
(107 mm)
Disconnect and lock out power to the enclosure
containing the conductor to be monitored.
1. Choose a location for the sensor. The monitored conductor must pass
through the center window, and the sensor must be at least ½” (13 mm)
from any uninsulated conductors. Determine cable routing for the controller
connection, allowing the sensor to reach the conductor.
2. Wire the output connections between the sensor and the controller
(4-20 mA).
3. Snap the sensor over the conduc tor to be monitored.
4. Secure I-bar to main body of sensor with wire ties or other securing method.
CONTACTOR
DIGITAL CONTROL
+
AI
–
+
–
12-30VDC
Power Supply
Wire tie
Motor
Fan or Pump
5. Secure the enclosure and reconnect power.
6. Scale the sensor range, then scale the controller software to match the sensor’s output (see Scaling section).
Z201198-0F Page 2 of 4 ©2013 Veris Industries USA 800.354.8556 or +1.503.598.4564 / support@veris.com 06131
Alta Labs, E nercept, Ensp ector, Hawkeye, Trus tat, Aerospo nd, Veris, and th e Veris ‘V’ log o are tradema rks or registe red tradema rks of Veris Ind ustries, L. L.C. in the USA and /or other countri es.
Other companies’ trademarks are hereby acknowledged to belong to their respective owners.
Page 3

Installation Guide
Zero
Out
Span
100 300
DDC
CONTROLLER
AI
V(COM)
4-20mA
Current Sensors
H221/H221SP
TM
Wiring
Output is not polarity sensitive. 12-30 VDC external power needed.
Example 1: External Power
DDC
CONTROLLER
AI
Zero
Power Supply
100 300
Out
Example 2: Powered by the controller
Span
Scaling
SENSOR
OUTPUT
20mA
4mA
0 10 20 30 40 50 60 70 80 90 100%
LOAD CURRENT
% of Set Span
Z201198-0F Page 3 of 4 ©2013 Veris Industries USA 800.354.8556 or +1.503.598.4564 / support@veris.com 06131
Alta Labs, E nercept, Ensp ector, Hawkeye, Trus tat, Aerospo nd, Veris, and th e Veris ‘V’ log o are tradema rks or registe red tradema rks of Veris Ind ustries, L. L.C. in the USA and /or other countri es.
Other companies’ trademarks are hereby acknowledged to belong to their respective owners.
Page 4

Installation Guide
Current Sensors
H221/H221SP
TM
Calibration
(H221 Only)
The following calculation is given as an example and uses
sample current values. In an actual application, any values
appropriate to the application (within the range of the device)
can be substituted.
The H221SP is factory-calibrated.
1. Set Zero.
Apply power to the sensor with no load in the
monitored conductor. Turn the zero setpoint
screw until the controller reads 4 mA output.
Zero
Zero
Span
100 300
Out
2. Calculate the maximum and target readings.
A. Determine the maximum current likely to occur in the application.
B. Establish normal load conditions on the conduc tor. Measure this current using
an external measurement device, such as a portable amp clamp.
C. Calculate target output:
OK!
A
0A
Controller:
4mA Output =
0A Load
200 A
0A
150 A
Troubleshooting
If A = the max. current, and B = the reading from the amp clamp, then:
target output =
16 mA x — + 4 mA
e.g. target output = = 16 mA
B
A
16 mA x — + 4 mA
150
200
3. Set Span.
Turn the span setpoint screw until the controller reading equals the target output.
150A
Span
Zero
100 300
Out
100
300
Problem Solution
No Reading at Controller • Conrm that a 12-30 VDC power supply is in series with the sensor output terminals and the control
panel analog input terminals.
• Assure that sensor core mating surfaces are clean and that the core clamp is completely closed.
150A
Controller:
16 mA Output
= 150 A Load
Z201198-0F Page 4 of 4 ©2013 Veris Industries USA 800.354.8556 or +1.503.598.4564 / support@veris.com 06131
Alta Labs, E nercept, Ensp ector, Hawkeye, Trus tat, Aerospo nd, Veris, and th e Veris ‘V’ log o are tradema rks or registe red tradema rks of Veris Ind ustries, L. L.C. in the USA and /or other countri es.
Other companies’ trademarks are hereby acknowledged to belong to their respective owners.
 Loading...