

Page 1
2
2
0
φ
150
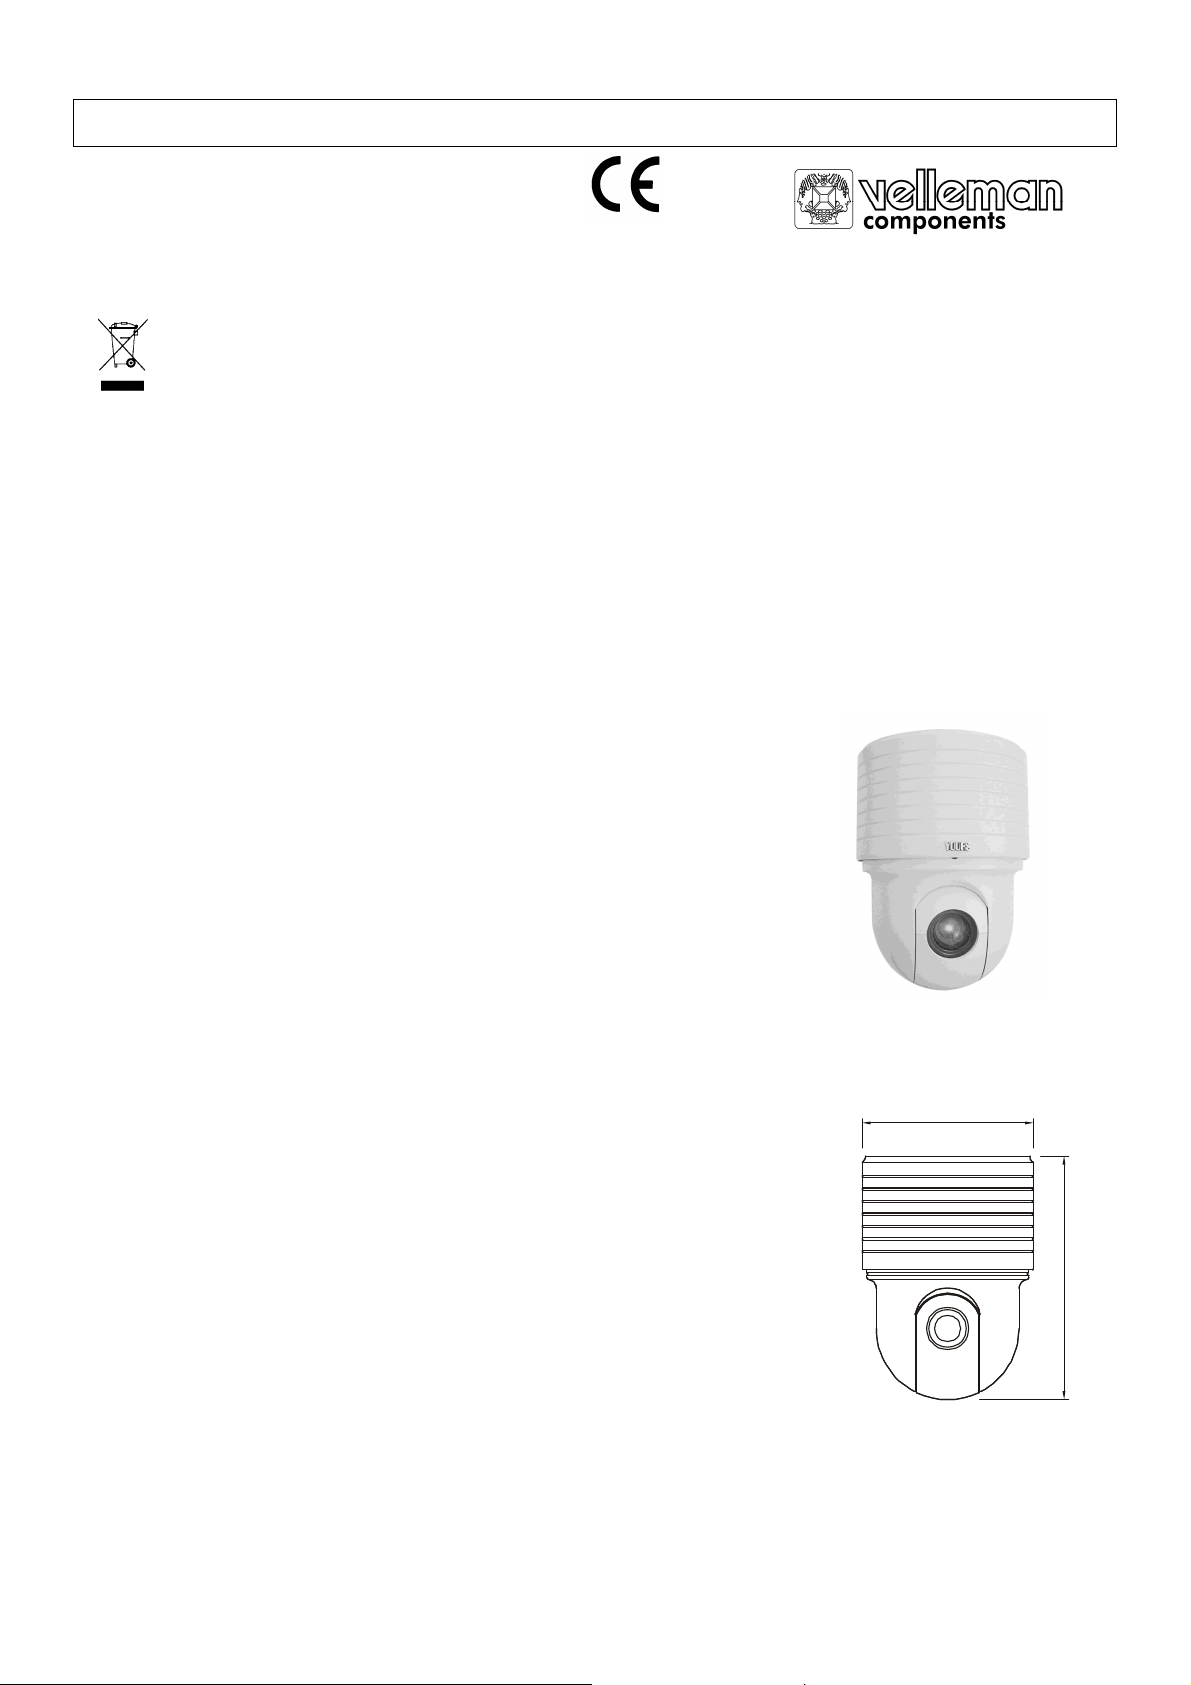
CAMCOLD2 – COLOUR DOME CAMERA – 22 x ZOOM
1. Introduction
To all residents of the European Union
Important environmental information about this product
This symbol on this unit or the package indicates that disposal of this unit after its lifecycle could harm the
environment.
Do not dispose of the unit (or batteries) as unsorted municipal waste; it should be brought to a specialized
company for recycling.
This unit should be returned to your distributor or to a local recycling service.
Respect the local environmental rules.
If in doubt, contact your local waste disposal authorities
Thank you for buying the CAMCOLD2! The CAMCOLD2 is a compact and light camera, easy to install and operate.
One dome contains: a 1/4" colour CCD camera with high light sensitivity, 22 x optical and 10 x digital zoom, auto iris
and practical pan/tilt control. Mounting brackets for wall mounting (CAMCOLD/B1 & CAMCOLD/HB) and ceiling
mounting (COMCOLD/CB) are available. The necessary wiring is pre-installed. You can control the zoom and lens with
the joystick on the CAMCOLD/CK controller keyboard.
If the device was damaged in transit, contact your dealer.
2. Features
System PAL & NTSC
Scanning system 2:1 Interlace
Sync system Internal synchronization
Lens 1/3" Sony CCD image sensor
Resolution 380 TV-lines
Min. light intensity 0.5 lux (F=1.4)
Active pixels 752 (H) x 582 (V)
Synchronisation Internal
Auto electronic shutter 1/50 – 1/10000 second
Gain control Automatic
White balance Automatic
Lens 22 x zoom (f=3.9-85.8mm / F=1.6)
auto iris
manual/auto focussing, zoom
Pan/tilt Rotating speed 4°/s ~ 32°/s
Rotating angle: pan 355° / tilt -10°~85°
Rotation range: adjustable horizontally / non adjustable
vertically
Optional Housings CAMCOLD/HB, CAMCOLD/CB
Controller keyboard CAMCOLD/CK
Colour dome camera CAMCOLD1
3. Specifications
Voltage 12V DC (not included)
Power consumption 4.2 W / 2A
S/N ratio 48dB
Video output Composite video 1.0Vp-p, 75
Ω (BNC connector)
CAMCOLD2 1 VELLEMAN
Page 2

Pan/tilt Voltage: 12V DC (not included)
Power consumption: 15W
RS-485 interface
Transfer rate of Pelco-P protocol and RS-485 protocol: 9600 bit/sec
Transfer rate of Pelco-D protocol: 2400 bit/sec
Dome size 5"
Dimensions ∅150 x 220mm
Weight 4kg
Temperature range Operating temperature 5°C ~ +50°C
Humidity 95%
4. Installation
The CAMCOLD2 can be column mounted, ceiling mounted or wall mounted. Please follow these instructions to
install the camera:
1) Choose a mounting location. Before mounting the camera make sure the installation area can hold the
weight of the brackets and the pan/tilt.
2) Fix the mounting board.
3) Fix the pan/tilt and the bracket with the screw.
4) Connect the cables as follows:
1. Power socket
2. Video signal output
3. Fuse tube
4. Power indicator light
5. Limit-stop adjust
6. Short circuit pole
7. RS485 socket
8. Address code
5) Adjust the handle as follows:
• Move the pan/tilt to the position so that it will begin to move automatically to the right.
• Press the "L" button on the back board.
• Move the pan/tilt to the position so that it will begin to move automatically to the left.
• Press the "R" button on the back board.
• Press the "PAN" button. The pan/tilt will automatically scan between the left and the right.
5) Set the protocol switcher as follows:
Fig. 1
Fig. 2
CAMCOLD2 2 VELLEMAN
Page 3

6) Set the address code as follows:
(PelcoP, Vicanyx Protocol) (Pelco-D)
ERRATA:
1. Please note that the total length of the RS485 cable between the keyboard and the cameras should be less than
1200m. Use an STP cable with a diameter of 1.5mm.
2. For video connections up to 400m you can use a 75Ω coax video cable (in ideal circumstances).
3. Place the power supply near the dome. It is recommended to use one power supply per camera.
The information in this manual is subject to change without prior notice.
Fig. 3
CAMCOLD2 – DOME KLEURENCAMERA – 22 x ZOOM
1. Inleiding
Aan alle ingezetenen van de Europese Unie
Belangrijke milieu-informatie betreffende dit product
Dit symbool op het toestel of de verpakking geeft aan dat, als het na zijn levenscyclus wordt weggeworpen,
dit toestel schade kan toebrengen aan het milieu.
Gooi dit toestel (en eventuele batterijen) niet bij het gewone huishoudelijke afval; het moet bij een
gespecialiseerd bedrijf terechtkomen voor recyclage.
U dient dit toestel naar uw verdeler of naar een lokaal recyclagepunt te brengen.
Respecteer de plaatselijke milieuwetgeving.
Heeft u vragen, contacteer dan de plaatselijke autoriteiten inzake verwijdering
Dank u voor uw aankoop! De CAMCOLD2 is een compacte en lichte camera, eenvoudig te installeren en te
bedienen. Eén koepel bevat: 1/4" kleuren CCD camera met hoge lichtgevoeligheid, 22 x optische en 10 x digitale
zoom, automatische iris en handige pan/tiltcontrole. Montagebeugels voor wandmontage (CAMCOLD/B1 &
CAMCOLD/HB) en voor plafondmontage (CAMCOLD/CB) apart verkrijgbaar. De benodigde bedrading is reeds
geïnstalleerd. De zoomfunctie en de lens worden bediend via de joystick op het CAMCOLD/CK bedieningspaneel.
Raadpleeg uw dealer als het toestel werd beschadigd tijdens het transport.
2. Kenmerken
Systeem PAL & NTSC
Scanningsysteem 2:1 Interlace
Lens 1/3" Sony CCD
.
CAMCOLD2 3 VELLEMAN
Page 4

Resolutie 380 tv-lijnen
Minimale lichtsterkte 0.5 lux (F=1.4)
Actieve pixels 752 (H) x 582 (V)
Synchronisatie Intern
Elektronische sluiter 1/50 – 1/10000 seconde
Versterkingsregeling Automatisch
Witbalans Automatisch
Lens 22 x zoom (f=3.9-85.8mm / F=1.6)
Auto iris
Manueel/automatisch focusseren, zoom
Pan/tilt Draaisnelheid 4°/s ~ 32°/s
Draaihoek: pan 355° / tilt -10°~85°
Draaibereik: horizontaal regelbaar / verticaal niet regelbaar
Opties Behuizingen CAMCOLD/HB, CAMCOLD/CB
Bedieningspaneel CAMCOLD/CK
Kleuren dome camera CAMCOLD1
3. Specificaties
Spanning 12V DC (niet meegeleverd)
Verbruik 4.2W / 2A
S/R-verhouding 48dB
Video-uitgang Composiet 1.0Vp-p, 75Ω (BNC connector)
Pan/tilt Spanning: 12V DC (niet meegeleverd)
Verbruik: 15W
RS-485 interface
Overdrachtsnelheid van Pelco-P protocol en RS-485 protocol: 9600 bit/sec
Overdrachtsnelheid van Pelco-D protocol: 2400 bit/sec
Grootte koepel 5"
Afmetingen ∅150 x 220mm
Gewicht 4kg
Temperatuurbereik Werktemperatuur 5°C ~ +50°C
Vochtigheid 95%
4. Installatie
De CAMCOLD2 kan aan het plafond of aan de muur gemonteerd worden. Installeer de camera als volgt:
1) Kies waar u de camera wilt plaatsen. Ga vóór de installatie na of de montageplaats het gewicht van de
montagebeugels en de pan/tilt kan dragen.
2) Maak de montagebeugels vast.
3) Maak de pan/tilt aan de beugel vast met een schroef.
4) Schakel de BEDRADING volgens fig. 1 op blz. 2.
1. Fitting voeding
2. Uitgang videosignaal
3. Zekering
4. AAN/Uitindicator
5. Regeling begrenzer
6. Toestand kortsluiting
7. Fitting RS485
8. Adrescode
5) Regel de scanning als volgt:
• Draai de pan/tilt zo dat de pan/tilt automatisch naar rechts scant.
• Druk op de knop "L" op het achterpaneel.
• Draai de pan/tilt zo dat de pan/tilt automatisch naar links scant.
CAMCOLD2 4 VELLEMAN
Page 5

• Druk op de knop "R" op het achterpaneel.
• Druk op de knop "PAN". De pan/tilt scant automatisch links en rechts.
6) Stel de PROTOCOL SWITCHER in volgens fig. 2 op blz. 2.
7) Stel de ADRESCODE in volgens fig. 3 op blz. 3.
ERRATA:
1. Merk op dat de totale lengte van de RS485 kabel tussen het controlepaneel en de camera niet langer mag zijn
dan 1200m. Gebruik een STP kabel met een diameter van 1.5mm.
2. U kunt een coaxiale videokabel van 75Ω gebruiken voor videoaansluitingen tot 400m (in ideale
omstandigheden).
3. Plaats de voeding zo dicht mogelijk bij de camera. Het is aanbevolen om één voeding per camera te gebruiken.
De informatie in deze handleiding kan te allen tijde worden gewijzigd zonder voorafgaande kennisgeving.
CAMCOLD2 – CAMERA COULEUR DOME – 22 x ZOOM
1. Introduction
Aux résidents de l'Union Européenne
Des informations environnementales importantes concernant ce produit
Ce symbole sur l'appareil ou l'emballage indique que, si l'appareil est jeté après sa vie, il peut nuire à
l'environnement.
Ne jetez pas cet appareil (et des piles éventuelles) parmi les déchets ménagers ; il doit arriver chez une
firme spécialisée pour recyclage.
Vous êtes tenu à porter cet appareil à votre revendeur ou un point de recyclage local.
Respectez la législation environnementale locale.
Si vous avez des questions, contactez les autorités locales pour l’élimination
Nous vous remercions de votre achat! La CAMCOLD2 est une petite caméra légère, facile à installer et à opérer. Un
dôme contient: une caméra couleur CCD 1/4" à sensibilité lumineuse élevée, 22 x zoom optique et 10 x zoom
numérique, iris automatique et réglage pan/tilt pratique. Supports pour montage au mur (CAMCOLD/B1 &
CAMCOLD/HB) et au plafond (CAMCOLD/CB) sont disponibles. Le câblage nécessaire est déjà installé.
Commandez le zoom et la lentille avec la manette du panneau de contrôle CAMCOLD/CK.
Consultez votre revendeur si l’appareil a été endommagé pendant le transport.
2. Caractéristiques
Système PAL/NTSC
Système de balayage Interlace 2:1
Objectif Capteur d’images CCD 1/3" Sony
Résolution 380 lignes TV
Intensité lumineuse minimale 0.5 lux (F=1.4)
Pixels actifs 752 (H) x 582 (V)
Synchronisation Interne
Obturateur électronique 1/50 – 1/10000 seconde
Réglage gain Automatique
Balance des blancs Automatique
CAMCOLD2 5 VELLEMAN
Page 6

Objectif 22 x zoom (f=3.9-85.8mm / F=1.6)
Iris automatique
Focalisation manuelle/automatique, zoom
Pan/tilt Vitesse de rotation 4°/s ~ 32°/s
Angle de rotation: pan 355° / tilt -10°~85°
Plage de rotation: réglable sur l’axe horizontale / fixe sur l’axe verticale
Options Boîtiers CAMCOLD/HB, CAMCOLD/CK
Panneau de commande CAMCOLD/CK
Caméra dôme couleur CAMCOLD1
3. Spécifications
Tension 12V CC (non fournie)
Consommation 4.2W / 2A
Rapport S/B 48dB
Sortie vidéo Composite 1.0Vp-p, 75Ω (connexion BNC)
Pan/tilt Tension 12V CC (non fournie)
Consommation: 15W
Interface RS-485
Vitesse de transfert du protocole Pelco-P et du protocole RS/485: 9600
bit/sec
Vitesse de transfert du protocole Pelco-D: 2400 bit/sec
Diamètre du dôme 5"
Dimensions ∅150 x 220mm
Poids 4kg
Plage de température Température de travail 5°C ~ +50°C
Humidité 95%
4. Installation
La CAMCOLD2 peut être montée au plafond comme au mur. Suivez les instructions pour installer la caméra:
1) Choisissez un emplacement de montage. Avant de monter la caméra, assurez-vous que l’emplacement de
montage soit capable de porter le poids des supports de montage et la caméra.
2) Fixez la plaquette de montage.
3) Fixez le pan/tilt au support avec une vis.
4) Connectez les CABLES selon fig. 1 à la page 2.
1. Entrée d’alimentation
2. Sortie signal vidéo
3. Fusible
4. Témoin d’alimentation
5. Réglage limit-stop
6. Court-circuit
7. Entrée RS485
8. Code adresse
5) Réglez le balayage comme suit:
• Tournez le pan/tilt vers la position où il commence à balayer automatiquement vers la droite.
• Poussez sur le bouton "L" sur le panneau arrière.
• Tournez le pan/tilt vers la position où il commence à balayer automatiquement vers la gauche.
• Poussez sur le bouton "R" sur le panneau arrière.
• Poussez sur le bouton "PAN". La caméra balaye automatiquement de gauche à droite.
CAMCOLD2 6 VELLEMAN
Page 7

6) Réglez le PROTOCOLE DU SWITCHER selon fig. 2 à la page 2.
7) Réglez le CODE ADRESSE selon fig. 3 à la page 3.
ERRATA:
1. Remarquez que la longueur totale du câblage RS485 entre le panneau de contrôle et la caméra ne peut
dépasser les 1200m. Utilisez un câble STP avec un diamètre de 1.5mm
2. Vous pouvez utiliser un câble vidéo coaxial de 75Ω pour des connexions allant jusqu’à 400m (dans des
circonstances idéales).
3. Placez l’alimentation le plus près possible de la caméra. Il est conseillé de n’utiliser qu’uns seule alimentation
pour chaque caméra.
Toutes les informations présentées dans ce manuel peuvent être modifiées sans notification préalable.
CAMCOLD2 – CÁMARA DOMO COLOR – 22 x ZOOM
1. Introducción
A los ciudadanos de la Unión Europea
Importantes informaciones sobre el medio ambiente concerniente a este producto
Este símbolo en este aparato o el embalaje indica que, si tira las muestras inservibles, podrían dañar el
medio ambiente.
No tire este aparato (ni las pilas, si las hubiera) en la basura doméstica; debe ir a una empresa especializada
en reciclaje. Devuelva este aparato a su distribuidor o a la unidad de reciclaje local.
Respete las leyes locales en relación con el medio ambiente.
Si tiene dudas, contacte con las autoridades locales para residuos.
¡Gracias por haber comprado la CAMCOLD2! Es una cámara compacta y ligera, fácil de instalar y manejar. Una
cámara domo incluye: una cámara color CCD de 1/4" con alta sensibilidad, 22 x zoom óptico y 10 x zoom digital, iris
automático y ajuste pan/tilt práctico. Soportes para el montaje mural (CAMCOLD/B1 & CAMCOLD/HB) y en el techo
(CAMCOLD/CB) están disponibles. El cableado necesario ya está instalado. Controle el zoom y la óptica con la
palanca de control del panel de control CAMCOLD/CK.
Contacte con su distribuidor si el aparato ha sido dañado durante el transporte.
2. Características
Sistema PAL/NTSC
Sistema de exploración 2:1 entrelazado
Óptica Sensor de imágenes CCD Sony de 1/3"
Resolución 380 líneas TV
Intensidad luminosa mín. 0.5 lux (F=1.4)
Píxeles activos 752 (H) x 582 (V)
Sincronización Interna
Shutter electrónico 1/50 – 1/10000 segundo
Ajuste de la ganancia Automático
Balance de blancos Automático
Óptica 22 x zoom (f=3.9-85.8mm / F=1.6)
Iris automático
Foco manual/automático, zoom
CAMCOLD2 7 VELLEMAN
Page 8

Pan/tilt Velocidad de rotación 4°/s ~ 32°/s
Ángulo de rotación: pan 355° / tilt -10°~85°
Rango de rotación: horizontal: ajustable / vertical: fijo
Opciones Carcasas CAMCOLD/HB, CAMCOLD/CK
Panel de control CAMCOLD/CK
Cámara domo color CAMCOLD1
3. Especificaciones
Tensión 12Vcc (no incl.)
Consumo 4.2W / 2A
Relación señal/ruido 48dB
Salida de vídeo Compuesto 1.0Vp-p, 75Ω (conexión BNC)
Pan/tilt Tensión 12V CC (no incl.)
Consumo: 15W
Interface RS-485
Velocidad de transmisión del protocolo Pelco-P y el protocolo RS/485: 9600
bit/seg.
Velocidad de transmisión del protocolo Pelco-D: 2400 bit/seg.
Diámetro del domo 5"
Dimensiones ∅150 x 220mm
Peso 4kg
Rango de temperatura Temperatura de funcionamiento 5°C ~ +50°C
Humedad 95%
4. Instalación
Es posible montar la CAMCOLD2 tanto en el techo como en la pared. Siga las instrucciones para instalar la cámara:
1) Seleccione un lugar de montaje. Antes de montar la cámara, asegúrese de que el lugar de montaje esté
capaz de soportar el peso de los soportes de montaje y la cámara.
2) Fije la placa de montaje.
3) Fije el pan/tilt con un tornillo al soporte.
4) Conecte los CABLES (véase fig. 1 en la página 2).
1. Entrada de alimentación
2. Salida de la señal de vídeo
3. Fusible
4. Piloto para la alimentación
5. Ajuste del tope limitador
6. Cortocircuito
7. Entrada RS485
8. Código de la dirección
5) Ajuste la exploración de la siguiente manera:
• Gire el pan/tilt hacia la posición donde empiece a explorar automáticamente hacia la derecha.
• Pulse el botón "L" del panel trasero.
• Gire el pan/tilt hacia la posición donde empiece a explorar automáticamente hacia la izquierda.
• Pulse el botón "R" del panel trasero.
• Pulse el botón "PAN". La cámara explora automáticamente de izquierda a derecha.
6) Ajuste el PROTOCOLO DEL SWITCHER (véase fig. 2 en la página 2).
7) Ajuste el CÓDIGO DE DIRECCIÓN (véase fig. 3 en la página 3).
CAMCOLD2 8 VELLEMAN
Page 9

ERRATA:
1. Cabe señalar que la longitud total del cable RS485 entre el panel de control y la cámara no pueda sobrepasar
1200m. Utilice un cable STP con un diámetro de 1.5mm
2. Puede utilizar un cable de vídeo coaxial de 75Ω para conexiones de vídeo de hasta 400m (en condiciones
ideales).
3. Coloque la alimentación lo más cerca posible de la cámara. Utilice sólo una alimentación por cada cámara.
Se pueden modificar las especificaciones y el contenido de este manual sin previo aviso.
CAMCOLD2 – DOME-FARBKAMERA– 22 x ZOOM
1. Einführung
An alle Einwohner der Europäischen Union
Wichtige Umweltinformationen über dieses Produkt
Dieses Symbol auf dem Produkt oder der Verpackung zeigt an, dass die Entsorgung dieses Produktes nach
seinem Lebenszyklus der Umwelt Schaden zufügen kann.
Entsorgen Sie die Einheit (oder die verwendeten Batterien) nicht als unsortiertes Hausmüll; die Einheit oder
die verwendeten Batterien müssen von einer spezialisierten Firma zwecks Recycling entsorgt werden.
Diese Einheit muss an den Händler oder ein örtliches Recycling-Unternehmen retourniert werden.
Respektieren Sie die örtlichen Umweltvorschriften.
Falls Zweifel bestehen, wenden Sie sich für Entsorgungsrichtlinien an Ihre örtliche Behörde.
Danke für Ihren Ankauf! Die CAMCOLD2 ist eine kompakte und leichte Kamera, die einfach zu installieren und zu
bedienen ist. Eine Dome-Farbkamera enthält: 1/4" CCD-Farbkamera mit hoher Lichtempfindlichkeit, 22 x optischem
und 10 x digitalem Zoom, automatischer Blende und praktischer Schwenk-/Neige Bedienung. Montagebügel für
Wandmontage (CAMCOLD/B1 & CAMCOLD/HB) und Deckenmontage (CAMCOLD/CB) sind separat erhältlich. Die
erforderliche Verkabelung ist schon vorinstalliert. Die Zoomfunktion und das Objektiv werden über den Joystick auf
dem Bedienfeld CAMCOLD/CK gesteuert.
Überprüfen Sie, ob Transportschäden vorliegen. Sollte dies der Fall sein, verwenden Sie das Gerät nicht und
wenden Sie sich an Ihren Händler.
2. Eigenschaften
System PAL & NTSC
Abtastsystem 2:1' "interlaced'
Objektiv 1/3" Sony CCD
Auflösung 380 TV-Zeilen
Mindestbeleuchtung 0.5 lux (F=1.4)
Aktive Pixel 752 (H) x 582 (V)
Synchronisierung Intern
elektronischer Verschluss 1/50 – 1/10000 Sekunden
Verstärkungsregelung Automatisch
Weißabgleich Automatisch
Objektiv 22 x Zoom (f=3.9-85.8mm / F=1.6)
automatische Blende
Manuelle/automatische Fokussierung, Zoom
Schwenk-/Neigebewegung Drehgeschwindigkeit 4°/s ~ 32°/s
Drehwinkel: Schwenk 355° / Neige -10°~85°
Drehbereich: horizontal regelbar/ vertikal nicht regelbar
CAMCOLD2 9 VELLEMAN
Page 10

Optionen Gehäuse CAMCOLD/HB, CAMCOLD/CB
Bedienfeld CAMCOLD/CK
Dome-Farbkamera CAMCOLD1
3. Technische Daten
Spannung 12V DC (nicht mitgeliefert)
Stromverbrauch 4.2W / 2A
Signal/Rauschabstand 48dB
Video-Ausgang 'Composite' 1.0Vp-p, 75Ω (BNC-Anschluss)
Schwenk-/Neigebewegung Spannung: 12V DC (nicht mitgeliefert)
Verbrauch: 15W
RS-485-Schnittstelle
Übertragungsgeschwindigkeit des Pelco-P Protokolls und des RS-485Protokolls: 9600 Bit/Sek.
Übertragungsgeschwindigkeit des Pelco –D-Protokolls: 2400 Bit/Sek.
Größe Dome 5"
Abmessungen ∅150 x 220mm
Gewicht 4kg
Temperaturbereich Betriebstemperatur 5°C ~ +50°C
Feuchtigkeitsgrad 95%
4. Installation
Die CAMCOLD2 kann an der Decke oder an der Wand montiert werden. Machen Sie Folgendes:
1) Wählen Sie einen Montageort für die Kamera. Überprüfen Sie vor der Montage, ob der Montageort das
Gewicht der Montagebügel und des Schwenk-/Neigemotors tragen kann.
2) Befestigen Sie die Montagebügel.
3) Befestigen Sie den Schwenk-/Neigemotor am Bügel mit einer Schraube.
4) Stellen Sie die VERKABELUNG gemäß Abb. 1 auf Seite 2 her.
1. Anschluss Stromversorgung
2. Ausgang Videosignal
3. Sicherung
4. EIN/AUS-Anzeige
5. Regelung Anschlag
6. Zustand Kurzschluss
7. Anschluss RS485
8. Adresscode
5) Regeln Sie die Abtastung wie folgt:
• Drehen Sie den Schwenk-/Neige-Motor so, dass er automatisch nach rechts bewegt.
• Drücken Sie "L" auf der Rückplatte.
• Drehen Sie den Schwenk-/Neige-Motor so, dass er automatisch nach links bewegt.
• Drücken Sie "R" auf der Rückplatte.
• Drücken Sie die Taste "PAN". Der Schwenk-/Neigemotor dreht automatisch nach links und rechts.
6) Stellen Sie den PROTOCOL SWITCHER gemäß Abb. 2 auf Seite 2 ein.
7) Stellen Sie den ADRESSCODE gemäß Abb. Auf Seite 3 ein.
CAMCOLD2 10 VELLEMAN
Page 11

ERRATA:
1. Bitte beachten Sie, dass die Gesamtlänge des RS485- Kabels zwischen Tastatur und Kameras weniger als
1200m betragen muss. Verwenden Sie ein STP-Kabel mit einem Durchmesser von 1.5mm.
2. Bitte beachten Sie, dass Sie für Videoanschlüsse ein 75 Ω Koax-Videokabel verwenden können (unter idealen
Umständen).
3. Bitte beachten Sie, dass Sie die Stromversorgung möglichst dicht bei der Kamera installieren. Es ist
empfehlenswert, nur eine Stromversorgungsquelle pro Kamera zu verwenden.
Alle Änderungen vorbehalten.
CAMCOLD2 11 VELLEMAN
 Loading...