

Veho VMS-001 User Manual

User instructions

z Introduction
Thank you for your choice of our product - it is a high-tech while easy
to use Digital Microscope. With this unit you will see a unique and
“bigger” world.
It’s easy to zoom in on stamps, coins, paper currency, plants, insects,
rocks and minerals, and so much more.
We recommend reading this manual first to get the best out of this unit.
Computer System Requirements:
Windows 2000/XP/VISTA/WIN7&Mac
P4 1.8 or above
RAM: 256M
Video Memory: 32M
USB port: 2.0
CD-ROM Drive
z Technical Specifications
Image sensor 2 Mega Pixels (interpolated to 5M)
2560x2048 (5M), 2000x1600, 1600x1280 (2M),
Still capture resolution
Video capture resolution
Focus Range Manual focus from 10mm to 500mm
Frame Rate Max 30f/s under 600 Lus Brightness
Magnification Ratio 20x to 200x
Video format AVI
Photo format JPEG or BMP
Light source 8 LED (adjustable by control wheel)
PC interface USB2.0
Power source 5V DC from USB port
Operation system Windows2000/XP/Vista/Win7/ Mac
OSD language English, German, Spanish, Korean, French, Russian
1280x1024, 1024x960, 1024x768, 800x600,
640x480, 352x288, 320x240, 160x 12 0
2560x2048 (5M), 2000x1600, 1600x1280 (2M),
1280x1024, 1024x960, 1024x768, 800x600,
640x480, 352x288, 320x240, 160x 12 0
Bundle software MicroCapture with measurement & calibration function
Size 110mm (L) x 33mm (R)
z Install the software
Connecting the Microscope to Computer!! It is must to connect the
Microscope to Computer before software installation.
Insert the driver CD into CD-ROM Drive and this will automatically
display the following interface:
1. Install the driver by clicking install Microscope Driver
The Install Shield Wizard will walk you through the whole process.
Click on the “Next” button to continue.
2. Install the MicroCapture software
Click MicroCapture sof tware and then reboot the system when asked.

3. You can also browse the User’s manual in PDF format and the CD
contents by choosing the corresponding menus.
A Quick Look at the Digital Microscope
1/ Remove protective lens cap from microscope before use.
2/ Use the FOCUS WHEEL to adjust focus on the subject.
3/ The SNAPSHOT BUTTON enables user to capture snapshots by
hardware; photo capture by software is discussed later on in this manual.
4/ Light control wheel enables you to adjust the LED light brightness

z Start Microscope
Connect your Microscope to your PC USB port, start the software by
clicking the
icon generated on the desktop after installation and
you will see the following screen pop up.
1. When the Microscope is disconnected from your PC USB port,
the screen will display “No Device detected, please connect your
Microscope directly to your PC USB port.”
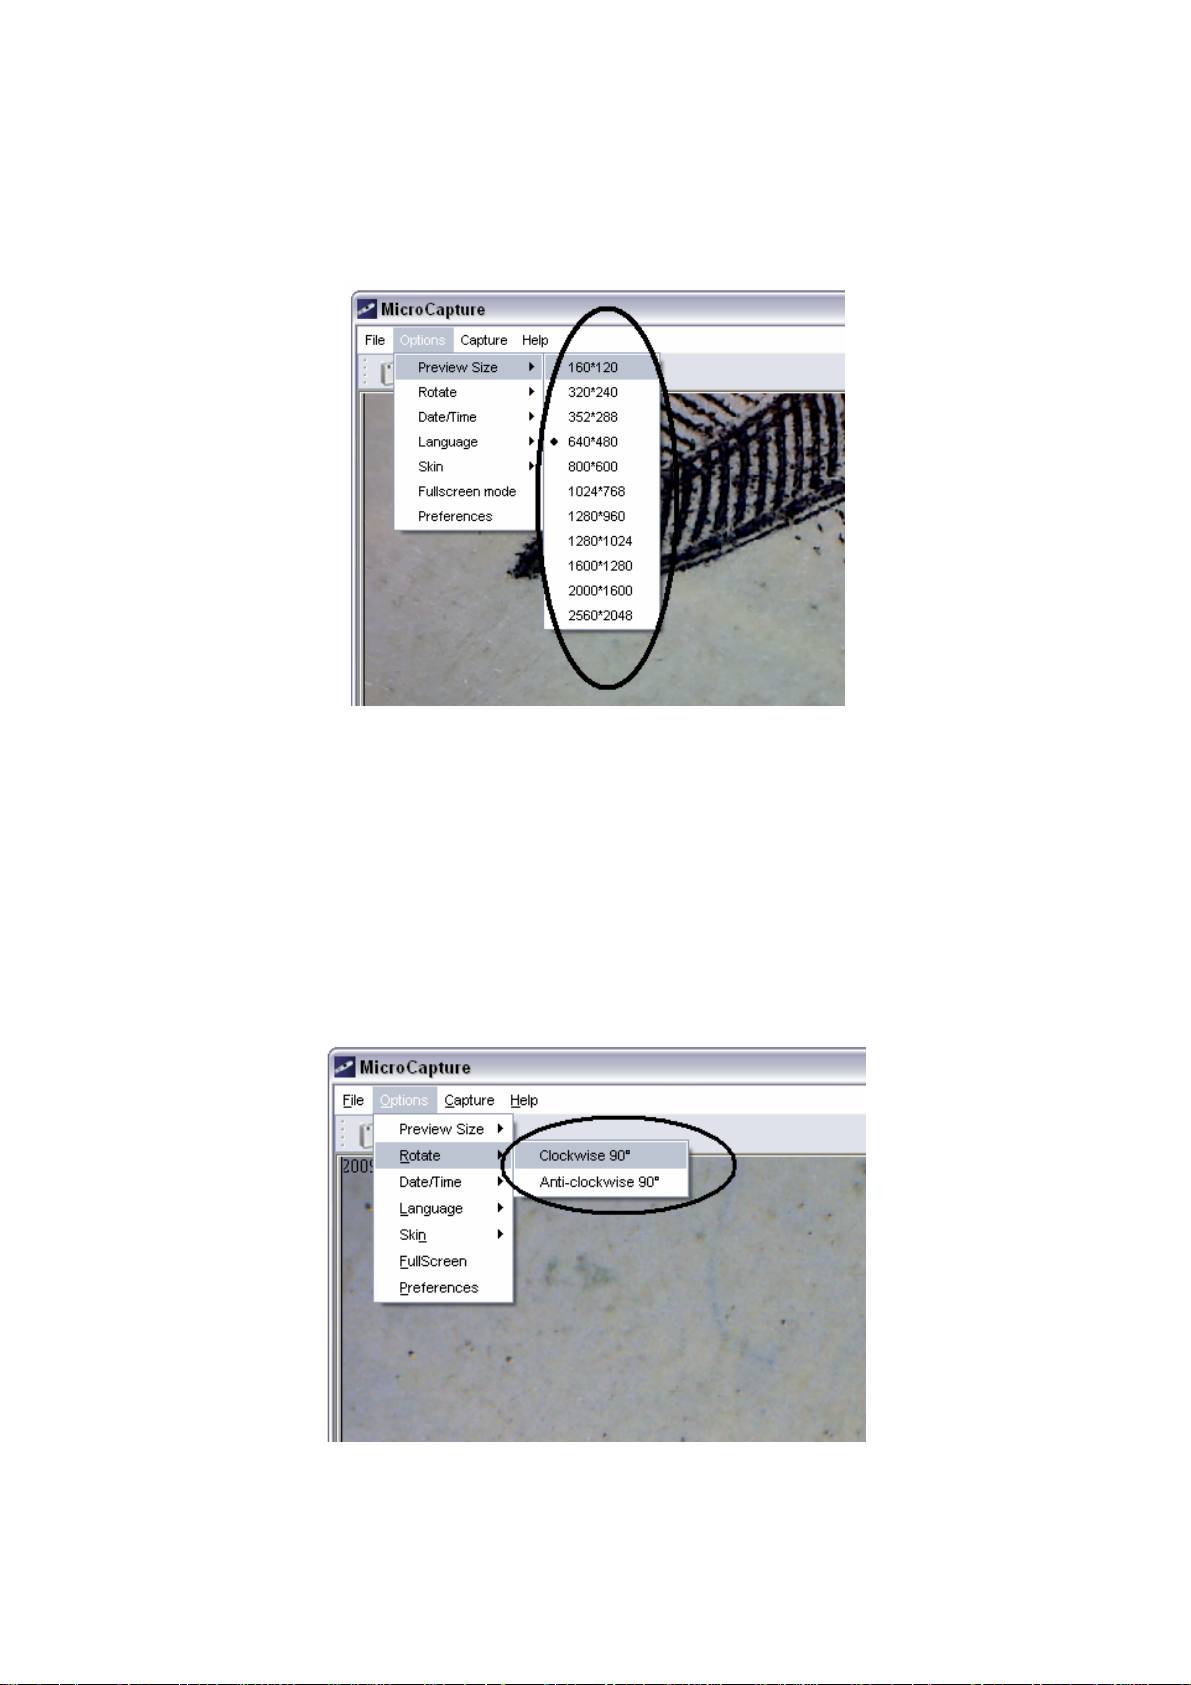
z Change preview size
You can change the preview size by the following operation:
Note: The size of the photo taken is equivalent to the preview size
selected in the Options menu/Preview Size.
z Rotate the output image angle
You can rotate the output image clockwise and counter-clockwise.

z Date/Time
You can display or turn off Date/Time by the following operation:
z Language
You can choose On Screen Display language by the following
operation:

z Skin
You can choose to change the appearance of your MicroCapture
screen by the following operation:
z Full screen
1. You can enter & quit full screen mode by:
1) Double-clicking the preview area.
2) Clicking the full screen icon:
3) Choose Full screen mode from menu.
When in full screen mode, click on the Full screen icon to turn off
and restore toolbars and menus.
 Loading...