

Page 1
SDE Closed Head
Battery Powered Crimp
Tool Kit 1213890-[ ]
Customer Manual
409-10065
13 APR 06 Rev B
SAFETY PRECAUTIONS
READ THIS FIRST !
1. INTRODUCTION
2. RECEIVING/INSPECTION
3. INSTALLATION/REMOVAL OF SDE CRIMP DIES
3.1. Installation of SDE Crimp Dies 5.......................................
3.2. Removal of Shouldered and PinnedDies 7...............................
4. OPERATION
5. PREVENTIVE MAINTENANCE
5.1. Daily Maintenance 8...............................................
5.2. Y early Maintenance 8..............................................
6. TROUBLESHOOTING
7. RETURN
2...........................
5....................................................
5.............................................
5............................
7.......................................................
8.........................................
8................................................
8..........................................................
8. REVISION SUMMARY
----
Safeguards are designed into this application equipment to protect operators
and maintenance personnel from most hazards during equipment operation.
However, certain safety precautions must be taken by the operator and repair
personnel to avoid personal injury, as well as damage to the equipment. For best
results, application equipment must be operated in a dry, dust–free environment.
Do not operate equipment in a gaseous or hazardous environment.
Carefully observe the following safety precautions before and during operation of
the equipment:
D
ALWAYS wear appropriate ear protection.
D
ALWAYS wear appropriate eye protection.
D
ALWAYS wear approved eye protection when operating powered equipment.
D
ALWAYS keep guard(s) in place during normal operation.
D
NEVER wear loose clothing or jewelry that may catch in moving parts of the
application equipment.
D
NEVER insert hands into installed application equipment.
D
NEVER alter, modify, or misuse the application equipment.
8................................................
E
2006 TycoElectronicsCorporation,Harrisburg,PA
All International Rights Reserved
Tyco is a trademark. *Trademark
Other products, logos, and company names used are the property of their respective owners.
This controlled document is subject to change. TOOLING ASSISTANCE CENTER 1-800-722-1111
PRODUCT INFORMATION1-800-522-6752
For latest revision or Regional Customer Service, visit
our website at
www.tycoelectronics.com
1
of 8
LOC B
Page 2
SDE Closed Head Battery Powered Crimp Tool Kit 1213890-[ ]
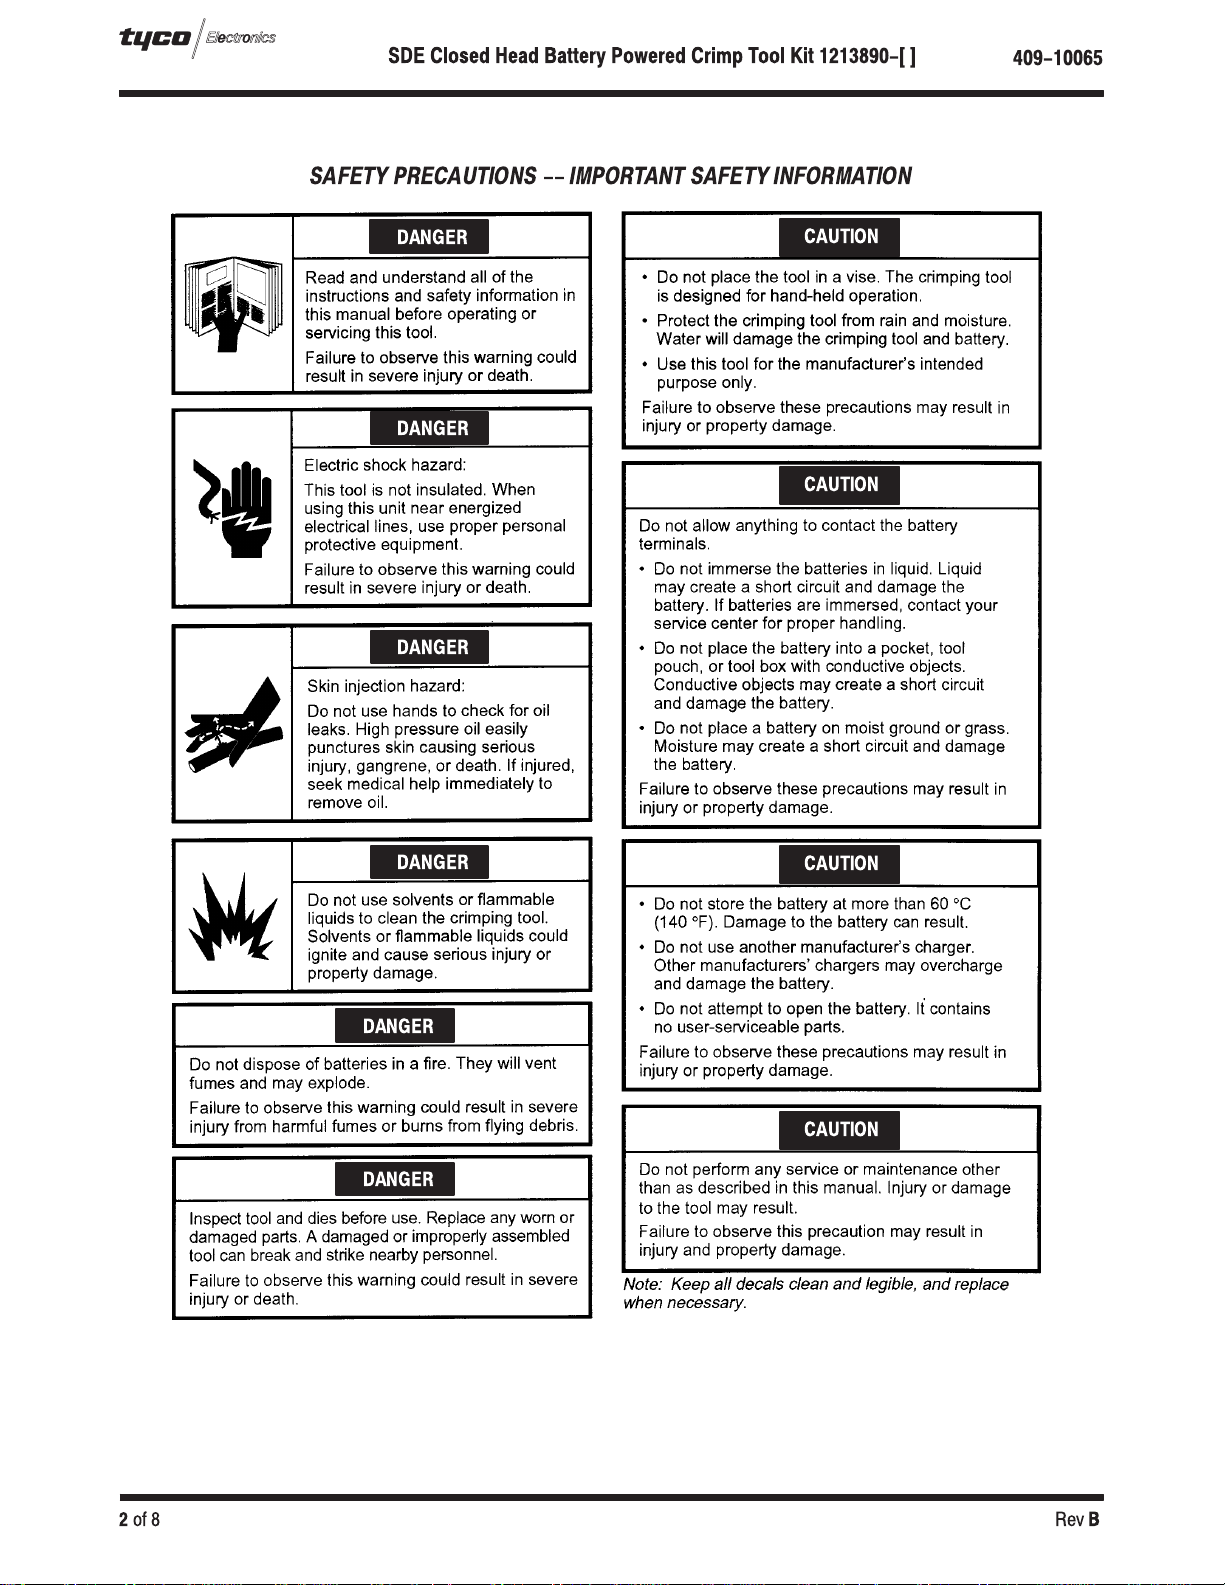
SAFETY PRECAUTIONS -- IMPORTANT SAFETY INFORMATION
409-10065
DANGER
DANGER
DANGER
CAUTION
CAUTION
DANGER
DANGER
DANGER
CAUTION
CAUTION
of 8
Rev
B2
Page 3
SDE Closed Head Battery Powered Crimp Tool Kit 1213890-[ ]
409-10065
TOOLING ASSISTANCE CENTER
CALL TOLL FREE 1-800-722-1111 (CONTINENTAL UNITED STATES AND PUERTO RICO ONLY)
The Tooling Assistance Center offers a means of providing technical assistance when required.
In addition, Field Service Engineers are available to provide assistance in the adjustment or repair of the
application equipment when problems arise which your maintenance personnel are unable to correct.
INFORMATIONREQUIRED WHEN CONTACTING THE TOOLING ASSISTANCE CENTER
When calling the Tooling Assistance Center regarding service to equipment, it is suggested that a person
familiar with the device be present with a copy of the manual (and drawings) to receive instructions. Many
difficulties can be avoided in this manner.
When calling the Tooling Assistance Center, be ready with the following information:
1. Customer name
2. Customer address
3. Person to contact (name, title, telephone number, and extension)
4. Person calling
5. Equipment number (and serial number if applicable)
6. Product part number (and serial number if applicable)
7. Urgency of request
8. Nature of problem
9. Description of inoperative component(s)
10. Additional information/comments that may be helpful
Rev
B 3
of 8
Page 4

SDE Crimp Die
Location
SDE Closed Head Battery Powered Crimp Tool Kit 1213890-[ ]
Release Switch
(1213890-1 and
-2 Only)
409-10065
Battery
Lock
Battery Powered
Crimp Tool
Battery
Cartridge
1725839-1
SDE Closed Head
Adapter Assembly
CRIMPING TOOL (with Battery Installed)
Length 349 mm [13 3/4 In.]
Width 60 mm [2 3/8 In.]
Depth 80 mm [3 1/8 In.]
Mass/Weight (w/Battery) 1.5 kg [3.4 lb.]
Sound Level 75 dBA at 1 Meter
Vibration < 2.5 m/s2
Hydraulic Oil Shell TellusT15
CRIMPING CAPACITIES
Maximum Crimping Force 15.6 kN [1.75 Tons]
Average Crimping Time 2 Seconds
Average Crimps Per Charge Approximately 150
BATTERY
Charging Voltage 9.6 V
Charging Time 40 Min
Figure 1
of 8
Rev
B4
Page 5

SDE Closed Head Battery Powered Crimp Tool Kit 1213890-[ ]
409-10065
1. INTRODUCTION
SDE Closed Head Battery Powered Crimp Tool Kit 1213890–[ ] consists of the SDE Battery Powered Crimp
Tool (with the SDE Closed Head Assembly installed), as well as two rechargeable battery cartridges
(1725839–1) to power the tool. See Figure 1. Kits 1213890–1 and –3 include a 110V battery charger
(1725840–1); Kits 1213890–2 and –4 include a 220V battery charger (1725840–2). Kits 1213890–1 and –2
have a release switch to retract the ram. Kits 1213890–3 and –4 do not have a release switch. The SDE
Closed Head Battery Powered Crimp Tool is designed to accept interchangeable die assemblies used in
PRO–CRIMPER hand tools for crimping various types of connectors.
2. RECEIVING/INSPECTION
SDE Closed Head Battery Powered Crimp Tool Kit 1213890–[ ] is thoroughly inspected during and after
assembly. Prior to packaging and shipping a final series of tests and inspections is made to ensure proper
functioning of the tool. The following inspection should be performed as a safeguard against potential problems
generated in transit.
1. In a well–lighted area, carefully uncrate the tool and inspect each component as it is removed from
the crate.
2. Thoroughly inspect each component for evidence of damage that may have occurred in transit. If any
of the components are damaged, file a claim against the carrier and notify Tyco Electronics immediately.
3. Keep this manual and all drawings and product samples with the tool for the benefit of operation and
maintenance personnel.
The crimp tool should be inspected at regularly scheduled intervals, depending on care, degree of operator
skill, the type and size of product being crimped, and environmental conditions.
3. INSTALLATION/REMOVAL OF SDE CRIMP DIES
CAUTION
CAUTION
SDE Closed Head Battery Powered Crimp Tool 1213890–[ ] comes with the crimp head already installed on the
battery–powered hand tool. The only installation required is the installation of the SDE dies.
DANGER
Do not operate the tool without the SDE Crimp Head Installed. Damage to the ram or seals can result.
Do not operate the tool without the SDE dies. Damage to the crimp head can result.
To avoid personal injury, be sure to exercise extreme caution when handling the crimp tool. Avoid accidentally
depressing the trigger control when installing or removing crimp dies.
3.1. Installation of SDE Crimp Dies
CAUTION
NOTE
A. Installation of Shouldered Dies
These instructions are specific to the use of Tyco Electronics SDE Crimp Dies. Be sure to use ONLY Tyco Electronics
Crimp Dies.
The SDE Battery Operated Crimp Toolcannot be used to crimp parallel splices.
(Figure 2 )
1. Remove the two die retaining screws from the crimp head.
2. Remove the ram plate from the moving jaw.
3. Place the upper die in the upper portion of the tool head so that the largest indenter is on the right.
4. Insert the die retaining screw through the upper jaw and through the die. Tighten the screw
enough
5. Place the lower die in the moving jaw of the crimp head so that the largest anvil is on the right.
6. Place the ram plate on the moving jaw. The chamfers on the corners of the ram plate should be
located adjacent to the die set.
7. Insert the die retaining screw through the ram plate; die set, and the moving jaw. Tighten the screw
just enough
Rev
B 5
to hold the die in place. Do
to hold the die in place. Do
NOT
tighten the screw completely at this time. See Figure 2.
NOT
tighten the screw completely at this time.
just
of 8
Page 6

SDE Closed Head Battery Powered Crimp Tool Kit 1213890-[ ]
8. Pulse the trigger to slowly close the crimp head, making sure the anvils and indenters are properly
aligned.
9. When the anvils and indenters are aligned, tighten the retaining screws.
Lower Die Retaining Screw
Upper Die
Retaining
Screw
Upper SDE Die
Machine Screw
Ram Plate
Chamfer on
Ram Plate
Lower SDE Die
409-10065
Moving Jaw
Upper Jaw
Figure 2
B. Installation of Pinned Dies
1. Remove the two die retaining screws from the crimp head.
NOTE
Be sure to keep the die retaining screws. Although they will not be required to install pinned dies, you may need them
for future use.
2. Remove the ram plate from the moving jaw.
3. Install the anvil die into the moving jaw of the crimp head. The die assembly should be oriented so
that the chamfers are positioned to the left of the head assembly, and the die markings are facing
outward.
4. Place the ram plate on the moving jaw. The chamfers on the corner of the ram plate should be
located adjacent to the die set.
5. Insert two die retaining pins and the short die retaining screw into the ram plate, through the anvil die,
and moving jaw. Tighten the screw just enough to hold the die in place. Do
screw at this time.
6. Install the crimper die into the upper jaw of the crimp head. The die should be oriented so that the
chamfers are positioned to the left of the head assembly and the die markings are facing outward.
(Figure 3)
NOT
completely tighten the
7. Insert two die retaining pins and the long die retaining screw into the upper jaw and through the
crimper die. Tighten the screw just enough to hold the die in place.
8. Check the die alignment by pulsing the trigger to slowly close the head, making sure the anvil and
indenter are properly aligned.
9. When the dies are aligned, fully tighten the die retaining screws.
10. Install the locator assembly onto the long retaining screw and secure it with the appropriate hex nut.
of 8
Rev
B6
Page 7

SDE Closed Head Battery Powered Crimp Tool Kit 1213890-[ ]
409-10065
Long Die
Retaining
Screw
Locator
Assembly
Pins
Short Die
Retaining Screw
Crimper Die
Upper Jaw
Nut Attaches to
End of Long Die
Retaining Screw
Machine
Screw
Chamfer on
Ram Plate
Anvil Die
Ram Plate
Moving Jaw
Figure 3
3.2. Removal of Shouldered and Pinned Dies
DANGER
To remove dies from the crimp head, remove the die retaining screws, die retaining pins, ram plate, and slide
the dies out of the crimp head.
To avoid personal injury, do not accidentally depress the trigger while removing dies.
4. OPERA TION
The following procedure provides only general information concerning crimping. Refer to the instructions
packaged with the dies for detailed information, including wire stripping dimensions and instructions for
positioning terminals and splices in the dies.
Operation of SDE Battery Powered Crimp Tool 1213890–[ ] consists of:
DANGER
To avoid personal injury, keep fingers clear of the crimping area.
1. Insert the terminal into the dies.
2. Depress the trigger to advance the moving jaw in order to hold the terminal in place. Do NOT deform
the terminal body.
3. Place a pre–stripped wire in the barrel of the terminal.
4. Hold the trigger down to complete the crimp. The crimp tool returns automatically to the first position
of its’ cycle when the crimp is complete.
NOTE
CAUTION
Rev
B 7
If it is necessary to retract the ram before a crimping cycle is completed, push the release switch. Pushing the release
switch will result in the complete retraction of the ram. Only kits 1213890-1 and -2 have a release switch.
This tool is not designed for continuous operation. After 100 cycles, allow the crimp tool to cool for 15 minutes.
of 8
Page 8

SDE Closed Head Battery Powered Crimp Tool Kit 1213890-[ ]
409-10065
5. PREVENTIVE MAINTENANCE
5.1. Daily Maintenance
Perform the following maintenance on a daily basis:
1. Inspect the dies for wear or damage such as cracks, gouges, or chips.
2. Inspect the tool for damage or leaks. If damage is detected, return the tool to Tyco Electronics for
repair.
3. Clean the tool, removing accumulations of dirt and grease on the head, particularly in areas where
dies are installed and terminals are crimped. Wipe the entire tool frequently with a clean, lint–free cloth.
5.2. Yearly Maintenance
Once a year, or every 10,000 cycles (whichever comes first), the SDE Closed Head Battery Powered Crimp
Tool should be returned to Tyco Electronics for inspection.
6. TROUBLESHOOTING
Prior to beginning troubleshooting procedures, be sure the battery is operational.
1. Be sure that the battery is charged. Recheck the battery after several minutes to ensure that the
battery is holding its’ charge.
2. Use a nonflammable contact cleaner or pencil eraser to clean the the electrical contacts on the
battery and crimp tool.
3. Reinstall the battery and check the crimp tool again.
PROBLEM PROBABLE CAUSE REMEDY
Tool is inoperative. Crimp tool battery contacts damaged. Reform the contacts.
Dies stop during operation.
Crimp tool loses oil. Damaged internal seal. Return tool to Tyco Electronics.
(Figure 4)
Dirt, contaminants, etc, in ram area of tool. Clean the tool.
Tool components are worn or damaged. Return tool to Tyco Electronics.
Oil level is low. Return tool to Tyco Electronics.
Pull the trigger and hold the retract button
Air in the hydraulic system.
Figure 4
simultaneously. Hold for approximately 10
seconds.
7. RETURN
Order replacement parts through your Tyco Electronics Representative, or call 1.800.526.5142; or send a
facsimile of your purchase order to 1.717.986.7605; or write to:
CUSTOMER SERVICE (38–35)
TYCO ELECTRONICS CORPORA TION
P.O. BOX 3608
HARRISBURG, P A 17105–3608
8. REVISION SUMMARY
S
Updated document to corporate requirements
S
Added new part number to Figure 1
S
Added new text to Sections 1 and 4
of8
Rev
B8
 Loading...