

Page 1
Triton Data Collection System
QUICK START GUIDE - PROCTOR
Plug in the receiver.
Open the Triton Proctor Application and login.
Locate the desired Schedule, select the Schedule and click
The Exam Room is displayed.
Click Open. The Participants may now log in on the ResponseCard.
See Open on page 1 for additional information.
Click Start to start the exam.
See Start on page 3 for additional information.
1
Click Stop to stop the exam.
See Stop on page 3 for additional information.
Click Save to save the exam session results.
Click Exit to leave the Exam Room.
http://www.tritondatacollectionsystem.com/triton-support
Page 2
Triton Data Collection System
Open
I clicked Open. Now what do I do?
Clicking Open allows the Participants to login with their ResponseCards.
Instructions for Participants to login...
1 Wake up your ResponseCards by pressing the center ENTER button.
2 You will now see a screen that reads YourID.
3 Enter your participant ID (or anonymous ID if it is an anonymous exam) and press OK.
4 When you see your name, press OK.
5 Now, you will see the exam name. When you see this, press OK.
6 Your screen should now read Wait to start.
What if I want to add time to my Answer Documents?
Before clicking Open, you may add time to the Answer Documents by double-clicking the green box next to the Answer
Document name. Enter the time (in minutes) in the box and press the Enter key on the keyboard. Time cannot be added
to Answer Documents after you click Open.
2
Can I rearrange the order of my Answer Documents?
Before clicking Open, you may rearrange the Answer Documents by clicking the arrows next to the Answer Document to
move it up or down in the list. You can only rearrange the Answer Documents if Enforce Order is set to No in the
Blueprint.
To check the Blueprint, click the Blueprint Overview icon
located in the upper left corner of the Exam Room.
Do I have to take attendance?
Depending on the Blueprint rule Enforce Attendance you may be required to take attendance.
To check the Blueprint, click the Blueprint Overview icon
located in the upper left corner of the Exam Room.
Instructions for taking attendance/marking a Participant...
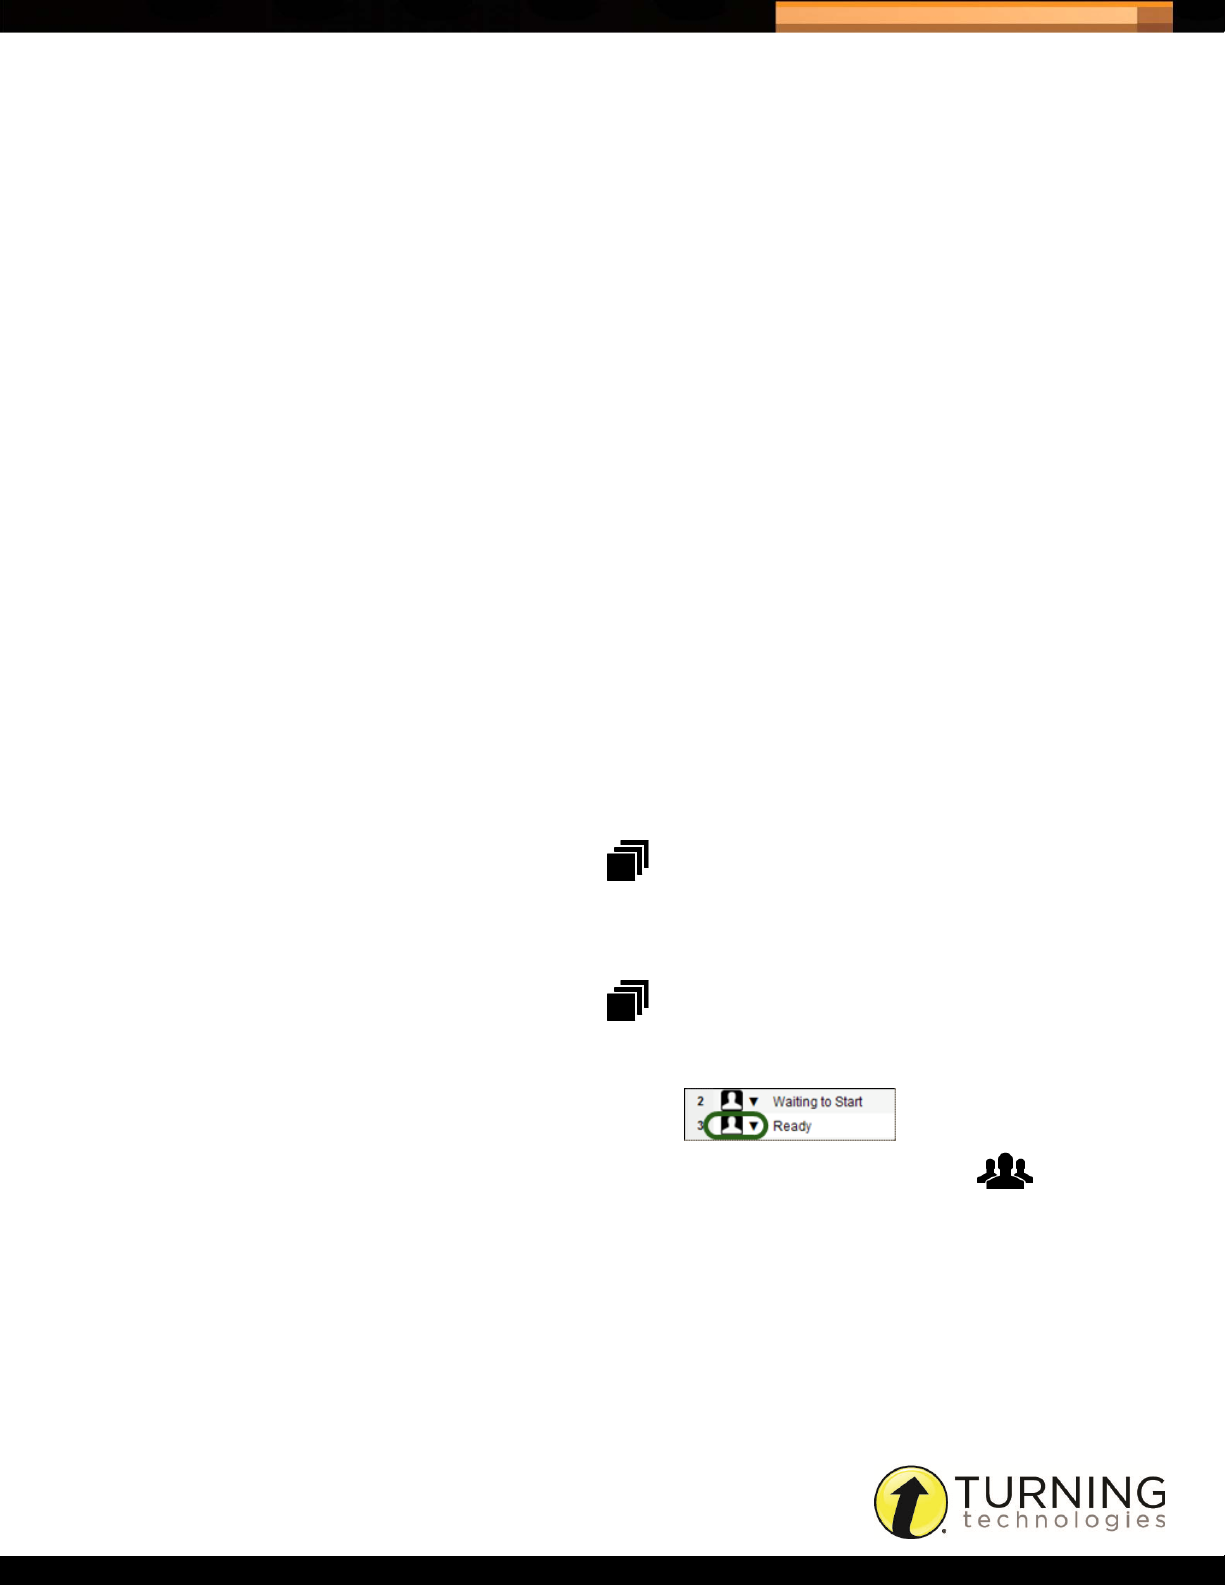
1 To mark a Participant as absent, click the down arrow to the
left of the Login State and select Mark ‘Not Present.’
2 To mark all Participants that have not logged in as absent, click the Participant group button
and select Mark Inactives ‘Not Present.’
http://www.tritondatacollectionsystem.com/triton-support
Page 3

Triton Data Collection System
What if I need to add a Participant that is not in my Participant List?
A Participant can only be added if Add Participant Allowed is set to Yes. This option can be found in the Blueprint
Overview. The Blueprint Overview will also determine if a new Participant can be added after the test has already
started.
How to add a Participant...
1 While in the Exam Room, click Add Participant.
2 Enter the Participant information in the boxes provided and click Add.
What if I need to give a Participant extra time to take the exam?
Time can be added to an individual Participant but ONLY if it is a timed exam. The feature is not available after you click
Start.
How to add time to an individual Participant...
1 While in the Exam Room, double-click the box next to the Participant
in the Extra Minutes column.
2 Enter the time (in minutes) to be added in the box provided and press the Enter key on the keyboard.
3
Once a Participant sends a final exam, the application checks to determine if extra time has been added. When the
timer reaches zero, any time added will be applied to the ResponseCard. The extra time is only added If there is no
remaining time on the ResponseCard. If a Participant does a manual final send, the extra time will not be applied.
Start
I clicked Start. Now what do I do?
Clicking Start allows the Participants to take the exam on the ResponseCards.
Instructions for Participants to take the exam...
1 You can now begin your exam.
2 You will begin on Question One. Simply press the letter/number on your keypad that corresponds to your answer
choice.
3 Press the NEXT button (right arrow) to move to the next question.
4 The bubbles on the top of the screen show you what question you are currently answering. An empty bubble shows
you that you have not answered that question. A filled/dark bubble shows you that you have answered the question.
5 Please begin.
What if I need to “swap out” a Participant ResponseCard?
A Participant’s ResponseCard may be exchanged for a new one in the event that the original ResponseCard
malfunctions.
http://www.tritondatacollectionsystem.com/triton-support
Page 4

Triton Data Collection System
How to swap out a participant device...
1 Click the Participant state menu and select New Device.
2 The Participant logs into the test with the new ResponseCard.
Any responses entered on the old ResponseCard are downloaded to the new ResponseCard and the Participant may
continue with the exam.
Stop
I clicked Stop. Now what do I do?
After you click Stop, the Participants must do a “Final Send” from their ResponseCards.
Instructions for Participants to do a “Final Send”...
1 If you have not submitted your exam, please enter an answer choice for the question you are on - and it will be
submitted.
2 The exam is saved and sent to the Triton Proctor Application.
4
I didn’t have to click Stop, the exam ended on its own.
Timed exams end automatically when the timer reaches 0:00:00.
http://www.tritondatacollectionsystem.com/triton-support
 Loading...