

Page 1
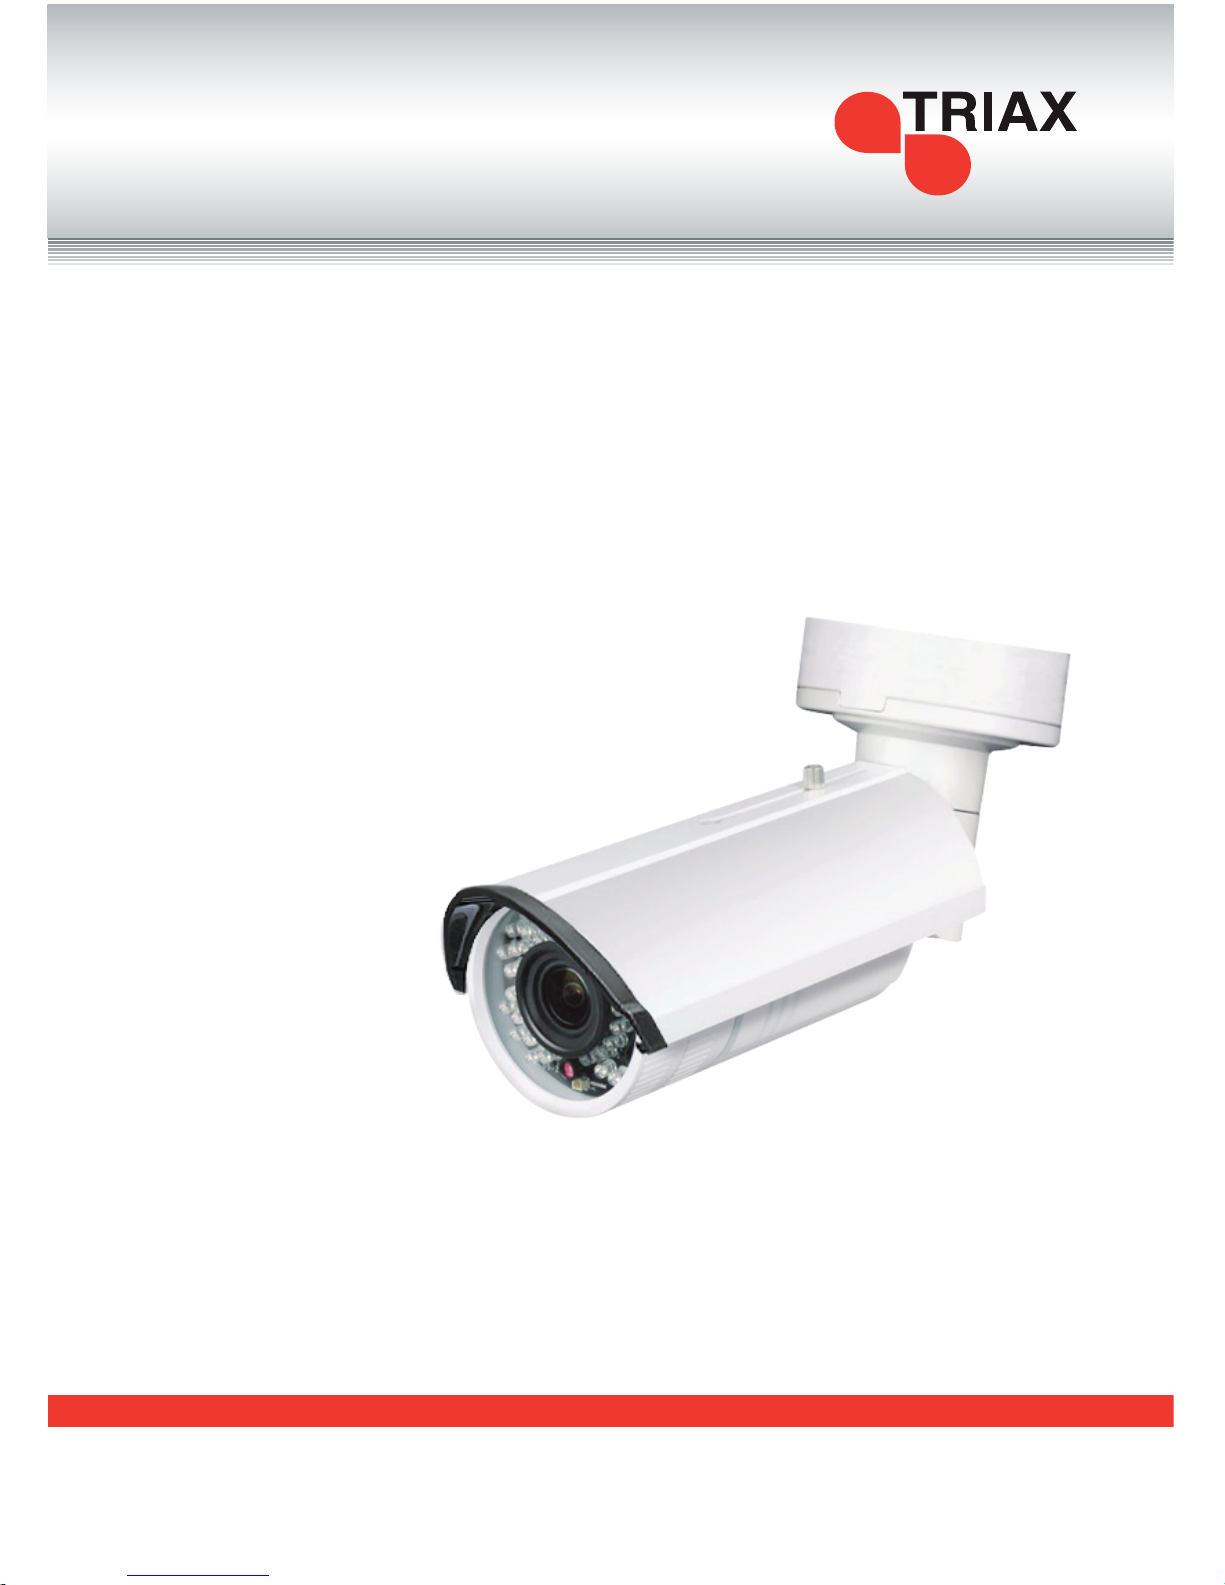
TBV IP
3.0MP Varifocal IR Bullet Network Camera
Your ultimate connection
Part No. 301041
Quick Guide
Page 2
This equipment has been tested and found to comply with the limits for a Class A digital device.These
limits are designed to provide reasonable protection against harmful interference when the equipment is
operated in a commercial environment.
This equipment generates,uses,and can radiate radio frequency energy and, if not installed and used in
accordance with the instruction manual, may cause harmful interference to radio communications.
Operation of this equipment in a residential area is likely to cause harmful interference in which case the
user will be required to correct the interference at his own expense.
Any changes or modications in construction of this device which are not expressly approved by the
party responsible for compliance could void the users’ authority to operate the equipment.
To prevent re or shock hazard do not expose the
insides of the unit to rain or moisture.
This symbol alerts the user to the presence of
important operating and maintenance issues
according to the manual.
This symbol alerts the user to the presence of
uninsulated dangerous voltage within the product
enclosure that may be of sufcient magnitude to
constitute a risk of electric shock.
WARNING
CAUTION
WARNING
Precautions
Use the appropriate power supply
The input power of the camera is 12V DC. Be
sure to connect the appropriate power. Incorrect
connection may cause malfunction and/or damage
to the video camera.
Do not attempt to disassemble the
camera
To prevent electric shock, do not remove screws
or covers. There are no user serviceable parts
inside. Maintenance should be performed by a
suitably qualied person only.
Handle the camera with care
Do not abuse the camera. Avoid striking, shaking
etc. The camera could be damaged by improper
handling or storage.
Do not use strong abrasive detergents
when cleaning the camera body
Use a dry cloth to clean the camera. If dirt is
difcult to remove use a mild detergent and wipe
gently.
Do not aim the camera at the sun
Do not attempt to aim the camera at the sun or
other extremely bright objects that cause a smear
to appear whether the camera is operating or
not. This can damage the CCD (Charge Coupled
Device)
Do not operate near interference
When installed near equipment like wireless
devices that emit strong electromagnetic elds
some irregularities such as noise on monitor
screen may occur.
Page 3
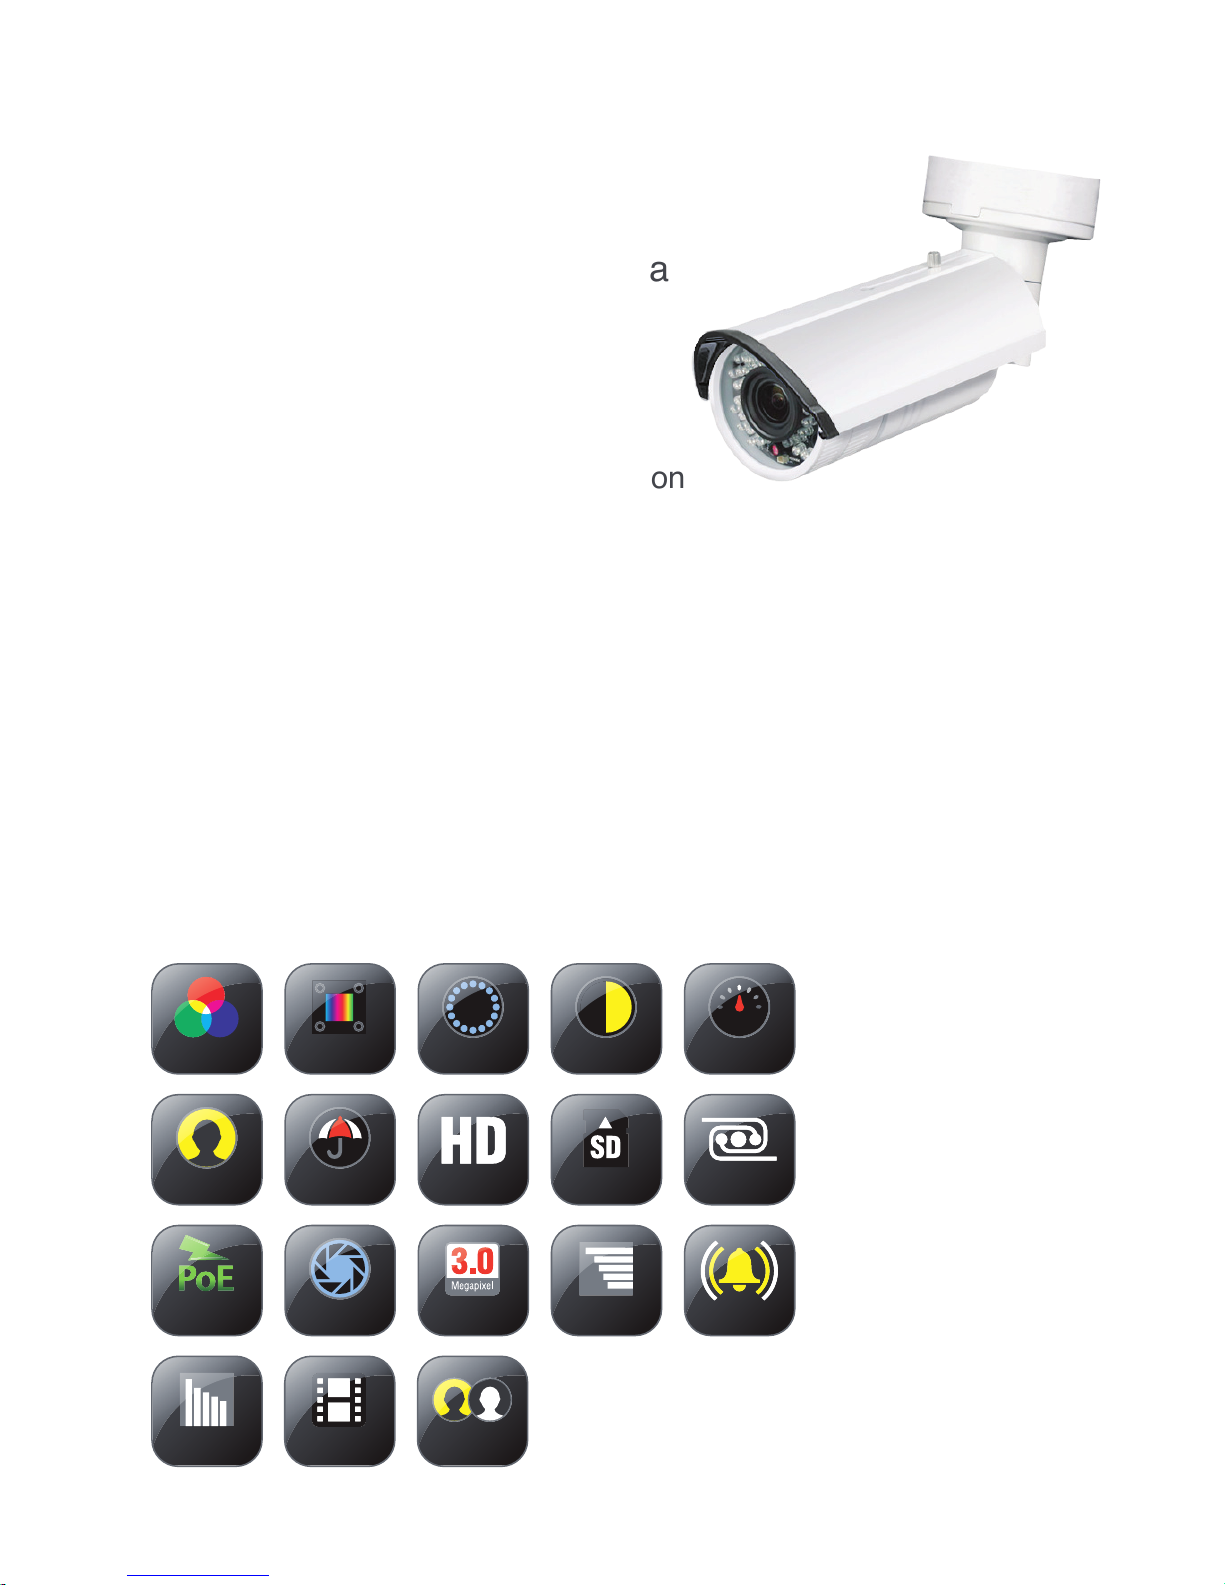
TBV IP
3.0MP IR Varifocal Bullet Camera
• 3.0MP (2048 x 1536) High Resolution
• Full HD 1080p Real-Time Video
• 2.8 - 12mm Lens
• IP66 Weather Proof
• DWDR & 3D DNR & BLC
• 42 IR LED’s 30m (100ft)
• Onboard Storage (up to 32GB)
• Vandal Proof
• Audio I/O, Alarm I/O
Part No. 301041
BACK LIGHT
COMPENSATION
IP66
WEATHERPROOF
HD VIDEO
MICRO SD
CARD SLOT
DUAL STREAM
AUTO WHITE
BALANCE
IR LEDCOLOUR DAY & NIGHT
1/3” CMOS
PROGRESSIVE
SCAN
VARIFOCAL
CAMERA
RESOLUTION
POWER OVER
ETHERNET
I/O ALARM
DIGITAL NOISE
REDUCTION
H.264 CODEC
WIDE DYNAMIC
RANGE
Page 4

1. Sun Shield
2. Front Cover
3. Zoom and Focus Lever
4. IR LED
5. Lens
6. Air Vent
7. Video Output Interface
8. Integrated Bracket
9. Reset Button
10. SD Card Slot
11. Power Interface
12. Network Interface
Note:
1. To reset the default parameters to the
camera, please press and hold the
reset button and power on the camera.
You must press and hold the reset
button for approx 10 seconds.
2. The TBV IP Camera supports audio
and alarm functions. The interfaces are
shown as follows.
Installation
Note:
Please make sure that the wall is strong
enough to withstand three times the
weight of the camera.
Steps:
1. SD Card Installation
1. Rotate the sunscreen M3X5 screw anti clockwise to loosen it. Slide the sun
shield according to the arrow direction
as shown in g.1
2. Remove the sun shield as shown in
g.2
3. Remove the front cover by rotating it
anti-clockwise.
4. Insert the SD card to the SD card slot
(g.3).
5. Re-attach the front cover to the camera
and the sun shield as shown in g.4
6. Slide the sun shield as shown in g.5
7. Rotate the sunshield screw clockwise
to tighten the sun shield. (g.6)
Fig. 1
Fig. 3
Fig. 2
Fig. 4
Page 5

2. Drill the Holes
1. Attach the drill template (supplied) to
the wall where the camera is to be
mounted.
2. Drill screw holes in the wall according
to the drill template.
3 If you need to route cables through the
wall (or ceiling), cut a cable hole
according to the drill template.
4 Route the cables of the camera.
5 Secure the camera to the wall (or
ceiling) with expansion screws. (g.7)
3. Viewing Angle Adjustment
Pan Adjustment (See g.8)
Loosen lock screw-1.Adjust the panning
position of the camera. The adjusting range
is from 0 to 360 degrees.Tighten the lock
screw-1.
Tilt Adjustment (See g.8)
Loosen lock screw-2. Adjust the tilting
position of the camera. The adjusting range
is from 0 to 90 degrees.Tighten the lock
screw-2.
Rotation Adjustment (See g.8)
Loosen lock screw-3.Rotate the rotation
position to adjust the azimuth angle of the
image. The adjusting range is from 0 to 360
degrees.Tighten lock screw-3.
For detailed instructions please visit
www.triax.co.uk
Fig. 7
Fig. 8
Fig. 6Fig. 5
Page 6

Camera
Image Sensor 1/3” Sensor
Min. Illumination 0.07 Lux@F1.2 (AGC On) 0 Lux with IR
Shutter Speed 1/25s ~ 1/100,000s
Lens 2.8 - 12mm@F1.4, Angle of View 98°~30.5°
Auto Iris DC Drive
Day & Night ICR
Dig. Noise Reduction 3D DNR
Wide Dynamic Range Digital WDR
Backlight Comp. Yes, Zone congurable
Compression Standard
Video Compression H.264 / MJPEG
H.264 Compression
Prole
Main Prole
Bit Rate 32 Kbps ~ 16 Mbps
Audio Compression G.711 / G.726
Audio Bit Rate 64Kbps (G.711) / 16Kbps (G.726)
Image
Max. Image Res 2048 x 1536
Frame Rate
60Hz: 15fps (2048 x 1536), 30fps (1920 ×
1080), 30fps (1280 x 720)
50Hz: 12.5fps (2048 x 1536), 25fps (1920 ×
1080), 25fps (1280 x 720)
Image Settings
Saturation, brightness, contrast adjustable
through client software or web browser
Network
Network Storage NAS (iSCSI Optional)
Alarm Trigger Motion detection, tampering alarm
Protocols
TCP/IP, HTTP, DHCP, DNS, DDNS, RTP,
RTSP, PPPoE, SMTP, NTP, SNMP, HTTPS,
FTP, 802.1x, Qos, UPnP (SIP, SRTP, IPv6
optional)
System Capability ONVIF, PSIA, CGI
General
Functionalities
Dual Stream, User Authentication, Watermark
Specications
Page 7

Interface
Communication
Interface
1 RJ45 10M / 100M Ethernet Port
On-Board Storage Built in Micro SD Card SLot, upto 32GB
General
Working Temperature
/ Humidity
-30°C ~ 60°C / -22°F ~ 140°F
Humidity 95% or less (non-condensing)
Power Supply
DC 12V ±10%, PoE (802.3af)
(Not Supplied)
Power Consumption Max. 5.5W (7.5W with ICR On)
IR Distance 30m (100ft)
Weather Proof Rating IP66
Dimensions ɸ105 x 295.6mm (4.13 x 11.64”)
Weight 1200g (2.65lb)
For detailed instructions please visit: www.triax.co.uk
Triax reserves the right to change the specications without prior notication.
Triax accepts no liability in respect of loss arising from errors
in changes to the information provided.
Page 8

TRIAX UK
Abergorki Industrial Estate | Treorchy | RCT | CF42 6DL
Tel: 0845 601 0578 | e-mail: sales@triax.co.uk
www.triax.co.uk
 Loading...