


Guía de instalación rápida
TU-S9
V1

Table of Contents
Español 1
1. Antes de iniciar 1
2. Cómo se instala 2
Troubleshooting
7
Version 06.24.2010
1. Antes de iniciar
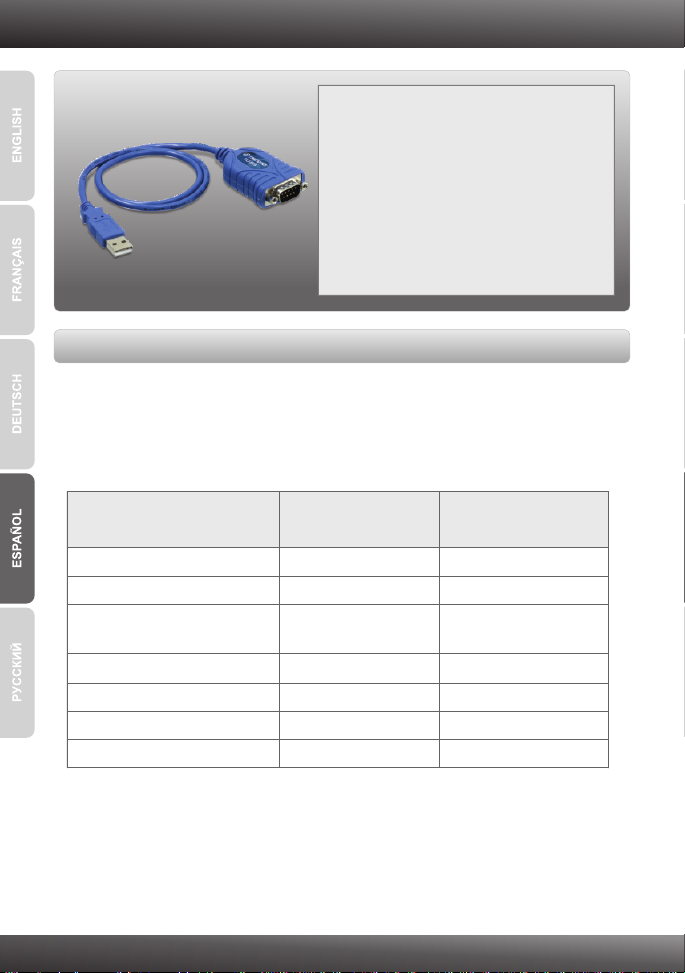
Contenidos del paquete
?
TU-S9
?CD-ROM del controlador
?Guía de instalación rápida multilingüe
Requisitos del sistema
Unidad de CD-ROM
?
?Puertos USB: 2.0 ó 1.1
?Dispositivo RS-232 (Ej. módem)
?Cable serie RS-232 de macho a hembra (Opcional)
Compatible con
sistemas operativos
Windows 7 (32/64-bit)
Windows Vista (32/64-bit)
Windows XP (32/64-bit) /
2000 / ME / 98SE
Mac OS X (10.6)
Mac OS X (10.5)
Mac OS X (10.4)
Mac OS X (10.1-10.3)
CPU
1GHz o superior
800MHz o superior
300MHz o superior
CPU Intel
867MHz o superior
333MHz o superior
300MHz o superior
1
Memoria
1GB RAM o superior
512MB RAM o superior
256MB RAM o superior
1GB RAM o superior
512MB RAM o superior
256MB RAM o superior
256MB RAM o superior
2. Cómo se instala
Nota: No conecte el TU-S9 a su PC a menos que se le indique.
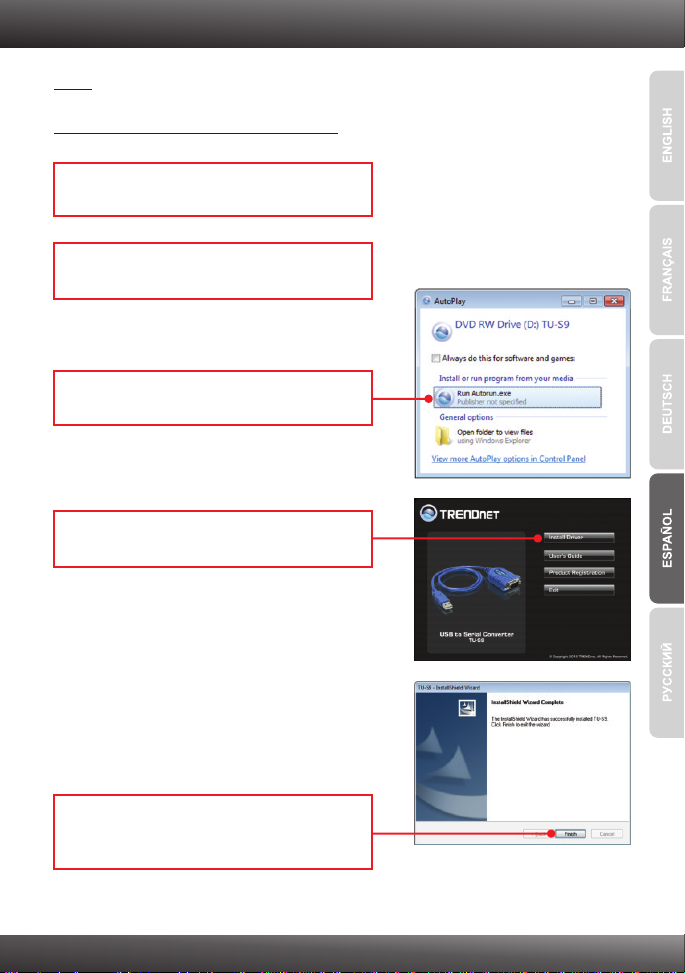
Windows 7 / Vista / XP / 2000 / ME / 98SE
1. Encienda su PC y espere hasta que le
aparezca el escritorio de Windows.
2. Inserte el CD-ROM del controlador en su
unidad de CD-ROM.
3. Haga clic en Run Autorun.exe
(sólo para 7/Windows Vista).
4. Haga clic en instalar el controlador
(Install Driver).
5. Siga las instrucciones del InstallShield Wizard
(asistente de Install Shield) y luego haga clic
en Finish (Finalizar).
2

6. Conecte el adaptador a un puerto USB
disponible de su PC.
7. Los archivos controladores se instalarán
automáticamente.
8. Conecte el dispositivo serie al TU-S9.
3

Mac OS X (10.1~10.6)
1. Encienda su Mac y espere hasta que le
aparezca el escritorio.
2. Inserte el CD-ROM del controlador en su
unidad de CD-ROM.
3. Haga doble clic en el icono de TU-S9 CD-ROM
del escritorio.
4. Haga doble clic en la Mac.
5. Haga doble clic en el icono PL2303_1.2.1r2.dmg.
6. Haga doble clic en el icono PL2303_1.2.1.
4

7. Haga clic en Continue (Continuar).
8. Seleccione una destinación y luego haga clic
en Continue (Continuar).
9. Haga clic en Install (Instalar).
10. Cuando aparece la pantalla Authenticate
(Autenticación), introduzca el Nombre y la
Contraseña en su PC y luego haga clic en
OK.
11. Haga clic en Continue Installation
(Continuar con la instalación).
5

12. Haga clic en Restart (Reiniciar)
13. Conecte el adaptador a un puerto USB
disponible de su PC.
14. Conecte el dispositivo serie al TU-S9.
La instalación ha sido completada
Para obtener información más detallada sobre la configuración así como de las
configuraciones avanzadas del TU-S9, por favor consulte la sección de resolución de
problemas, el CD-ROM de la Guía del Usuario, o el sitio Web de TRENDnet en
http://www.trendnet.com.
Registre su producto
Para asegurar los más altos niveles de servicio y apoyo al cliente, registre su producto
en línea en: www.trendnet.com/register Gracias por elegir TRENDnet
6

Troubleshooting
1.
The autorun window does not appear on my windows PC after I put in the
Driver CD-ROM. What should I do?
1.
For Windows 7, if the installation menu does not appear automatically, click on
the Windows Icon on the bottom left hand corner of the screen, click the “Search
programs and files” box, and type D:\autorun.exe, where “D” in “D:\autorun.exe”
is the letter assigned to your CD-ROM Drive, and then press the ENTER key on
your keyboard
2. For Windows Vista, if the installation menu does not appear automatically, click
Start, click the Start Search box, and type D:\autorun.exe where "D" in
"D:\autorun.exe" is the letter assigned to your CD-ROM Drive, and then press
the ENTER key on your keyboard.
3. For Windows XP/2000, if the installation menu does not appear automatically,
click Start, click Run, and type D:\autorun.exe where "D" in "D:\autorun.exe" is
the letter assigned to your CD-ROM Drive, and then press the ENTER key on
your keyboard.
2. Windows is unable to recognize my hardware. What should I do?
Make sure your computer meets the minimum requirements as specified in
1.
Section 1 of this Quick Installation Guide.
2. Try plugging the TU-S9 into a different USB port.
3. Can I use the TU-S9 with my serial keyboard, mouse, or joystick?
The TU-S9 does not support interrupt transfer mode devices. If your serial
keyboard, mouse, or joystick is an HID Device, it is not supported.
4. Can I connect or disconnect the TU-S9 while the computer is on?
Yes, you can connect or disconnect TU-S9 while the computer is on because the
USB interface is Plug-and-Play compliant and hot-pluggable.
If you still encounter problems or have any questions regarding the TU-S9 USB to Serial
Converter, please contact TRENDnet's Technical Support Department.
7


Copyright ©2010. All Rights Reserved. TRENDnet.
 Loading...