

Page 1
User‟s Manual
USB 3.0 Portable Solid State Drive
ESD200
(Version 1.0)
Page 2

Table of Contents
Introduction︱ ...................................................................................... 1
Package Contents︱ ............................................................................ 1
Features︱ ............................................................................................ 2
System Requirements︱ ..................................................................... 2
Safety Precautions︱ ........................................................................... 4
General Use ....................................................................................................................... 4
Backing up Data ................................................................................................................ 4
Transporting ...................................................................................................................... 4
Power ................................................................................................................................. 4
Reminders .......................................................................................................................... 5
Product Overview︱............................................................................. 5
Connecting to a Computer︱ .............................................................. 6
Disconnecting from a Computer︱ .................................................... 8
Windows ........................................................................................................................... 8
Mac® OS ............................................................................................................................. 9
Linux® ................................................................................................................................. 9
Formatting the Solid State Drive︱ .................................................. 10
Windows® XP/Vista/7/8 .................................................................................................... 10
Mac® OS ........................................................................................................................... 11
Linux® ............................................................................................................................... 13
Troubleshooting︱ ............................................................................. 14
Specifications︱ ................................................................................. 16
Transcend Limited Warranty︱ ........................................................ 17
Page 3
1
Introduction︱
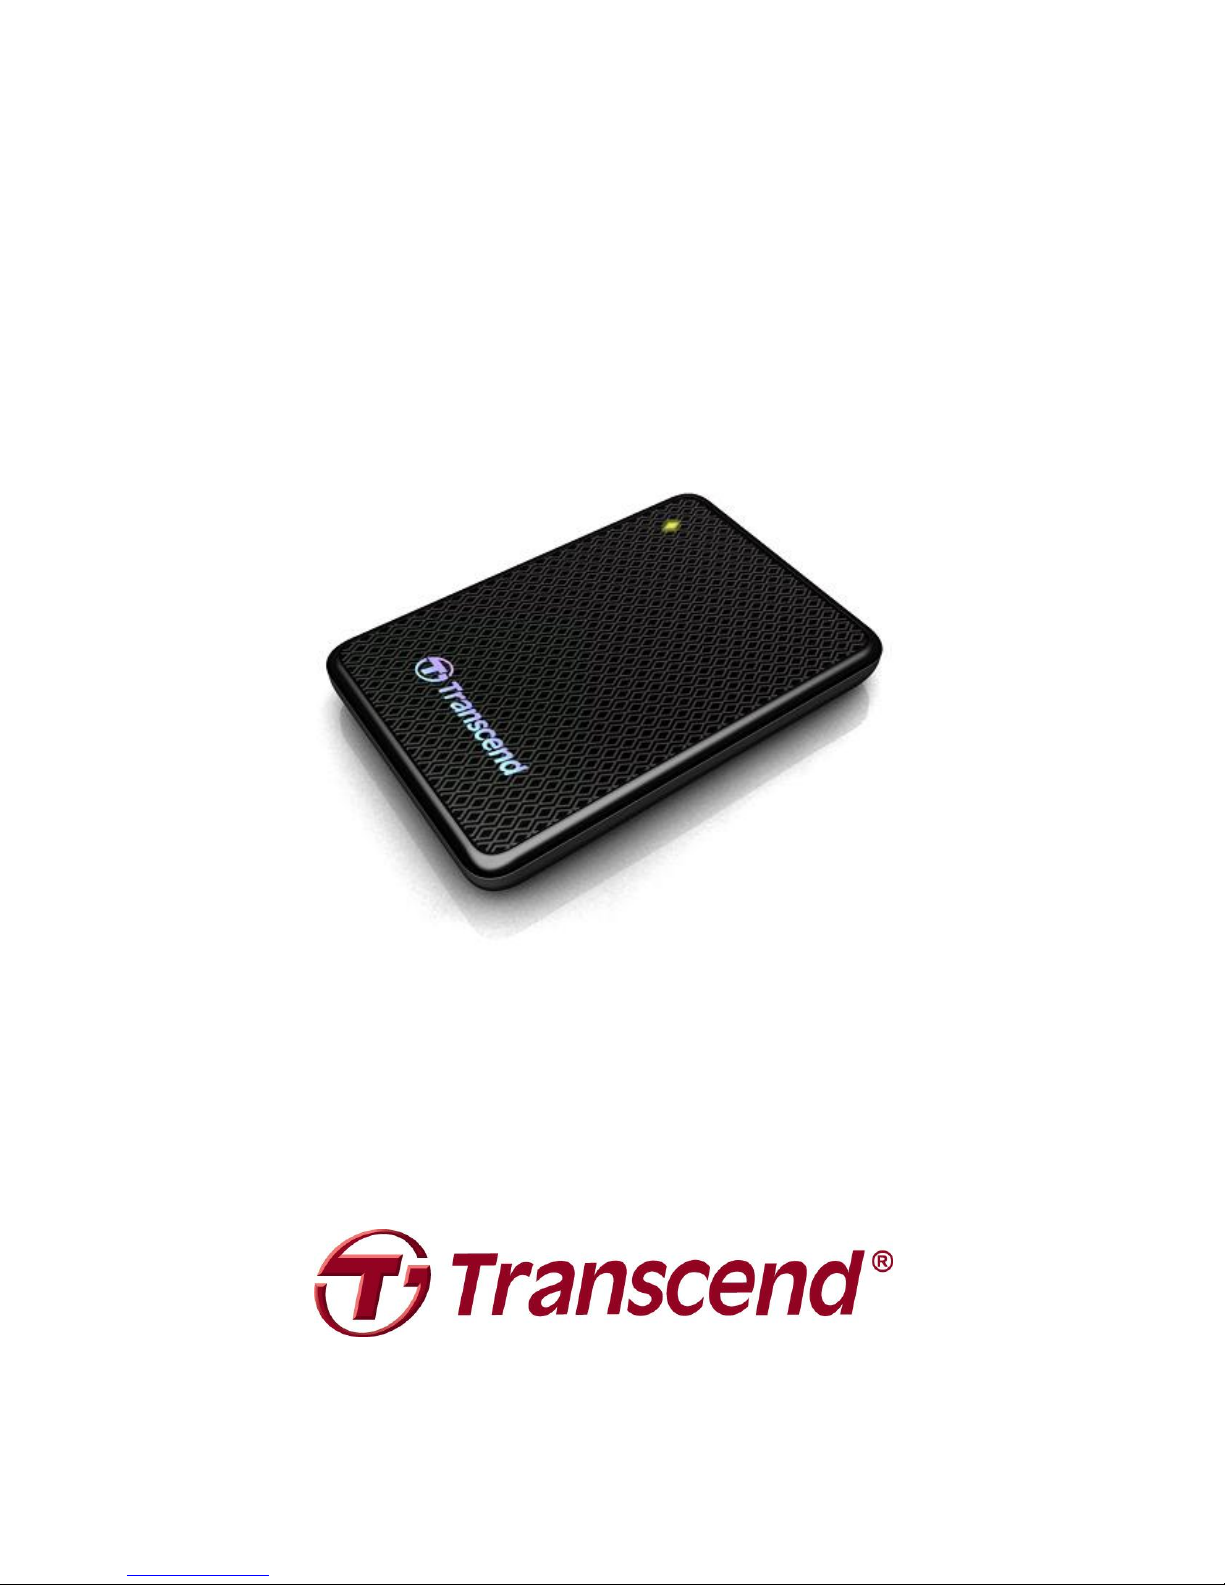
Congratulations on purchasing Transcend’s ESD200. This ultra-fast SuperSpeed USB 3.0
portable storage device is the perfect data management system for storing and transferring your
data. With its shock-resistant design, huge storage capacity and real-world transfer speeds up to
10X faster than USB 2.0 (in USB 3.0 mode), the compact ESD200 is ideal for carrying your files,
folders, documents, photos, music and videos. In addition, the ESD200 comes with very useful
software* that can increase your mobile productivity. This User’s Manual is designed to help you
get the most from your new device. Please read it in detail before using the ESD200.
*Note: Transcend Elite software only works in Windows and Mac OS — please see the Software User's Manual for
details.
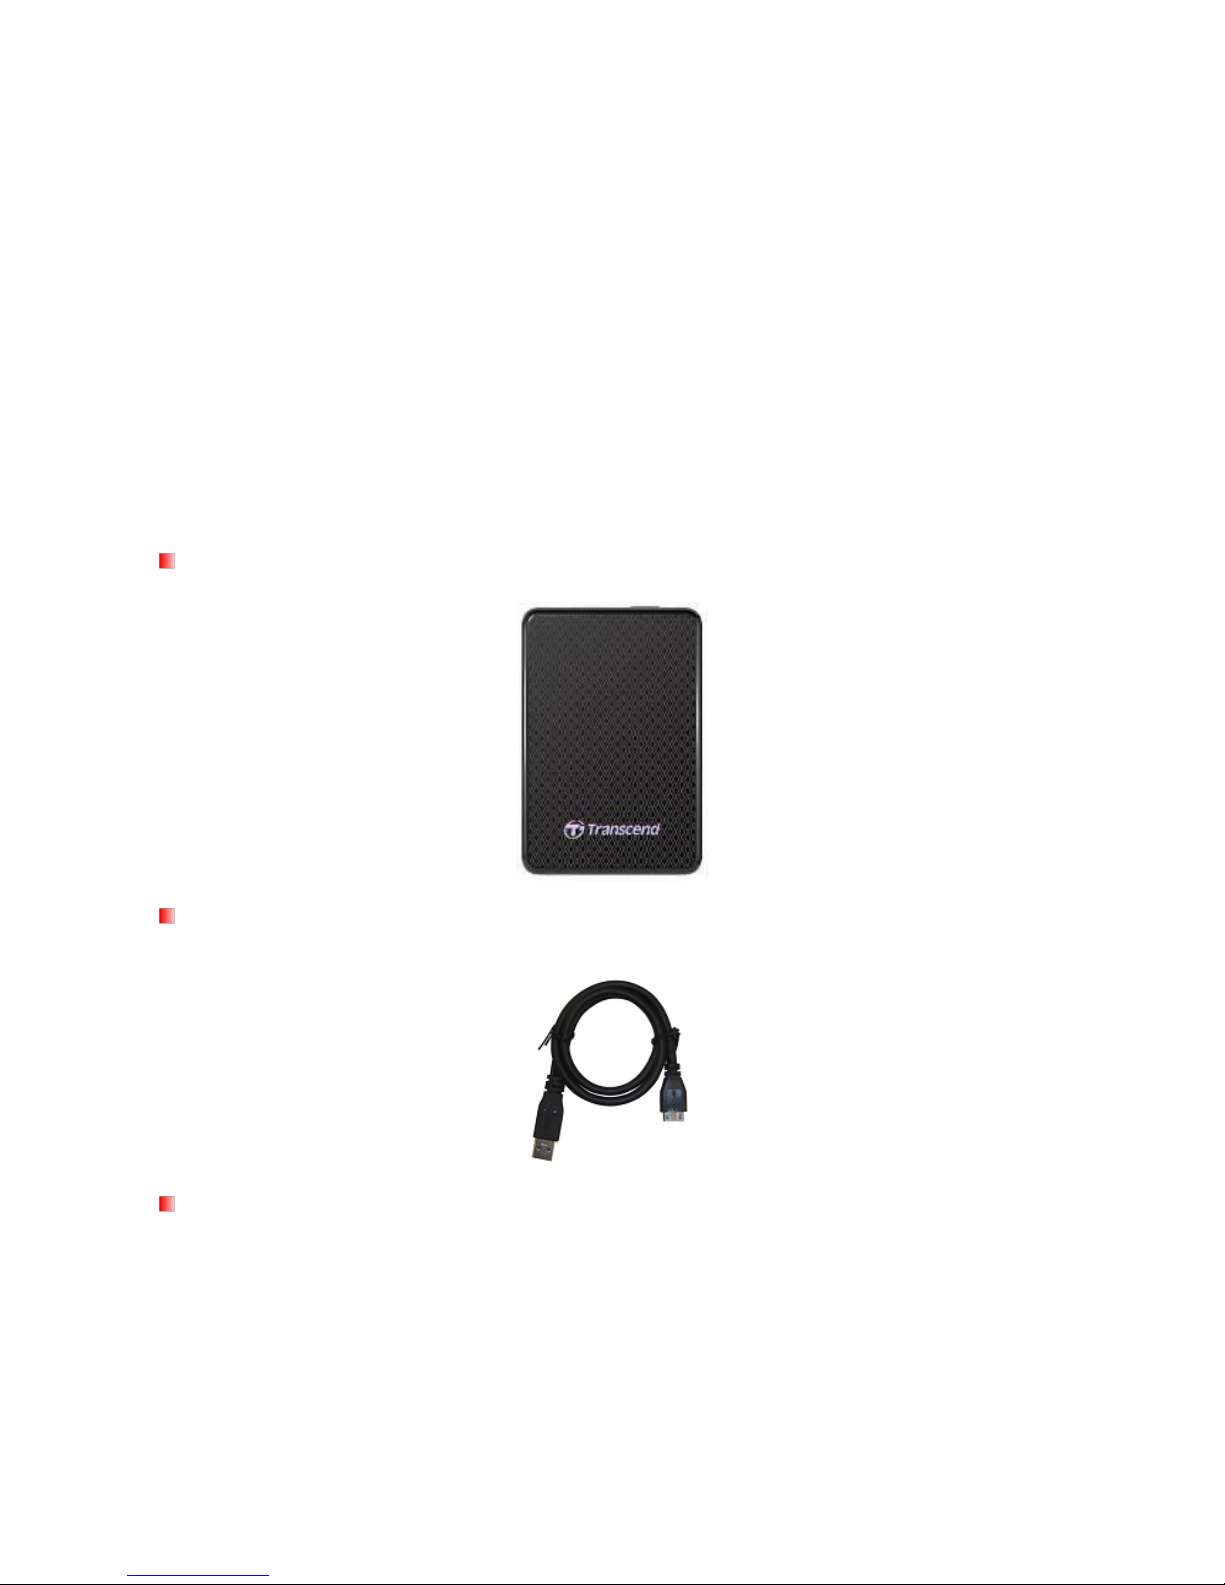
Package Contents︱
USB 3.0 Portable Solid State Drive
USB 3.0 Cable
Travel Pouch
Page 4
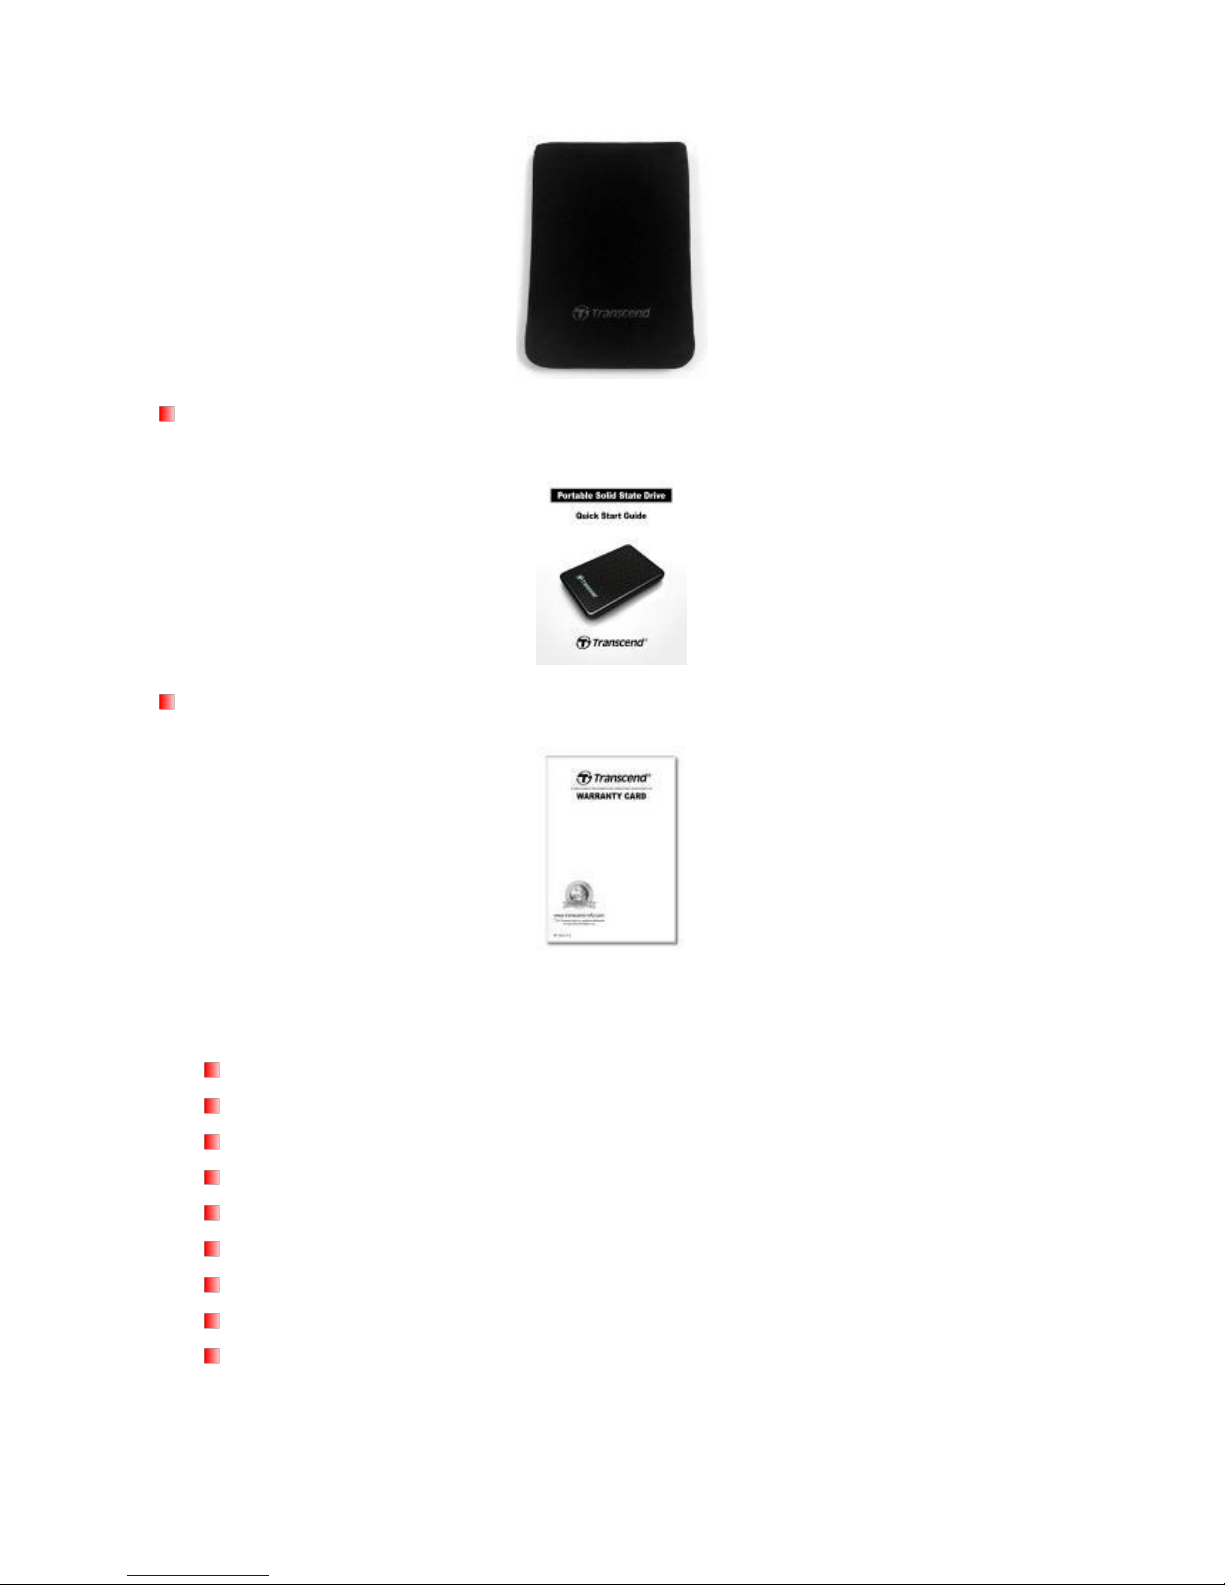
2
Quick Start Guide
Warranty Card
Features︱
SuperSpeed USB 3.0 compliant and backwards compatible with USB 2.0
Connection bandwidth up to 5Gbits per second
Extra-large storage capacity
Sleek ultra portable design
Easy Plug and Play operation – no drivers required
USB powered – no external adapter necessary
One Touch Auto-Backup button
Includes Transcend Elite backup and security software
Multicolor LED indicator (power, data transfer, & USB 2.0/3.0 connection type)
System Requirements︱
Page 5

3
Desktop or notebook computer with a working USB port.
One of following Operating Systems:
Windows
XP
Windows
Vista
Windows
7 / 8
Linux
Kernel 2.6.31 or later
Mac
OS X 10.4 or later
Page 6

4
Safety Precautions︱
These usage and safety guidelines are IMPORTANT! Please follow them carefully.
General Use
Carefully unpack the contents of the ESD200 package.
During operation, avoid exposing your ESD200 to extreme temperatures above 70℃, or
below 0℃.
Do not drop your ESD200.
Do not allow your ESD200 to come in contact with water or any other liquids.
Do not use a damp/wet cloth to wipe or clean the ESD200 exterior case.
Do not store your ESD200 in any of the following environments:
o Direct sunlight
o Next to an air conditioner, electric heater or other heat sources
o In a closed car that is in direct sunlight
o In an area with strong magnetic fields or excessive vibration
If your Windows computer will not boot while the ESD200 is connected, please
disconnect the ESD200 from your computer first and reconnect the ESD200 after
booting Windows. Otherwise, refer to your computer's manual and change the BIOS
settings to instruct the computer to boot from a different device.
Backing up Data
Transcend does NOT take any responsibility for data loss, or damage during
operation. If you decide to store data on your ESD200 we strongly advise that you
regularly backup the data to a computer, or other storage medium.
To ensure SuperSpeed USB 3.0 data transfer rates when using your ESD200, please
make sure that your computer has the relevant drivers and hardware to support USB 3.0.
If you are unsure about how to check this, please consult the user’s manual of your
computer, motherboard, or USB 3.0 interface card for USB 3.0 driver information.
Transporting
Do not pack the ESD200 into luggage without proper padded support. Other items in
your luggage may damage the SSD during travel if it does not have proper protection.
Avoid squeezing or compressing the ESD200.
Do not place objects on top of your ESD200.
Power
The ESD200 is powered directly via a computer USB port. However, the power supplied
by the USB port on some older computers is below the 5V DC required to power the
ESD200.
Use only the USB 3.0 cable that came with the ESD200 to connect it to a computer, and
always ensure that the cable you are using is in good condition. NEVER use a cable that
is frayed or damaged.
Page 7

5
Ensure nothing is resting on the USB cable and that the cable is not located where it can
be tripped over or stepped on.
Reminders
Always follow the procedures in the ―Disconnecting from a Computer‖ section to remove the
ESD200 from your computer.
Product Overview︱
A
Micro USB 3.0 Port
B
One Touch Auto-Backup Button
C
LED Indicator
Page 8

6
Connecting to a Computer︱
The ESD200 can be connected to your computer using either USB 2.0 or USB 3.0. To get the best
performance results from your SSD, we recommend using the USB 3.0 interface.
1. Plug the micro USB end (1) of the USB cable into the ESD200.
2. Plug the rectangular end (2) of the USB cable into an available USB 2.0 or USB 3.0 port on
your desktop or notebook computer.
3. When the ESD200 is successfully connected to a computer, its LED will either light up green
(USB 2.0) or blue (USB 3.0) to indicate the USB connection type. In Windows, a new Local
Disk drive with a newly-assigned drive letter will appear, and a Removable Hardware icon
will appear in the Windows System Tray. The ESD200 comes pre-formatted with the FAT32 file
system, which is compatible with most computer systems, including Windows, Mac, Linux,
and more.
Micro USB 3.0
Connector (1)
USB 2.0 / 3.0
Connector (2)
USB 3.0 Cable
ESD200 Micro USB port
USB 2.0 Port
USB 3.0 Port
Page 9

7
Computers running Windows and Mac OS will automatically detect and install the ESD200. To use USB
3.0, please ensure your computer has all necessary USB 3.0 drivers installed, and make sure you plug
the USB cable into the correct port on your computer (USB 3.0 ports are usually color-coded to
differentiate them from USB 2.0)
Linux users may have to configure the ESD200 manually. To do this, first create a directory for the
ESD200 (Example: mkdir /mnt/SSD). Then, mount the ESD200 (Example: mount –a –t msdos
/dev/sda1 /mnt/SSD)
Note: (D:) and (G:) above are example drive letters; the letter in your "My Computer" window may differ
Page 10

8
Note: ―New Volume‖ is an example drive. The drive name on your Mac computer may differ
4. Once connected, you can use the ESD200 as an external hard drive to transfer data to and
from your computer. Simply drag and drop files or folders onto the Local Disk, Volume, or
drive letter that represents the ESD200.
5. If you have installed the bundled Backup Manager software, you can press the ESD200’s One
Touch Auto-Backup Button to instantly backup your data (see the Backup Manager Software
User’s Manual for details).
One Touch Auto-Backup Button
Disconnecting from a Computer︱
NEVER disconnect the ESD200 from a Computer when its LED is flashing.
Windows
1. Left-click on the Hardware icon on the system tray.
2. The Safely Remove Hardware pop-up window will appear. Confirm the correct Drive letter is
displayed and select it to continue.
Page 11

9
3. A window will appear stating, “The „USB Mass Storage Device‟ device can now be safely
removed from the system.” Then unplug your ESD200 from the USB port.
WARNING! To prevent data loss, always use this procedure to remove the SSD
from Windows®.
Mac® OS
Drag and drop the Disk icon that represents your ESD200 into the trashcan. Then unplug your
ESD200 from the USB port.
Linux®
Execute umount /mnt/Storejet to un-mount the device. Then unplug your ESD200 from the USB
port.
Page 12

10
Formatting the Solid State Drive︱
WARNING! Formatting the disk will erase all of the data on your ESD200.
You must have Administrator Rights to format in Windows.
Windows
®
XP/Vista/7/8
1. Plug the ESD200 into an available USB port on a Windows
®
XP/Vista /7/8 computer.
2. Unplug all other USB storage devices from your computer. This is to prevent
accidentally formatting a different USB drive.
3. In the ―My Computer‖ window, right-click the ESD200 drive icon, then choose ―Format‖.
4. You may choose ―Quick Format‖ or change the volume label if desired.
5. Click ―OK‖ to begin formatting. All data on the disk will be erased.
Page 13

11
Mac® OS
1. Plug the ESD200 into an available USB port on your MAC computer.
2. Unplug all other external storage devices from your computer. This is to prevent
accidentally formatting a different drive.
3. If a message window appears like the one below, click the ―Initialize‖ button. If no message
appears, go to ―Applications > Utilities ― to open ―Disk Utility‖
4. In the Disk Utility window, choose your ESD200 from the list on the left.
5. Select the ―Erase‖ tab.
6. Choose the Volume Format you want (Mac OS Extended (Journaled) is recommended).
Page 14

12
7. Input a name for your new drive (otherwise, your drive will be named ―Untitled‖)
8. Click the ―Erase‖ button in the bottom right corner of the window
9. Click ―Erase‖ again to confirm.
Page 15

13
10. Click the ―Close‖ button to finish and exit.
Linux
®
1. Plug the ESD200 into an available USB port on your Linux computer.
2. Unplug all other USB storage devices from your computer. This is to prevent
accidentally formatting a different USB drive.
3. Type fdisk /dev/sda (replace /dev/sda with your actual USB device)
4. Press p
5. Press n
6. Press w
7. Type mkfs.ext3 /dev/sda1
8. Go to /etc/fstab and add: /dev/sda1 /mnt/usbdrive auto user,noauto 0 0
9. Type mkdir /mnt/usbdrive
10. Type mount /mnt/usbdrive
Page 16

14
Troubleshooting︱
If a problem occurs with your ESD200, please first check the information listed below before
taking your ESD200 in for repair. If you are unable to remedy a problem after trying the following
suggestions, please consult your dealer, service center, or local Transcend branch office. We also
have FAQ and Support services on our website at www.transcend-info.com.
My operating system cannot detect the ESD200
Check the following:
1. Is your ESD200 properly connected to the USB port? If not, unplug it and plug it in again. If it is
properly connected, try using another available USB port.
2. Are you using the USB 3.0 cable that came in the ESD200 package? If not, try using the
Transcend USB 3.0 cable to connect the ESD200 to your computer. Using a USB cable other
than the one supplied may not provide stable transfer ability.
3. Is your ESD200 connected to a Mac
®
Keyboard? If so, unplug it and plug it into an available
USB port on your Mac® desktop computer.
4. Is the USB port enabled? If not, refer to the user’s manual of your computer (or motherboard)
to enable it.
5. Avoid connecting the ESD200 through a USB hub.
The ESD200 does not power on
Check the following:
1. Ensure that the ESD200 is properly connected to the USB port on your computer.
2. Ensure that the USB port is working properly. If not, try using an alternate USB port.
I installed an OS onto the ESD200. Why can‟t I boot from it?
Page 17

15
Some computers do not support operating system boot up from a USB drive.
I cannot copy large files to the ESD200
1. Is there enough available disk space?
2. Is the file larger than 4GB? If so, please see below:
The ESD200 default file system is FAT32, which allows it to be recognized on most types of
computers, game consoles and media playback devices. However, the FAT32 file system does
not support large files that exceed 4GB in size. If you plan to store large files that are larger than
4GB, you will need to convert the drive to a different file system such as NTFS. Please see the
―Formatting the Solid State Drive‖ section of this manual for instructions on how to re-format the
ESD200.
Note: Transcend provides a File System Conversion Utility to convert the file system from FAT32
to NTFS. Please visit http://www.transcend-info.com/Support/ to download the tool.
I‟m having problems with the ESD200 on my Mac
®
If you previously formatted your ESD200 in Windows®, it is most likely formatted with the Windows
NTFS file system, which may not be 100% compatible with Mac® OS. To store and backup data on
your Mac® please see the ―Formatting the Solid State Drive‖ section of this manual to convert the
drive to a Mac OS compatible file system. If you plan to regularly use the drive with both Windows
and Mac computers, we recommend formatting the drive to the FAT32 file system (the ESD200
comes pre-formatted with FAT32 from the factory). Keep in mind that formatting the drive will
erase all existing data on the drive.
Note: To keep existing data, you will need to use a Windows or Mac computer that can
detect the ESD200 to make a backup copy of all essential files.
I cannot detect the ESD200 in Linux
®
If you previously formatted the ESD200 a Windows or Mac computer, it is most likely formatted
with a file system that is not compatible with Linux. To solve this problem, please follow the
instructions on formatting the ESD200 in Linux. However, please be aware that formatting the
drive will erase all existing data on the drive.
Note: To keep existing data, you will need to use a Windows or Mac computer that can
detect the ESD200 to make a backup copy of all essential files.
Page 18

16
Specifications︱
Size (L x W x H)
92mm × 62mm × 10.5mm
Weight
56g
Storage Media
NAND Flash
Power Supply
5V DC supplied from the USB port
Transfer Speed
USB 3.0 : Up to 5Gb/s
USB 2.0 : Up to 480Mb/s
Operating Temperature
0℃ (32℉) to 70℃ (158℉)
Certificates
CE, FCC, BSMI
Warranty
3 Years
Page 19

17
Transcend Limited Warranty︱
This product is covered by a Three-year Limited Warranty. Should your product fail under normal
use within three years from the original purchase date, Transcend will provide warranty service
pursuant to the terms of the Transcend Warranty Policy. Proof of the original purchase date is
required for warranty service. Transcend will inspect the product and in its sole discretion repair or
replace it with a refurbished product or functional equivalent. Under special circumstances,
Transcend may refund or credit the current value of the product at the time the warranty claim is
made. The decision made by Transcend shall be final and binding upon you. Transcend may
refuse to provide inspection, repair or replacement service for products that are out of warranty,
and will charge fees if these services are provided for out-of-warranty products.
Limitations
Any software or digital content included with this product in disc, downloadable, or preloaded form,
is not covered under this Warranty. This Warranty does not Apply to any Transcend product failure
caused by accident, abuse, mishandling or improper usage (including use contrary to the product
description or instructions, outside the scope of the product’s intended use, or for tooling or testing
purposes), alteration, abnormal mechanical or environmental conditions (including prolonged
exposure to humidity), acts of nature, improper installation (including connection to incompatible
equipment), or problems with electrical power (including undervoltage, overvoltage, or power
supply instability). In addition, damage or alteration of warranty, quality or authenticity stickers,
and/or product serial or electronic numbers, unauthorized repair or modification, or any physical
damage to the product or evidence of opening or tampering with the product casing will also void
this Warranty. This Warranty shall not apply to transferees of Transcend products and/or anyone
who stands to profit from this Warranty without Transcend’s prior written authorization. This
Warranty only Applies to the product itself, and excludes integrated LCD panels, rechargeable
batteries, and all product accessories (such as card adapters, cables, earphones, power adapters,
and remote controls).
Transcend Warranty Policy
Please visit http://www.transcend-info.com/Support/ to view the Transcend Warranty Policy. By
using the product, you agree that you accept the terms of the Transcend Warranty Policy, which
may be amended from time to time.
Online registration
To expedite warranty service, please access www.transcend-info.com/register to register your
Transcend product within 30 days of the purchase date.
 Loading...