

KICKSTAND INSTALLATION
HONDA | YAMAHA | KTM | KAWASAKI | SUZUKI
FOOTPEG BRACKET STYLE
HONDA CRF150R Standard 06-13 5102-00
HONDA CRF150R Expert 06-13 5103-00
HONDA CR 125R/250R 02-03 5001-CR
HONDA CR 125R/250R 04-07 5011-CR
HONDA CRF250R 04-09 5011-CR
HONDA CRF250R 10-13 5104-00
HONDA CRF450R 02-03 5001-CR
HONDA CRF450R 04-08 5011-CR
HONDA CRF450X 04-13 5011-CR
HONDA CRF250X 04-13 5011-CR
HONDA CRF450R 09-12 5104-00
YAMAHA YZF 250/450 06-09 5203-00
YAMAHA YZF 250/450 10-13 5204-00
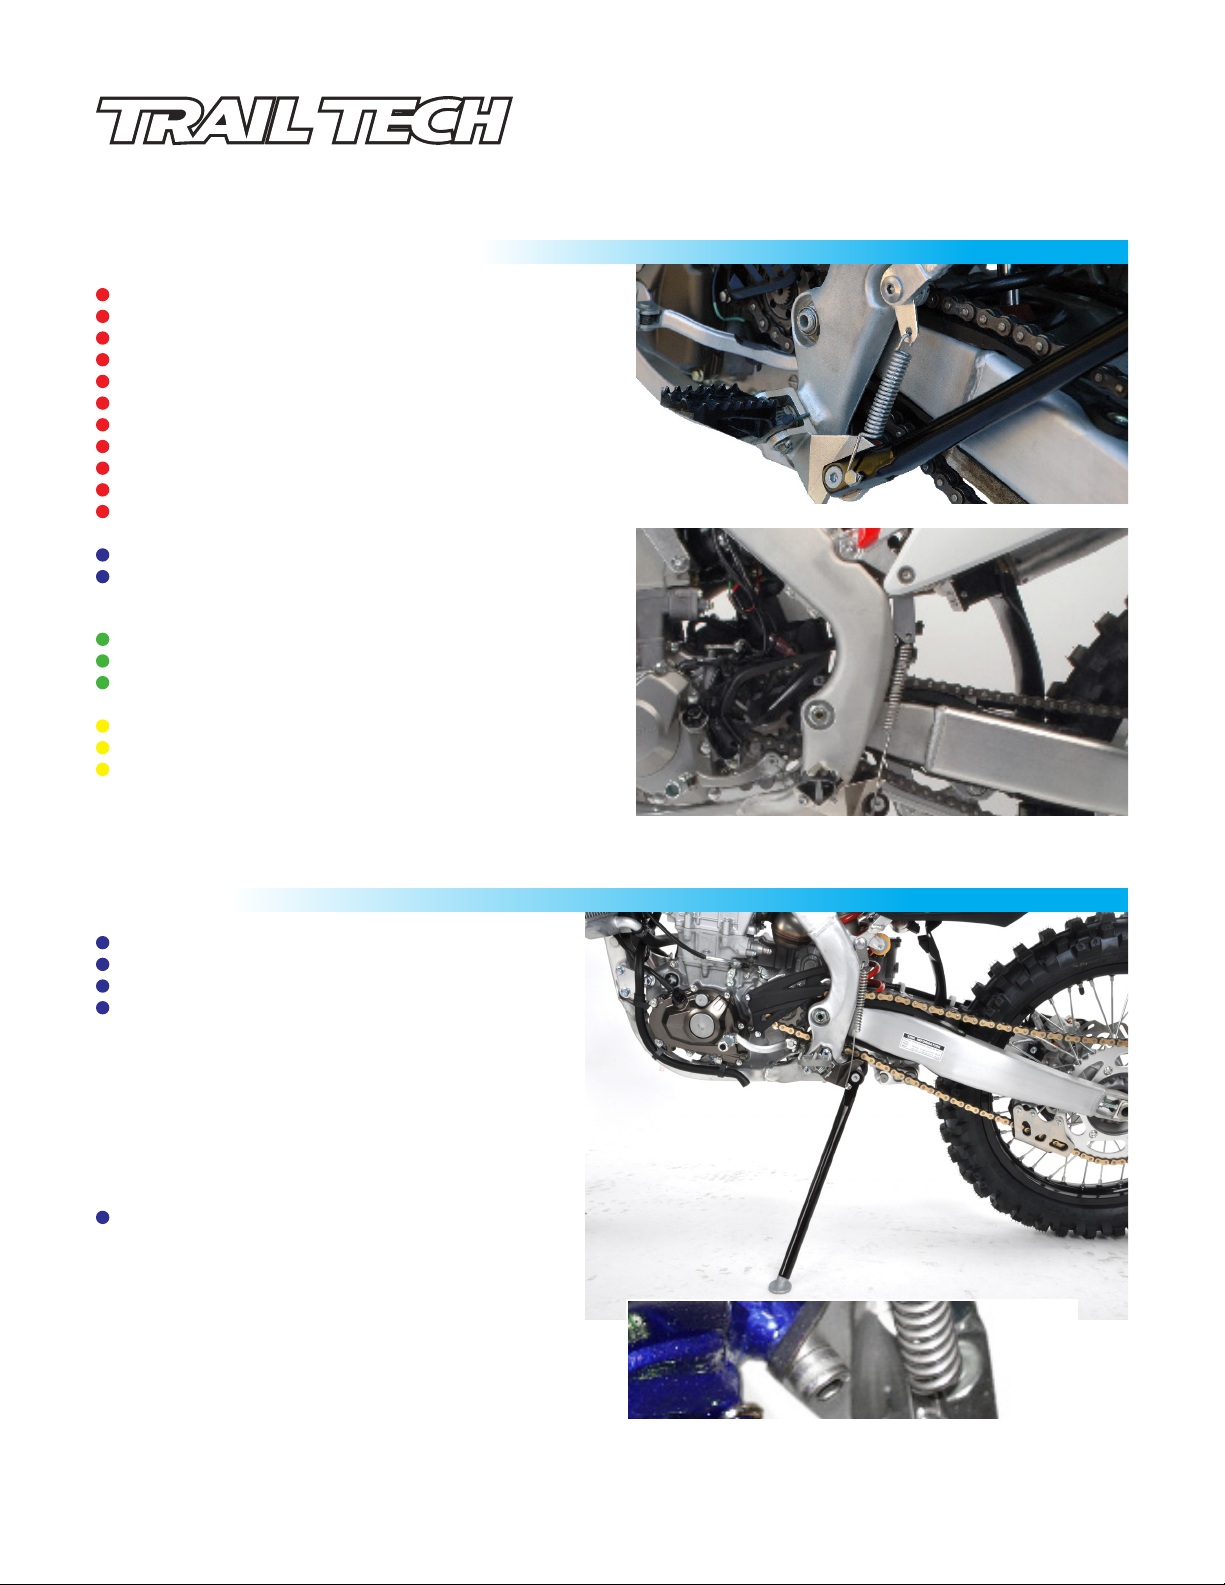
• Use a T50 torx bit to remove stock footpeg hanger bracket.
KAWASAKI KX250F 07-08 5401-00
KAWASAKI KX250/450F 09-10 5402-00
KAWASAKI KX 450 07-09 5401-00
TRAIL TECH KICKSTANDS
010-ELV-25_R4
Tech Support: 360-687-4530
tech_support@trailtech.net
SUZUKI RMZ250 07-09 5501-00
SUZUKI RMZ450 06-07 5501-00
SUZUKI RMZ450 08-12 5502-00
Remove stock foot peg and hanger. Replace with new hanger and
re-attach stock foot peg. Hang spring as shown in photo. Use
thread locking compound on pivot bolt to ensure it does not loosen.
Mount spring hanger tab as shown above for 5104-00 kits.
YAMAHA
YAMAHA YZF/WRF 98-04 5002-YZ/WR
YAMAHA YZ two-stroke 125/250 98-01 5002-YZ/WR
YAMAHA YZ two-stroke 125/250 02-04 5201-00
YAMAHA YZ two-stroke 125/250 05-13 5202-00
Attach mounting bracket to frame as shown to right
using provided bolts. Hang spring as shown to right.
Use thread locking compound on the pivot bolt to
ensure it does not back out. Note: Bracket for
YZ125 and YZ250 ‘02 and up is different from one
shown to right, but installs the same way.
YAMAHA YZF 250/450 05 5400-00
Remove chain roller nut and bolt. Remove the
lower rear sub-frame bolt. Attach mounting bracket
to frame as shown to left using the new sub-frame
shoulder bolt, blue spacer, and M8x 75mm bolt.
Note in picture to left that spacer is installed behind
the top hole on mounting bracket. Hang spring as
shown to left.
TRAIL TECH INC. WARRANTS TRAIL TECH KICKSTAND PRODUCTS TO BE FREE FROM DEFECTS IN MATERIAL AND WORKMANSHIP UNDER NORMAL USE AND IF PROPERLY
INSTALLED FOR A PERIOD OF SIX MONTHS FROM DATE OF PURCHASE. IF FOUND TO BE DEFECTIVE AS MENTIONED ABOVE, IT WILL BE REPLACED OR REPAIRED. THIS SHALL
CONSTITUTE THE SOLE REMEDY OF THE PURCHASER AND THE SOLE LIABILITY OF TRAIL TECH INC. TO THE EXTENT PERMITTED BY LAW, THE FOREGOING IS EXCLUSIVE AND
IN LIEU OF ALL OTHER WARRANTIES OR REPRESENTATIONS WHETHER EXPRESSED OR IMPLIED, INCLUDED ANY LIMITED WARRANTY OF MERCHANTABILITY OR FITNESS. IN
NO EVENT SHALL TRAIL TECH INC. BE LIABLE FOR SPECIAL OR CONSEQUENTIAL DAMAGES.
LIMITED WARRANTY
KICKSTAND INSTALLATION
HONDA | YAMAHA | KTM | KAWASAKI | SUZUKI
KTM
KTM 250-525 SX/MXC/EXC 00-04 5013-KTM
KTM 250-525 MXC/EXC/XC/XC-W 05-07 5301-00
KTM 250-450 SX/SXF 05-06 5301-00
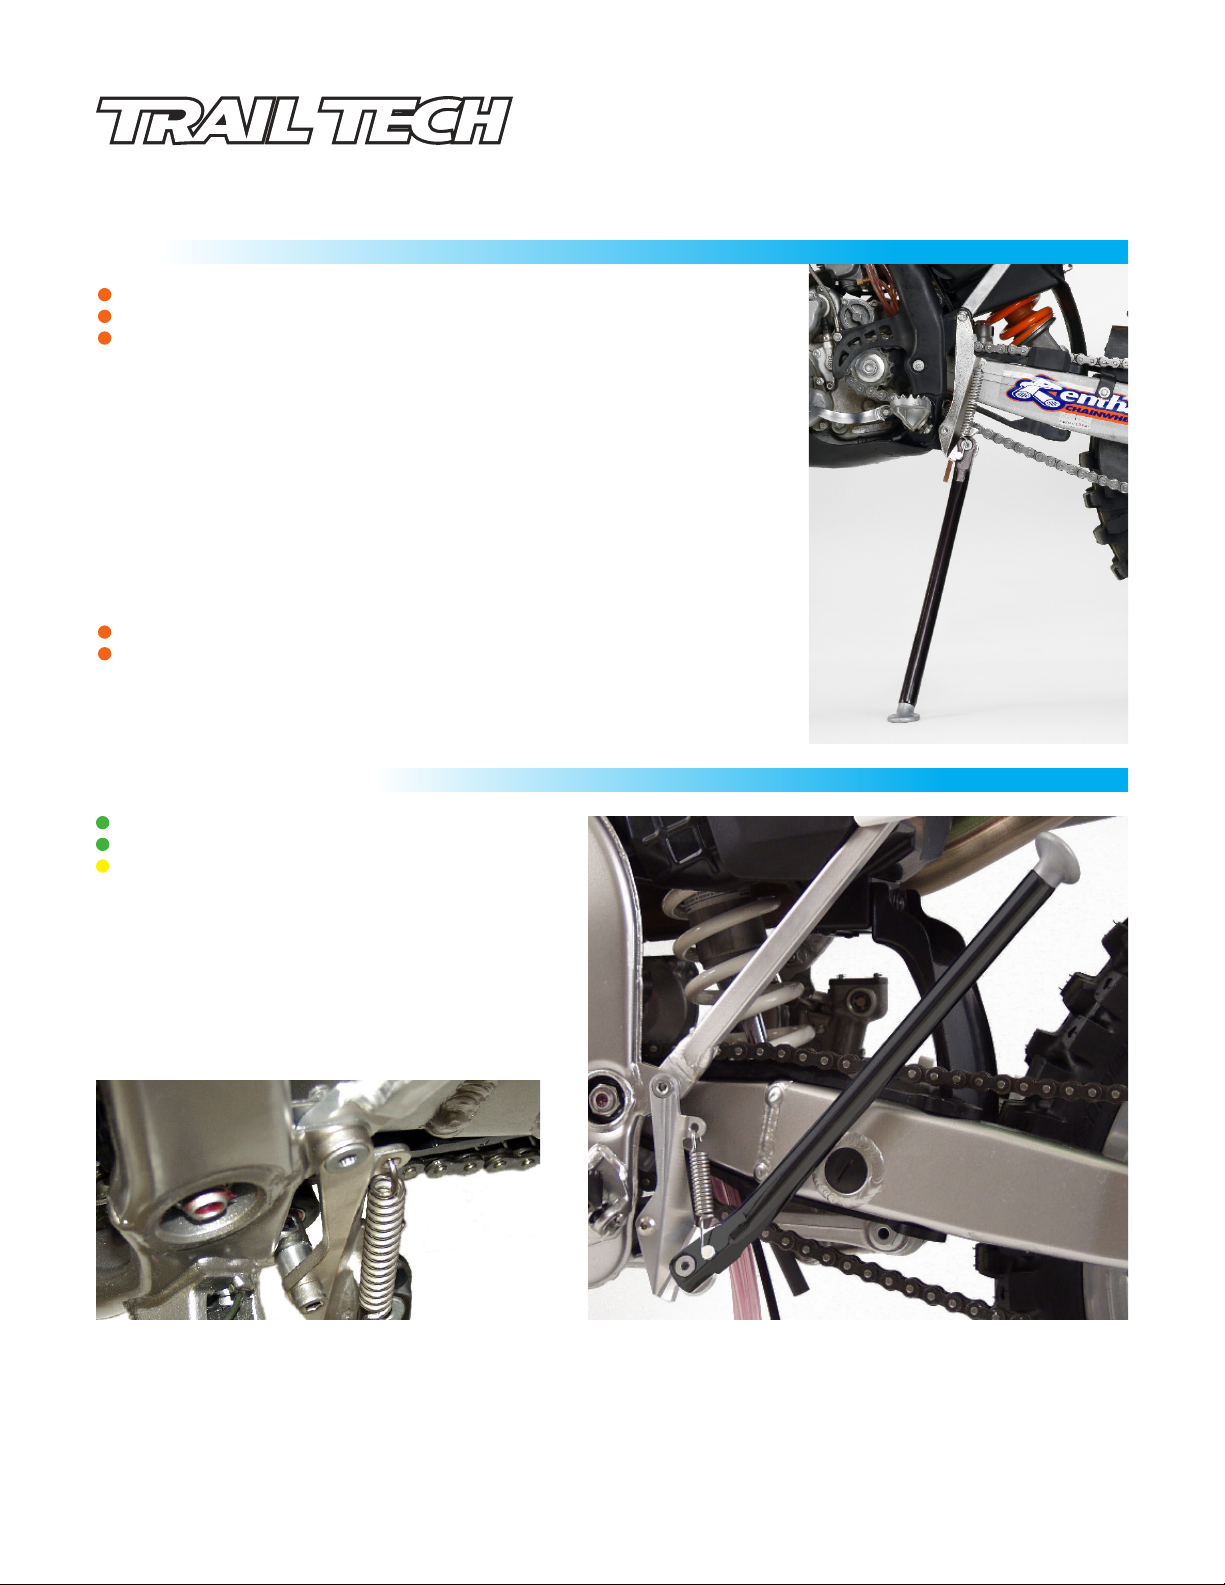
Remove the 8mm lower chain guide bolt & nut. Remove the lower rear subframe bolt. Attach mounting bracket to frame as shown to right using the M8
bolts provided. Hang spring as shown. Use thread locking compound on the
pivot bolt to ensure it does not back out.
*Note: KTM EXC’s remove stock kickstand tab (remove two M8 nuts behind stock
kickstand bracket) before attempting to install Trail Tech kickstand bracket. It may also
be necessary to remove the M5 x 10mm bolt that holds the chain guide on and replace
it with the button head bolt provided in kit (to prevent the kickstand from rubbing).
Replacement Kickstand Arm Kits for KTM:
KTM EXC/MXC (Stand and 8mm Bolt Only) 98-01 5003-KTM
KTM EXC/MXC (Stand and 8mm Bolt Only) 02-07 5003-KTM-A
Remove stock kickstand. Install Trail Tech kickstand using stock mounting points,
spring and the included 8mm pivot bolt. Use thread locking compound on the pivot bolt
to ensure it does not back out.
TRAIL TECH KICKSTANDS
010-ELV-25_R4
Tech Support: 360-687-4530
tech_support@trailtech.net
KAWASAKI / SUZUKI
KAWASAKI KX 125/250 two-stroke 04-05 5400-00
KAWASAKI KX250F 04-05 5400-00
SUZUKI RMZ250 04-06 5400-00
Remove the 6mm lower chain roller nut (leave the
washer) and replace it with the spacer/adapter
provided in the Kawasaki/Suzuki parts kit.
Remove the lower rear sub-frame bolt. Attach
mounting bracket to frame as shown above using
the new sub-frame shoulder bolt and buttonhead
bolt. Hang spring as shown to right.
IMPORTANT: WEAR EYE PROTECTION WHEN HANGING SPRINGS!
Note: After every ride it is important to check your kickstand thoroughly for the following:
• Loose or damaged bolts • Bent or damaged kickstand leg or bracket • Damaged spring
Damaged or broken parts can result in serious injury! If any part of your stand has become
damaged do not ride the machine! Contact a factory trained technician or Trail Tech directly for service or repairs.
 Loading...