

Page 1
TEC Bar Code Printer
B-411 SERIES
Owner’s Manual
TEC
TcncYO fEUBCTfUia ca.,LTO
Page 2

Page 3

TABLE OF CONTENTS
Page
INTRODUCTION ............................................................................................................................. 1
PRECAUTIONS.............................................................................................................................. 1
APPLICABLE MODEL .................................................................................................................... 1
1. SPECIFICATIONS ........................................................................................................................... 2
1.1 PRINTER ............................................................................................................................... 2
1.2 PAPERS ................................................................................................................................ 2
1.3 INTERFACE ........................................................................................................................ 2
1.4 BATTERY CHARGER.......................................................................................................... 3
EM 1-33017
1.5 DIMENSIONS ........................................................................................................................ 3
2. OVERVIEW .................................................................................................................................... 4
2.1 FRONT VIEW ....................................................................................................................... 4
2.2 REARVIE\^ ............................................................................................................................ 4
2.3 OPERATION PANEL ............................................................................................................. 5
3. INSTALLING THE PRINTER ............................................................................................................ 5
3.1 HOW TO INSTALLING AND ADJUST THE SHOULDER STRAP ........................................ 5
3.2 REPLACING AND INSTALLING THE BATTERY ..................................................................... 6
3.3 CHARGING THE BATTERY ............................................................................................... 6
4. LOADING PAPERS ........................................................................................................................ 7
5. REMOVING THE JAMMED PAPERS .............................................................................................. 9
6. CLEANING ................................................................................................................................. 10
6.1 THERMAL HEAD/PLATEN/PINCH ROLLER ......................................................................... 10
6.2 COVERS/PANELS ............................................................................................................... 10
7. SELECTING A DATA TRANSMISSION SPEED ............................................................................. 11
8. TROUBLESHOOTING .................................................................................................................. 12
Page 4

Page 5
EMl-33017
INTRODUCTION
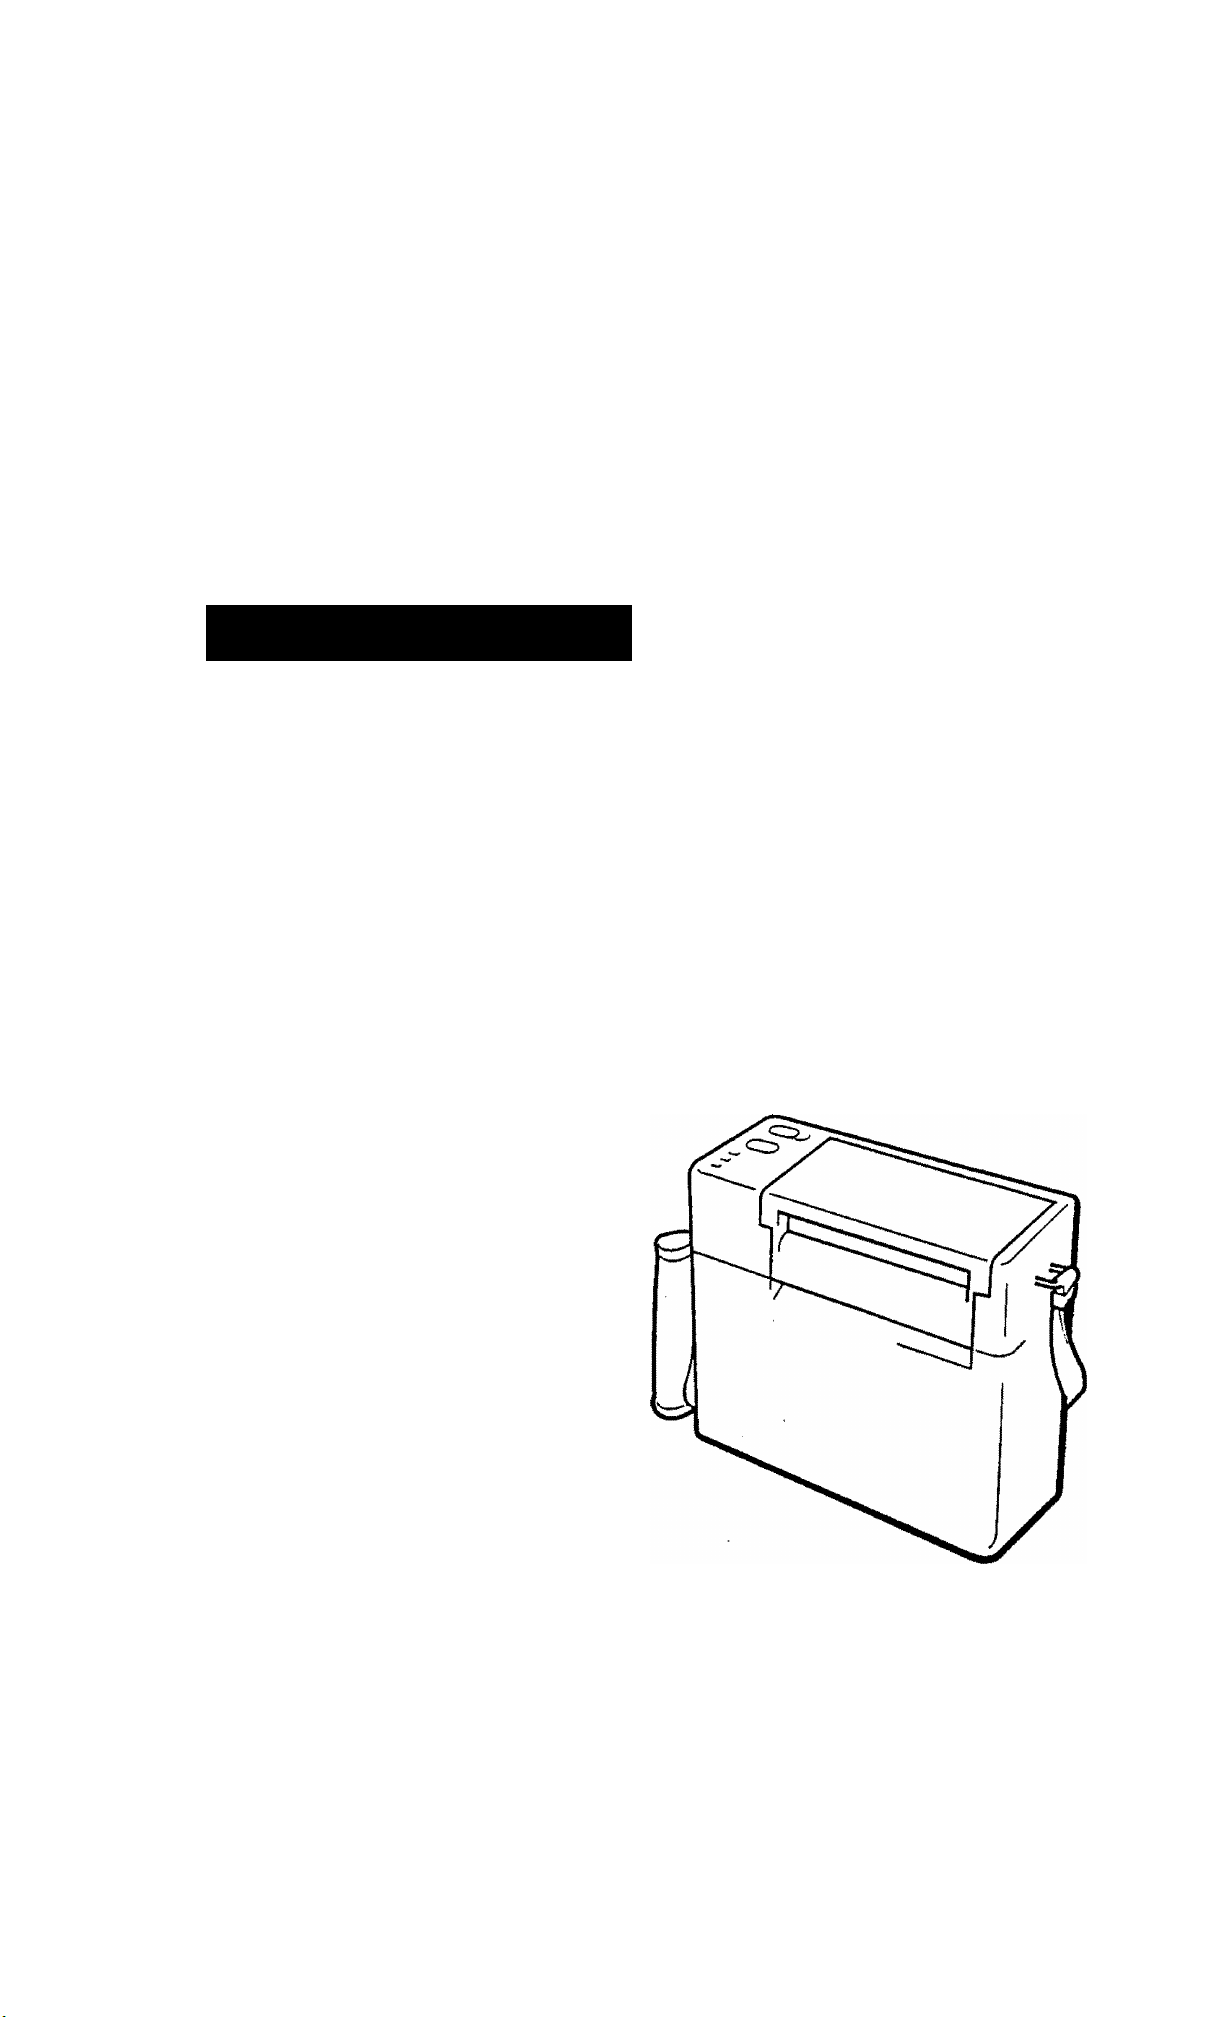
Thank you for choosing the TEC Bar Code Printer B-411 Series. The B-411 has been developed for
issuing various kinds of bar codes. The B-411 adopts a state of the art thermal printer so that it
produces less noise and more clearly printed characters.
This manual contains information about the general set-up and maintenance of the B-411 printer, and
should be read carefully to obtain maximum performance from your printer. Since ample
consideration has been given to safety, there is no danger of damaging the printer by erroneous
operation.
Should you have any questions concerning the printer, please refer to this manual. Be sure to keep
this manual for future reference.
PRECAUTIONS
1. Clean the cover by wiping with a dry cloth or a cloth soaked with detergent and thoroughly wrung
out. NEVER USE THINNER OR OTHER VOLATILE SOLVENT for cleaning.
2. DO NOT POUR WATER directly on the printer.
3. When in use, avoid locations subject to vibration and direct sunlight.
4. Properly use the TEC-specified labels.
5. DO NOT STORE the labels, in locations exposed to direct sunlight, high temperature, high
humidity, dust, or gas.
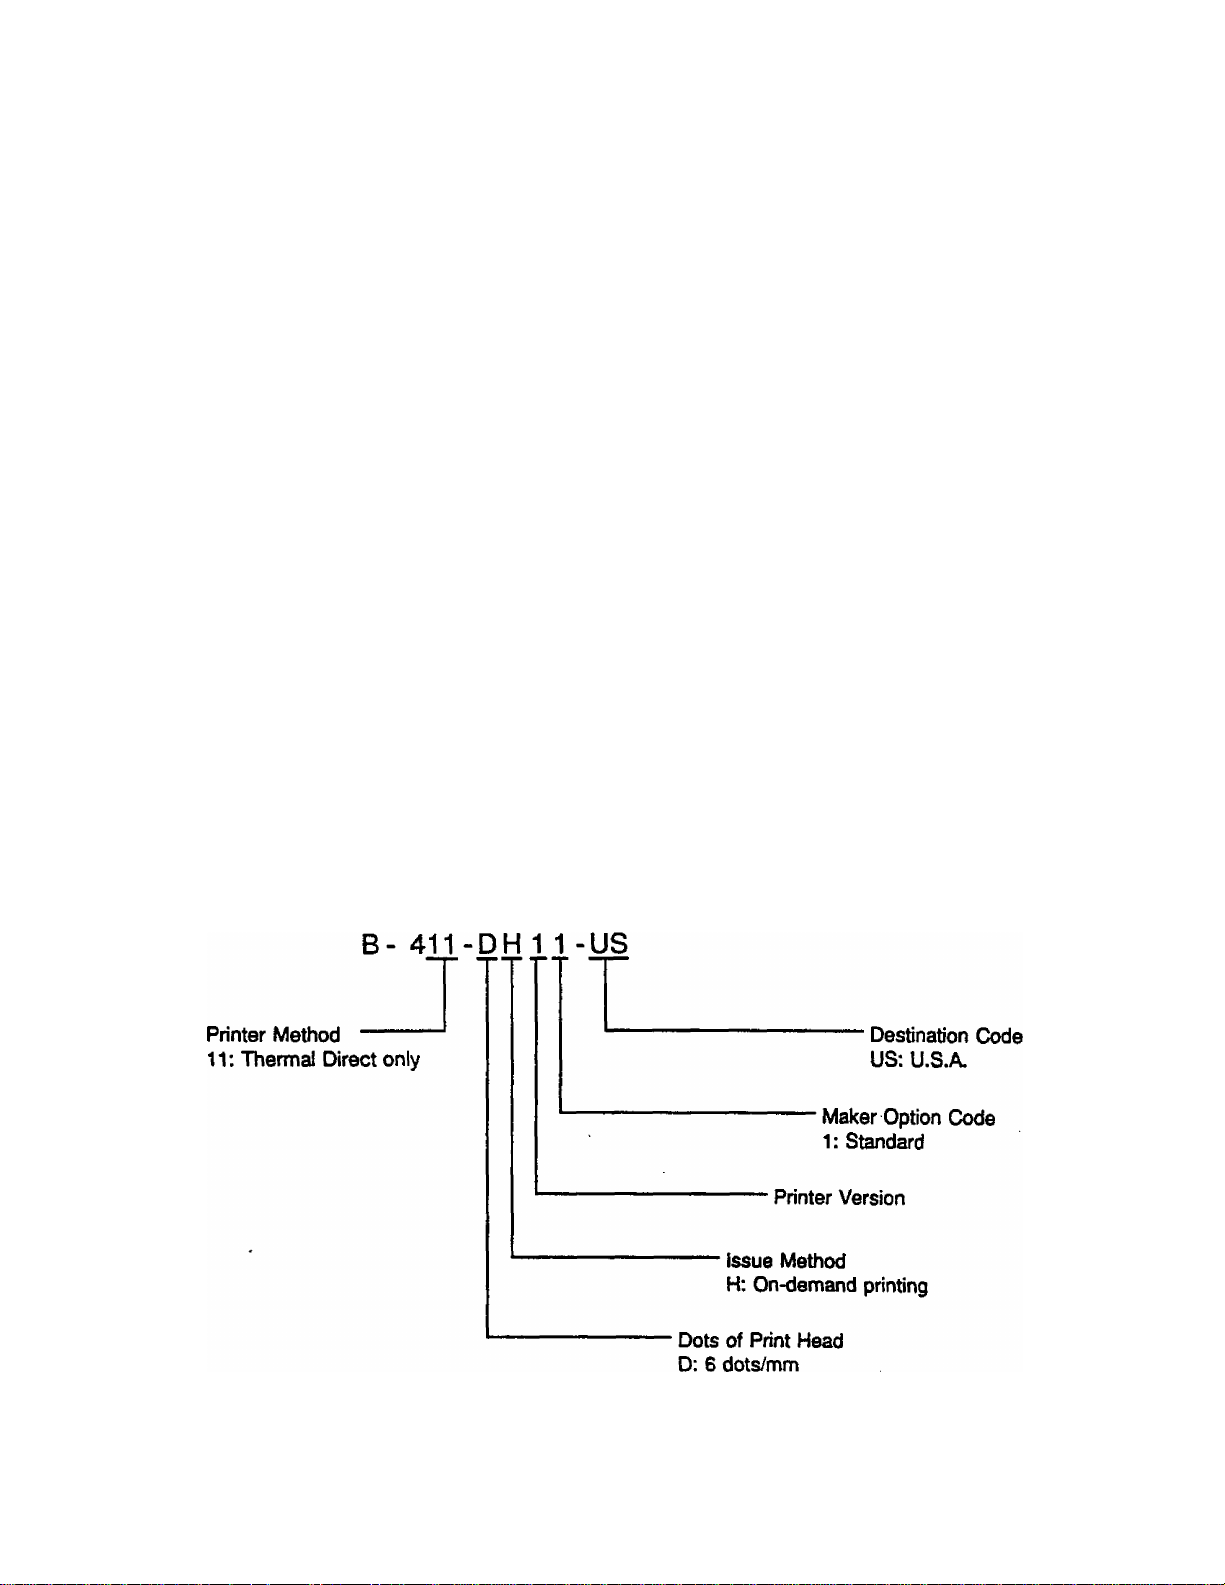
APPLICABLE MODEL
Page 6

1. SPECIFICATIONS
1.1 PRINTER
EMI-33017
——Model
Item ^
Power Requirement
Temperature Limits
Relative Humidity
Print Head
Printing Method
Print Speed
Available Printing Width
Bar Code Format Codabar, ITF, CODE39 Parallel only
Type Fonts
Interface /
Ni-Cd battery (DC 13.2V)
Capacity: 19.7mm (500") or 1.4AH
Charging time: 7—8AH (Rechargeable a minimum of 300 times)
5*0 to 4&C (41*F to 104-F)
25% to 85% RH (no condensation)
Thermal Print Head (6 dots/mm)
Thermal Direct
25.4mm (1”)/sec.
46,8mm (1.84"), 72.2mm (2.84"), 97.6mm (3.84")
(Barcode height is less than 139 dots)
Standard 1 (8 x 18) dots
Standard 2 (16X24) dots
Bold 1 (8X18) dots
Bold 2 16x24) dots
3/4" character (38 x 75) dots
Graphic Font (8X12) dots
Serial Interface (RS-232C)
B-411
1.2 PAPERS
Item
Width
Length (Pitch)
Thickness
Roll Diameter
—-^^Paper Type
1.3 INTERFACE
■■ —
Item —
------------
Baud rate
Protocol
Signal
Interface
Thermal Paper (Label)
53.8mm (2.12"), 79.2mm (3.12"), 104.6mm (4.12”)
Max. 998mm (Max. 39.3")
0.14mm-'0.15mm (0.0055"-0.0059")
52mm (2.04") max.
Electronics specification
RS-232C
9600bps or 19200bps
XON/XOFF, 8 bit Data, Non Parity, Stop bit = 2 bit
TXD, RXD, RTS, CTS
Page 7

1.4 BATTERY CHARGER
Use a battery charger having the following specifications.
EMV33017
1.5 DIMENSIONS (APPROXIMATE)
hem
Input Voltage
Output Voltage
Safety Standard Complying with UL and CSA
Charging Time
AC120V±10%
DC16.0V
8 hours ± 10%
(13.2V 1.4AH Battery)
Specification
Weight: 1.7kg (3.74 lbs.)
Page 8

2. OVERVIEW
2.1 FRONT VIEW
EM 1-33017
2.2 REARVIEW
Auxiliary Handle
Page 9

2.3 OPERATION PANEL
ERROR O
BATTERY O
PRINT □
FEED
o
ON POWER OFF
EMI-33017
ERROR Indicator (Green)
Lights when the printer does not operate correctly.
BATTERY Indicator (Orange)
Lights when the battery voltage drops. (Replace
the battery)
PRINT Indicator (Green)
Lights for one second when the power ts turned
ON.
Lights while printing or issuing labels.
FEED Button
<3
This button is used to feed the labels.
POWER Slide switch
Power supply switch for the printer.
3. INSTALLING THE PRINTER
3.1 HOW TO INSTALLING AND ADJUST THE SHOULDER STRAP
Pass the end of the Shoulder Strap through the tab of the printer from the inside, then pass it through
parts A, B and C as shown in the figure. After adjusting the length of the strap, insert the loose end
of the strap into the shoulder pad.
Page 10

EMI-33017
3.2 REPLACING AND INSTALLING THE BATTERY
To replace the battery;
If the Battery Indicator on the operation panel lights, turn the power OFF, pull up the lock button, slide
the battery to the right to remove it. Replace the battery.
To Install the battery;
Align the left edge of the battery with the line of part A. and slide the battery to the left to lock it in
place. (At this time, push the battery until a click is heard from the lock button.)
3.3 CHARGING THE BATTERY
Turn OFF the printer power. Open the jack cover and connect the battery charger plug to the printer.
It requires 8 hours to charge the battery.
Page 11

4. LOADING PAPERS
The printer prints labels of the thermal paper.
1) Turn the power off and open the label panel and roll cover.
Label Panel
2) Load the roll paper and pass the leading part of the paper into the printer.
EMI-33017
3) Lift the print head and pull out the paper.
CAUTION: Use only designated paper, or trouble may result.
Thermal Head
Page 12

4) Push down the pinch roller lever, pass the paper through the printer, and pull out the paper from
under the label panel.
Pinch Roller Lever
Label Panel
5) Align both sides of the paper with the left and right label guides (red marks) of the print head.
Make sure that there is no sag between the thermal head and the pinch roller.
EMl-33017
6) Close the label panel and roll cover.
Label Panel
Label Guide
Thermal head
Pinch Roller
Paper
7) Turn the power ON and press the FEED button to ensure that the printer operates normally.
CAUTION: After replacing the paper or removing the jammed paper from the printer, the depressing
of the FEED button allows the reinserted paper to be automaticatly fed to the printing
position.
Page 13

5. REMOVING THE JAMMED PAPERS
If a paper jam has occurred while the printer is in use. take the following action.
1) Turn the power OFF and open the label panel and roll cover.
2) Press down the head release plate and pull it out toward you.
Head Release Plate
EMI-33017
3) Lift the thermal head and remove the jammed paper.
4) Be sure to clean the print head platen to remove glue from it if any. {Refer to Section 6)
5) After removing the jammed paper, install the head release plate in place.
Page 14

6. CLEANING
6.1 THERMAL HEAD/PLATEN/PINCH ROLLER
Clean the Thermal Head when the followings happen.
* 50 rolls of paper issued.
* Paper jam.
■ The paper stained.
Procedure
1) Turn the power OFF.
2) Open the label pane! and remove the head release plate.
3) Then clean the print head, platen, and pinch roller with a soft doth moistened with alcohol.
Thermal Head
EM 1-33017
Platen
Pinch Roller
NOTES: 1) For cleaning, use industrial alcohol which does not contain impurities.
2) Do not clean the covers by atcohol.
3) Do not use any tools which may damage the thermal head.
6.2 COVERS/PANELS
When cleaning the printer surface, use a electrostatic-free cleaner for office automation equipment.
CAUTION: Do not use alcohol for cleaning, or deformation, discoloration or a drop in strength of
the covers may result.
Page 15

7. SELECTING A DATA TRANSMISSION SPEED
In case the data transmission speed of the PC to be connected to this printer is not 9600 BPS,
change the speed by following the procedure.
1) Turn the power OFF and remove the battery. (Refer to Section 3)
2) Remove the DIP switch cover and change the DIP switches as shown below.
EMI-330 U
Dip Switch
OFF
2 3 4 5 6 7 8
1
#8 SELECT SENSOR
ON: TRANSMISSIVE SENSOR
OFF: NO SENSOR
#5 RS-232C
ON: 9600BPS
OFF: 19200BPS
WARNiNG:Do not change any other DIP switches, or a malfunction may result
Page 16

EMI-33017
8. TROUBLESHOOTING
It is our primary concern to give you full satisfaction and better service. If, however, any problem
arises in connection with the operation of this printer, please check the following points before you call
for service.
ERROR LED
ERROR LED blinks
Other Problems
No print
Dots missing in print
Unclear (of blurred)
printing
Power is not turned
ON.
Printer trouble
Error has occurred in
communicating with a
personal computer
Hardware and/or
Software trouble.
Problem
1. The paper is not placed
correctly.
2. The feeding paper is jammed
and does not feed smoothly.
3. Installed paper size is different
form the programmed paper
size.
4. The paper ran out
1. Check whether the paper is loaded correctly or not
2. Check whether the print head is set correctly or not.
3. Check whether the interface cable is connected correctly or not.
1. Dirty thermal head. Clean it by industrial alcohol.
(Refer to page 10)
2. Defective thermal head. Call your representative.
Dirty thermal head. -»■ Clean the thermal head.
1, Insert the Battery firmly.
2. Call your representative, if necessary.
Turn off the power and call your representative.
Check the programmed data.
Turn off the power and call your representative.
1. Place the paper correctly.
2. Remove the jammed paper and
place the undamaged paper
correctly.
3. Turn off the power and then
turn it on again.
Set the correct paper size.
-> Feed the paper.
4. Load a new paper.
Solution
Solution
This printer has been manufactured under strict quality control. If you have any trouble, however, DO
NOT ATTEMPT TO FIX IT BY YOURSELF. Turn the power off, and contact your representative.
Page 17

Page 18

Page 19

Page 20

TEC
TOKVO
CO., LTD.
PRINTED IN JAPAN
ЕМ1-ЗЭ017А 9202300
a
 Loading...