

Page 1
IgnitionServiceKit
TX1000CompactToolCarrier
ModelNo.137-9050
WARNING
CALIFORNIA
Proposition65Warning
ThisproductcontainsachemicalorchemicalsknowntotheStateofCalifornia
tocausecancer,birthdefects,orreproductiveharm.
Note:Determinetheleftandrightsidesofthemachinefromthenormaloperatingposition.
Safety
FormNo.3418-578RevA
InstallationInstructions
SafetyandInstructionalDecals
Safetydecalsandinstructionsareeasilyvisibletotheoperatorandarelocatednearanyarea
ofpotentialdanger.Replaceanydecalthatisdamagedormissing.
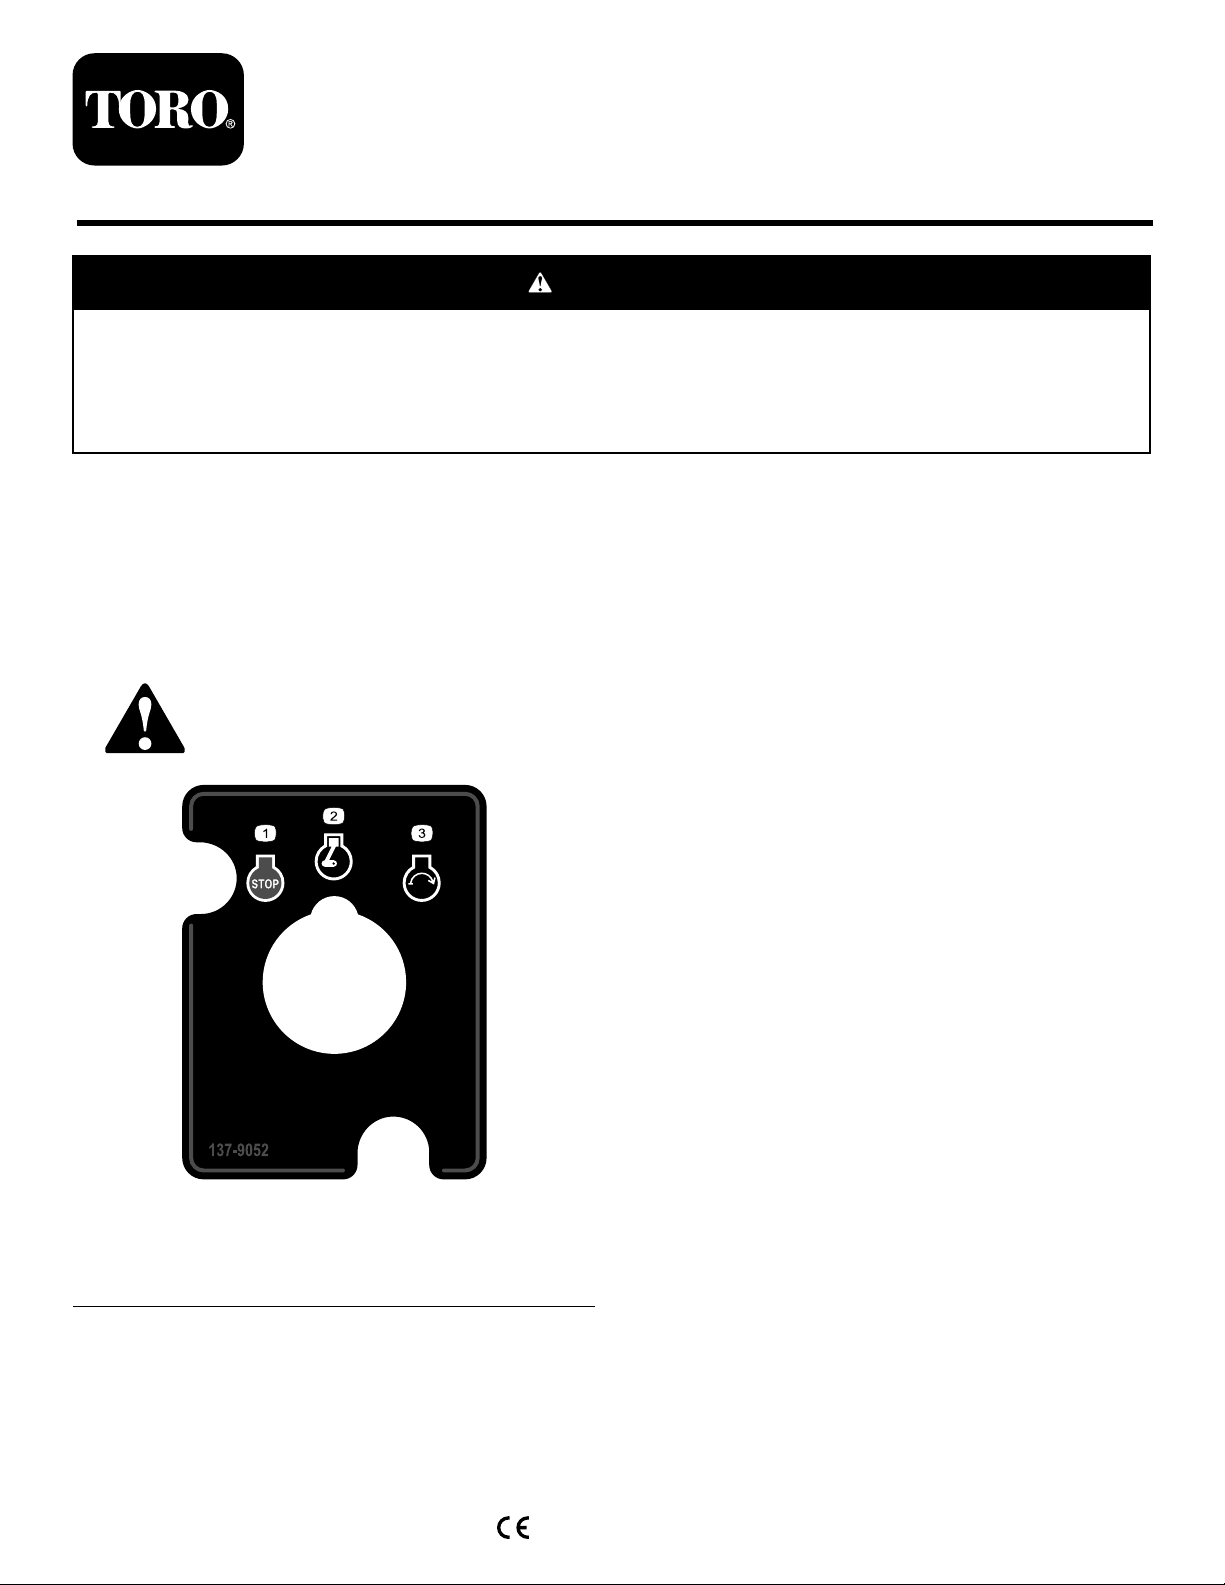
137-9052
decal137-9052
1.Engine—stop3.Engine—start
2.Engine—run
©2017—TheT oro®Company
8111LyndaleAvenueSouth
Bloomington,MN55420
Registeratwww.T oro.com.
OriginalInstructions(EN)
PrintedintheUSA
AllRightsReserved
*3418-578*A
Page 2

Installation
LooseParts
Usethechartbelowtoverifythatallpartshavebeenshipped.
ProcedureDescription
1
2
1
PreparingtheMachine
NoPartsRequired
Procedure
1.Parkthemachineonalevelsurface.
Nopartsrequired
Plate1
Ignitionswitch1
Decal1
Screw
Wire-harnessadapter1
Key2
Qty.
Use
–
2
Preparethemachine.
Installtheswitch.
2.Engagetheparkingbrake.
3.Lowertheloaderarms.
4.Shutofftheengineandremovethekey .
g036689
Figure1
2
Page 3

2
InstallingtheSwitch
Partsneededforthisprocedure:
1Plate
1Ignitionswitch
1Decal
2
Screw
1Wire-harnessadapter
2Key
g231591
Figure3
1.Switch
2.Wireharness
Procedure
1.Openthehoodandsecuretheproprod.
2.Disconnectthebattery;refertotheOperator’s
Manual.
3.Removethecoverplate(Figure2).
Figure2
1.Bolt(1/4x3/4inch)2.Coverplate
5.Aligntheplatewiththeedgesontheframe
(Figure4).
g230876
Figure4
g038212
1.Plate2.Edge
6.Usingtheplateasatemplate,drill2holesinthe
frameasshownwitha4mm(5/32inch)drillbit.
4.Removetheoldignitionswitch(Figure3).
7.Assemblethedecal,wire-harnessadapter,and
ignitionswitchtotheplate(Figure5).
Note:Discardtheincludedbackupwasher.
Installthepartsshown.
3
Page 4

Figure5
1.Harnessadapter4.Decal
2.Switch
3.Plate
5.Nut
8.Connectthewireharnesstotheadapter.
9.Securetheassemblytotheframeusingthe2
self-tappingscrews(Figure6).
g230873
Figure6
1.Screws
10.Plugthemainconnectortotheadapteronthe
keyswitch.
Important:Alsoplugthesinglewireonthe
adapterintothecorrespondingconnector
onthemainharness.
11.Installthecoverplate(Figure2).
12.Connectthebattery;refertotheOperator’s
Manual.
13.Closethehood.
g230874
4
 Loading...